Have you ever wondered how in Soviet times radio amateurs made printed circuit boards without the help of JLCPCB services, laser-iron technologies and auxiliary programs? The process is curious and exciting, so I propose to repeat what our fathers and grandfathers did.

How to make a printed circuit board without a computer and printer
Let's start with the fact that we have a classic Joule-thief circuit, which consists of two resistors, an NPN transistor, a transformer, a switch and LED. You can slightly modify it and add a diode bridge and ionistor.
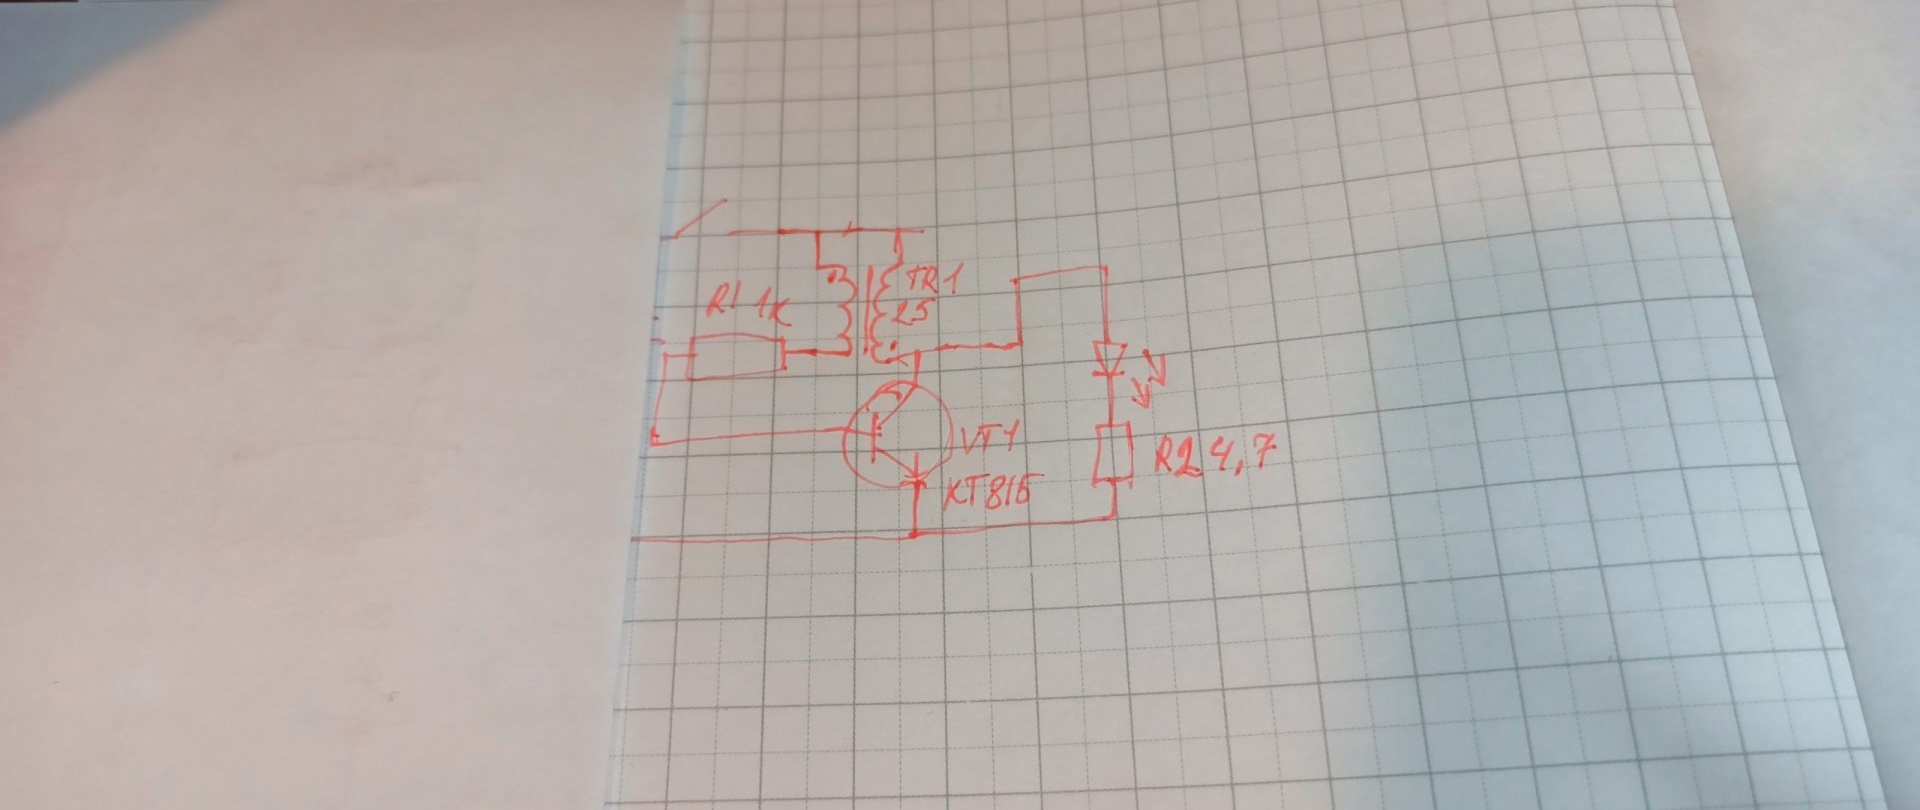
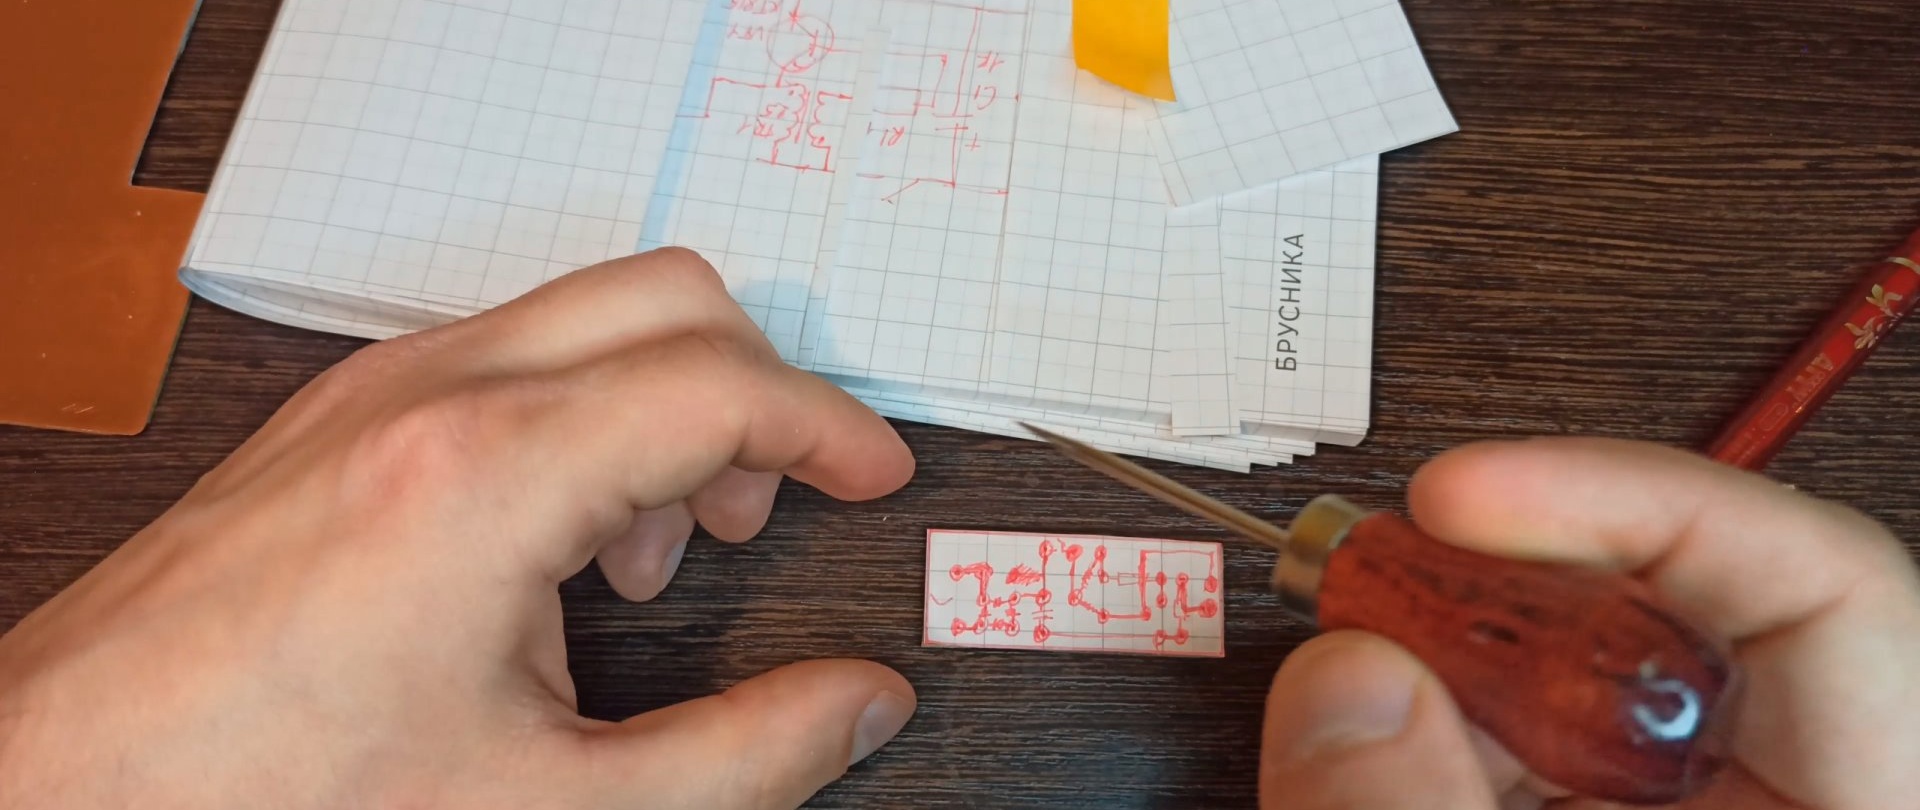
Step one: draw a breadboard diagram.

If you, like me, have not done this for a long time, you will have to sweat a little. The result should be a neat, compact diagram. An important point: when designing boards, do not forget that the parts on it will be located upside down and mirrored.
Step two: draw a rectangle.

After our diagram is ready, we take the textolite, measure out the rectangle we need on it and draw it with a simple pencil.
Step three: working with a scalpel.

Using a scalpel, we cut off the piece of PCB we need, running the blade along the marks several times.
Step four: cut it out of paper.

After we have successfully separated the required piece of PCB, we begin to cut out our diagram from paper. This is necessary for the convenience of marking sites.
Step five: tape instead of plasticine.

We take a piece of double-sided tape and glue our diagram onto the PCB. In Soviet times, we would have used plasticine.
Step six: punch the holes.
To complete this step, you will need a small awl: it is convenient for them to tap holes in the board for further drilling.
Step seven: drill holes.

After the board has become holey, remove the tape and then drill holes in it.
Step eight: we make platforms for future soldering.

Next we need a thin needle with insulation on it, and tsaponlak. We take the varnish, dip a needle in it, and, holding it perpendicular to the board, lower it into the drilled holes, thereby creating areas for future soldering of parts. If for some reason the pads are connected to each other, just wait until the varnish dries and separate them with a scalpel.
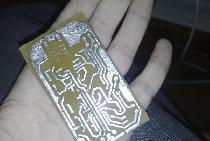
Step nine: draw the path.
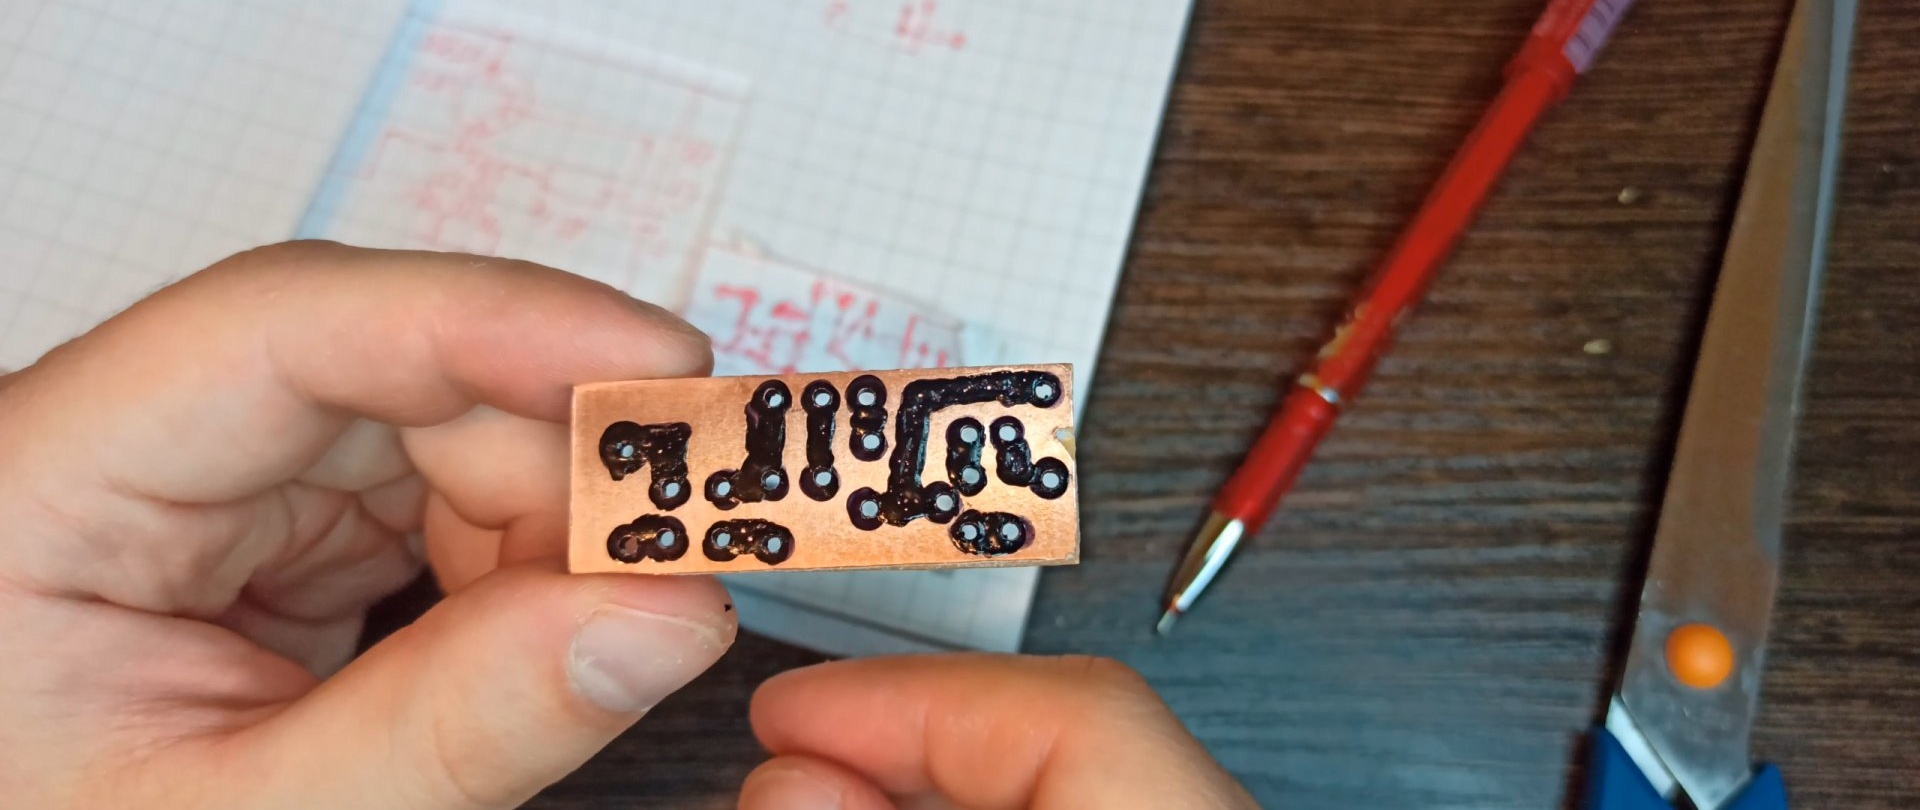
Take a regular empty gel pen refill. Using side cutters or scissors, we remove the rod ball so that we have a hole at the tip of the rod. Then we take the tsaponlak and put it into the rod. After filling the rod, your hand must be held horizontally, otherwise the varnish will leak out. In order to draw a path, we tilt the rod with the tip down, draw, and return the rod to the horizontal position again. The thickness of the tracks on the board is controlled by the degree of inclination of the rod. Now, focusing on our diagram, we draw the tracks on the board.
Step ten: get rid of unnecessary things.

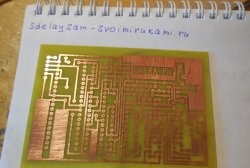
Now the board needs to be etched. For the solution we need 1 g of salt, 4 g of citric acid and 10 ml of hydrogen peroxide. This solution, by the way, was less popular than ferric chloride, but I do not recommend using ferric chloride in an apartment: its evaporation will adversely affect your health. Mix all the above components thoroughly. We lower our board into the resulting solution for about 3-4 hours.
Step eleven: soldering the elements.
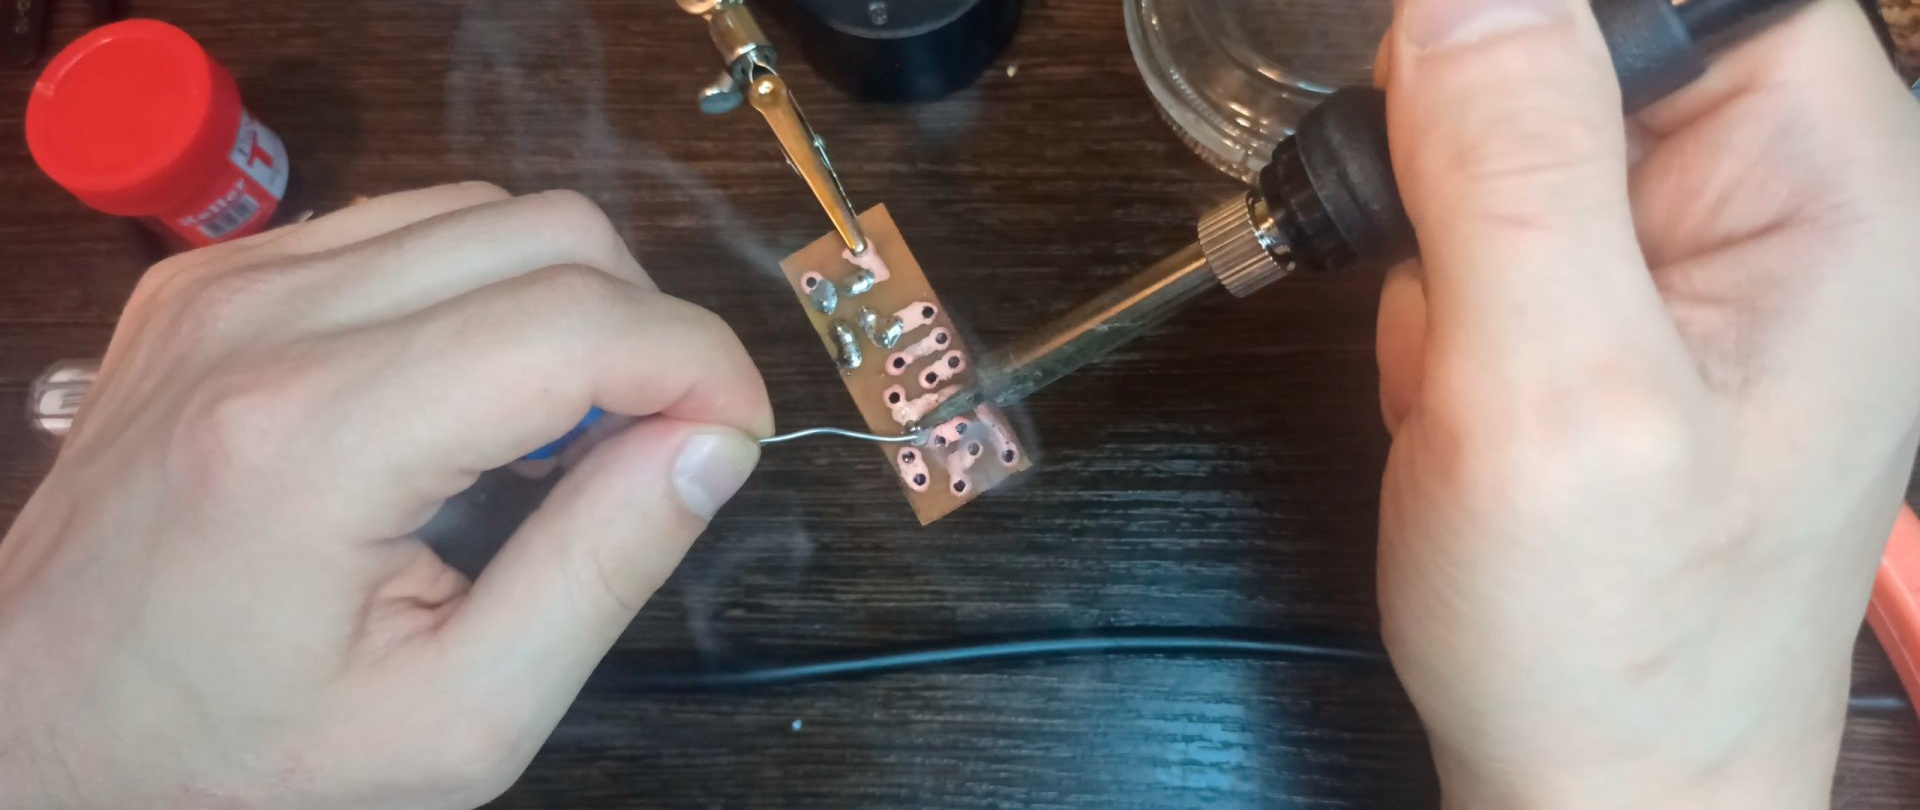
After we have removed and cleaned the board with solvent, we take neutral flux and apply it in a thin layer. Let's start soldering the elements. If you missed and didn’t draw a path, you can use a jumper.
Step twelve: the final touch.

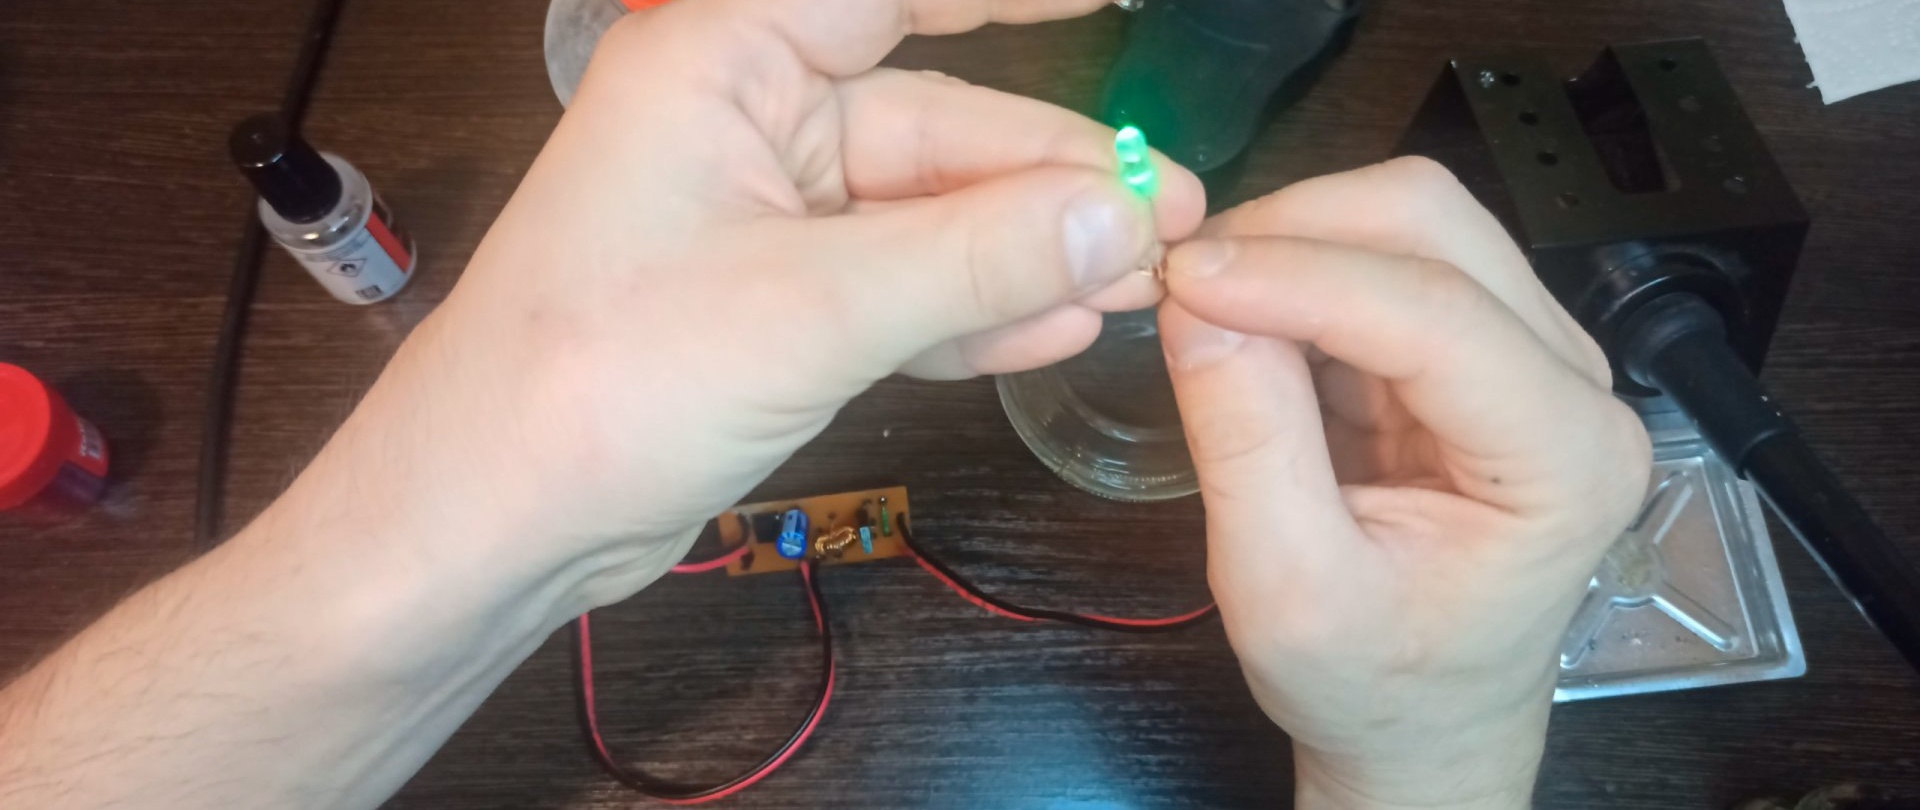
We clean the board with a degreaser, then take plastic 71 and protect our resulting product from aggressive environmental influences.
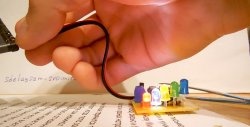
You can move on to the tests. So, with the help of this technology, our fathers and grandfathers created printed circuit boards not only at home, but also on production lines.