In order to make a round hole in a wall made of wooden boards or drywall, you will need a drill, a pen, or a crown. If for small holes a drill or a pen is enough, then for large diameter holes you will need a core drill. Not everyone has such drills on their farm. If a pen or a regular drill can be bought individually, individually, of the required diameter, then core drills, as a rule, are sold in a set consisting of a clamp, a drill, a key, and the crowns themselves of several diameters. Plus a case. Such a set costs a lot, considering its infrequent use. But it is not at all necessary to spend money on a whole set if you were unable to find the required crown individually on sale. This thing is done quite easily and simply, of the caliber we need.

And what is most pleasant, in my opinion; Such a crown will cost absolutely free. Well, or ALMOST free, which is important in our difficult times.
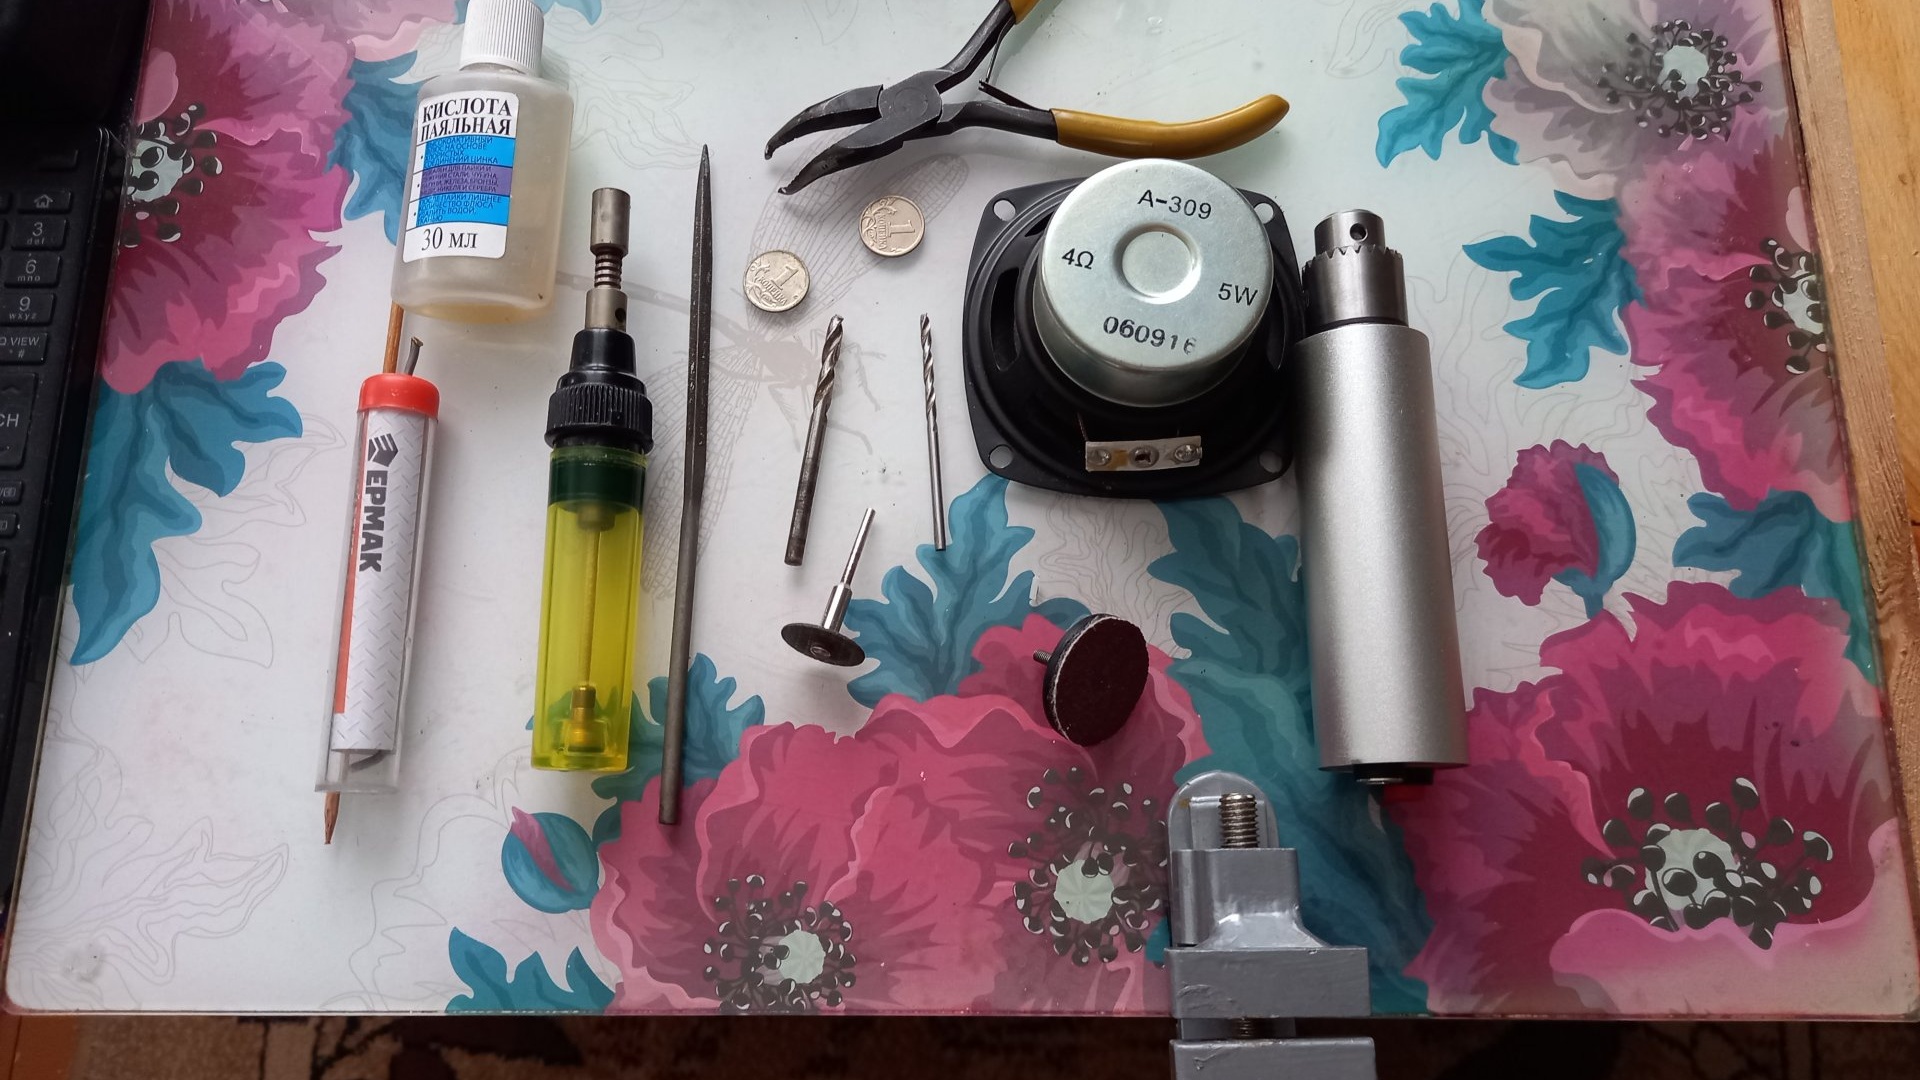
Will need
- Metal bowl from an acoustic speaker.
- The mark that will be in the crown design (of the diameter you need).
- Drill 3-4 mm.
- Drill or powerful engraver.
- Thin cutting disc and grinding disc for engraver.
- Two small coins (for washers).
- Pliers.
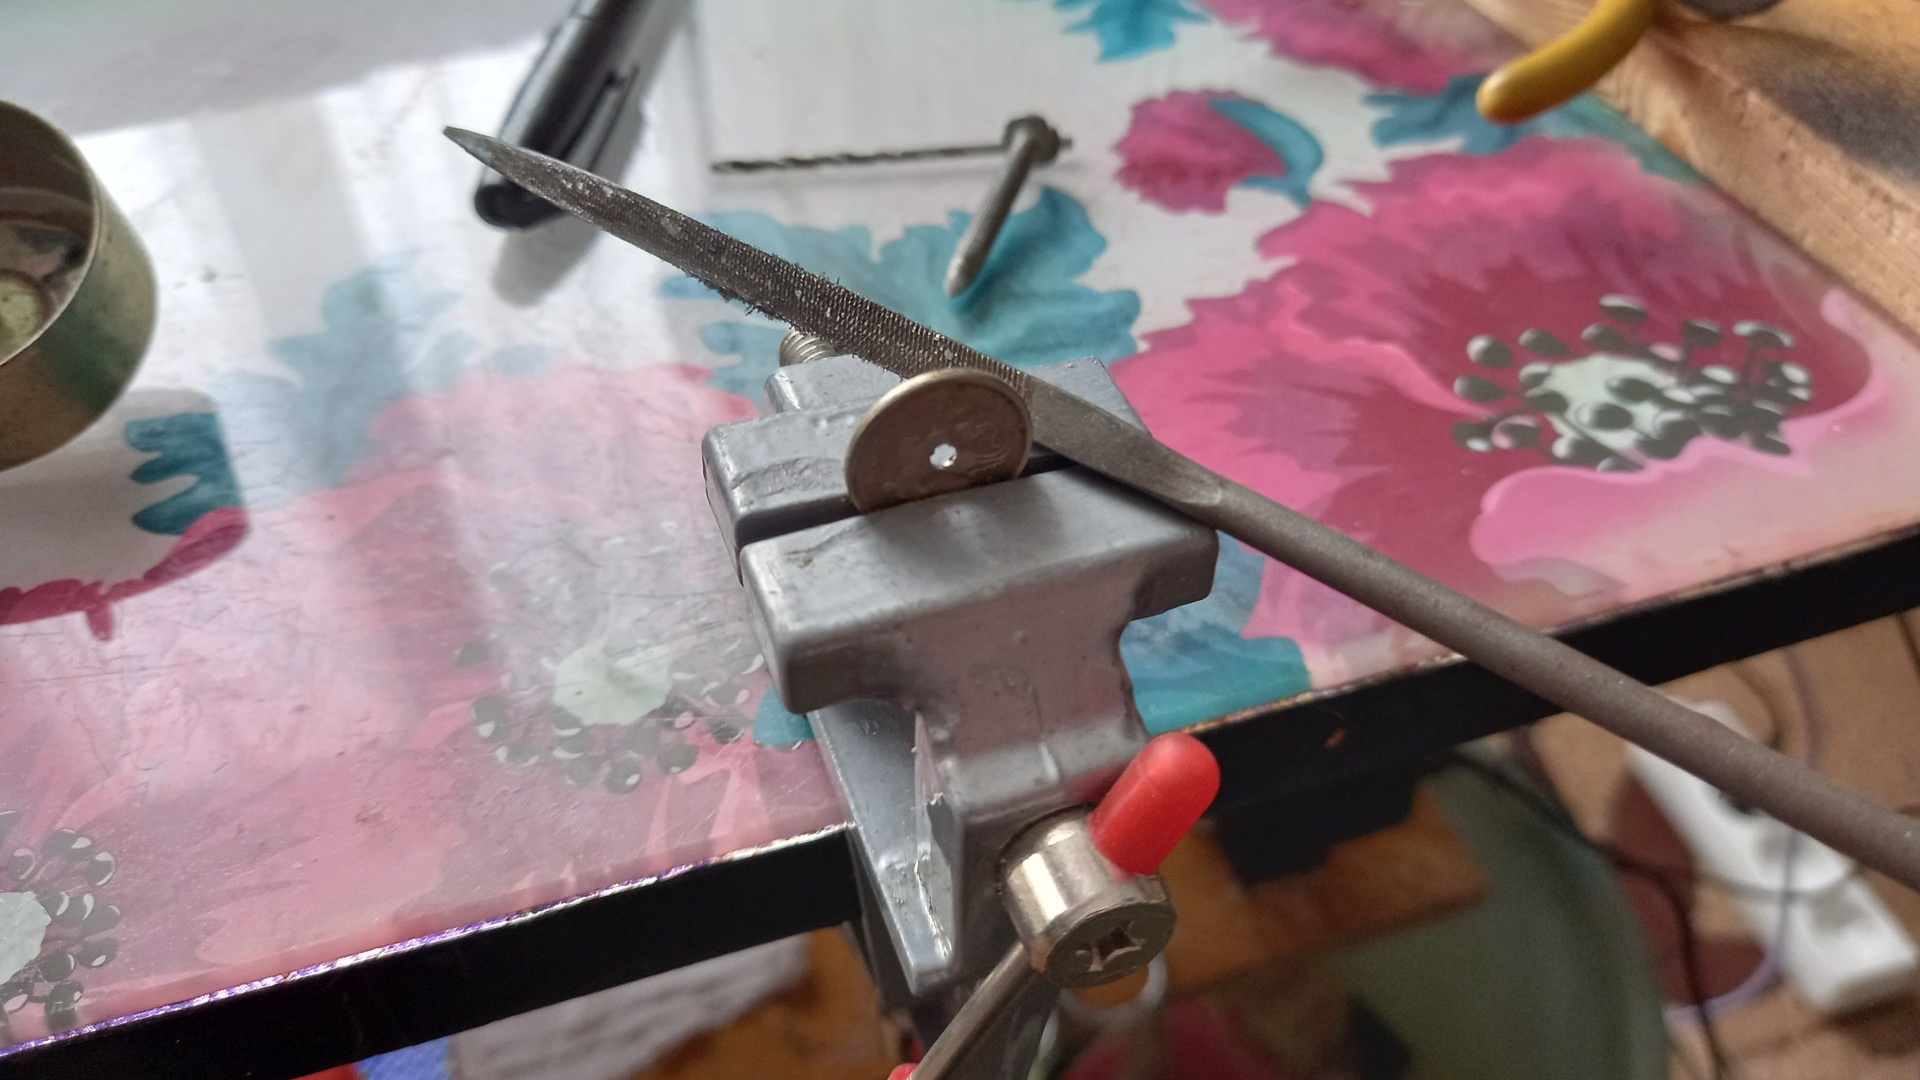
- Thin files (square or triangular, and round).
- Soldering iron, with solder and flux.
Making a core drill
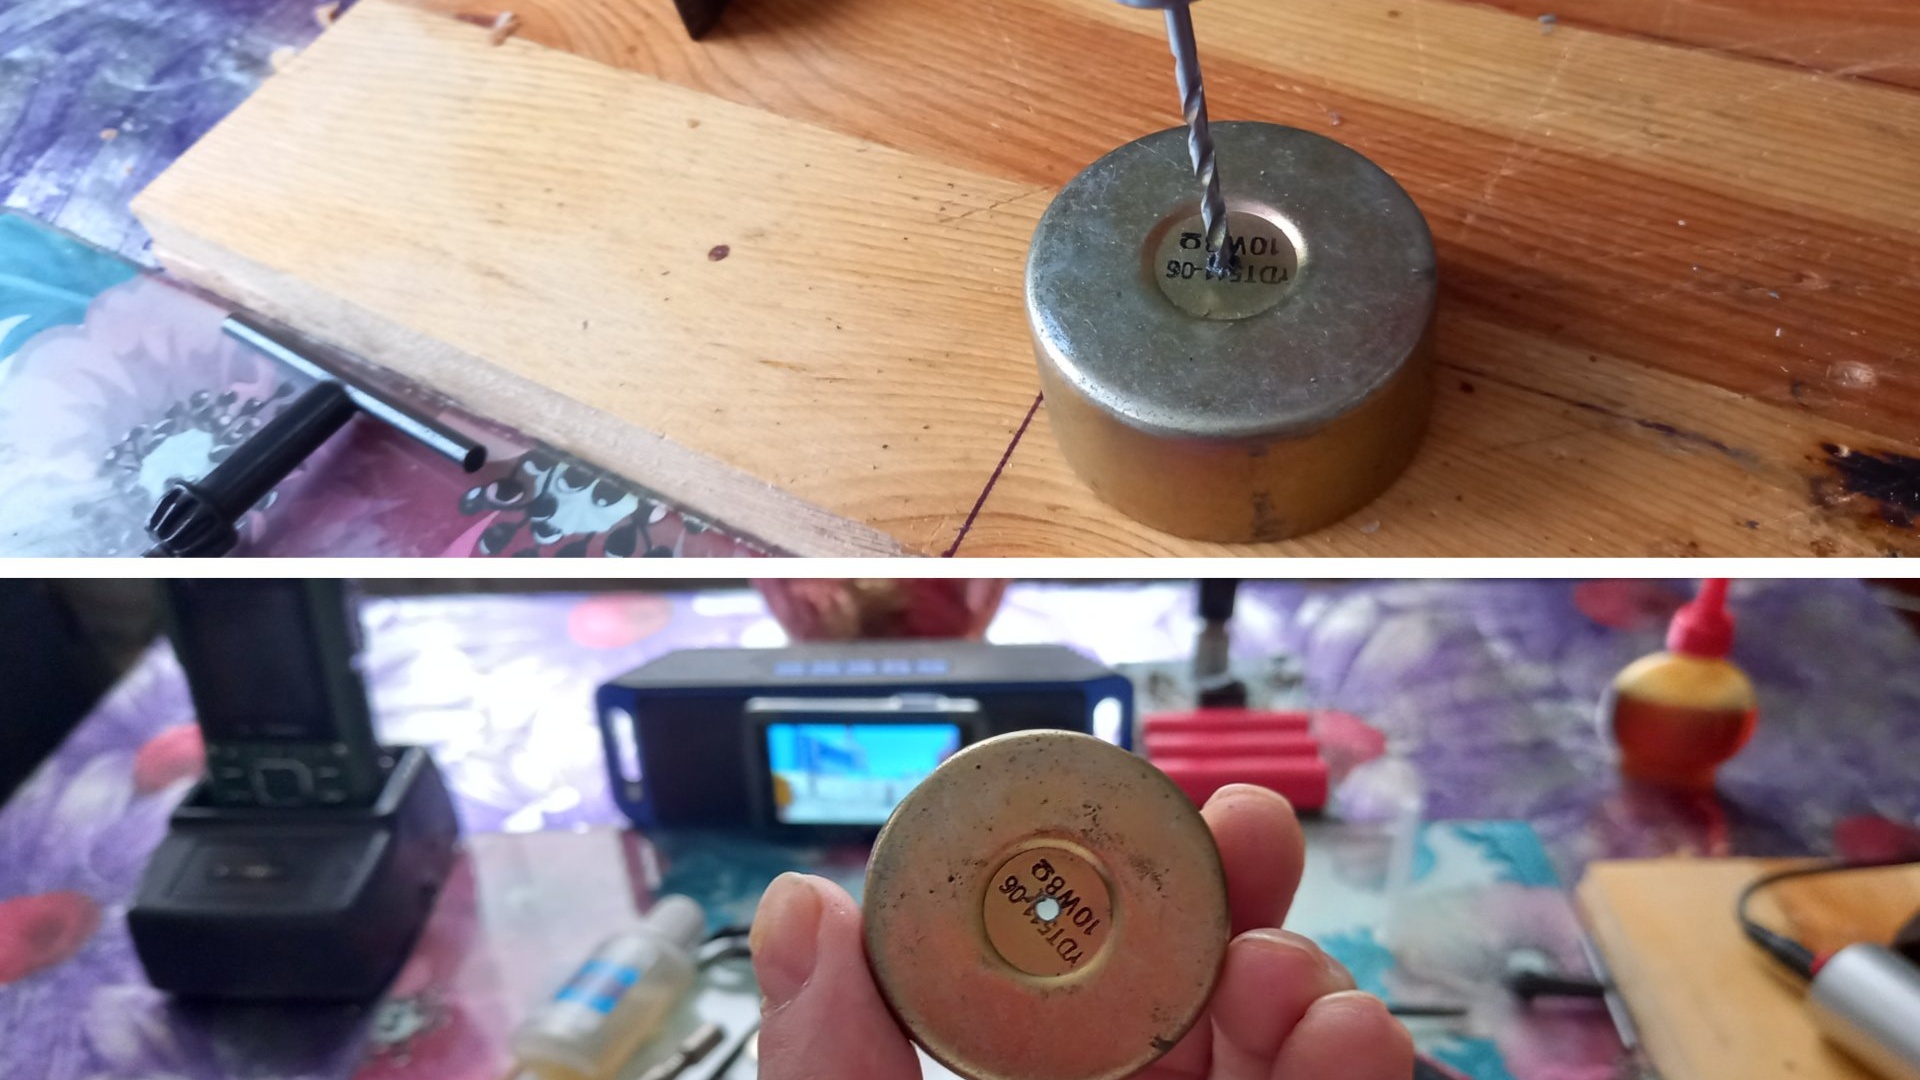
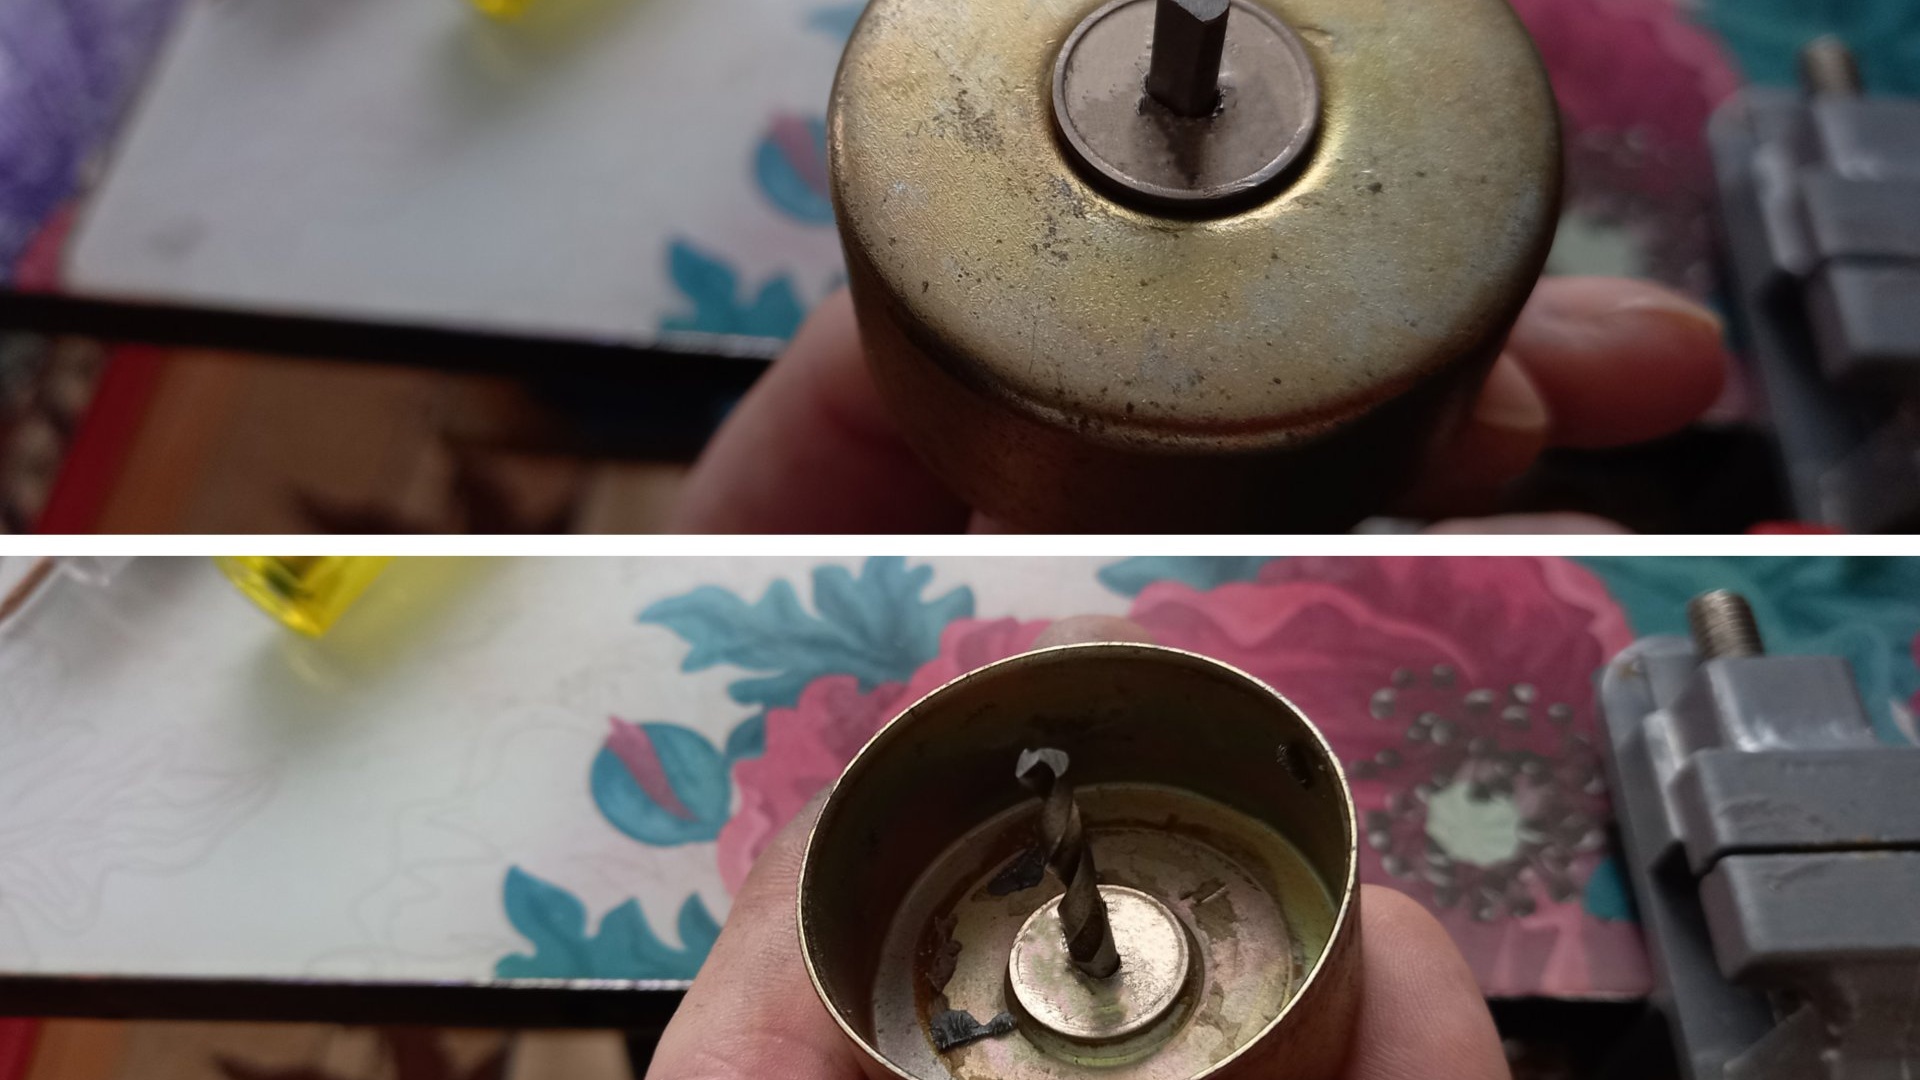
The first thing we need is the base for the crown itself. For this purpose, I disassembled the speaker from broken computer speakers, because this was exactly the diameter I needed for my work.

If you need a crown of a larger diameter, but there is no suitable and unnecessary speaker, then you can choose anything that has a similar shape for the base. As a last resort - a tin can made of dense and thick tin. For example, this one:
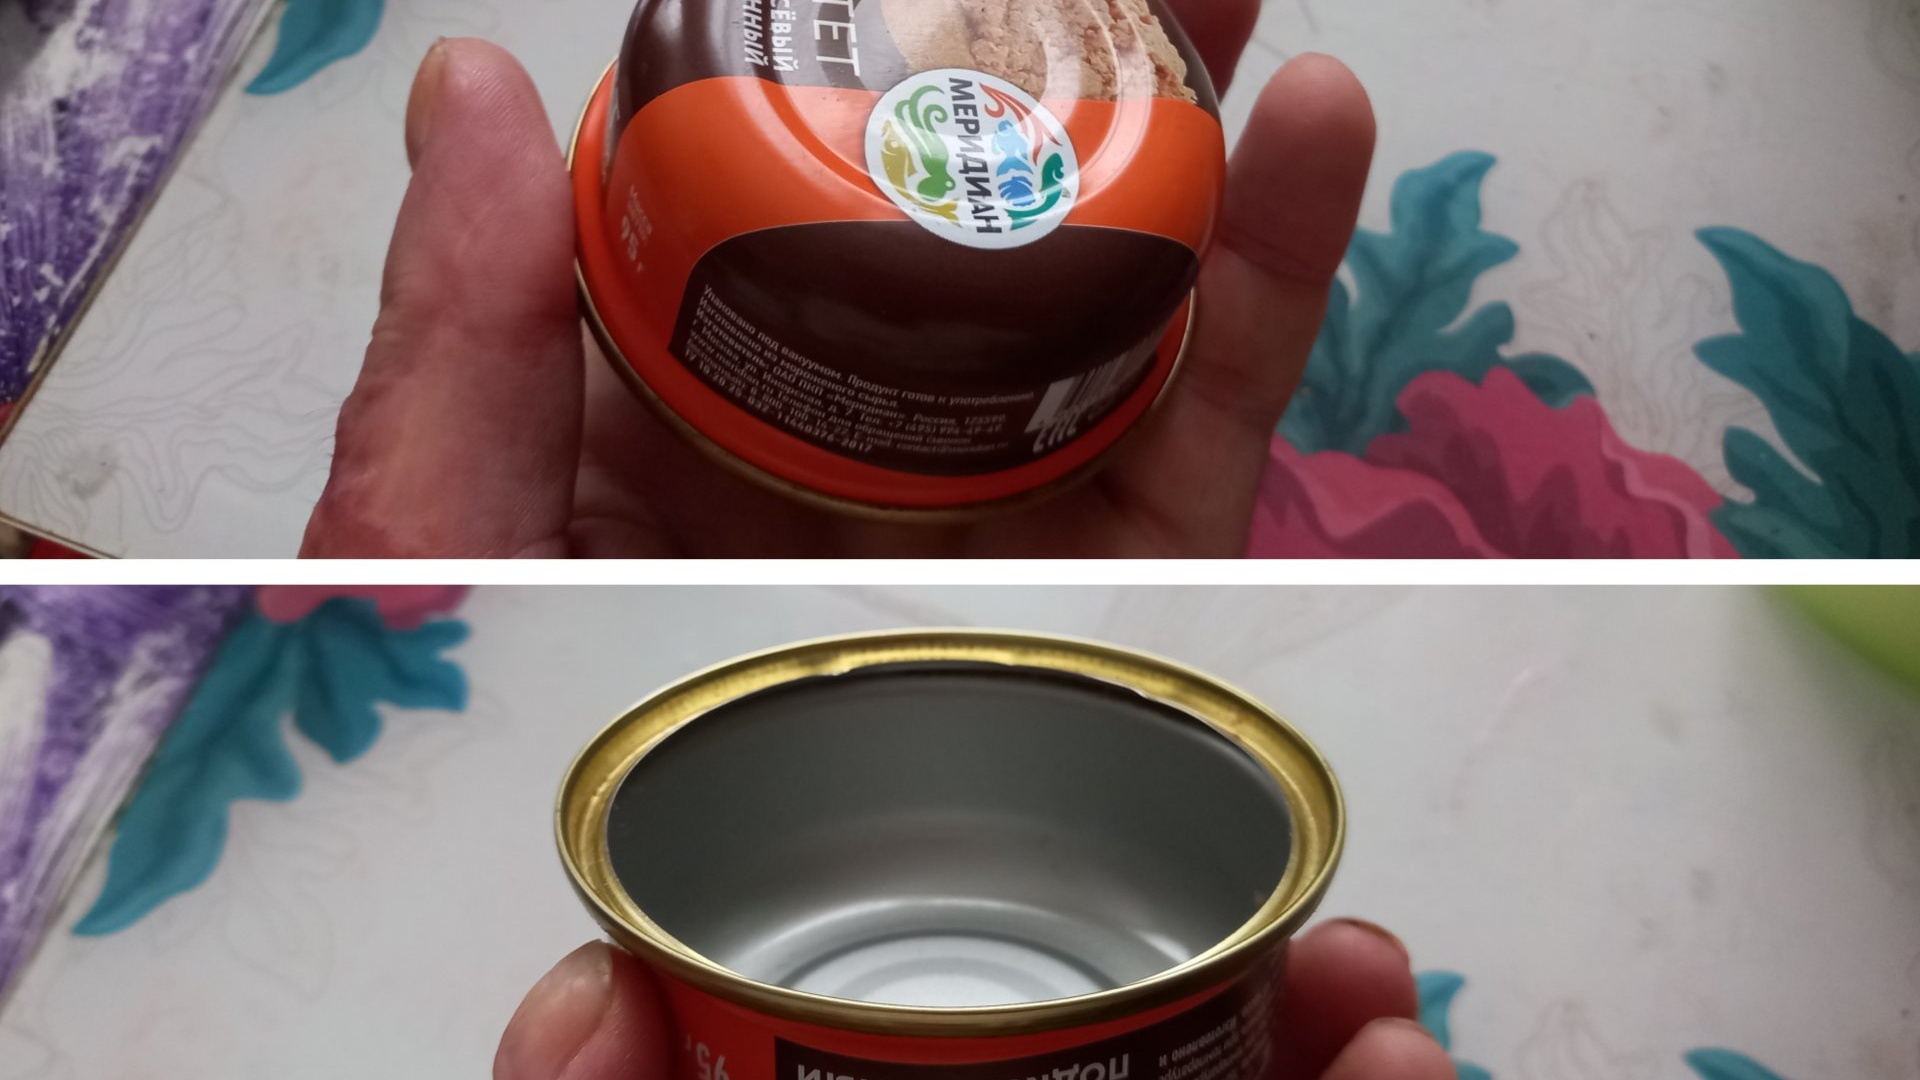
If you cut off the curved edges and cut the teeth into smaller ones, then this will work quite well - the tin of this type of jars is thicker than that of other canned goods, you can’t just bend it with your fingers. In any case, when working with drywall, fiberboard, or chipboard, a crown made from such a tin can will withstand the load - at high speeds, the centrifugal force simply will not allow it to bend or deform. So, we have selected the basis. Next, we determine the center and drill a 3 mm hole in the center.
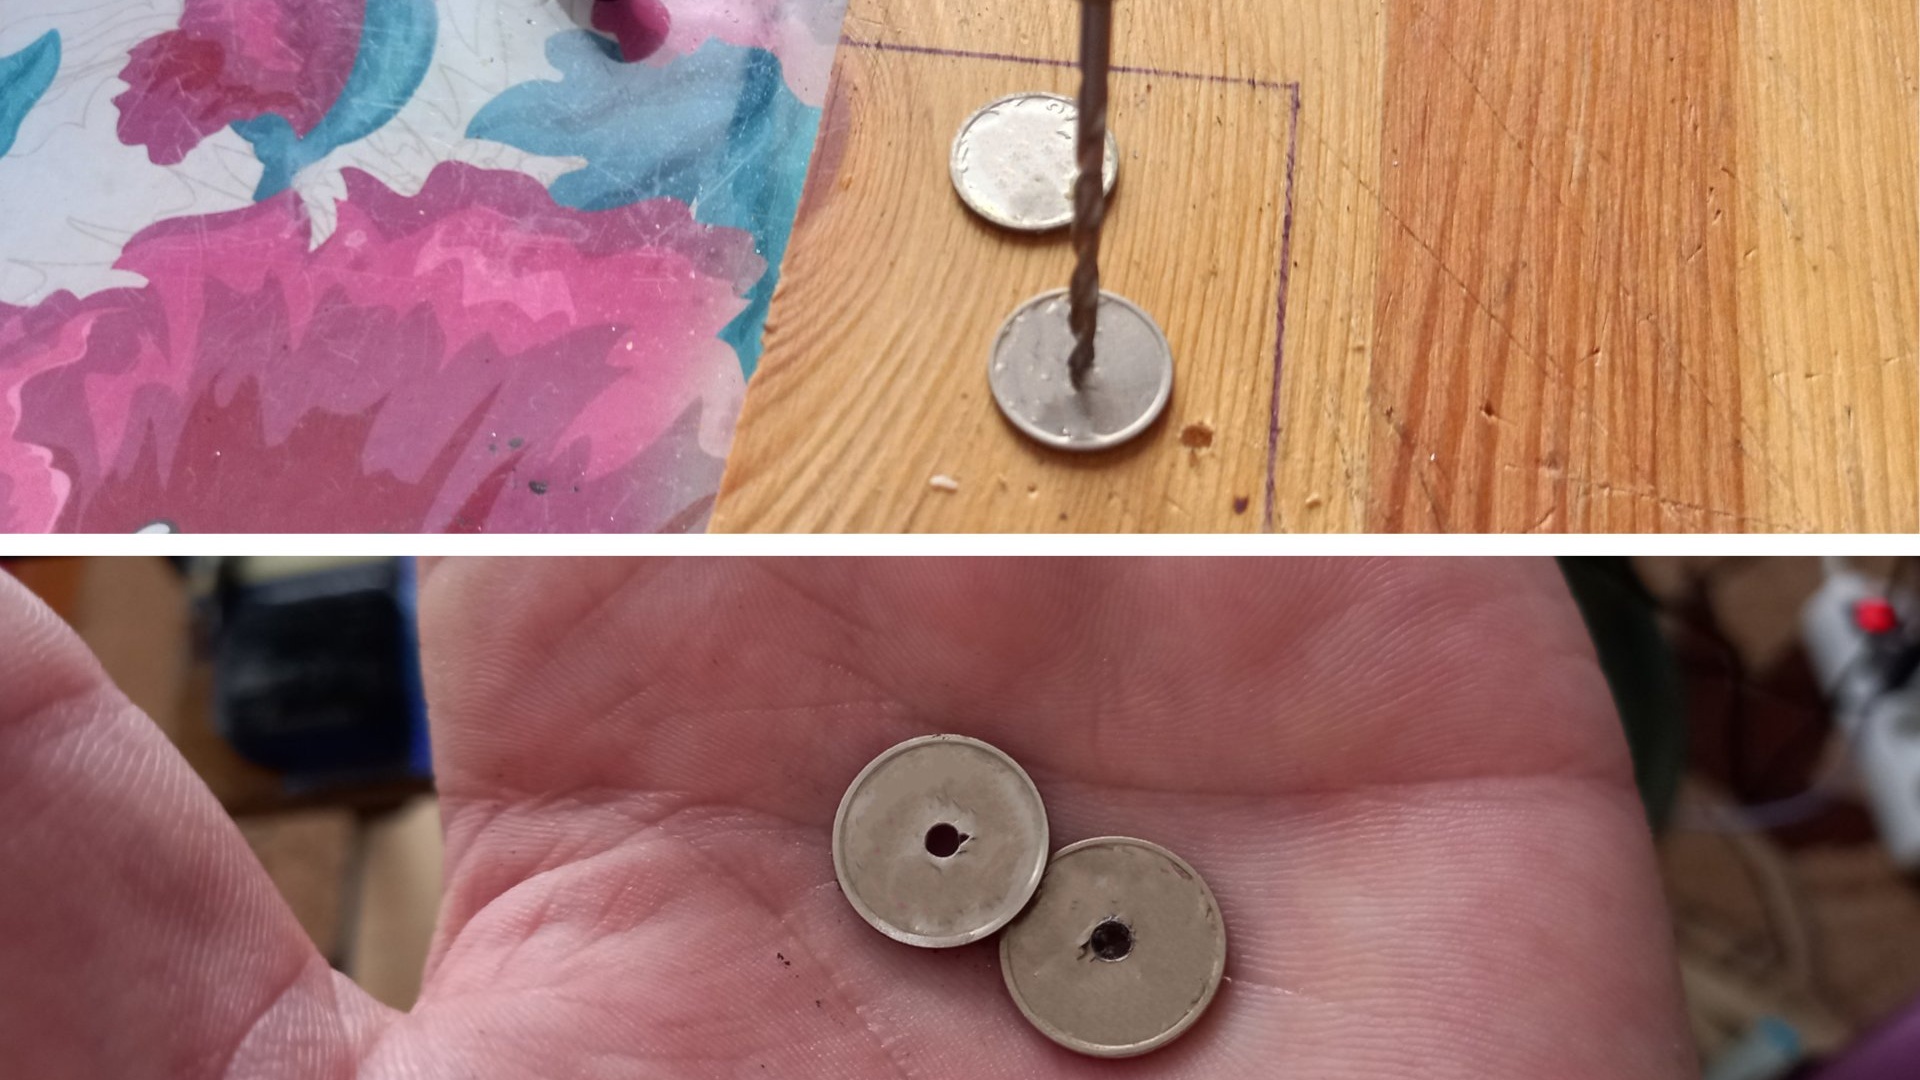
Next, using the same drill, in the same way - in the center, we make holes in two small coins.
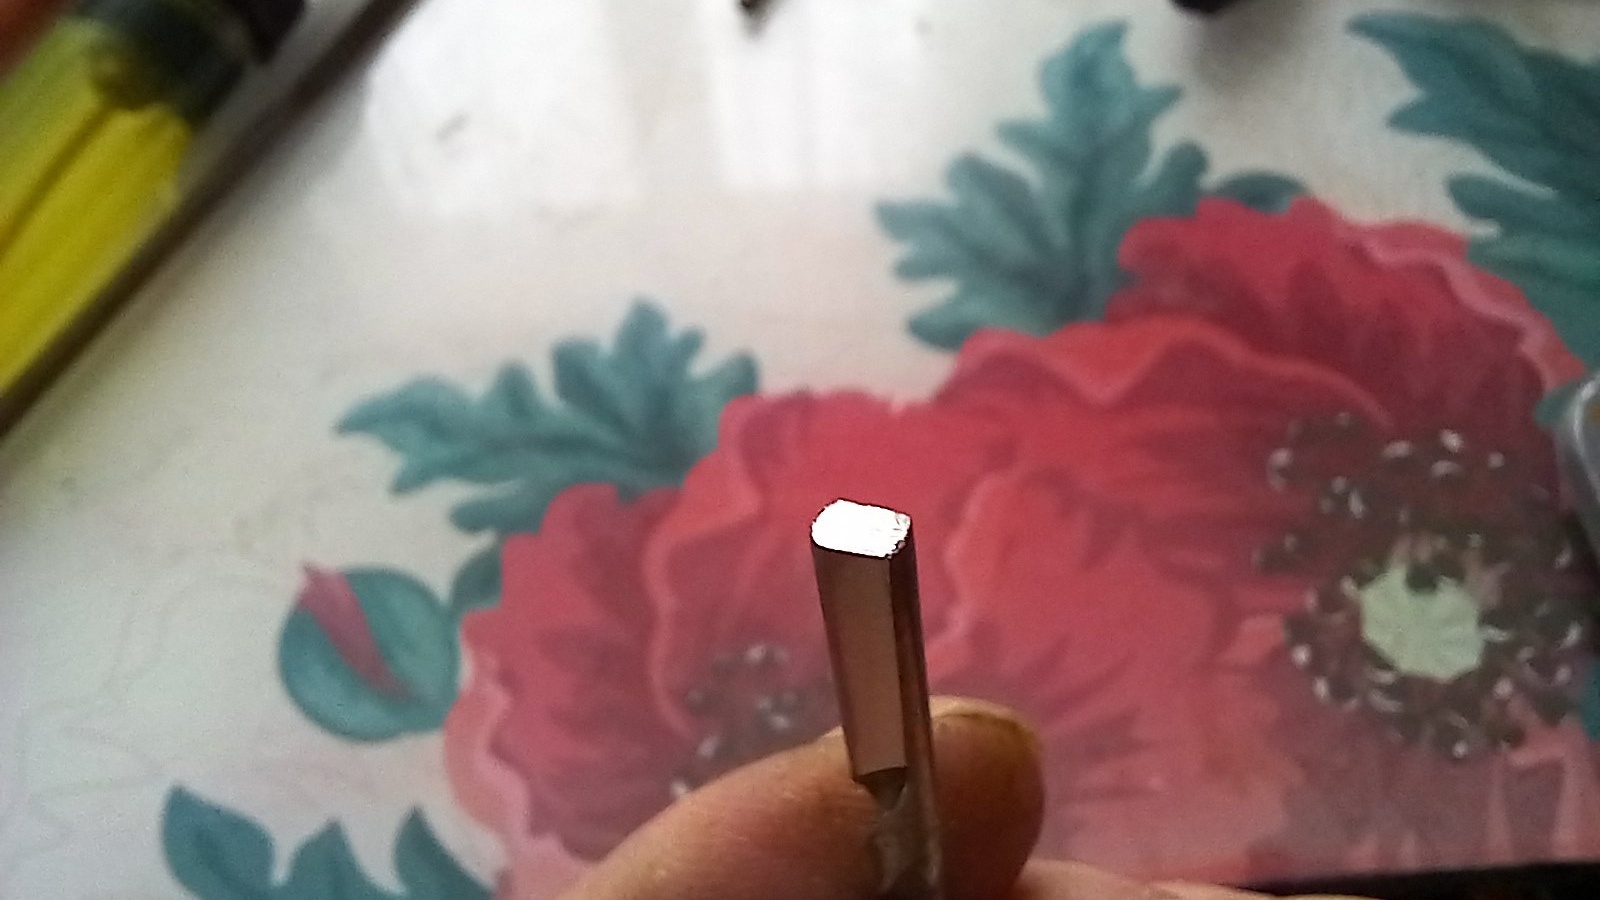
Now let’s adjust the length of the drill required for the crown. We calculate the length as follows; the tip of the drill should protrude one centimeter from the crown on the cutting side, and at least one centimeter on the reverse side, which will be installed in the drill. If the drill is too long, cut off the excess from the tail.

Next, using an engraver and a grinding head, we remove a couple of millimeters from the sides of the shank, from opposite sides. To make it look like this:
Now it’s time to work with a needle file - we adjust the hole in the future crown to fit the drill shank. Like this:


We carry out the same procedure with coins.
We try on how everything fits, modify where necessary with a file.
If everything sits in its place as it should, then remove the drill and washers back, put them aside and, using a thin cutting disc, cut the teeth on the workpiece.

In principle, this bit can ALREADY be used if you press all the parts more tightly together with a drill chuck. But I decided to do everything thoroughly and fasten all the parts together using soldering. And extend the shank a little more. More precisely, not so much to build it up, but to make it back round, for greater ease of use. To extend the shank, I used a piece of tube of suitable diameter. So, we clean the solder spots on the crown, washers, and drill.

We treat the cleaned areas with flux and tin them with solder. We also clean and tin the shank and the inner surface of the tube if you decide to lengthen the shank.

I used a gas soldering iron for tinning and soldering. You can use a gas turbo lighter. You can also use a regular soldering iron - an electric one, but it will just take a little longer. We string all the parts onto the drill in the prescribed order, and heat the entire structure with a soldering iron until the tin on the tinned parts melts.

All that remains is to wait until the tin cools down and firmly holds all the parts of the structure together. And this is the crown we will end up with.

I'm going to drill with this crown into plastic 3-4 millimeters thick, which it can do successfully. Perhaps someone will ask, would it be easier to simply weld the drill to the crown? Why all this dancing with a tambourine? Firstly; Not everyone has a welding machine.Let’s say I don’t need it at all, with VERY rare exceptions, like in this case, so there’s no point in purchasing this expensive device. Well, secondly; If we don’t weld everything smoothly the first time, then there will be no second chance - we will simply bend the thin metal of the crown, it will move, and we will have to start all over again. When soldering, we have the opportunity to center the drill in the crown.