Do it yourself
Life hacks, master classes, useful tips, recipes.
home » Useful and interesting » Making LED lighting

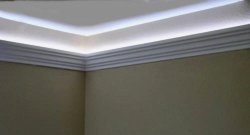
Thanks to such a simple invention as LED lighting, you can decorate various things and objects with bright lights. For example, casual shoes, roller or hockey skates, etc.

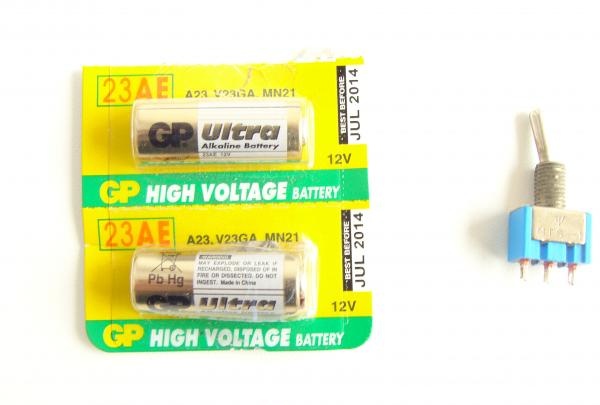
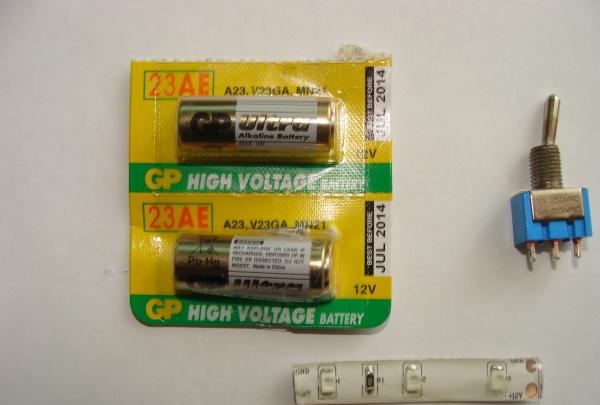
In order to backlight, we need a soldering iron with solder and flux, a 12V or 8V battery (the higher the voltage, the brighter our backlight will shine), an LED strip, several wires and a toggle switch.
Making LED lighting

A large number of LED strips are now produced, in our case we use a waterproof strip. This tape is attached very securely thanks to the adhesive surface.
It is best to take flexible wires so that they can be bent without the risk of breaking them. Both copper and aluminum will do. The cross-section of the wires is selected based on the amount of current that will flow through them. And since ours LEDs consume very little current, then the minimum cross-section is suitable. However, for high-quality soldering, the wires must be tinned, and the insulation of wires that are too thin will melt very much, so it is better not to use any strings at all.

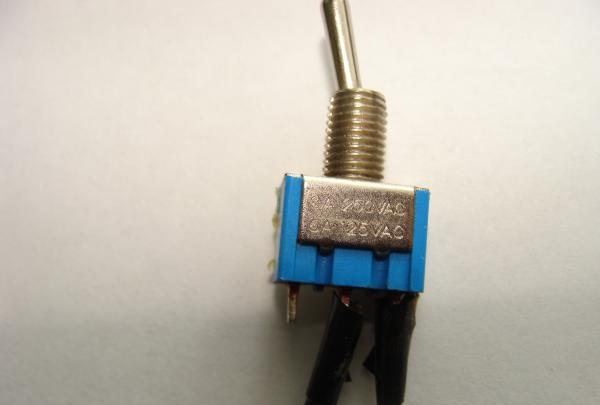
To conveniently turn the backlight on and off, any compact switch is suitable; in our case, we use a 3-pin toggle switch. Toggle switches are also selected based on current, but in our case, I repeat, it is very small.

Let's move on directly to the soldering process. The most difficult part is the process of soldering the wires to the battery. In order to solder them securely and firmly, we first clean the metal contacts on the plus and minus with fine sandpaper or a regular knife. After this, we solder the wires to the plus and minus on the battery, having previously tinned them.
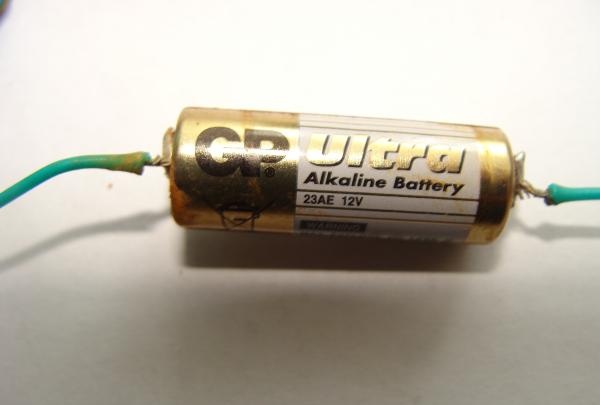
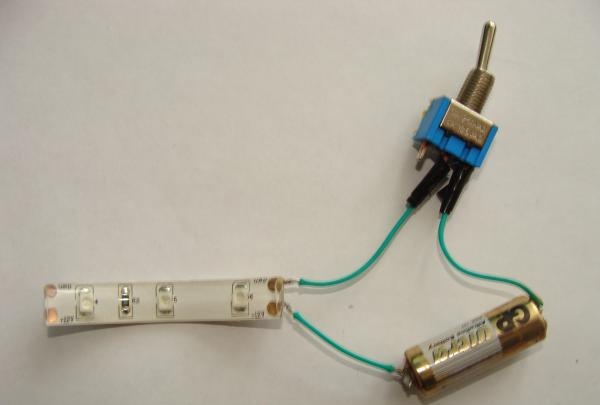
After this, you need to do the same procedure with the toggle switch. We also clean the contacts a little and solder the wires to them, taking one wire from the negative side of the battery. As we can see, the circuit is almost ready, only the LED strip is missing.
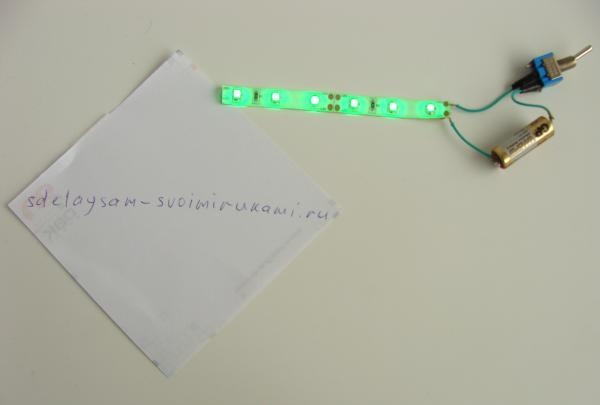
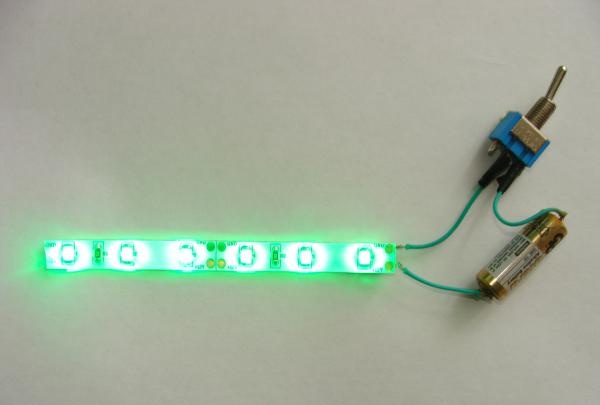
The LED strip has 2 contacts: +12V and GND. We take the wire from the positive side of the battery and solder it to the +12V contact on the LED strip. We solder the remaining free wiring from the toggle switch contact to the GND contact on the LED strip. In the photo below I can imagine what we should get.
come back
Comment
  • bowtiesmilelaughingblushsmileyrelaxed relaxedsmirk
    heart_eyeskissing_heartkissing_closed_eyesflushedrelievedsatisfiedgrin
    winkstuck_out_tongue_winking_eyestuck_out_tongue_closed_eyesgrinningkissingstuck_out_tonguesleeping
    worriedfrowninganguishedopen_mouthgrimacingconfusedhushed
    expressionlessunamusedsweat_smilesweatdisappointed_relievedwearypassive
    disappointedconfoundedfearfulcold_sweatperseverecrysob
    joyastonishedscreamtired_faceangryragetriumph
    sleepyyummasksunglassesdizzy_faceimpsmiling_imp
    neutral_faceno_mouthinnocent
4 minus one =
Comments (6)
  1. Doesn't matter
    #1 Doesn't matter Guests 20 April 2013 13:04
    0
    Is it really that hard? )))))
  2. Vladislav
    #2 Vladislav Guests April 21, 2013 04:34
    0
    Well, it’s complete nonsense, from this little thing it will illuminate for no more than 15 minutes, it’s better to take a crown and instead of a giant toggle switch, a small three-stage switch, which can be removed, for example, from a children’s toy, will be much smaller and on the same skates this big toggle switch of yours will not stick out . which is generally designed for 220 volts.
  3. VALEK
    #3 VALEK Guests 6 September 2013 17:56
    0
    Quote: Vladislav
    Well, it’s complete nonsense, from this little thing it will illuminate for no more than 15 minutes, it’s better to take a crown and instead of a giant toggle switch, a small three-stage switch, which can be removed, for example, from a children’s toy, will be much smaller and on the same skates this big toggle switch of yours will not stick out . which is generally designed for 220 volts.
    I completely agree with you and the theme is one that can be easily recreated without the help of the site and people!
  4. Allenberg
    #4 Allenberg Guests 23 February 2014 21:42
    0
    Quote: Vladislav
    Come on, it’s complete nonsense, this gibberish will enlighten her for no more than 15 minutes, it’s better to take a crown
    ...
    This little rattle has 12 volts...
  5. Yuri Martynov
    #5 Yuri Martynov Guests 28 December 2017 16:07
    1
    sorry didn't notice the battery rating
  6. Yura
    #6 Yura Guests 1 July 2018 20:52
    0
    Hello, please tell me if you have a diagram for turning on the LED backlight through a motion sensor, can you make and show a photo, we are grateful for the diagram. All the best

Cookies with mayonnaise - a recipe from Soviet times

How to make a mains voltmeter from an old phone charger case

How to make an electric bike driven by a circular wheel from a motorcycle with your own hands

New Year's topiary “Herringbone” | Do it yourself

«Do it yourself - with your own hands» - a site of interesting homemade products made from scrap materials and items at home. Step-by-step master classes with photos and descriptions, technologies, life hacks - everything a real master or just a craftsman needs for needlework. Crafts of any complexity, a large selection of directions and ideas for creativity.

We recommend reading

Washing machine error codes