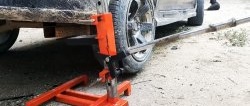
How to make a spring remover from a jack
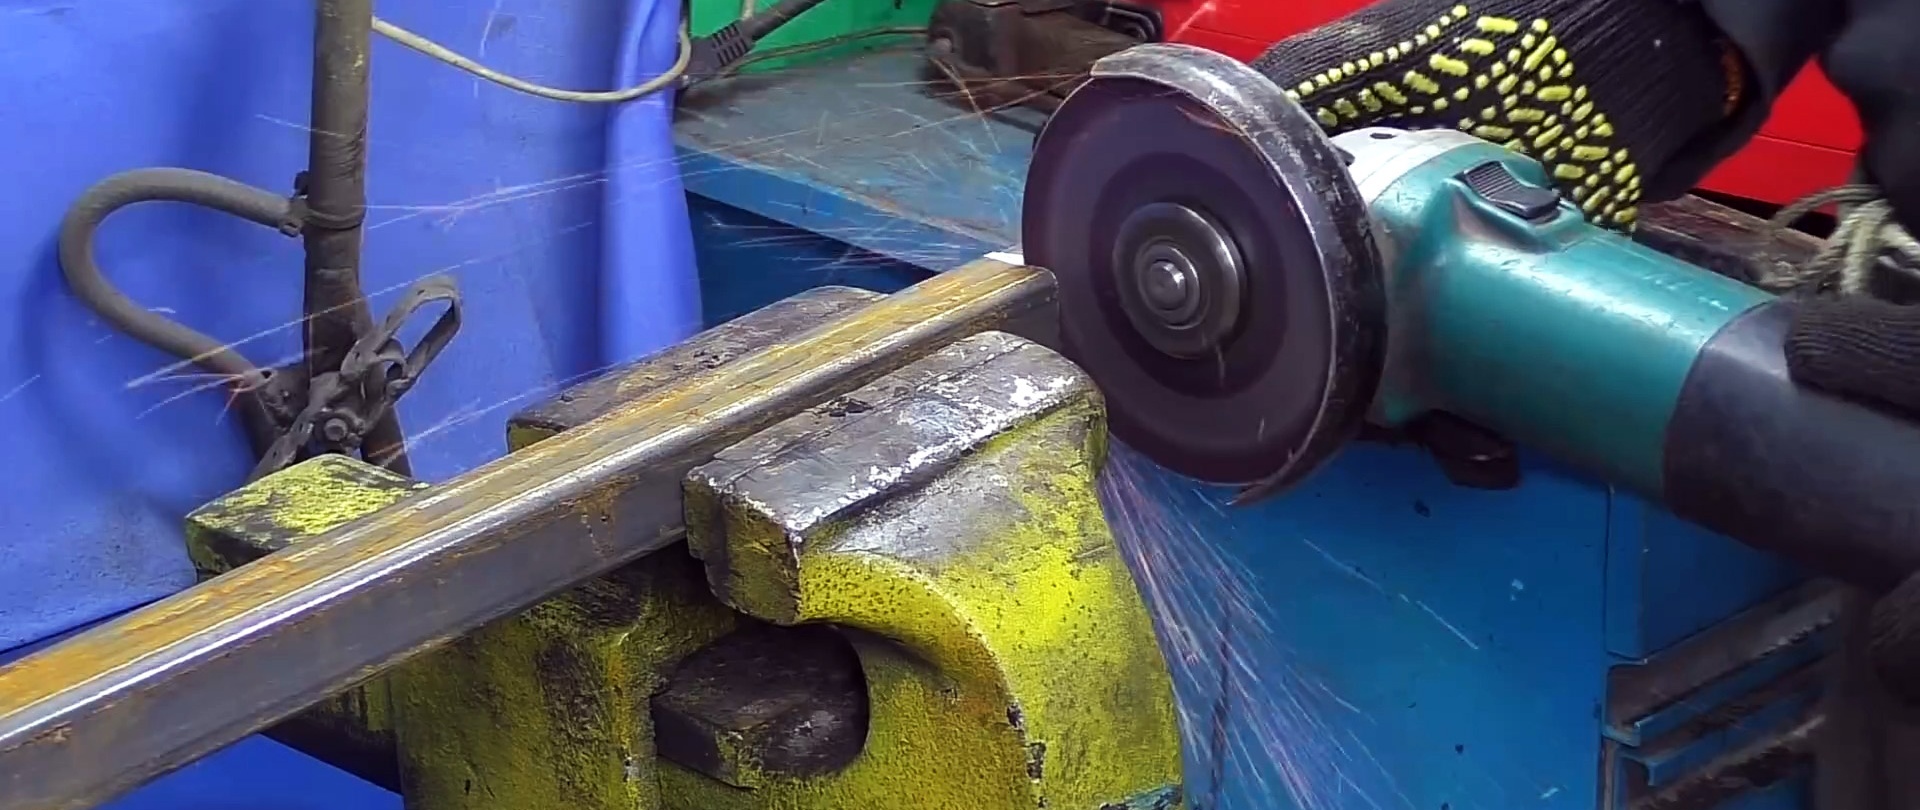
We cut off the standard support disc heel of the Zhiguli shock absorber.

We separate the workpiece of the required length from the profile square pipe.
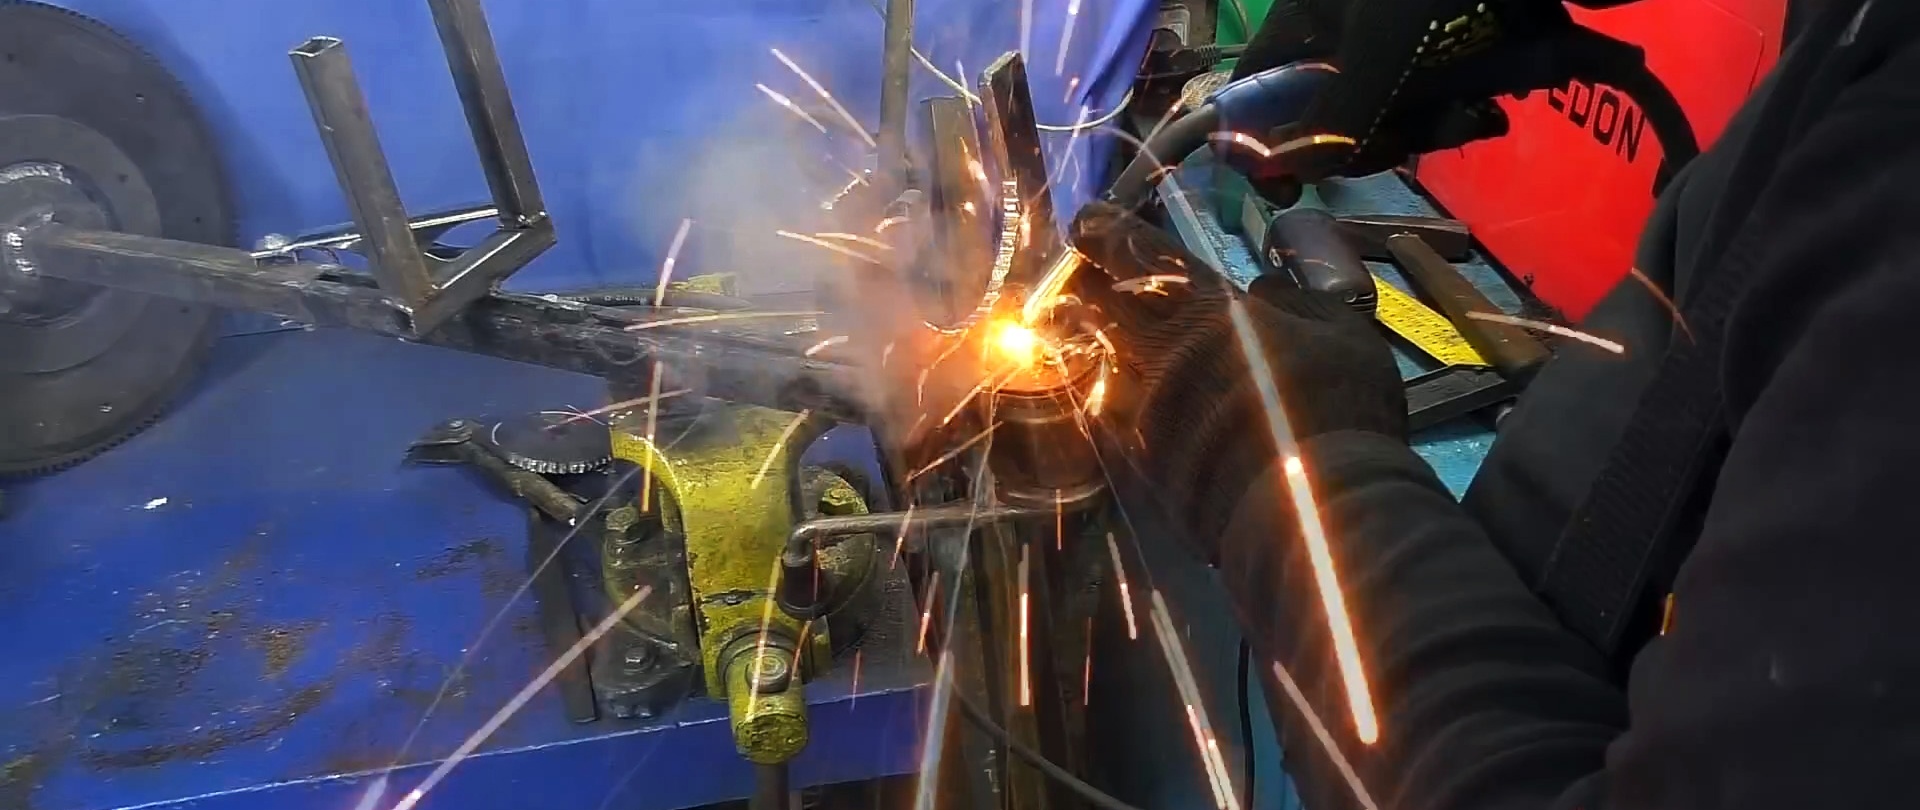
We attach the Zhiguli jack stand to it vertically and weld it.
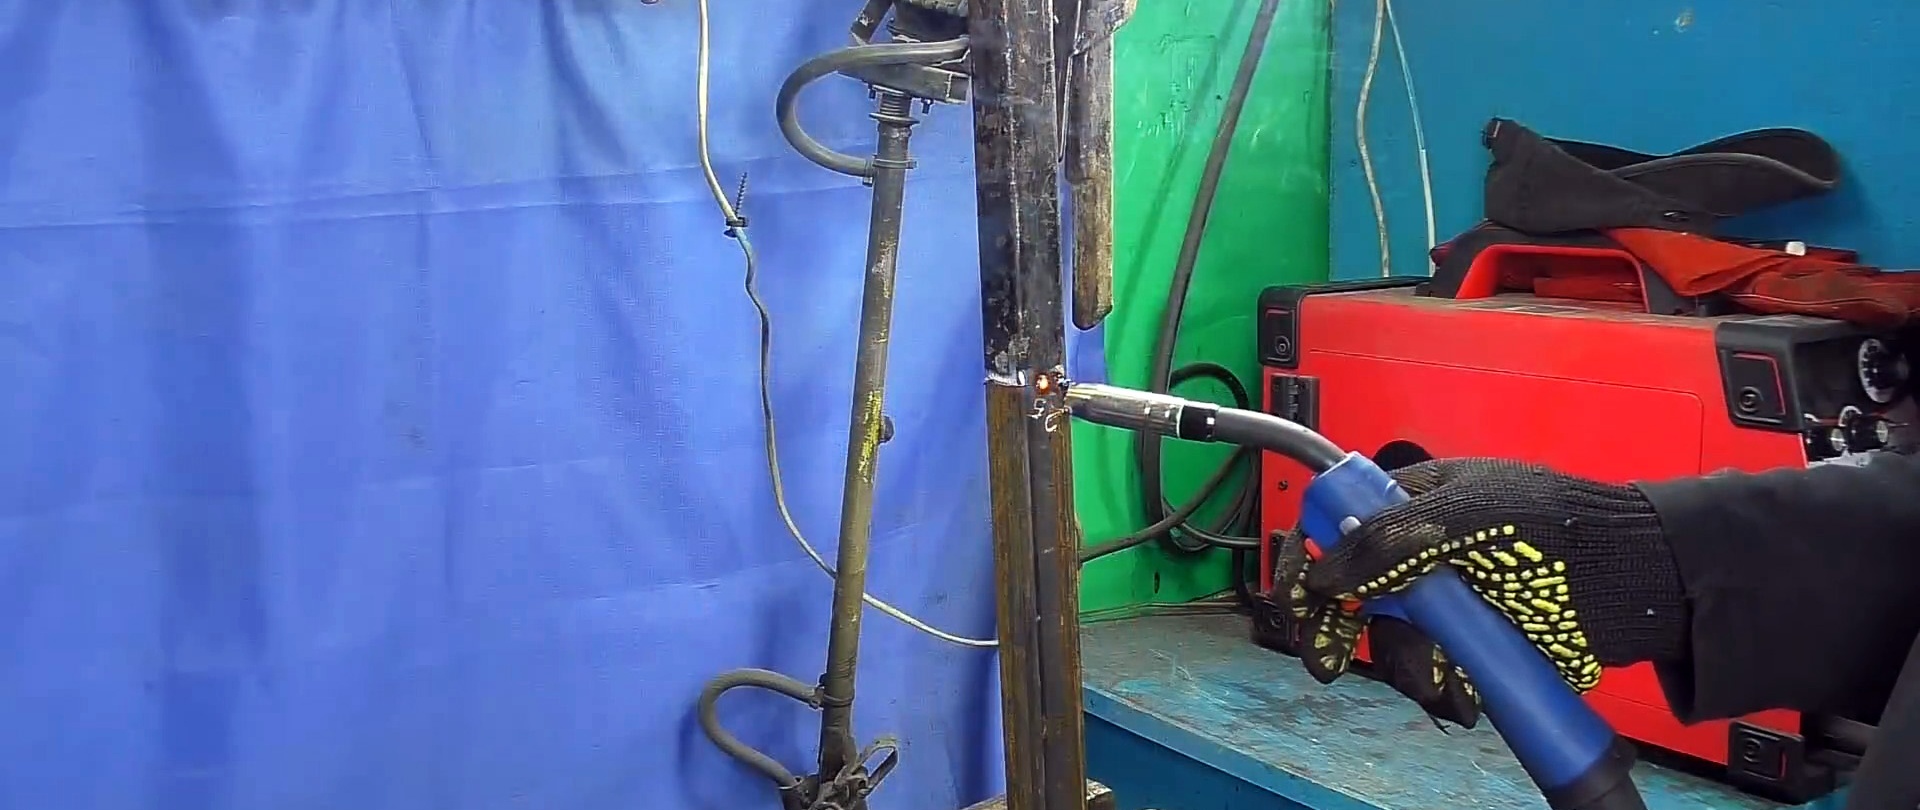
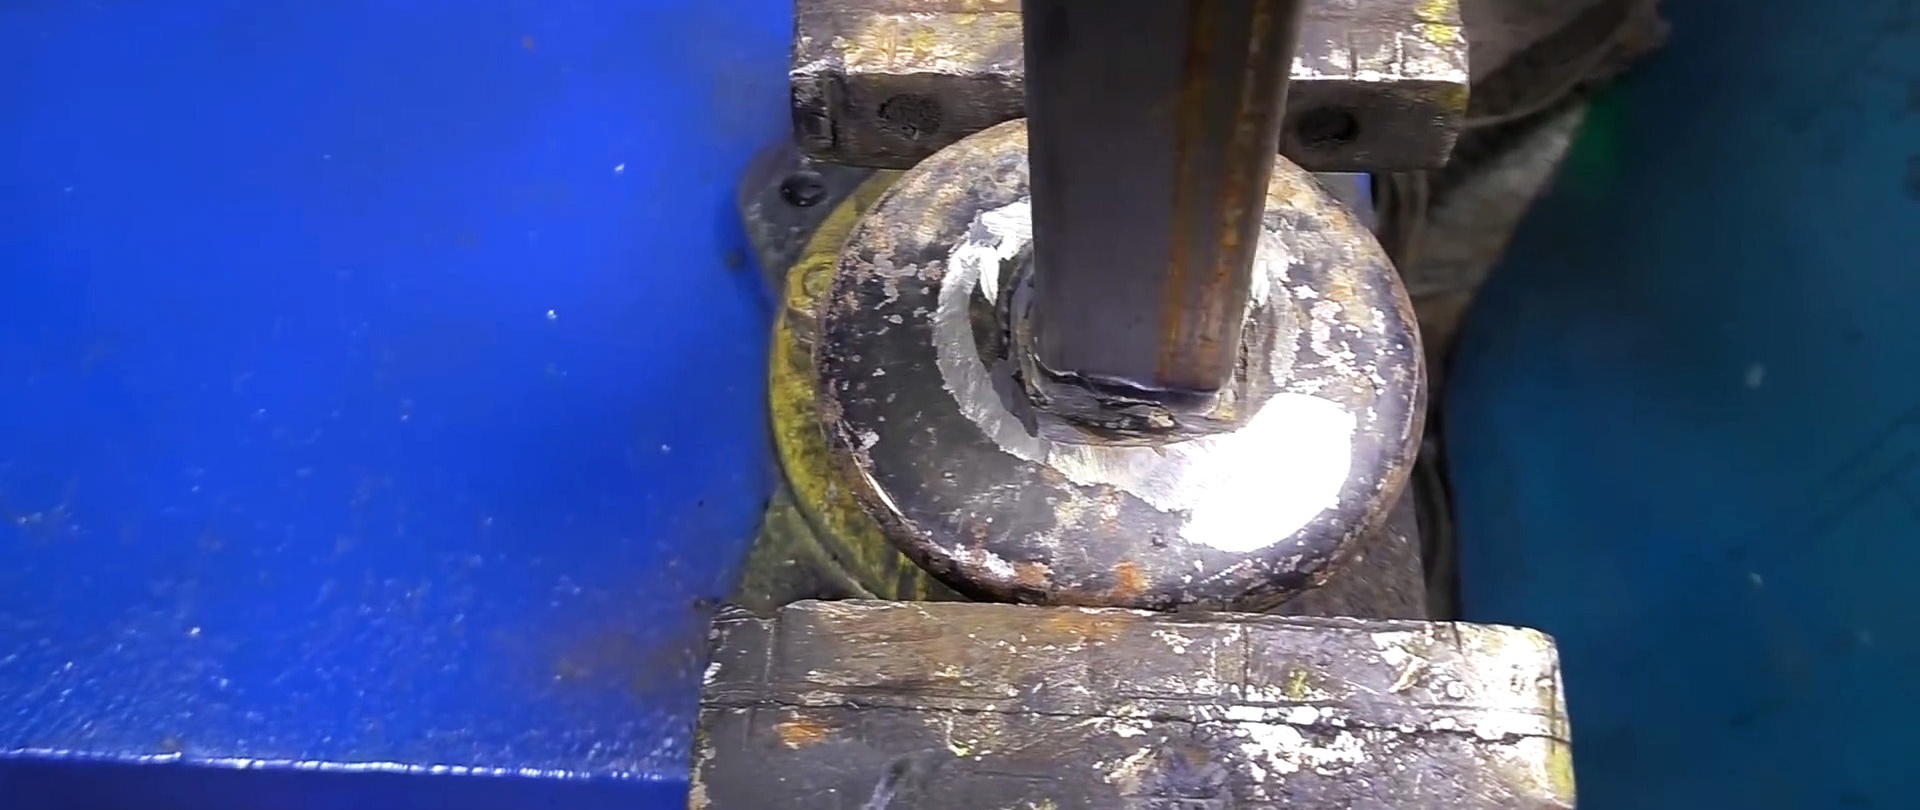
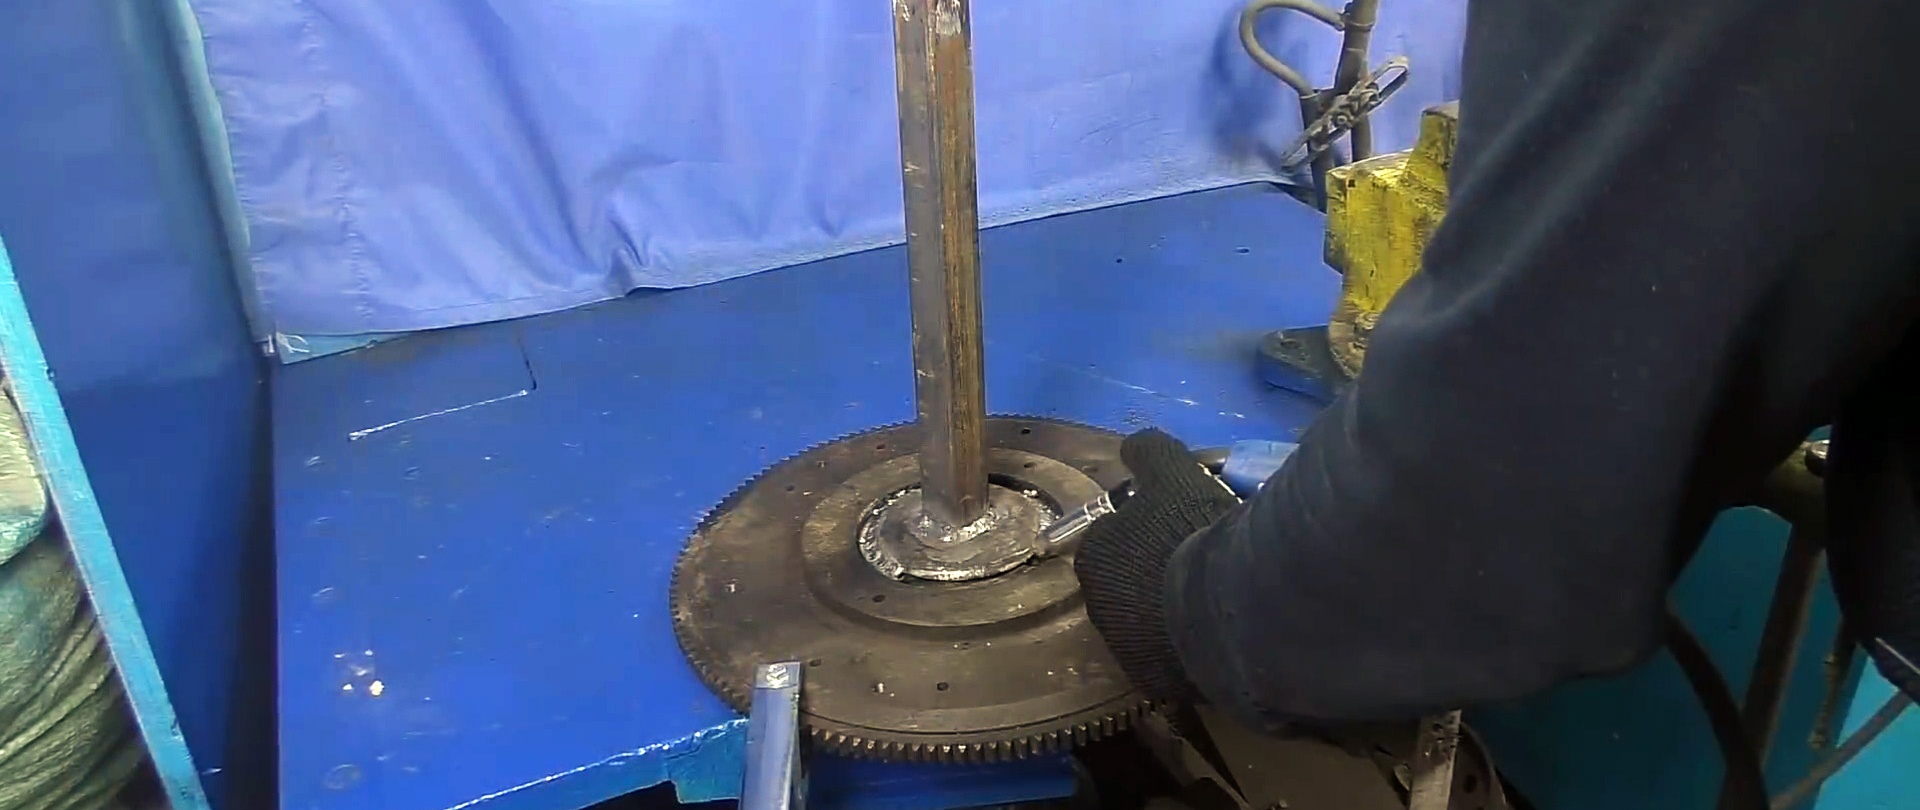
We weld the support heel of the Zhiguli jack to the lower end of the pipe blank, and use an old car flywheel as the main support, welding the support heel of the elongated Zhiguli jack to it.
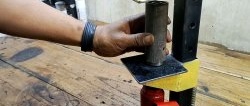
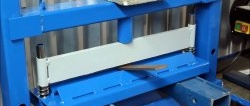
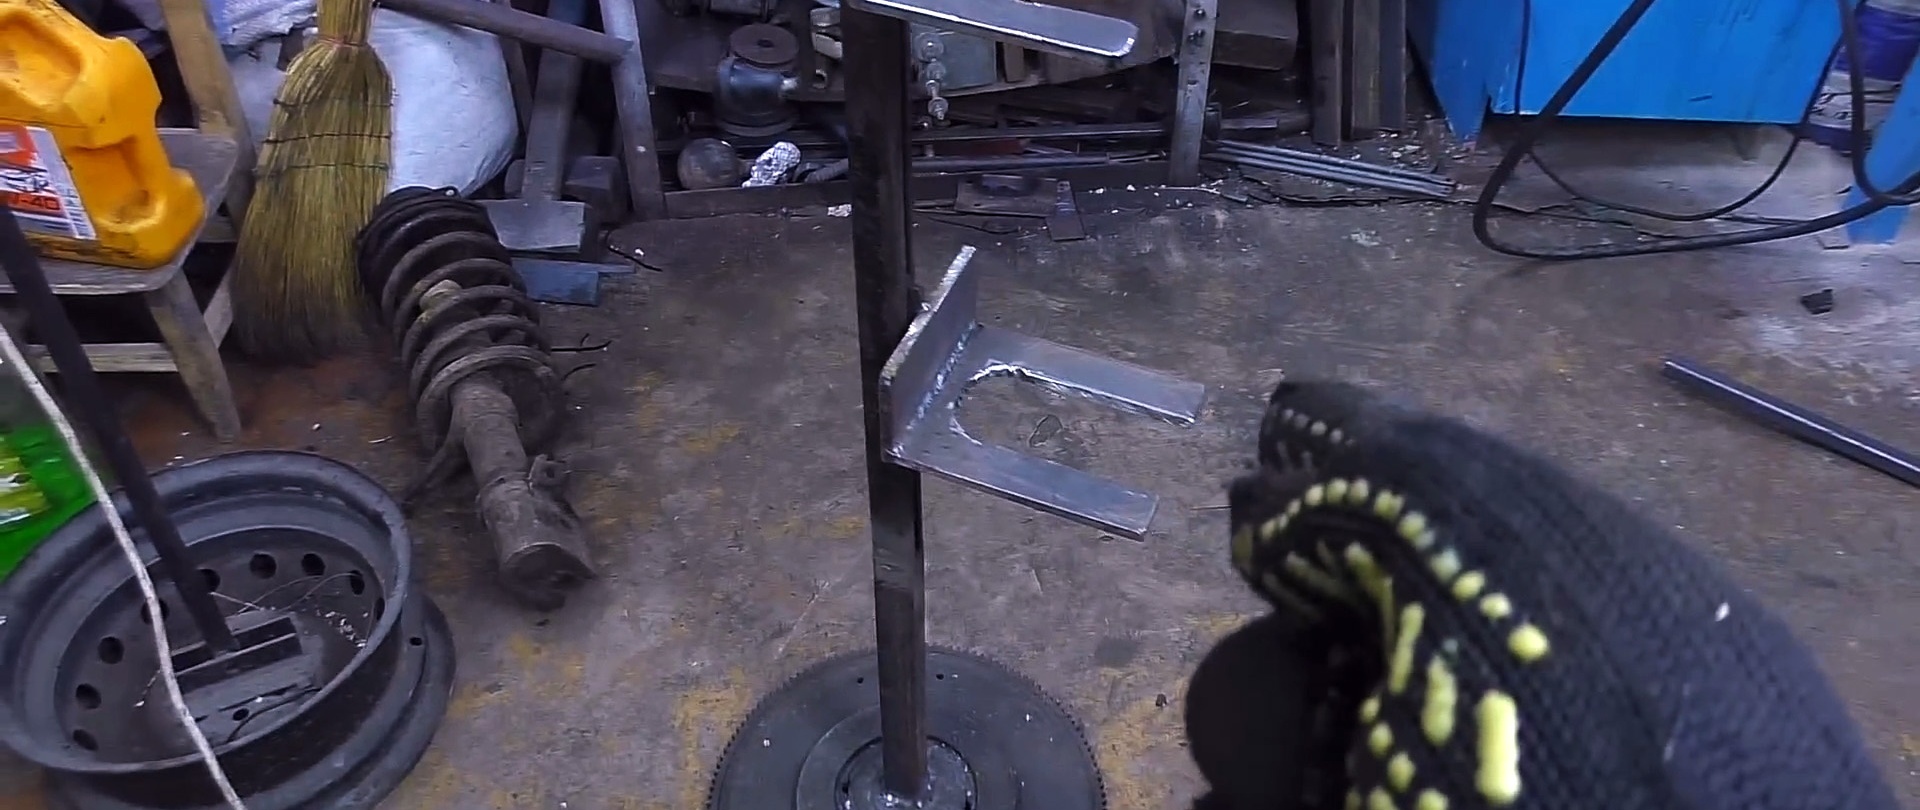
We make a special emphasis for the jack stand. To do this, we cut off the standard hook and in its place we weld a welded U-shaped hook welded from a profile square pipe. The top one is made of sheet metal 7 mm thick. First we cut out a shaped hole in it to fix the stand.
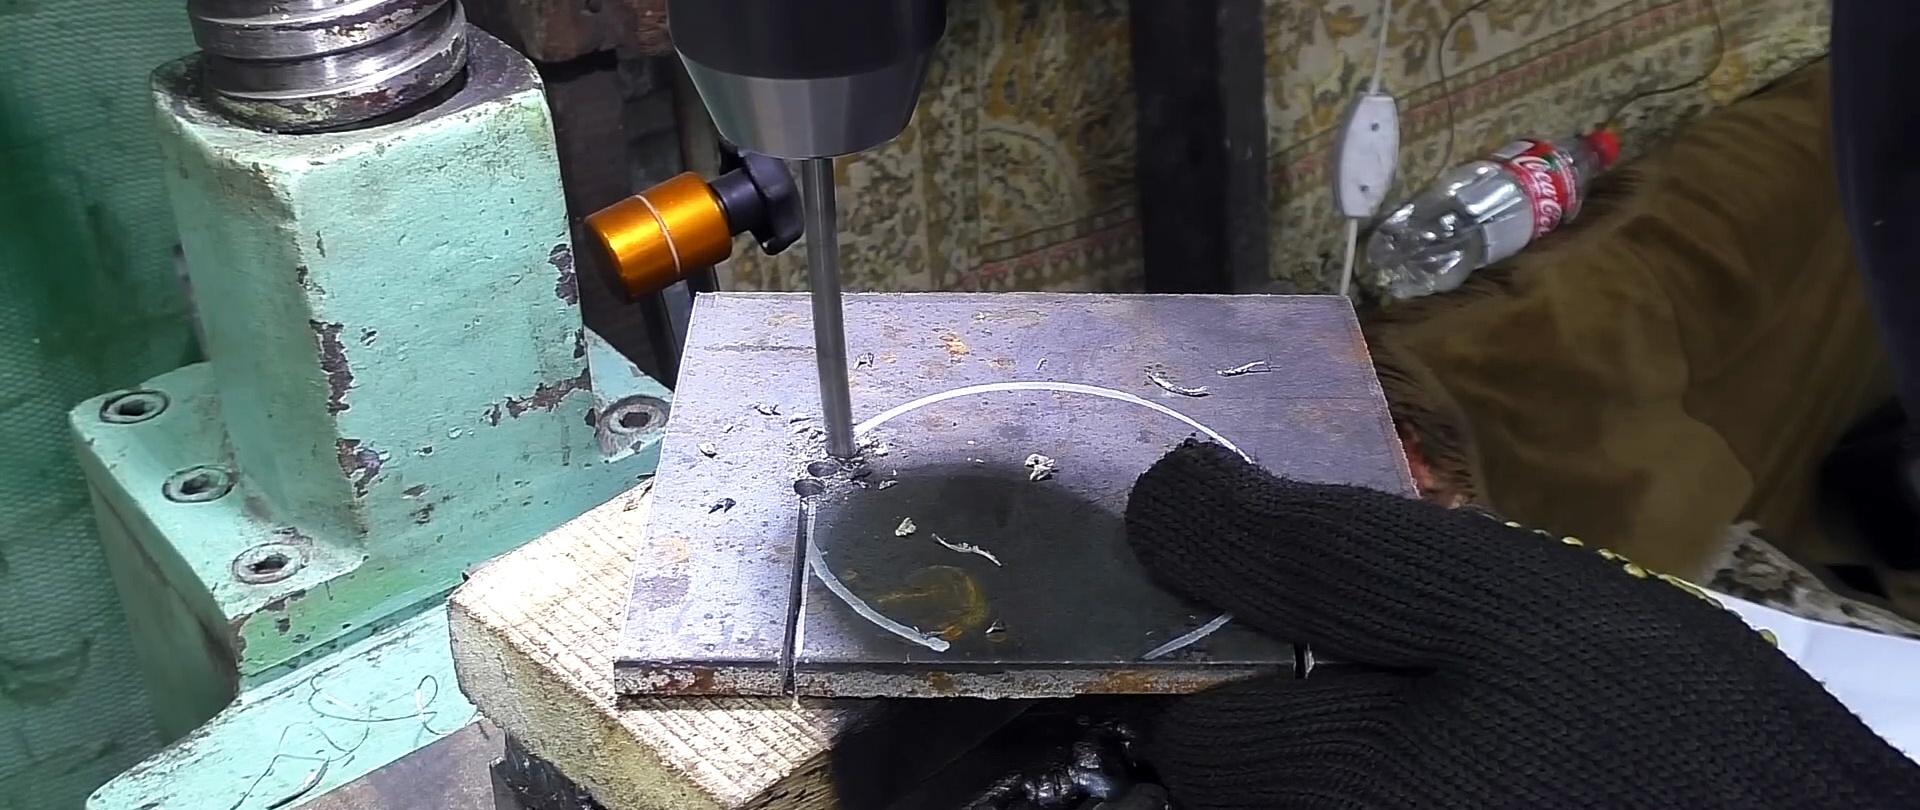
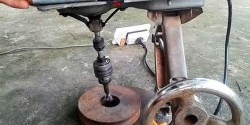
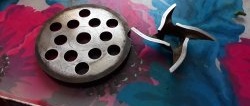
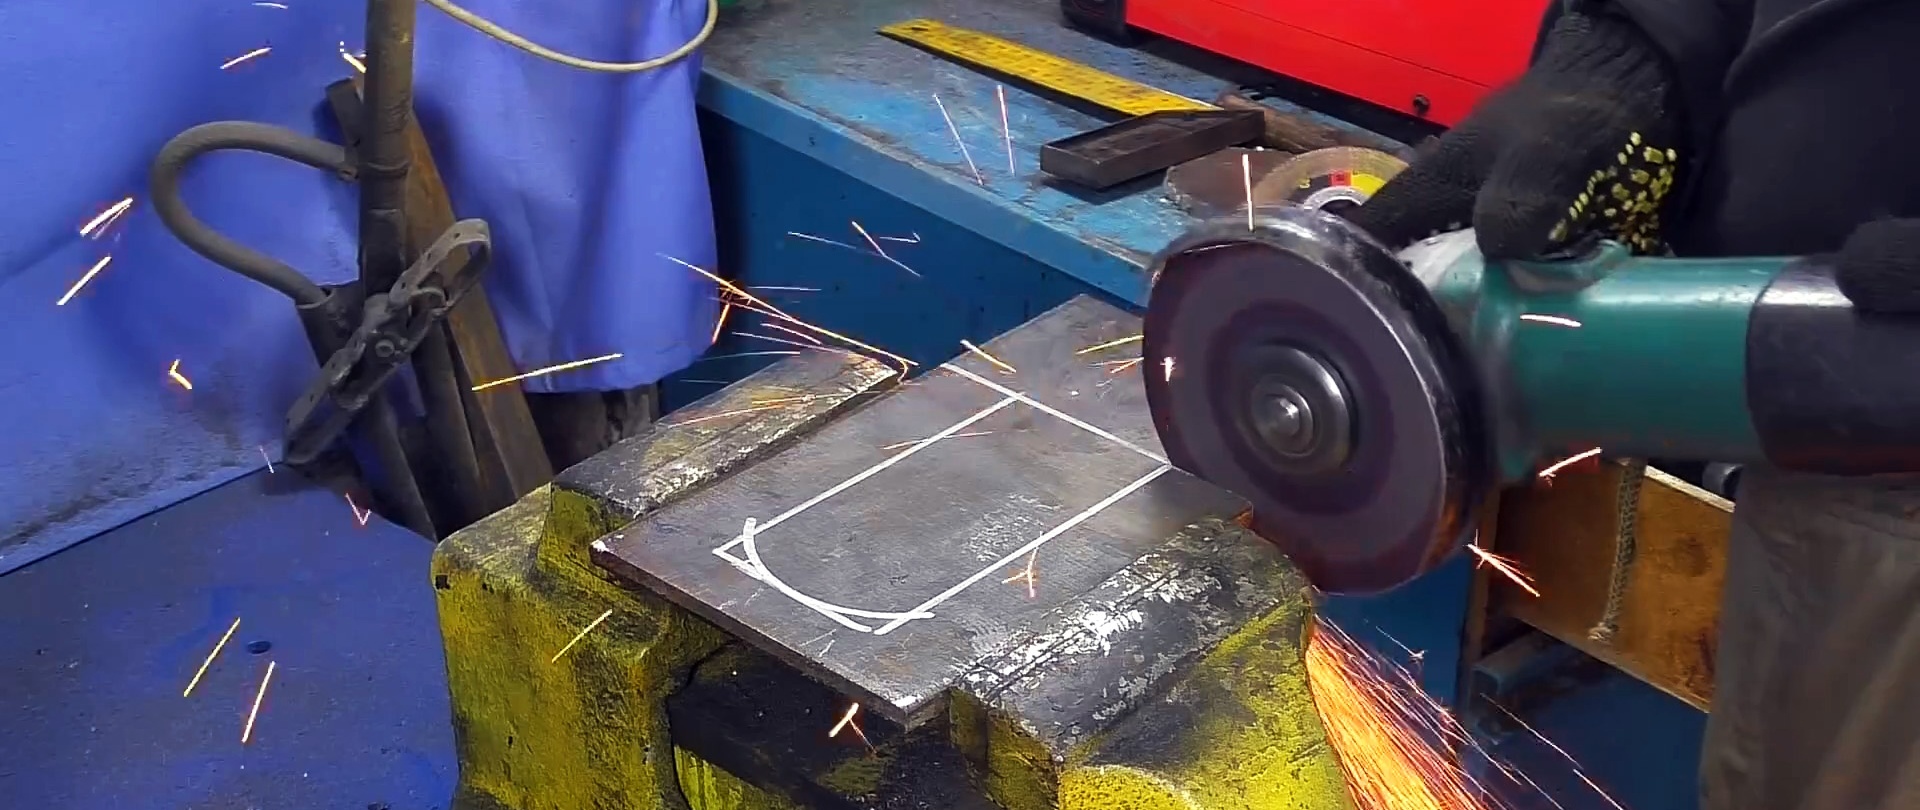
We use the remaining circle from the grinder as a template, draw cutting lines, make a figured cutout and cut off the excess part of the metal sheet using a drilling machine and grinder.

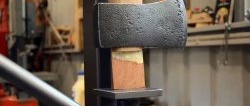
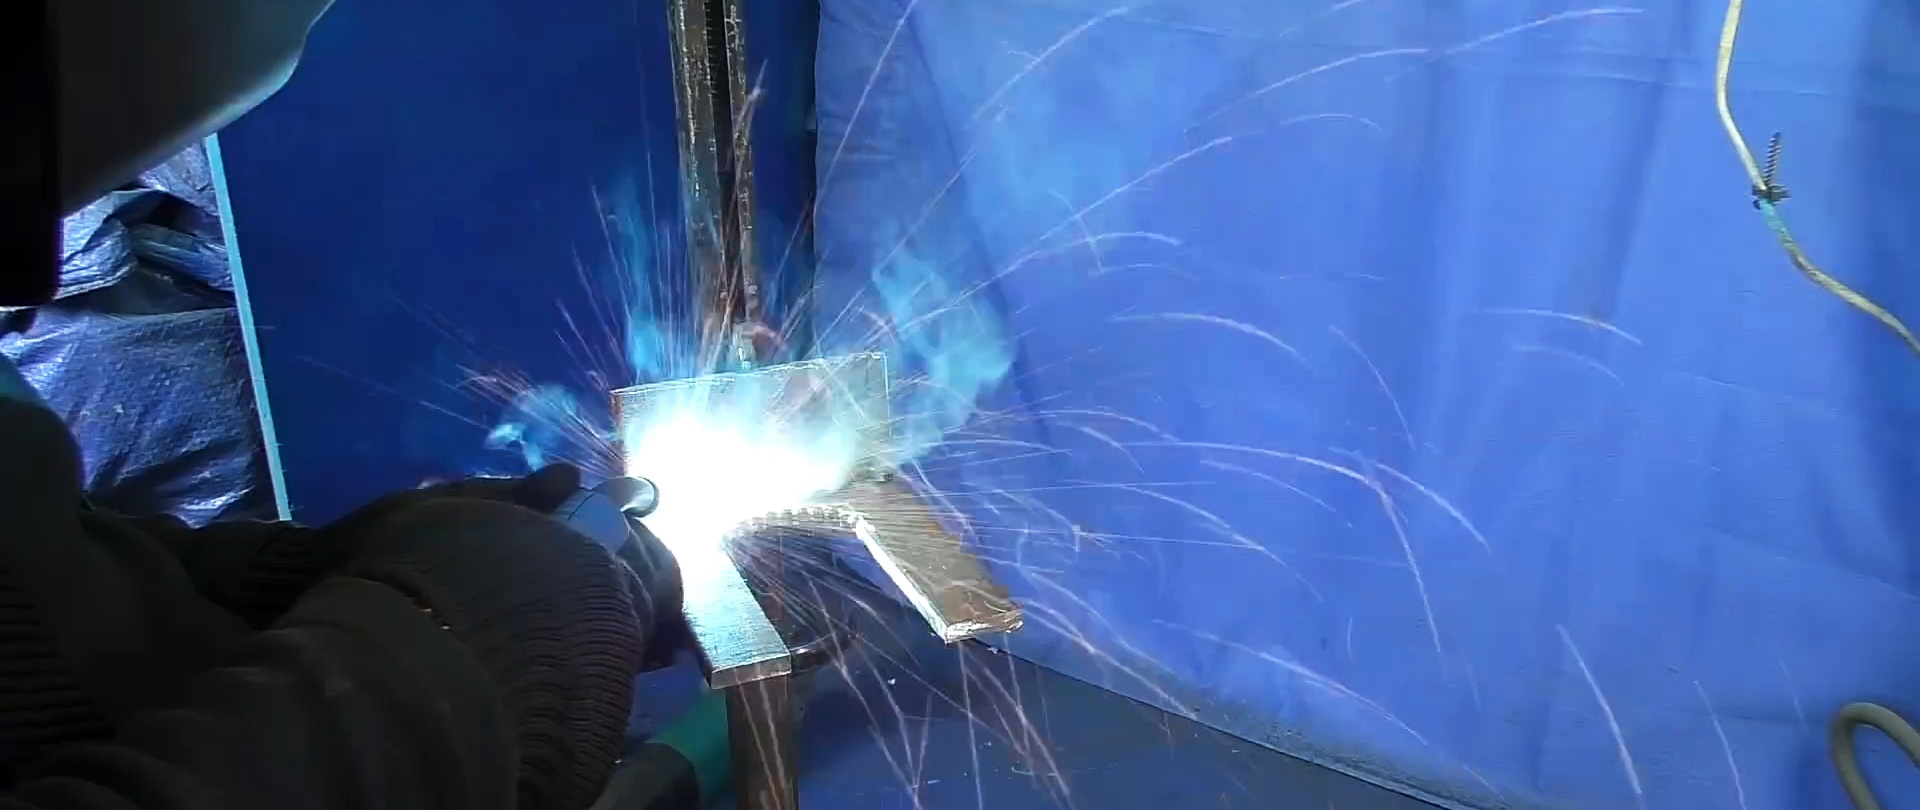
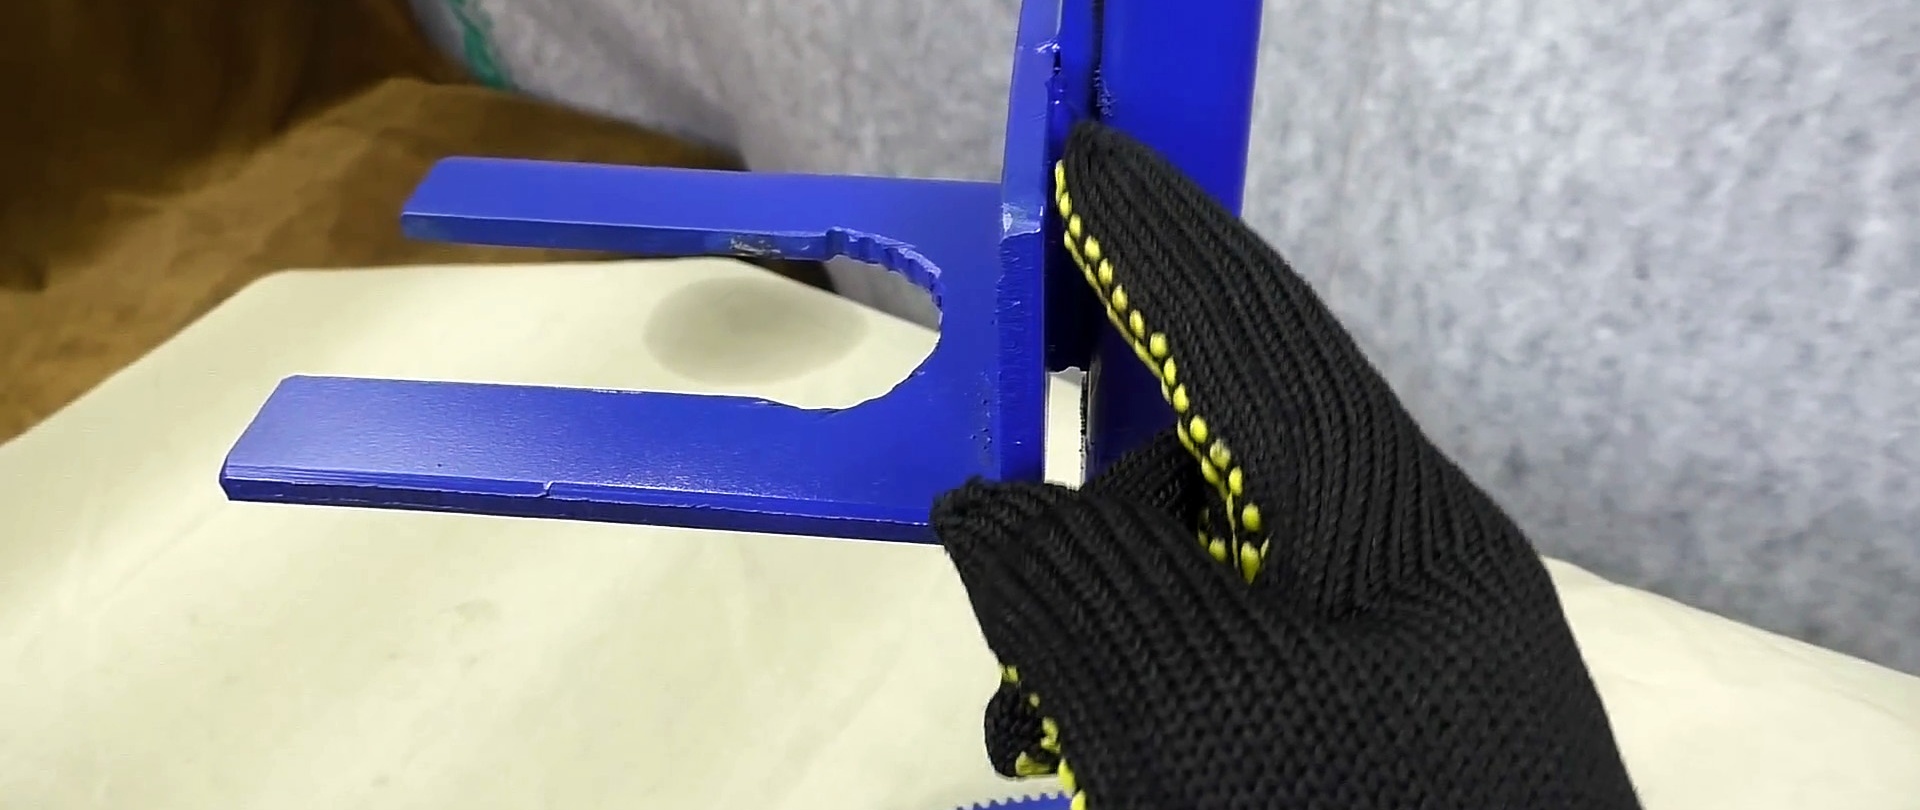
We replace the lower hook made of a profile square pipe, as it is not rigid enough, with a U-shaped one made of a steel sheet 7 mm thick, having previously welded a vertical force plate made of a steel sheet also 7 mm thick in place of the standard hook.
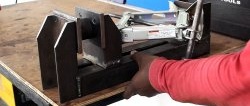
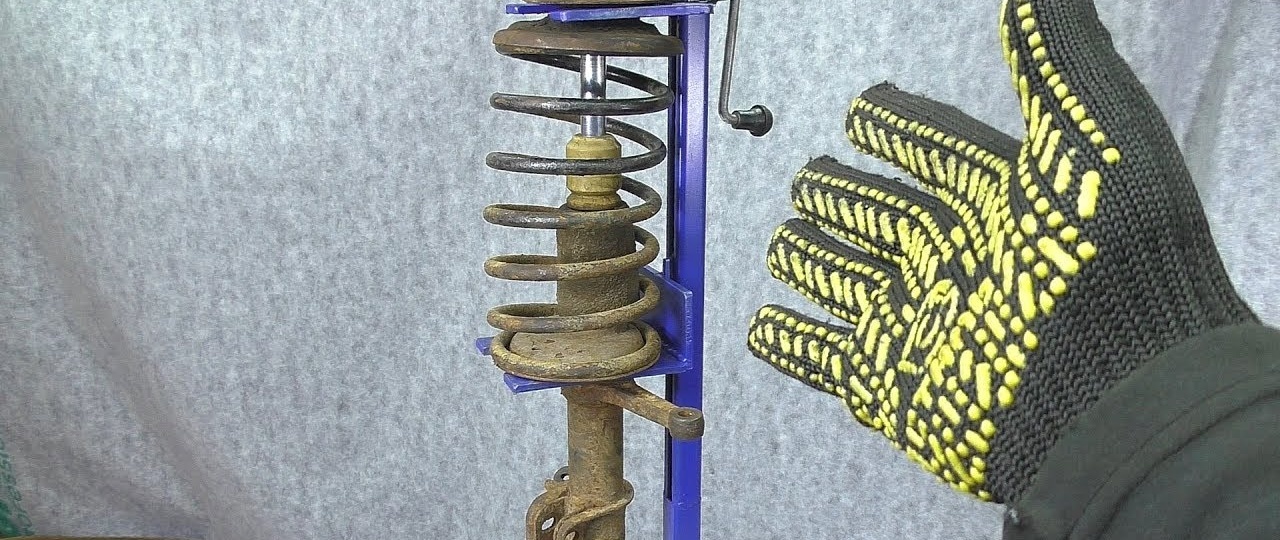
Next, we grind, clean and paint the device for removing springs of automobile shock absorbers. The device works as follows. We install a shock absorber strut with a support bearing and a spring in our homemade device.
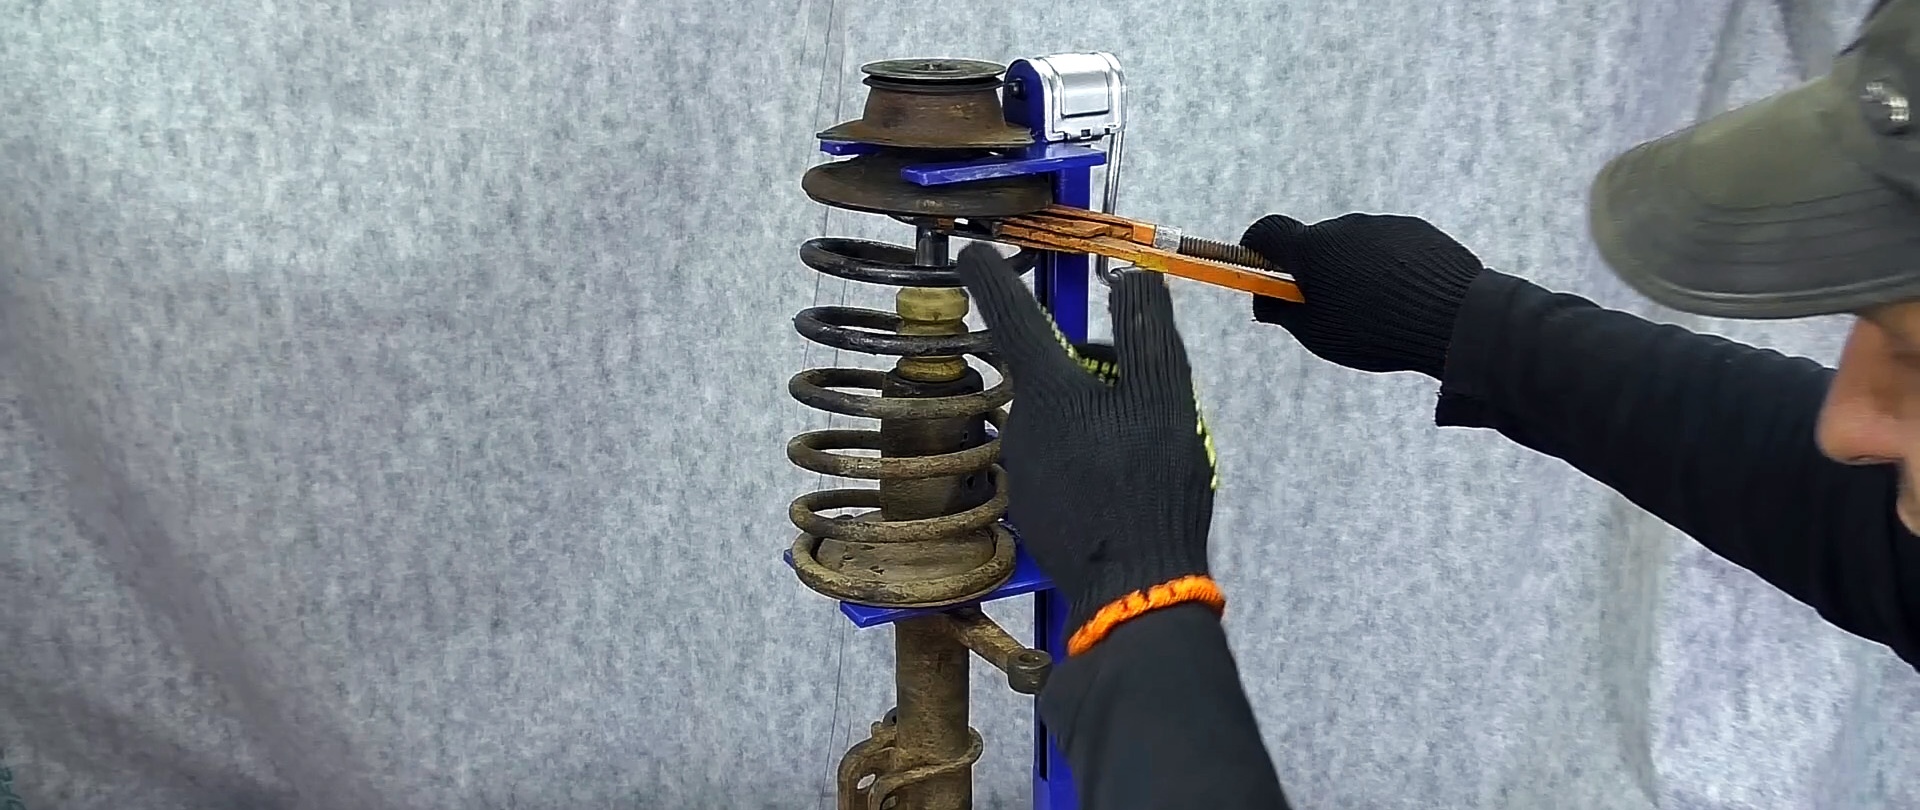
We place the lower hook under the base of the spring, and the upper one under the support bearing. Then we begin to compress the spring. To keep the rod from turning when unscrewing the nut, you need a special wrench. You can replace it with a copper plate, which we wrap around the rod and clamp with a gas wrench. With the rod clamped, easily unscrew the nut.
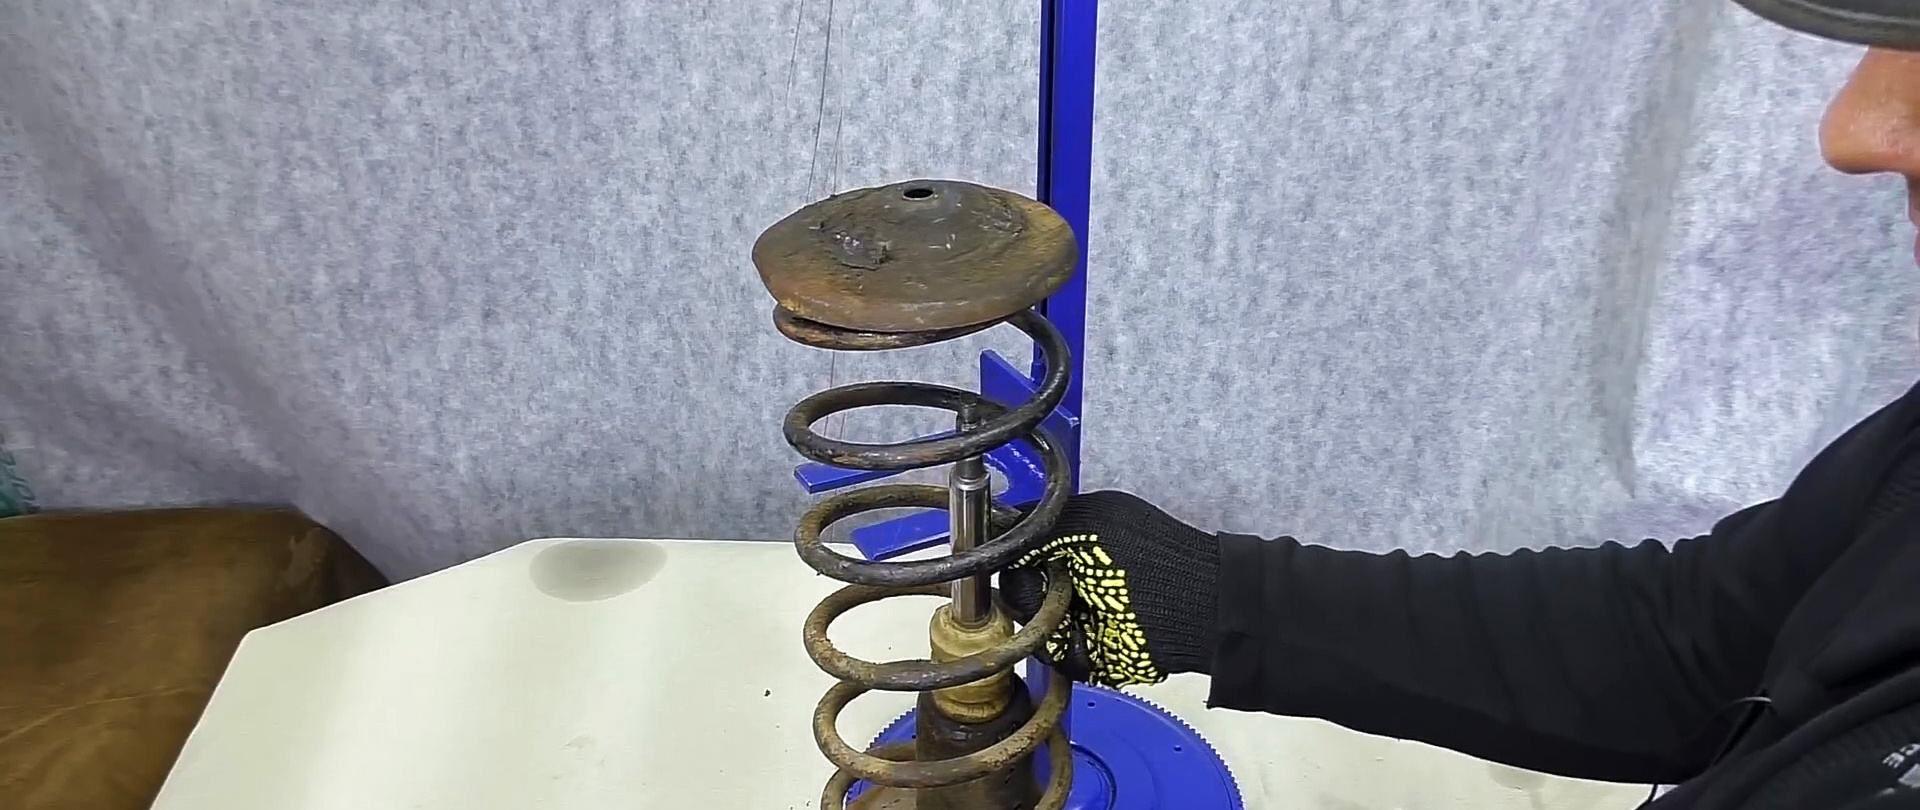
After unscrewing the nut, remove the support cup along with the support bearing. Now all that remains is to remove the spring. To do this, you need to completely unclench it, pushing the hooks apart. Once the spring has moved away from the upper hook, it is easy to remove. The shock absorber strut turns out to be completely disassembled.
Having completed the repair or replacement of individual parts, we assemble the rack on the same device in the reverse order.