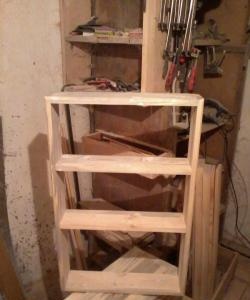
Do it yourself
Life hacks, master classes, useful tips, recipes.
home » Homemade cars » DIY mini overpass for cars
There may not always be an overpass or lift nearby to inspect the car from below for preventive purposes or replace some part. A mini ramp will help you not to depend on external circumstances; you can make it yourself quickly, without much effort and expense.
DIY mini overpass for cars

Will need


The easiest way to make this device is from wood, so we need to prepare:
  • edged boards of the required length;
  • rollers for furniture or carts – 4 pcs.;
  • screws and nails.

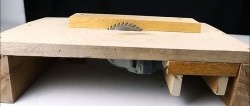
In our work we will use the following tools and accessories: tape measure, ruler and marker, circular and pendulum saw, nail gun, screwdriver, clamps and hammer.

Order of operations


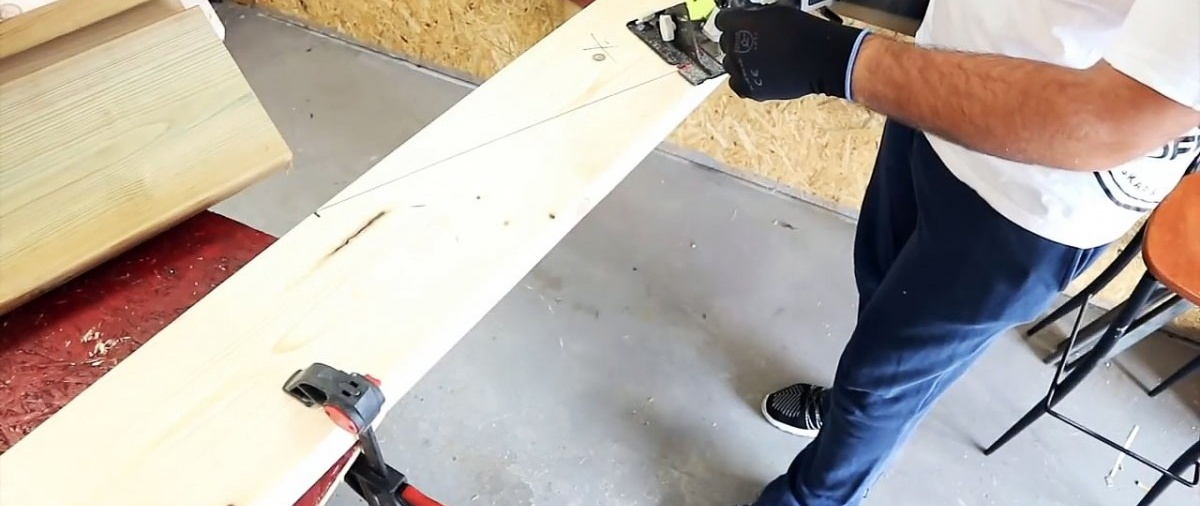
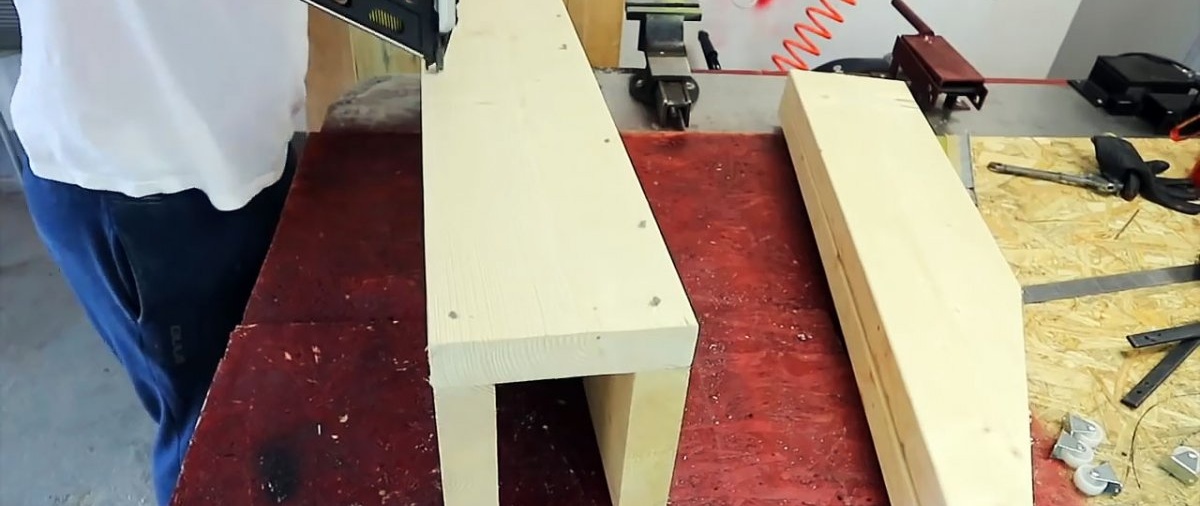
We make the side profile of the ramp from six edged boards.
DIY mini overpass for cars

To do this, taking into account the size of the wheels and the front overhang of the car, use a tape measure and a marker to mark an inclined line on one of them.
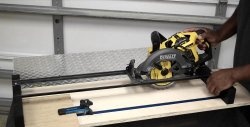
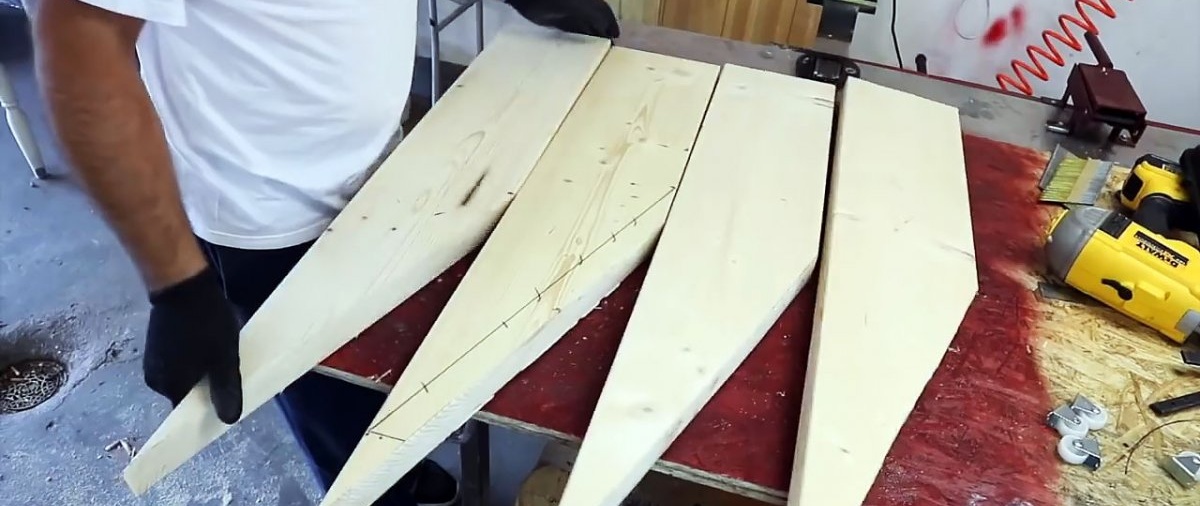
We cut the marked board with a portable circular saw. Using the first blank as a template, we mark the remaining five and also saw them.
DIY mini overpass for cars

DIY mini overpass for cars

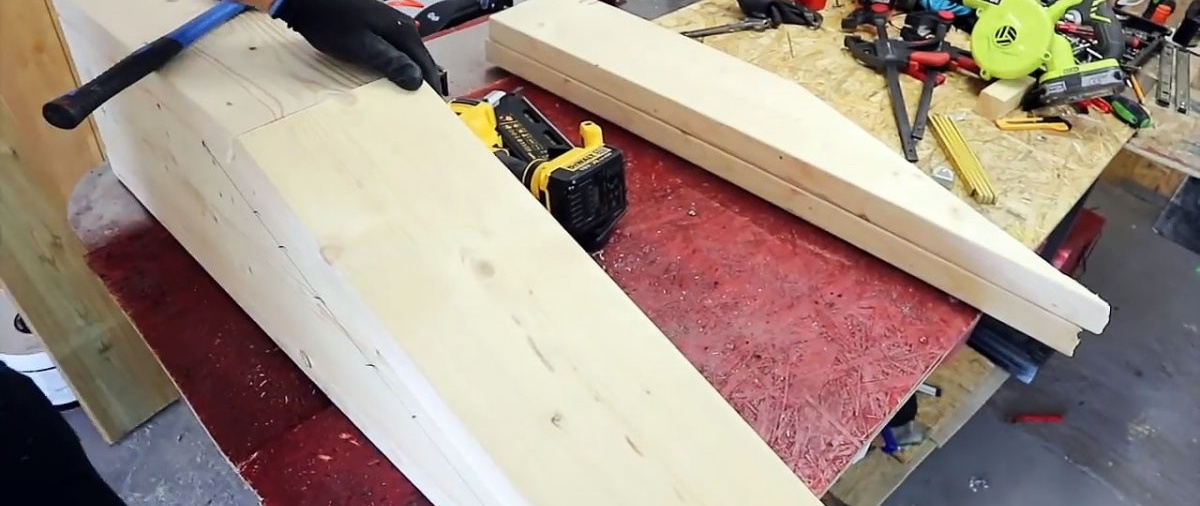
We lay four side profiles in pairs in parallel on a flat surface with the base up and at the calculated distance from each other.
For each pair of side profiles we lay a board flush with their ends. Using a nail gun, we fasten these ramp elements with nails, which we finally finish off with a hammer.
DIY mini overpass for cars

DIY mini overpass for cars

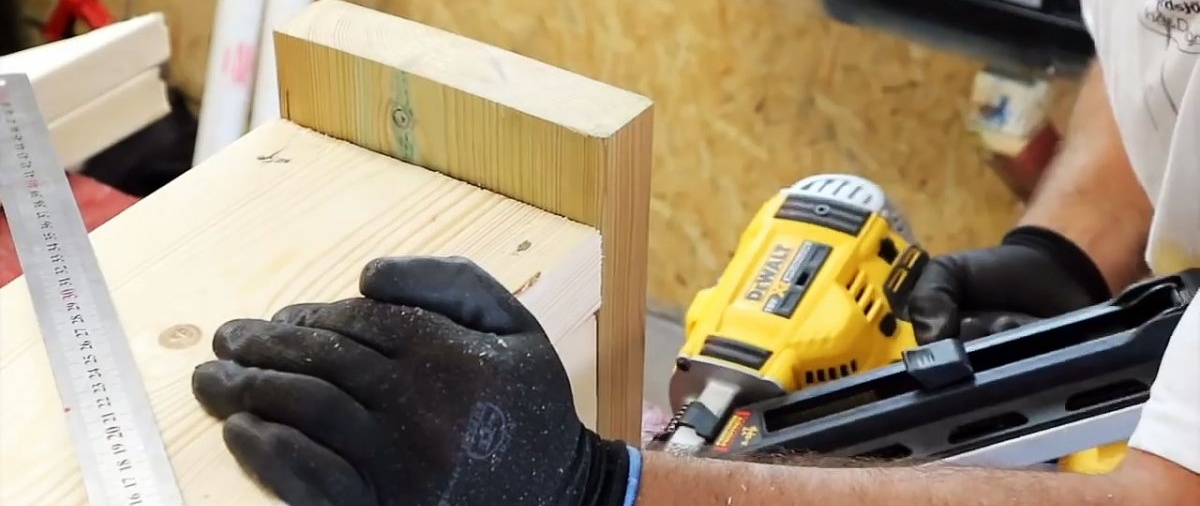
To control, use a ruler to measure the distance between the side profiles in several places. From the fifth and sixth blanks with the contours of the side profile, we cut off two pairs of rectangular bars with a pendulum saw, taking into account the measurements taken.
DIY mini overpass for cars

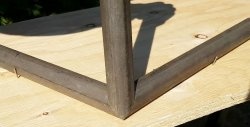
We insert them at the beginning and end of straight sections of the side profiles, which will serve as spacers and at the same time amplifiers. We secure them on the outside with nails.
We place the remaining wedge-shaped elements between the inclined sections of the side profiles and, fixing them from above with one nail in a suitable place, fasten them from below through the base board.
DIY mini overpass for cars

We cover the upper horizontal platform with a board, aligning its end with the ends of the side profiles, and make a mark on it for the cross section.
DIY mini overpass for cars

We nail the short part of the board to the horizontal section of the side profiles. We dock the long part to the short one and secure it with nails to the inclined section.
DIY mini overpass for cars

We cover the open ends of the ramps with a board and cut it off slightly above the top of the horizontal platform. This protrusion will serve as a limiter for the wheels, preventing them from rolling off the platform. We also secure them to the ends with nails.
DIY mini overpass for cars

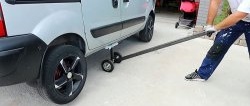
We screw two rollers transversely to the upper part of the restrictive element from below using screws and a screwdriver. Rollers will allow you to move the ramp, if necessary, by rolling, which is much easier than carrying it by weight or dragging it.
DIY mini overpass for cars

DIY mini overpass for cars

Checking the ramp in action


We roll up and lay the ramp in front of the front wheels of the car.
DIY mini overpass for cars

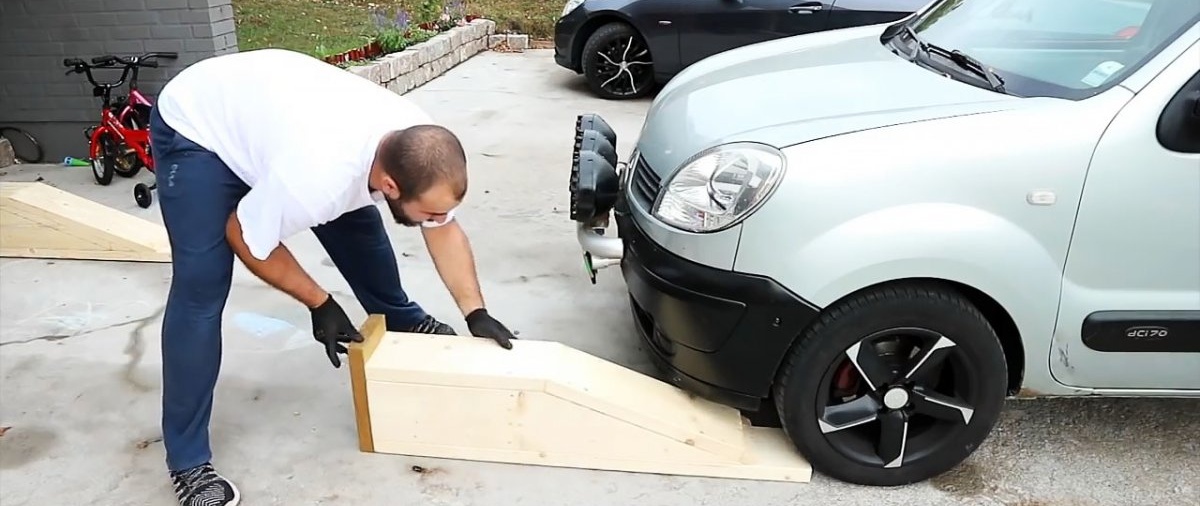
We carefully move the car forward, overcoming the inclined section of the ramp, and drive the front wheels onto a horizontal platform. We put the car on the handbrake. It would also be a good idea to place a stop under the rear wheel.
DIY mini overpass for cars

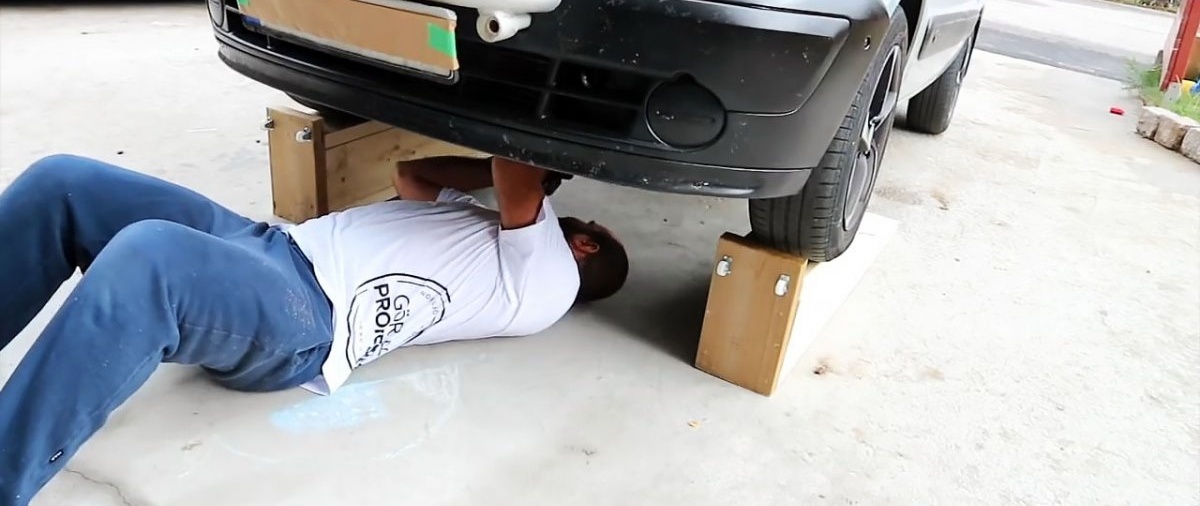
We make sure that the distance from the floor to the bottom of the machine has become quite spacious and you can easily sit under it for routine inspection or repair.
DIY mini overpass for cars

Having completed the work, carefully drive off the ramp and put it in a secluded place, where it will remain until the next use.
DIY mini overpass for cars

Watch the video


come back
Comment
  • bowtiesmilelaughingblushsmileyrelaxed relaxedsmirk
    heart_eyeskissing_heartkissing_closed_eyesflushedrelievedsatisfiedgrin
    winkstuck_out_tongue_winking_eyestuck_out_tongue_closed_eyesgrinningkissingstuck_out_tonguesleeping
    worriedfrowninganguishedopen_mouthgrimacingconfusedhushed
    expressionlessunamusedsweat_smilesweatdisappointed_relievedwearypassive
    disappointedconfoundedfearfulcold_sweatperseverecrysob
    joyastonishedscreamtired_faceangryragetriumph
    sleepyyummasksunglassesdizzy_faceimpsmiling_imp
    neutral_faceno_mouthinnocent
3+three=
Comments (8)
  1. Bean
    #1 Bean Guests 30 September 2019 13:28
    0
    Hmmm...No, everything is, of course, very cool. Is it true. As soon as I saw it, I immediately decided that I needed such a thing on my farm. Well, maybe you can give it to your neighbors. There aren't enough garages in the city. But... when I finished reading the list of tools... I realized that it would be better if I went to the garage to pay for the pit... Keep this tool in the apartment?! I won't even check the cost...
    1. Guest Evgeniy
      #2 Guest Evgeniy Guests 1 October 2019 14:25
      3
      Saw, tape measure, pencil, drill, screws and screwdriver - that's all the tools.
  2. Tolyan
    #3 Tolyan Guests 4 October 2019 23:13
    1
    My dad made something like this for his penny 73 Guards in the 70s. but in two copies. i.e. for the rear axle
  3. Pupkin
    #4 Pupkin Guests October 17, 2019 10:09
    2
    Actually it’s strange, but maybe someone noticed that he doesn’t use the corner?? And a driving pestle - this will not replace a screwdriver
  4. Dmitriy
    #5 Dmitriy Guests 22 October 2019 07:26
    3
    On such a design, there should be a side flange for the wheels. Otherwise, you can jump off this crap and this crap will end up on the CV joint.
  5. Guest Victor
    #6 Guest Victor Guests 27 October 2019 22:13
    1
    Sorry I don't have approximate sizes
  6. Guest Sergey
    #7 Guest Sergey Guests 21 May 2021 09:05
    2
    It seems to me that the design is quite unsafe. At a minimum, I would increase the area of ​​the base and the sides would definitely not interfere.
  7. Rinat
    #8 Rinat Guests 20 December 2021 13:19
    2
    What are you doing?) You have to make it wider, it will fall to one side

Quick yeast-free bread recipe

Soap-loofah | Do it yourself

How to make a body for a garden wheelbarrow from a single sheet with your own hands

5 useful DIY lifehacks for using PP pipes

«Do it yourself - with your own hands» - a site of interesting homemade products made from scrap materials and items at home. Step-by-step master classes with photos and descriptions, technologies, life hacks - everything a real master or just a craftsman needs for needlework. Crafts of any complexity, a large selection of directions and ideas for creativity.

We recommend reading

Washing machine error codes