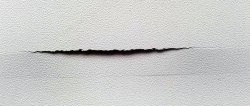
It is impossible to imagine the life of a modern person without a laptop. This small mobile computer is convenient for work and play. Today, almost everyone has laptops: from students to retirees. Unfortunately, sometimes cracks appear in the laptop case. The most unpleasant is a crack on the cover, since its increase can lead to damage to the matrix. And the daily raising and lowering of the laptop lid greatly contributes to the growth of cracks. What to do if the lid is cracked?
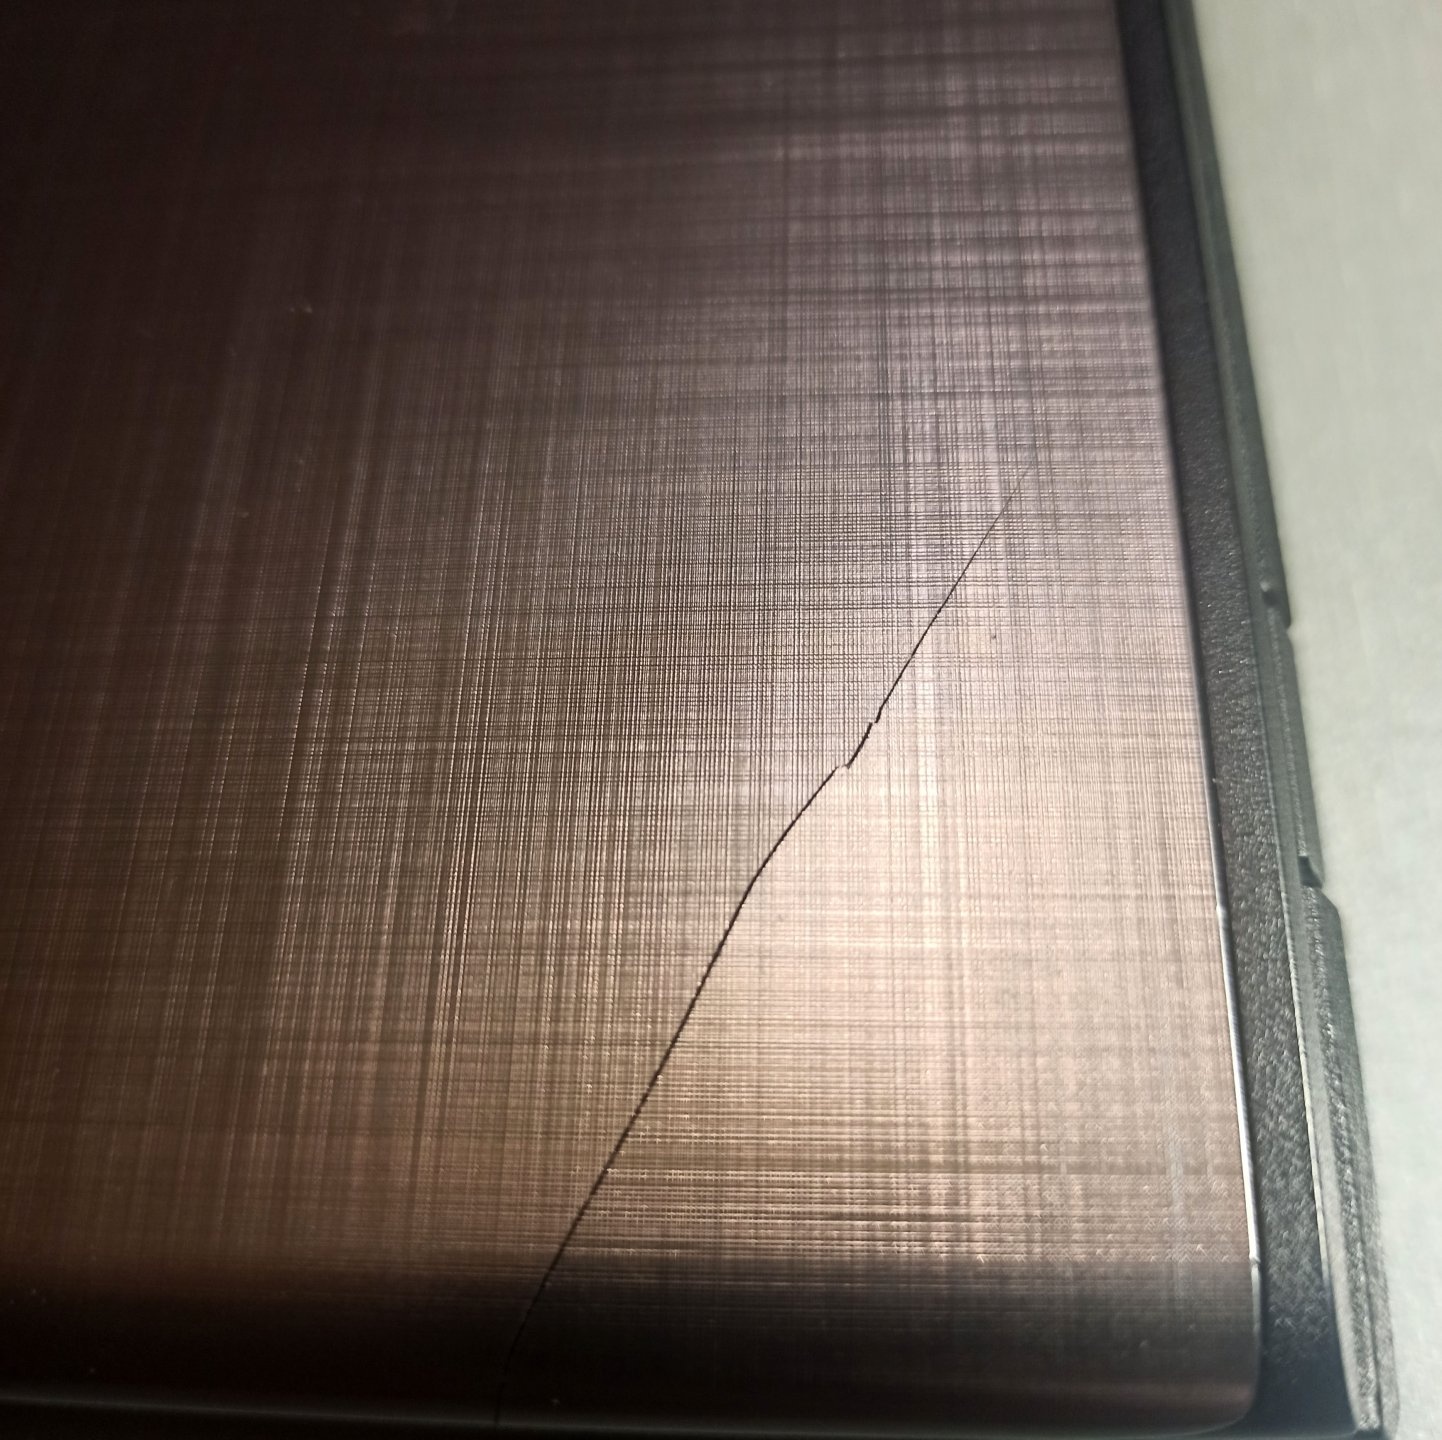
First of all, don't despair. While the crack is small, its growth can be easily stopped. Filling the damaged area with glue is not a good idea. Most adhesives have an elastic modulus two orders of magnitude lower than plastic. And to prevent the development of cracks, you need to create a rigid frame. It may not be as aesthetically pleasing as just gluing, but it will be reliable.
How to quickly fix a crack on a laptop lid
First, the surface around the crack needs to be degreased. Acetone or simple alcohol is suitable for this. Then you should prepare the stiffeners, such as carbon rods.

In principle, thin wire can be used for reinforcement, but one should not forget that wire works well in tension and poorly in bending. Therefore, you should consider the optimal location of the reinforcing elements so that they work in tension when loaded. For fixation it is best to use epoxy resin. This two-component composition is easy to use and has the necessary adhesive and strength characteristics.
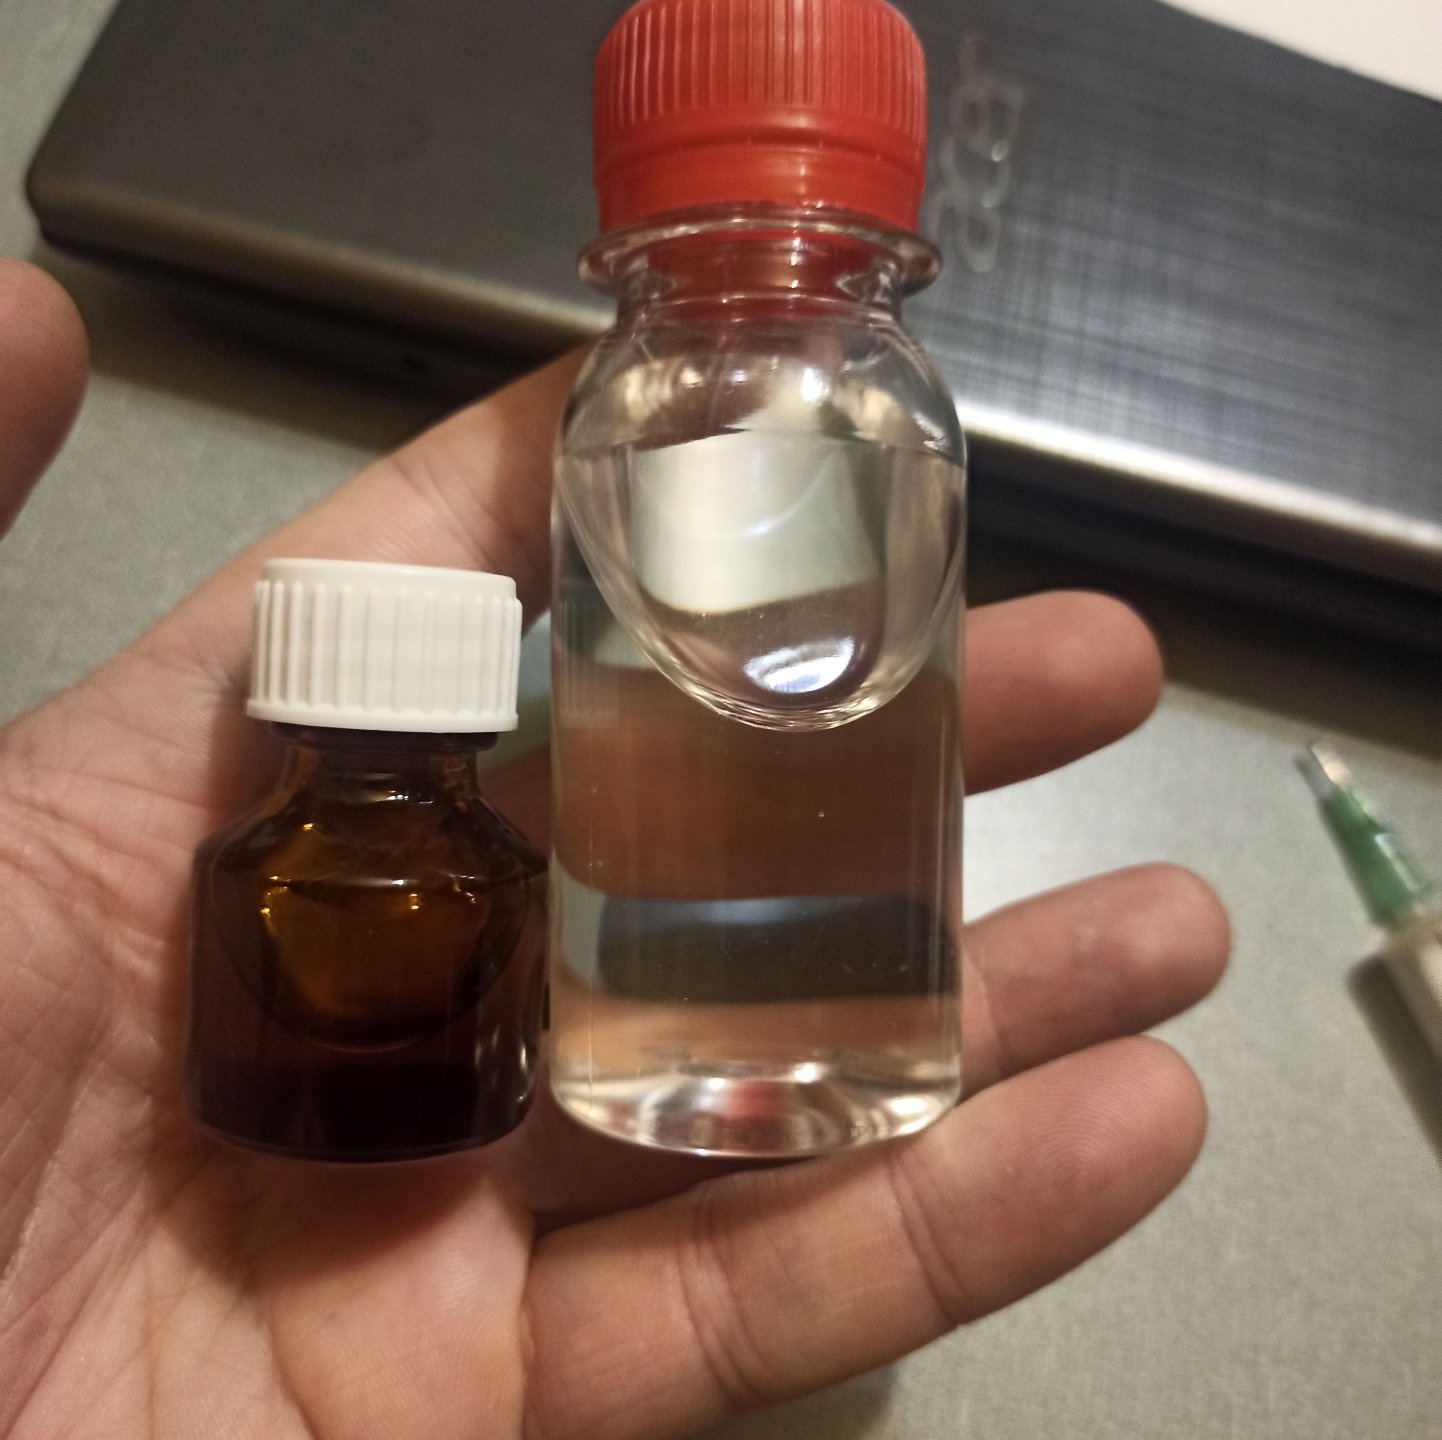
The resin elements should be mixed in a small container in the ratio specified in the instructions, usually 1:10.
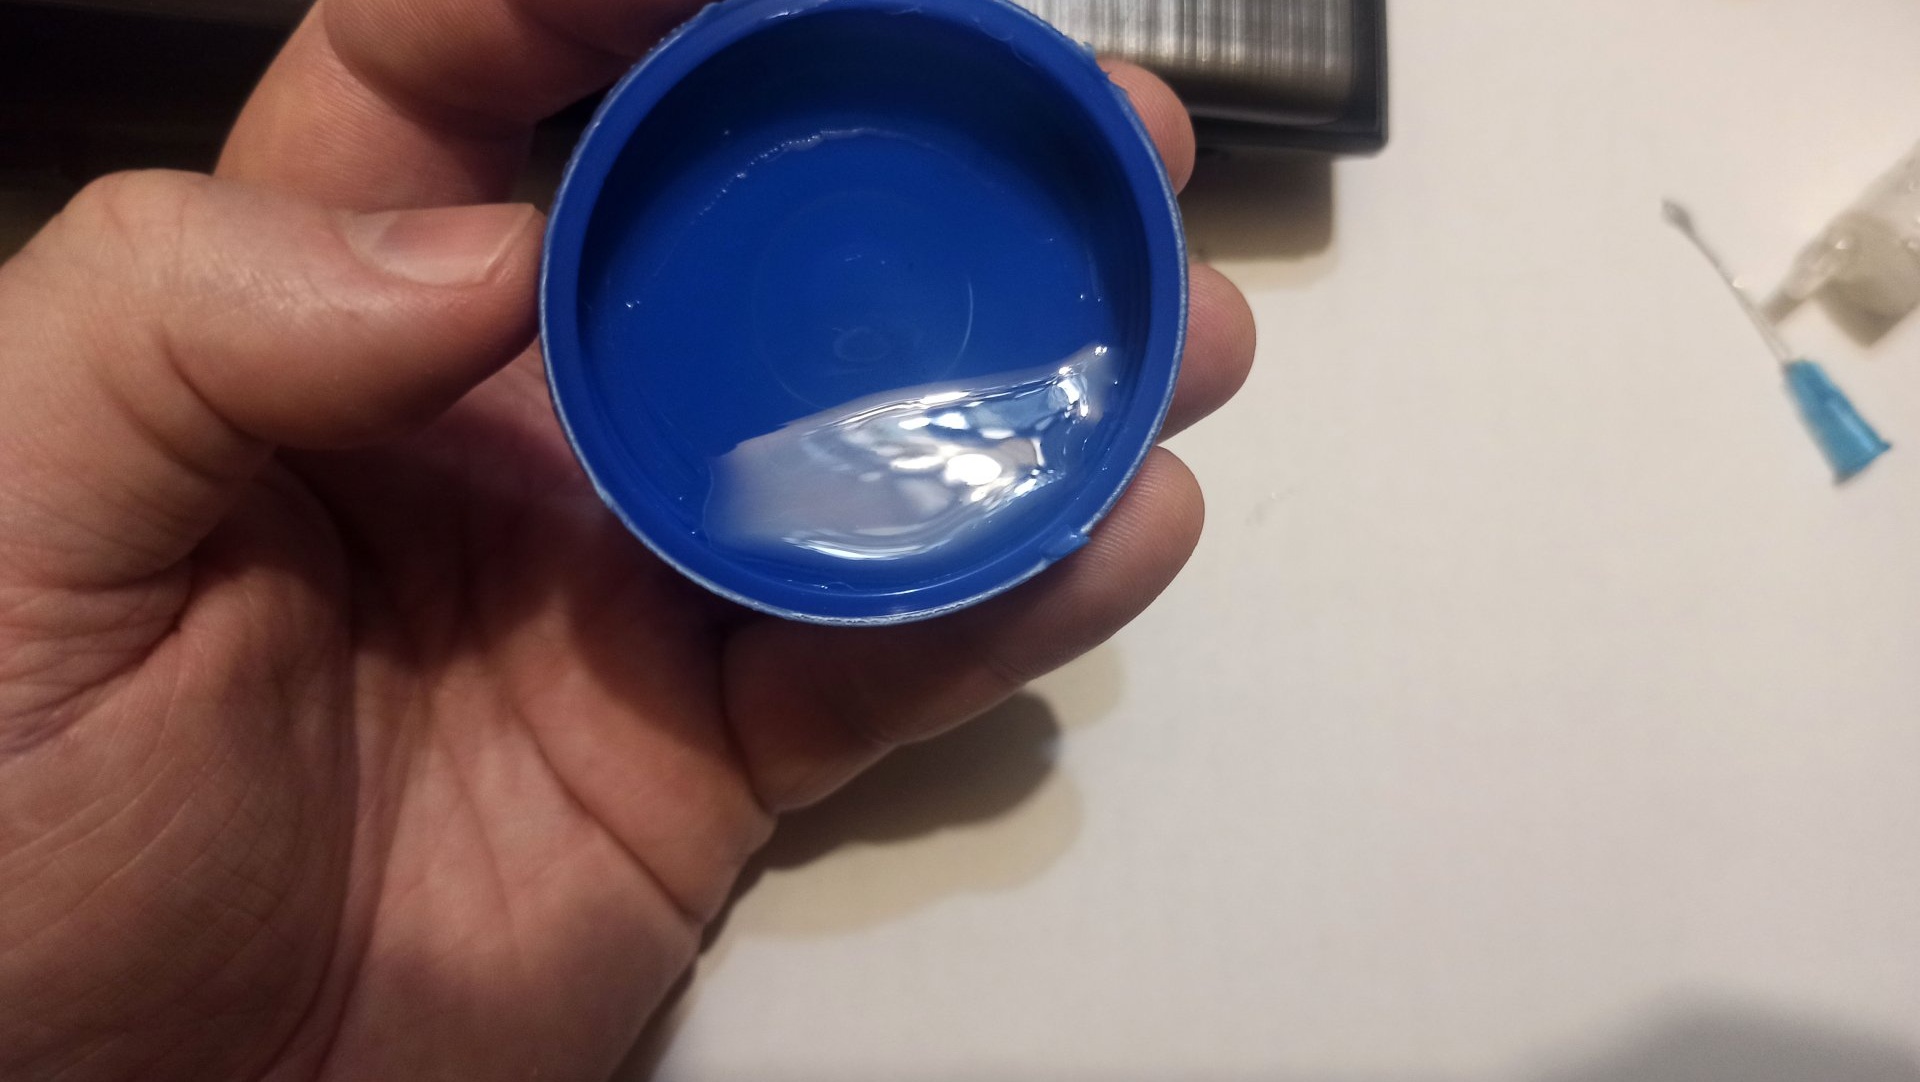
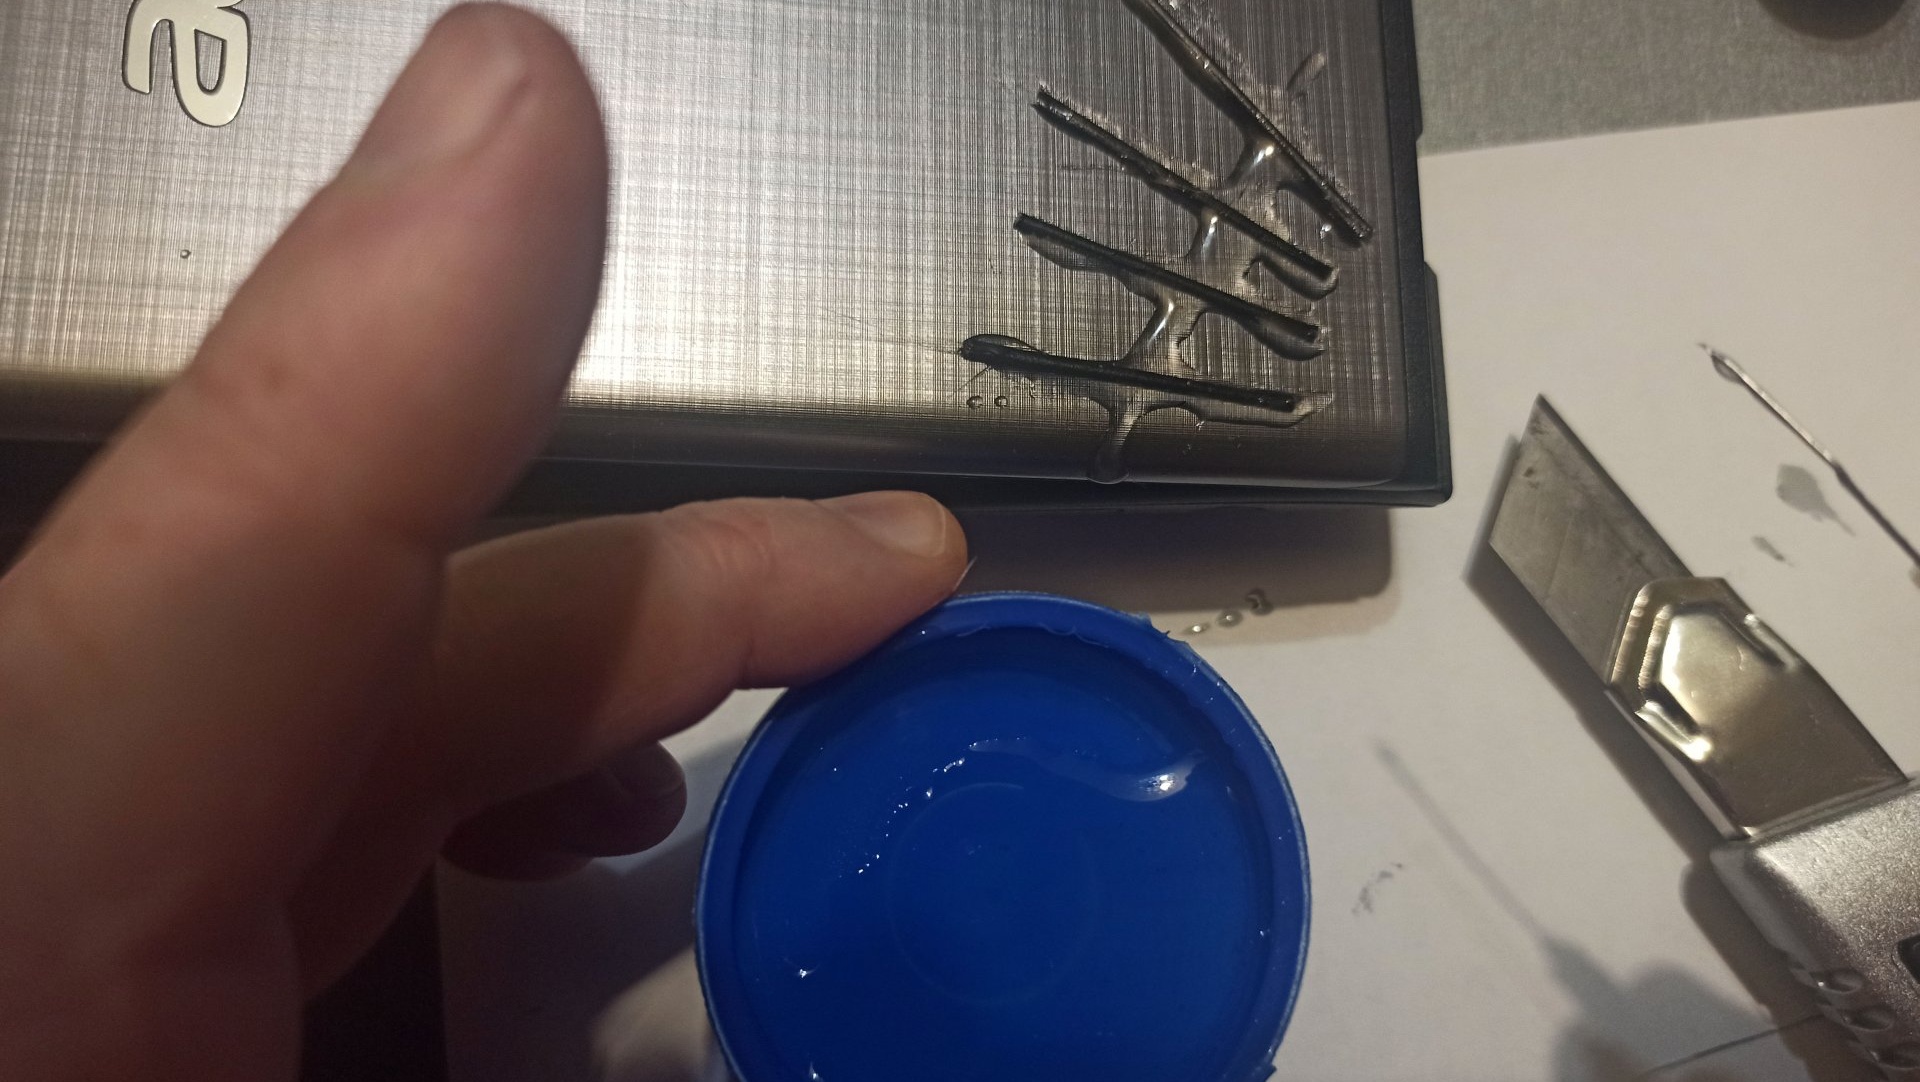
It is convenient to use a medical syringe to dose the components. Apply a thin layer of resin inside the crack, after which you need to bend the lid so that the crack closes. That is, you need to return it to its original position. Then a layer of resin is applied along the crack and reinforcing elements are glued onto it.
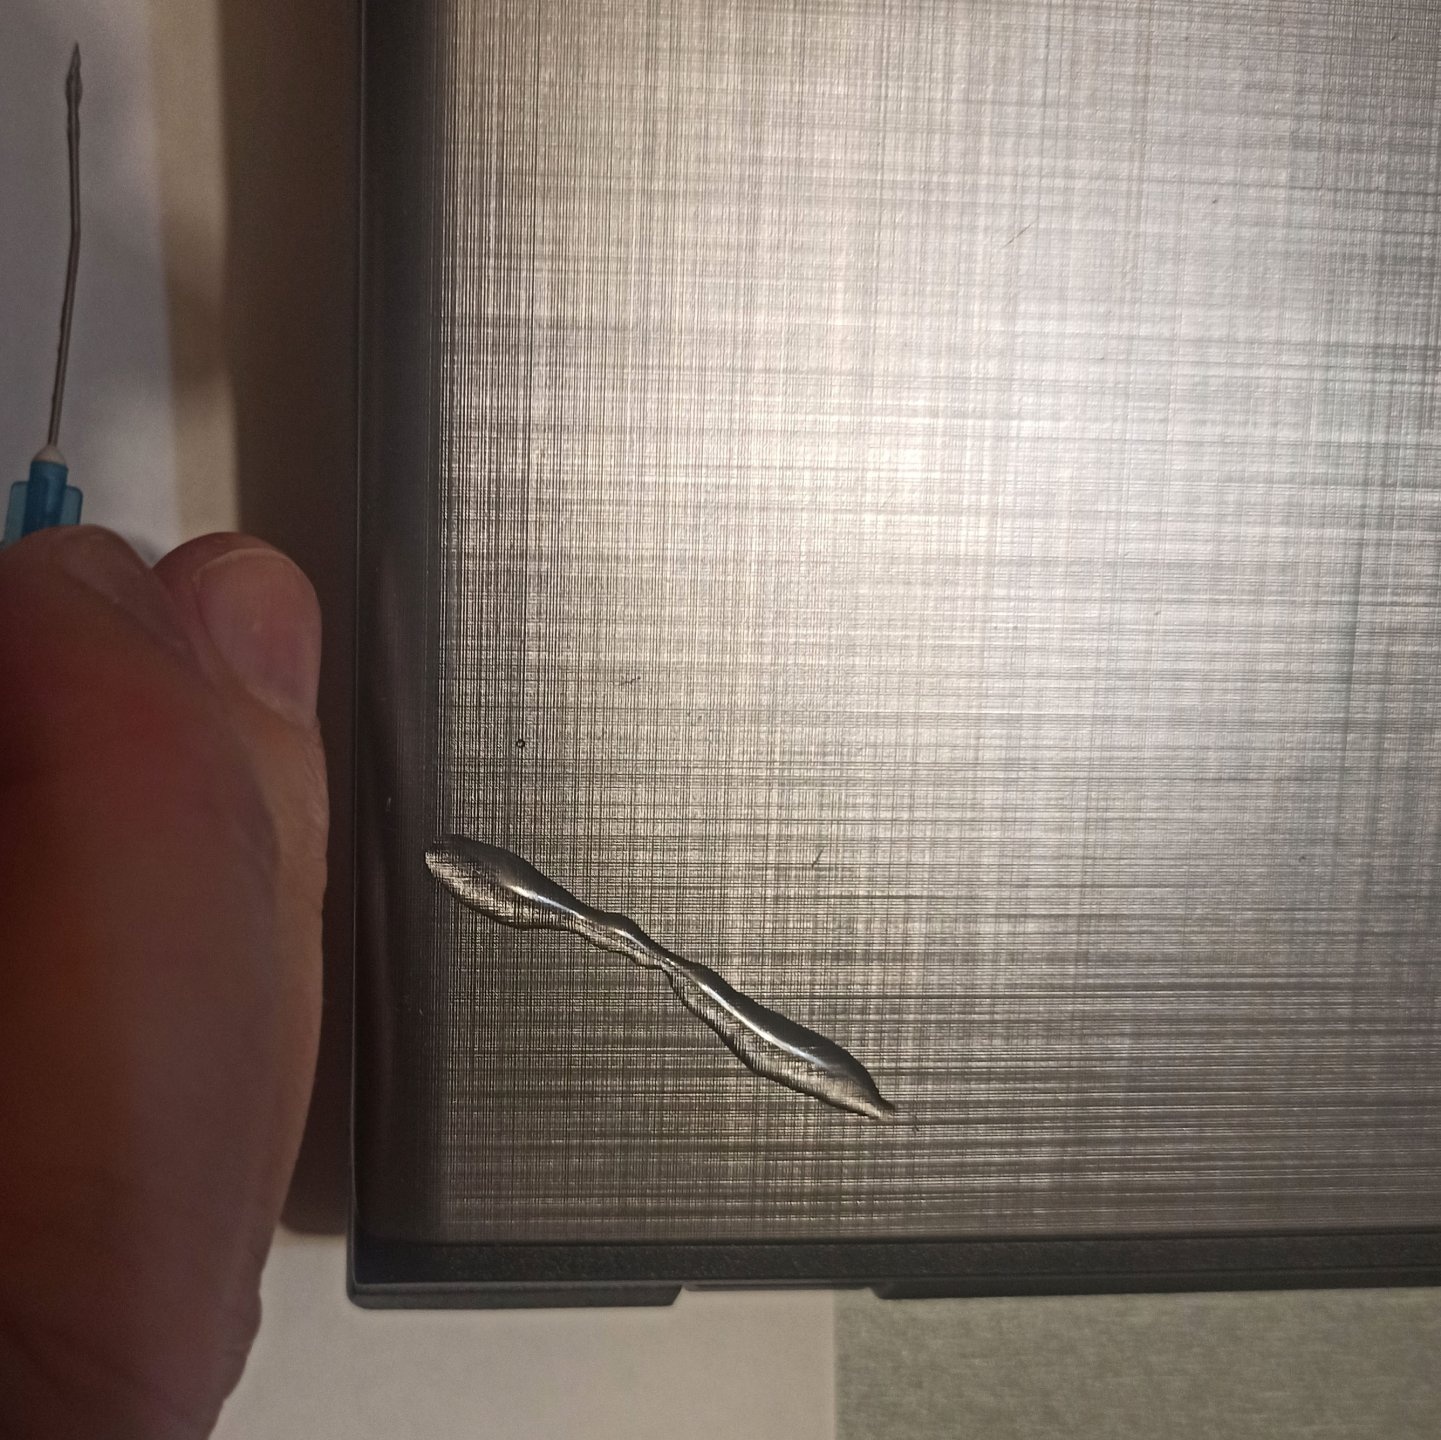

All that remains is to pass the resin along the reinforcement rods and let it dry.
Now you can forget about the crack. You can disguise the repair site with a sticker.