In Slavic culture, the most common protective symbols are those built on the principle of geometric symmetry. Patterns formed from them can be found in painting household utensils, embroidery on everyday and festive outfits, and home wood carvings.
Nowadays, Slavic protective symbolism has not lost its meaning. Skilfully integrated into the interior or clothing, it harmonizes the space and creates special charm and comfort.
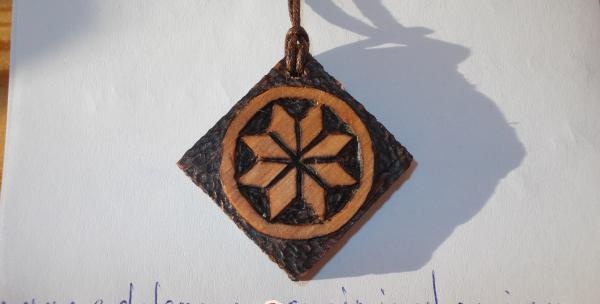
The easiest way to make a small Slavic amulet with your own hands is from wood. To do this, you will need a minimum set of tools: a hacksaw, a square, a pencil, a compass, a knife, a burning device, a thin drill and sandpaper. In our example, the protective symbol will be Alatyr - a symbol of universal harmony, balance of the masculine and feminine principles.
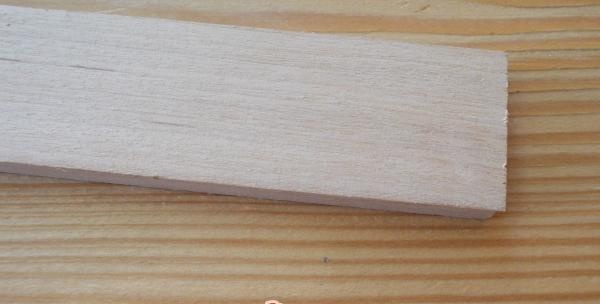
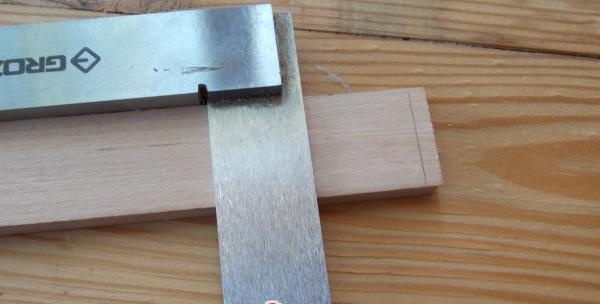
• First you need to mark the workpiece. In our example, this is a lath, planed from alder, 4 mm thick and 28 mm wide.
1. Let’s take the shape of a square as a basis: it’s convenient to fit geometric elements into a square and it’s easier to cut it out of a rectangular blank.
It is more convenient to work with a large workpiece, so you should not immediately cut it to the final size of the product.
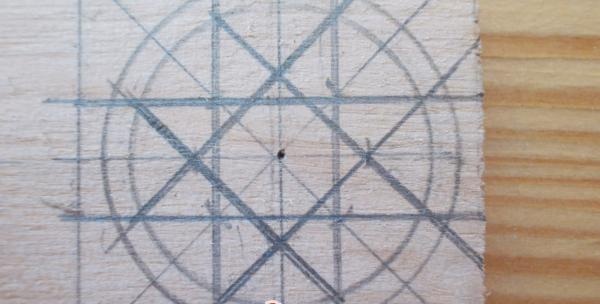
2. Let's outline the axes: vertical, horizontal and two diagonals.
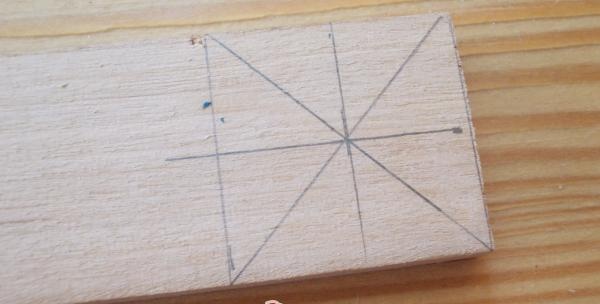
3. We use a compass to designate the future decorative rim.
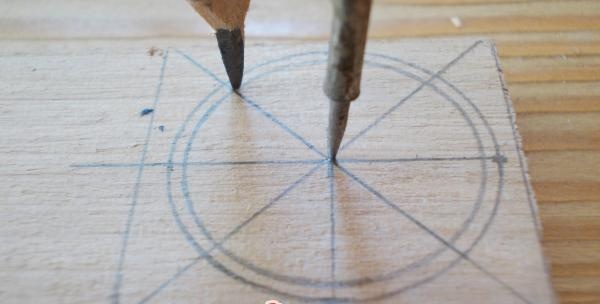
4. On the axes, mark the points that divide the segment from the center to the rim approximately in half.
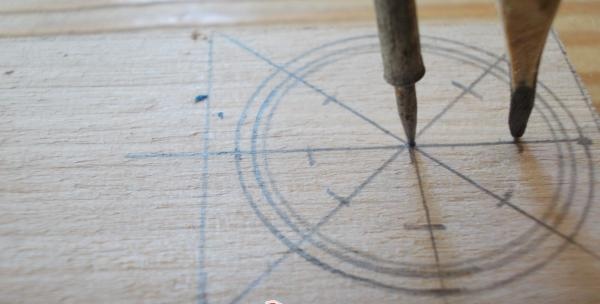
5. Draw lines through these points, as shown in the photo.
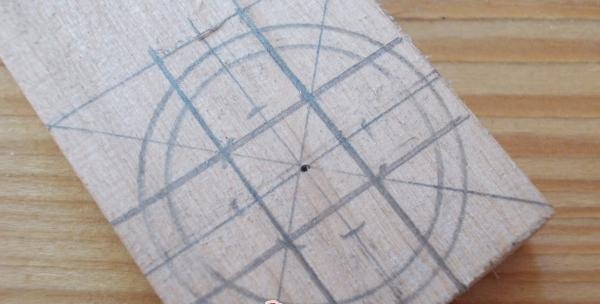
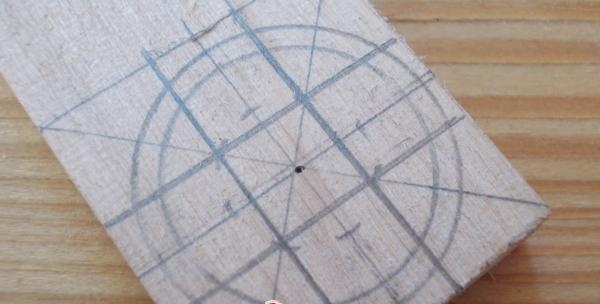
6. Remove the extra lines using sandpaper.
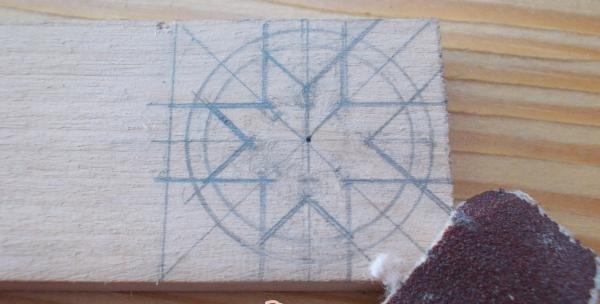
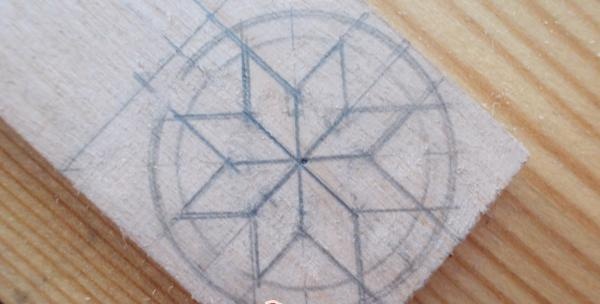
The internal lines in the resulting octagonal star - alatyr can be corrected if necessary.
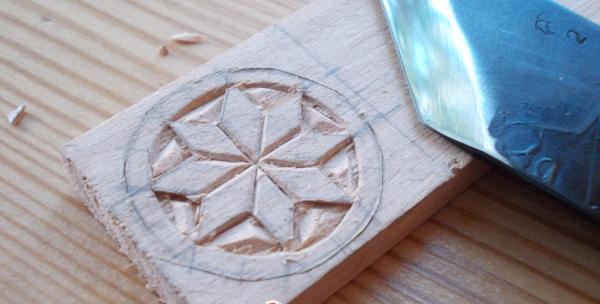
• Along the marked lines, the wood is cut with a knife to a depth of approximately 2 mm. First, the cuts are made perpendicular to the surface, then at an angle until the excess is separated.
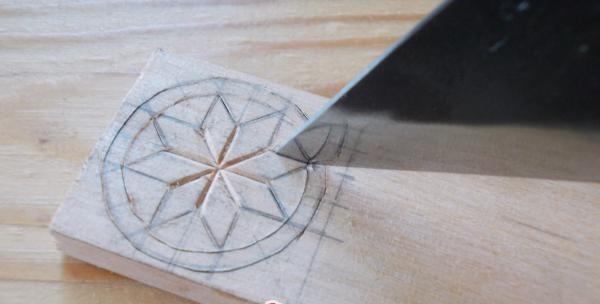
You must work carefully so as not to injure yourself or damage the workpiece.
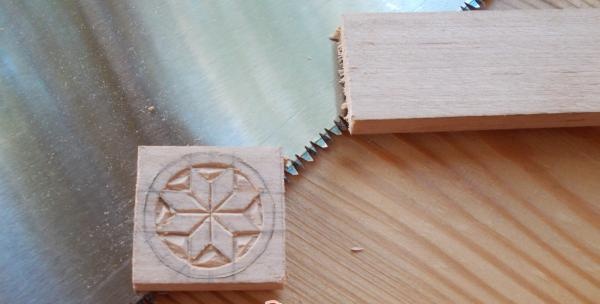
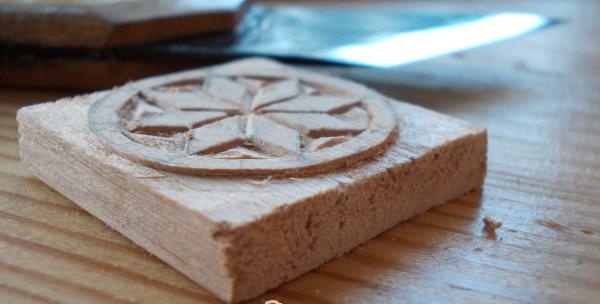
• After the main excess inside the figure has been removed, you can trim the workpiece to the final size and carefully trim the background.

• Next, the background is processed using a burner.
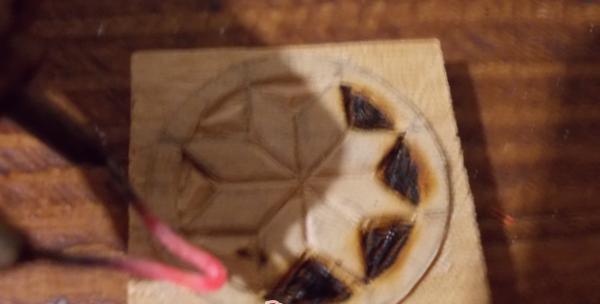
• A thin drill or hot nail is used to make a hole for the lace. You can use strong waxed thread as a lace.
For greater durability and external effect, the finished product is coated with wax or wood oil.
This is how, after spending about an hour on work, you can create a beautiful original present, filled with special energy and deep meaning.