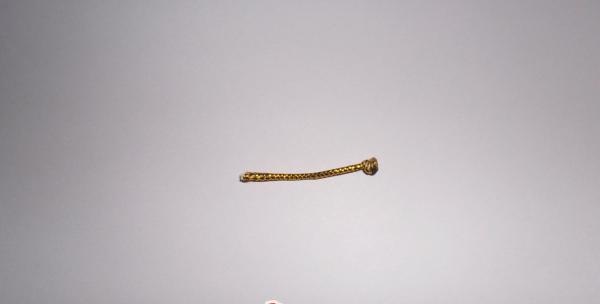
To make this hairpin you will need satin ribbons, scissors, a clip, yellow braid, a lighter or candle, glue and a hairpin.
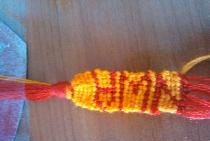
You need to tie a knot on the edge of the braid and cut off a piece of 2.5 cm. You need to prepare 5 such pieces.
Take a white satin ribbon and cut 5 squares. The width of the ribbon should be at least 5 cm. Calla lilies will be made from these squares. First, the square is folded diagonally.
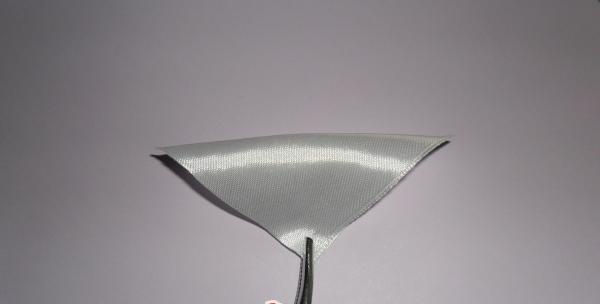
Then again.
The workpiece needs to be folded again.
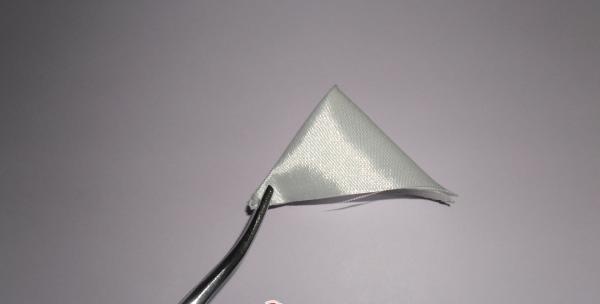
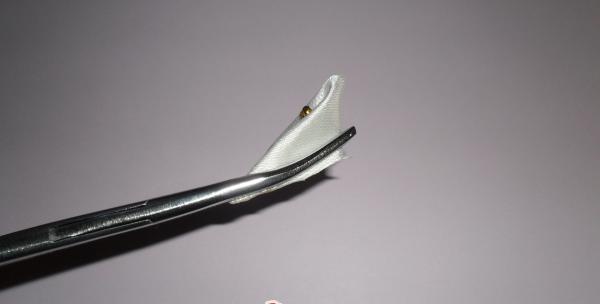
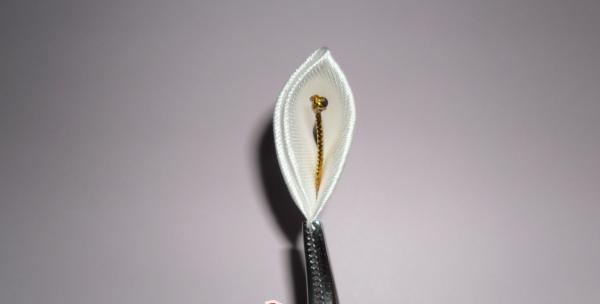
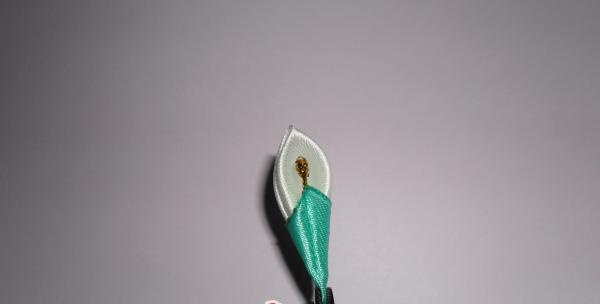
Place a piece of braid in the middle of the folded petal.

The edge of the workpiece must be cut and sealed with a lighter. In this case, the braid will be firmly fixed in the middle of the flower.
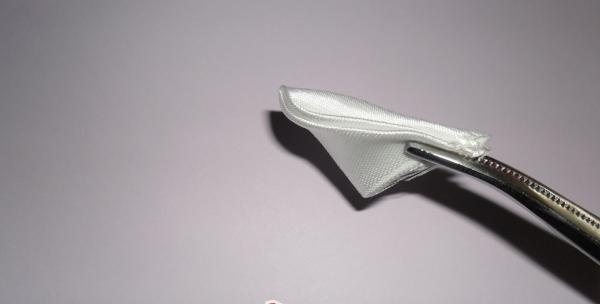
It turns out such a blank for a flower.
Cut 5 squares from a green ribbon 2.cm wide. Fold the squares diagonally and hold the fold slightly above the flame to form a vein. The edges of the square also need to be scorched with fire so that they do not unravel.
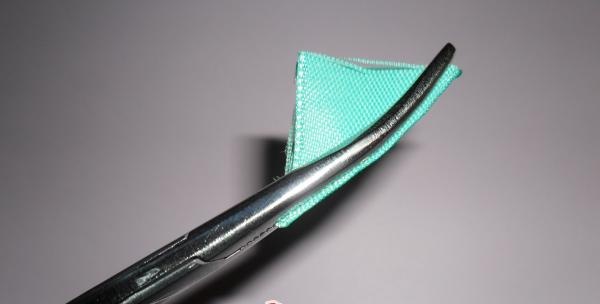
You will get something like this for leaves.
Now you need to connect the white and green blanks like this. Cut the bottom edge of the tape, heat it with a flame and press well so that the workpieces are firmly connected.
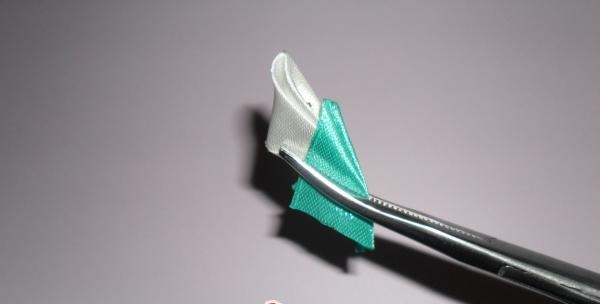
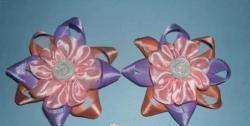
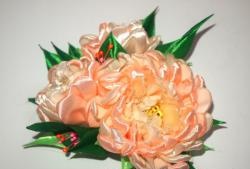
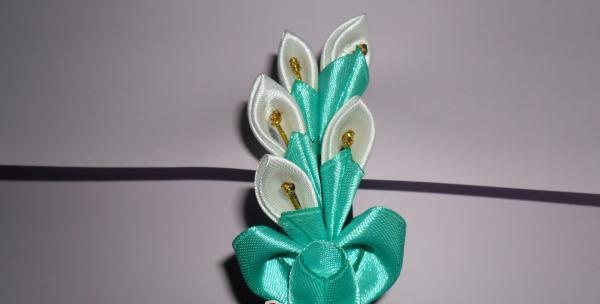
These are the flowers you get. To decorate the hairpin you need to make five flowers.
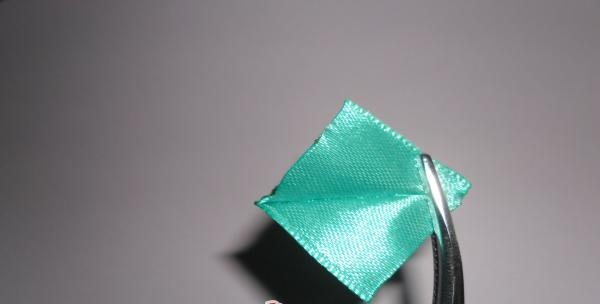
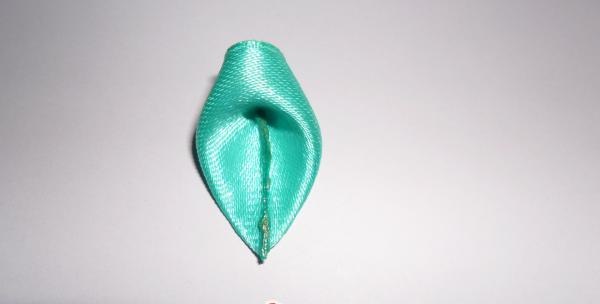
To decorate the hairpin you will need a few more green petals. To make them, you need to cut three pieces 5 cm long from the green ribbon. Fold the pieces of ribbon like this.
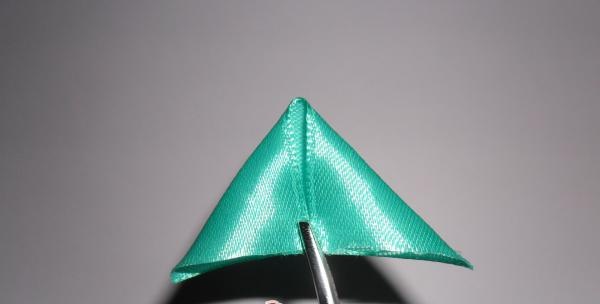
Then connect the corners together.
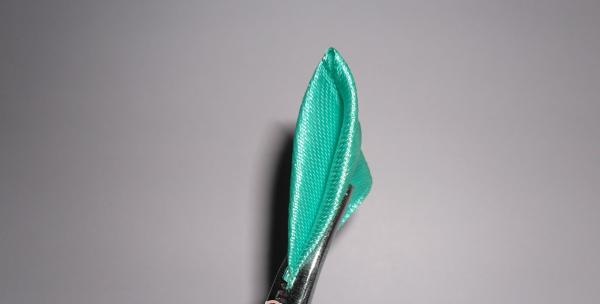
Cut the bottom edge and seal it.
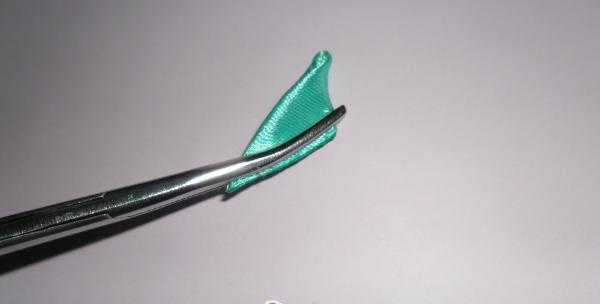
Turn out the resulting petal. You will get a leaf like this.
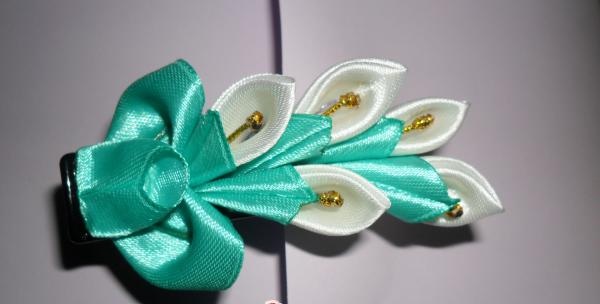
When all the flowers and leaves are prepared, you can begin assembling the product. First degrease the surface of the hairpin, then stick flowers on it in random order and decorate it with green leaves.
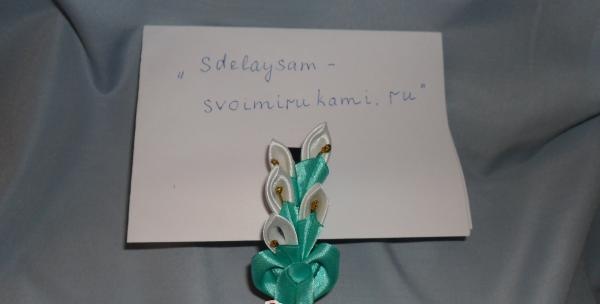
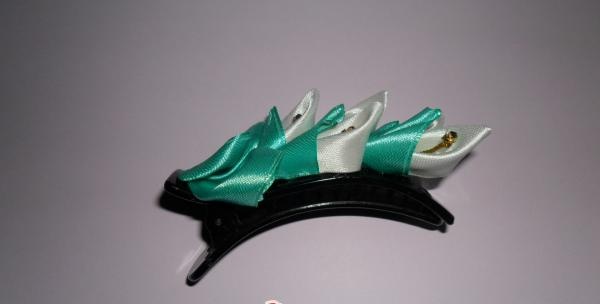
This is what the finished hairpin looks like from the side.
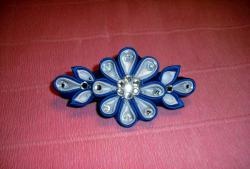
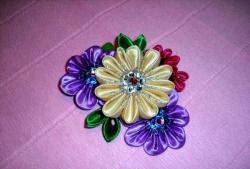
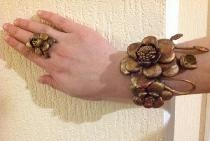
You can decorate not only a hairpin with these flowers. A similar composition would look great on a hairband or as a brooch.