You will need:
- – a wooden panel or cutting board (can be purchased at craft or hardware stores);
- – a paper napkin with a suitable pattern (in this case, a simple two-layer Russian-made napkin was used);
- – acrylic paints, matched to the color of the drawing;
- – if necessary, outlines for drawing;
- – synthetic brushes;
- - scissors;
- – glue for decoupage or PVA;
- – matte acrylic varnish.

Let's get started
Cut out the design from the napkin along the outline. Try to choose an image so that the edges are clear and there is nothing unnecessary left when cutting out.

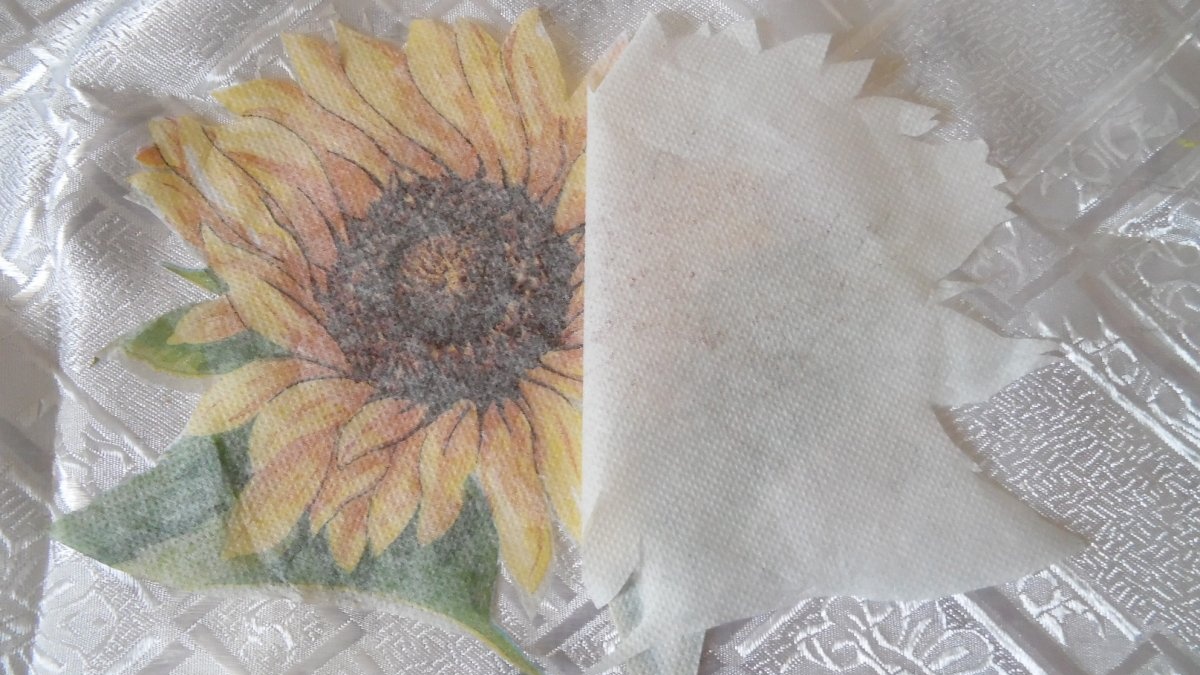
Peel off the white layers.Napkins come in two and three layers; you should only have the thinnest pattern on the top.
Using glue and a wide brush, glue the design to the board. Please note that if you use thick table napkins, they stick without problems, but thin ones (especially foreign ones) tend to stretch. When gluing, try to move from the center to the edges to avoid the formation of air bubbles. When using regular PVA glue, you can glue the image not with a brush, but simply with your fingers, also from the center.

Dry the product - at least 1 hour naturally or 10 minutes with a hairdryer. After the glue has completely dried, paint the image using acrylic paints. Imagine that this is an ordinary children's coloring book, just not fully designed.
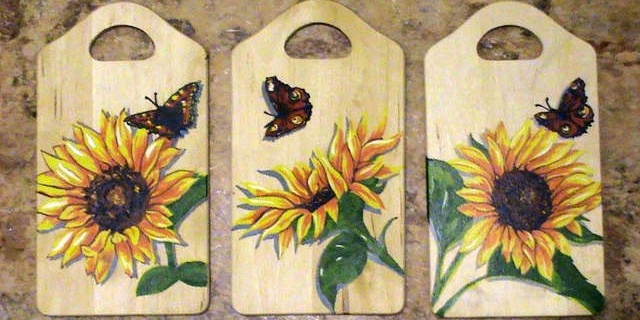
In the example picture, the upper half of the sunflower is already painted and the difference is clearly visible. The lower part is still a little translucent, the texture of the board is visible. And the top one is already bright, the petals and sunflower seeds are clearer, and the stripes that were on the surface are not visible - they are completely painted over and do not show through the paper.
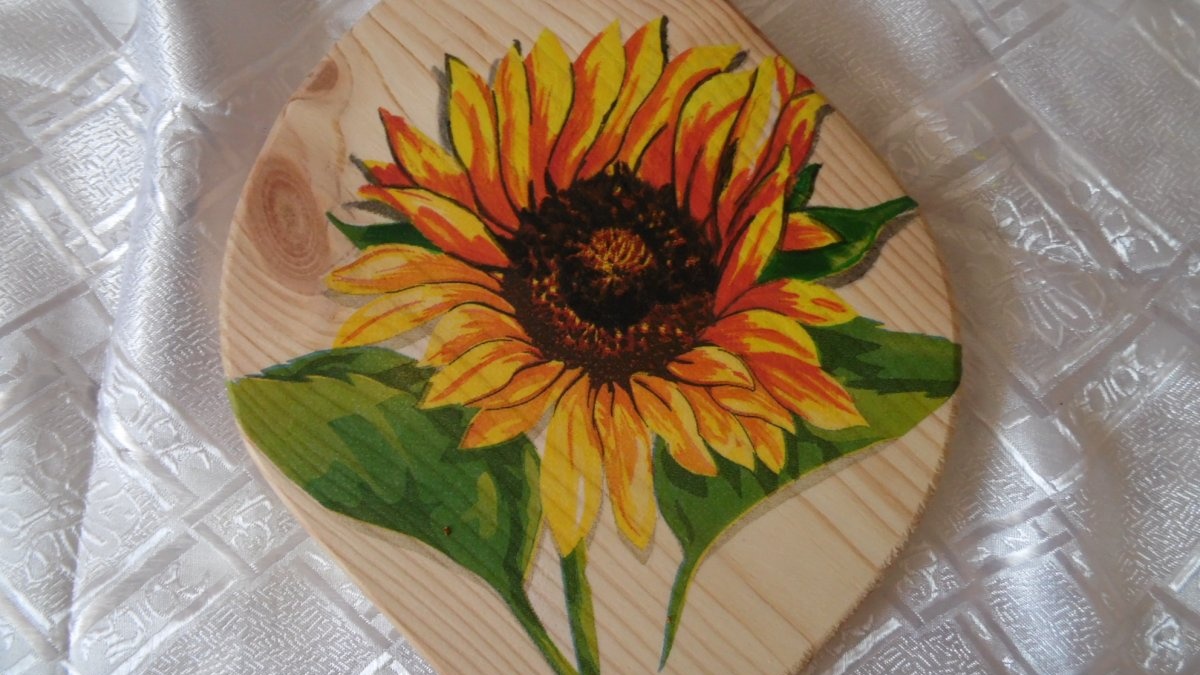
After the paint has completely dried (at least 2 hours), coat the board with acrylic varnish. It is better to use a matte, but not glossy varnish - it will preserve the texture of the product and it will seem that you did not paste the picture, but drew it yourself.
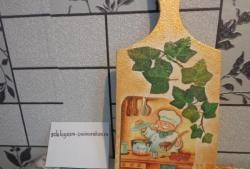
The last photo shows three options for this design; the boards are made based on three fragments of the design of one napkin.
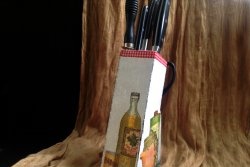
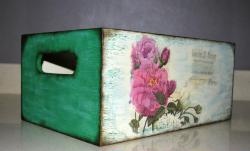
Using this technique, you can “paint” any wooden surface - a board, a panel, a box, a photo frame, etc.This product will be a wonderful addition to your interior or will be an unusual gift for your family and friends.