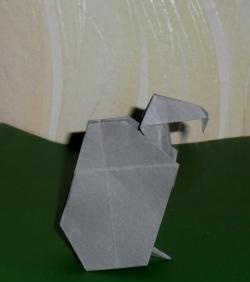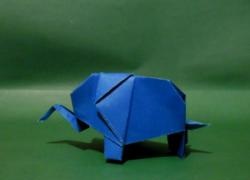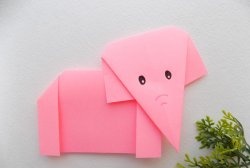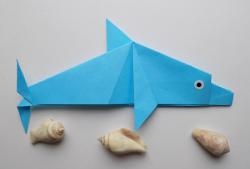
Now origami - that's what they're called crafts making paper is a very popular activity. But some figures have very complex and incomprehensible designs. And children cannot repeat them. Therefore, a description with step-by-step photos is a good help for kids and their parents.
Sequence of work.
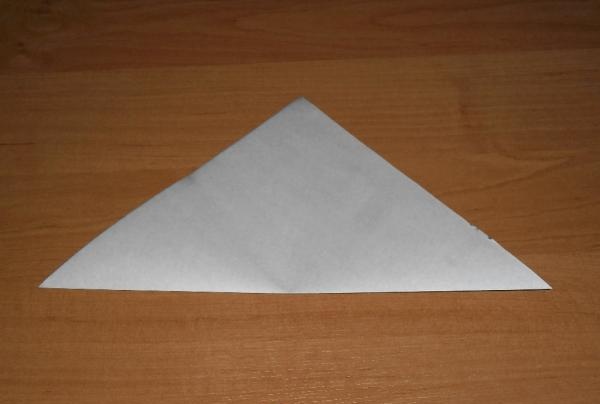
Take a sheet of landscape-size paper, black or blue (single-sided).
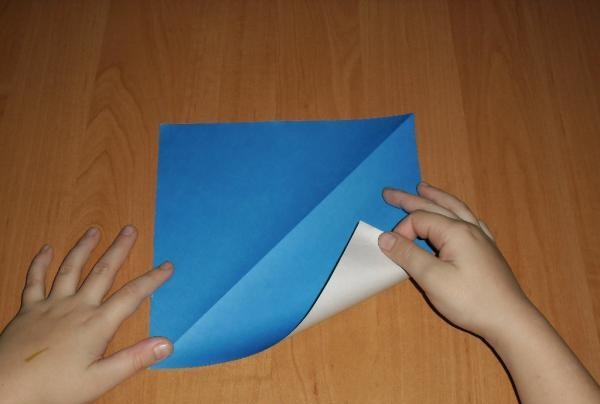
Fold the colored side inward diagonally to make a square. Cut off the excess.
Place the workpiece with the fold down.
Bend the upper side from the left corner down one third of the distance. Iron the fold.
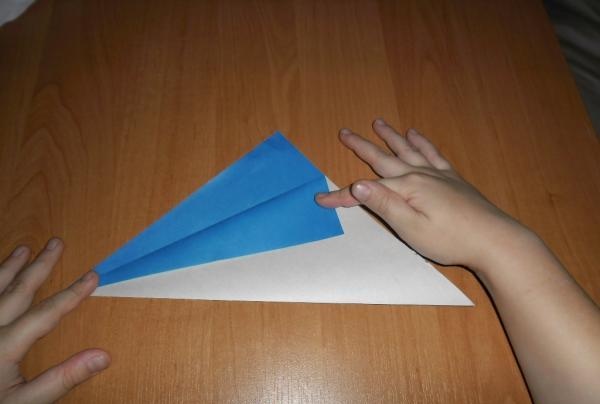
Do the same on the other side.
Bend the free blue corner on both sides up, and then, bending it in half, lower it down.

Turn the workpiece over as shown in the photo. Bend the top corner down.

Press the fold well. This will be the penguin's head.
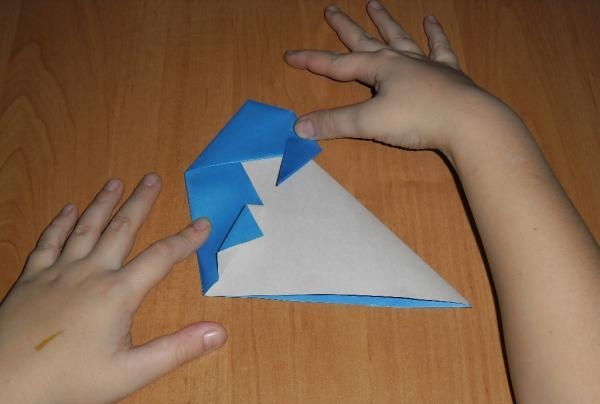
Unfold the workpiece halfway, take it by the edges of the folds so that you get a sharp cap.
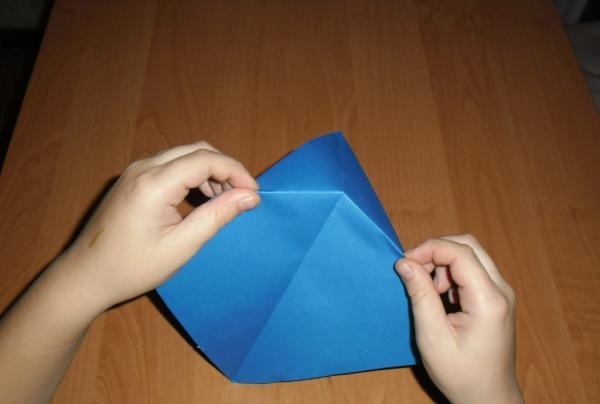
Press the two sides together again and iron the top of the folded sheet.
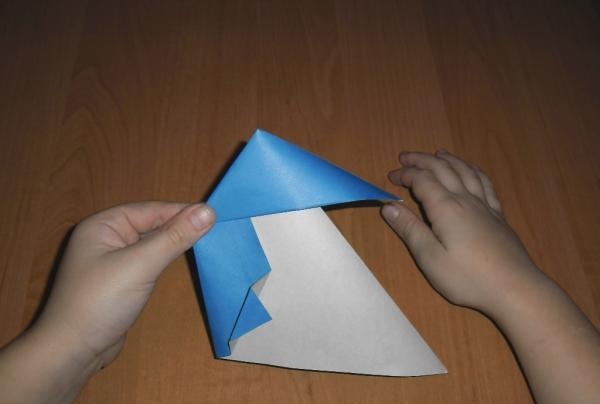
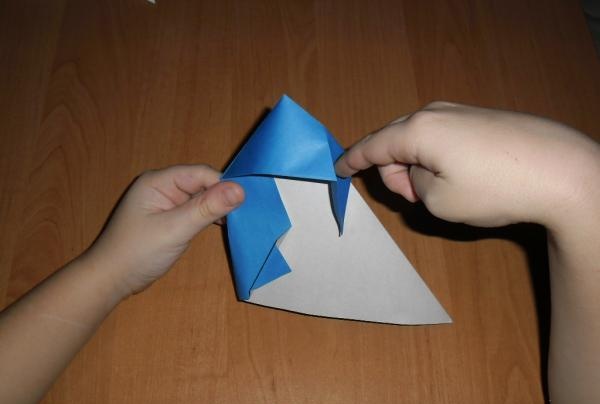
Bend the blue sharp corner as shown in the photo.
Then again, but upward.

Return it to its original position.Spread the top two edges of the workpiece and press the beak inward along the fold.
Now take the base of the beak and the tip, press with your fingers on both sides and begin to slowly bring them together.
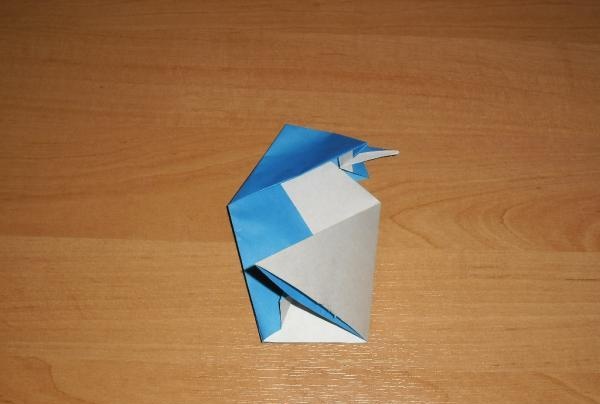
By making a small fold, give the penguin's beak the correct position.
Bend the lower right corner of the workpiece so that you get a body.
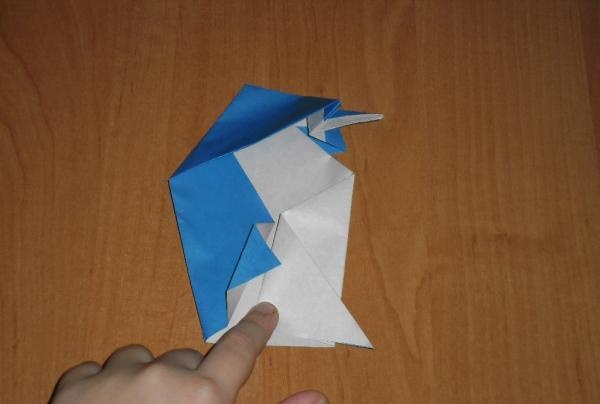
Bend the long corner towards the outside of the figure.
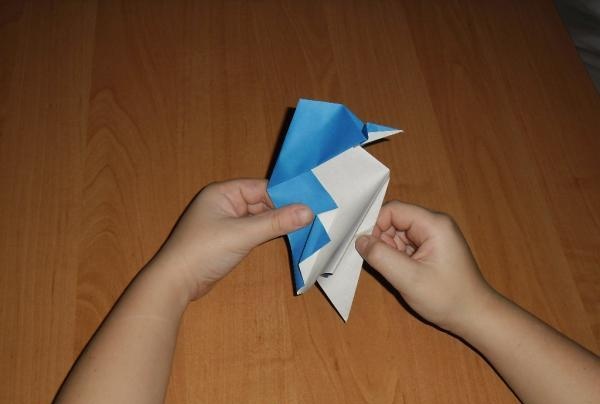
It should protrude slightly beyond the contour of the body. Press all folds well and unfold again.
Take the workpiece by the lower part on both sides of the corner that you just bent, spread it apart on the tummy and hide the corner inside the figure, leaving only a small corner. These are penguin paws.
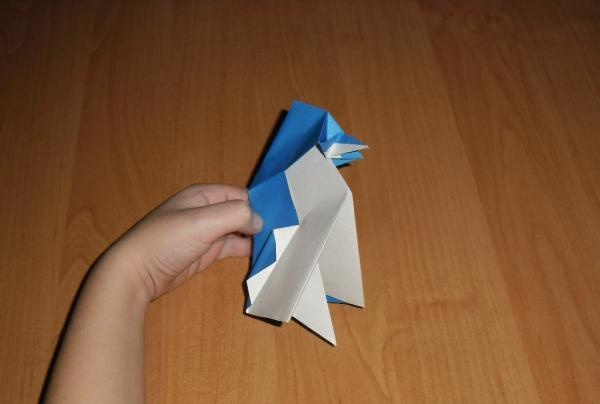
On the lower part of the body, bend the paper much inward, and give the leg a stable position.
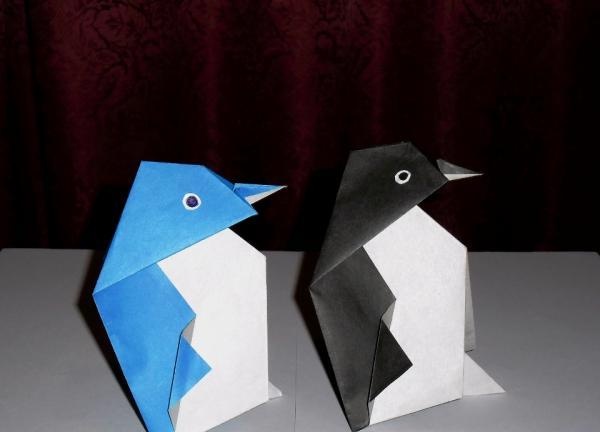
To make your penguin look just like a real one, glue on its eyes.
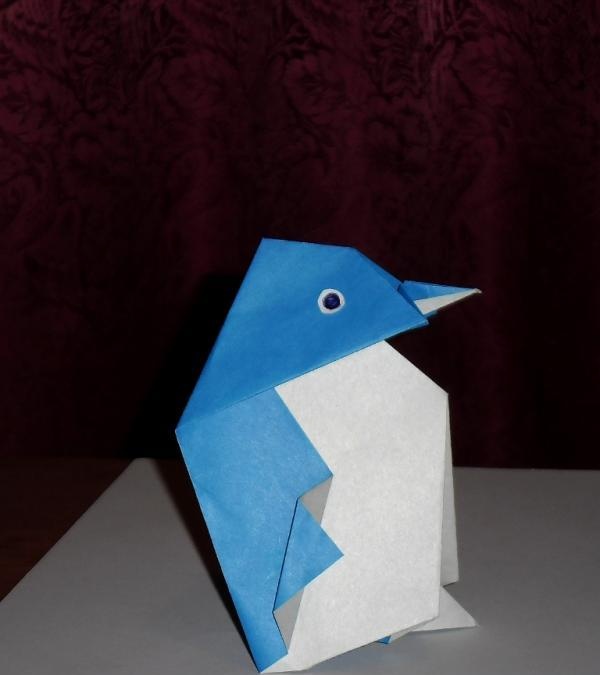
And so that he doesn’t get bored, make another one, but in a different color.