What you will need for work:
- Cardboard, you need to cut a heart out of it.
- A sheet of colored or white paper for the bottom of the basket.
- PVA glue.
- Threads, any, to your taste. The main thing is that they are dense, but not very thick.
- Hole puncher.

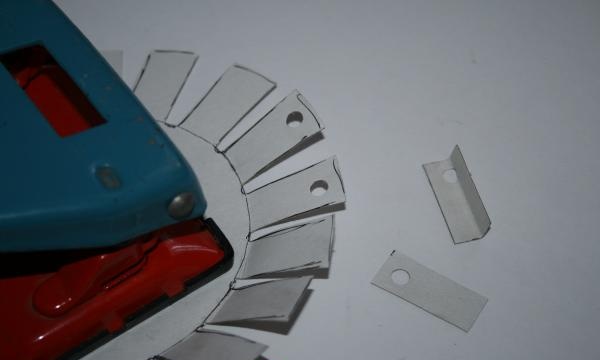
The first thing we need to do is cut out a heart from cardboard. It should have “legs” that we will bend and wrap with thread. We need to cut two “legs” separately, in addition to those around the heart.

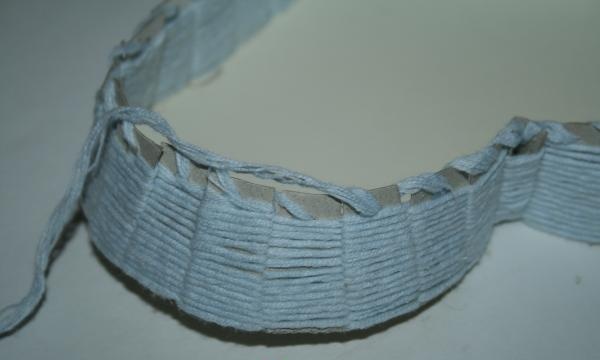
Now we begin to make holes in each “foot” with a hole punch. We apply the hole punch so that the hole is at the top, about 3-5 millimeters from the edge of the “foot”.
The two “legs” that we cut out separately are glued in place. This place is usually found in the bend of the two halves of the heart; there it is not possible to make “legs” from the heart itself, but they are necessary there to make the basket beautiful, with equal sides.We glue the “legs” with regular tape or masking tape, or even paper with glue. We will hide this moment under a sheet of paper anyway.

Now we bend all the “legs” and cut out a heart from colored or white paper. We glue the cut out heart onto the bottom of the basket to hide the places where we glued the missing legs to the base, and in general to make the bottom of the basket more attractive.

Let's start weaving our basket. We insert the end of the thread between the two legs; you can glue it to one of them with glue. You can also not glue, but simply start winding the thread onto the other legs; the end will eventually hide under the threads. We thread the thread first from the front side of one “foot”, then from the wrong side and so on. Each time you string a new row, press the threads of the previous row down to make the winding tight. Then the basket will turn out homogeneous, and the cardboard will not show through the thread. However, in my case, the blue thread looks good next to the brownish cardboard, but this is not an acquired taste. It is better, of course, for the thread to lie tightly and completely hide the cardboard.
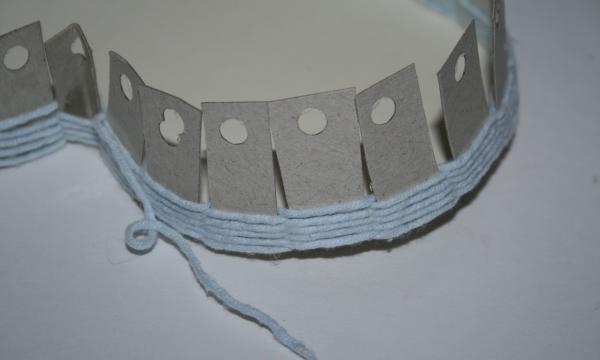
We wrap the cardboard until it reaches the holes. Now we begin to thread the thread and wrap the edges of the “legs” so that we get a beautiful edging of the basket without the cardboard sticking out. There can be as many layers of winding on the top as you wish, the main thing is that you like it.
When you finish winding, we hide the end of the thread into the weaving of the basket using a hook or knitting needle.
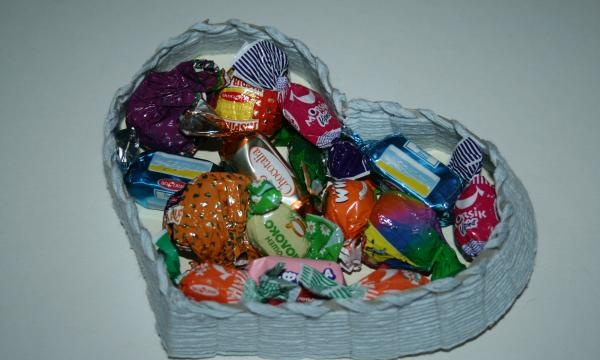
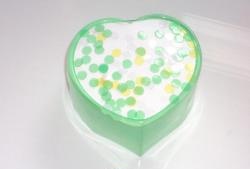
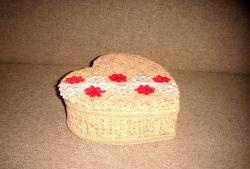
The result is such a cute basket into which you can pour candies that your significant other loves or any other gift you have prepared.Giving something in such a package will be much more pleasant and the person you love will definitely appreciate it.