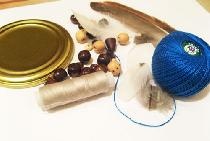
We will need:
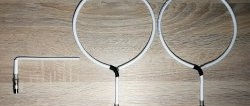
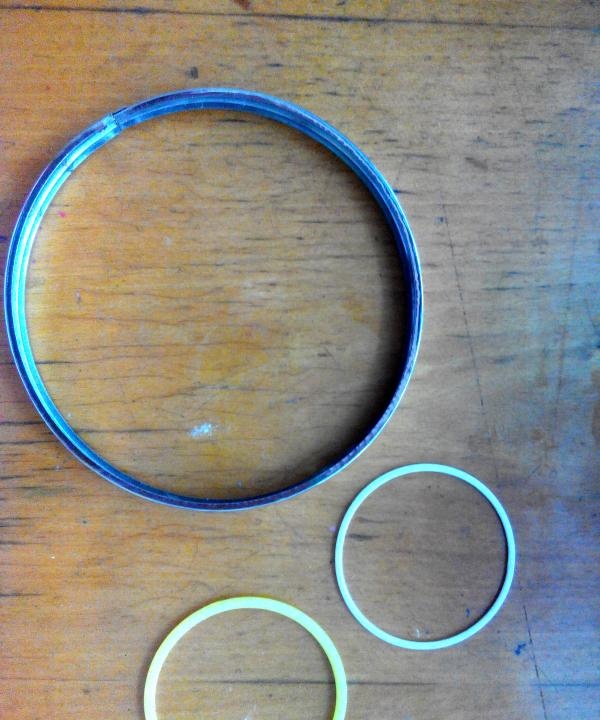
- the basis for the center of the catcher - according to the Indian “recipe” - a ring made of willow branches, but you can also use a ring without a clamp from an embroidery hoop or any other plastic or metal ring;
- bases for small rings;
- threads – floss, wool or cotton;
- scissors;
- needle – you can use a blunt needle for embroidery;
- feathers - decorative feathers are sold in sewing and handicraft stores; you can also use pigeon feathers;
- beads and pendants for decoration.
Robot stages:
1. Prepare the rings for the dream catcher. First you need to choose how many small rings there will be, what color thread you need, and how they will be attached to the central ring of the catcher.
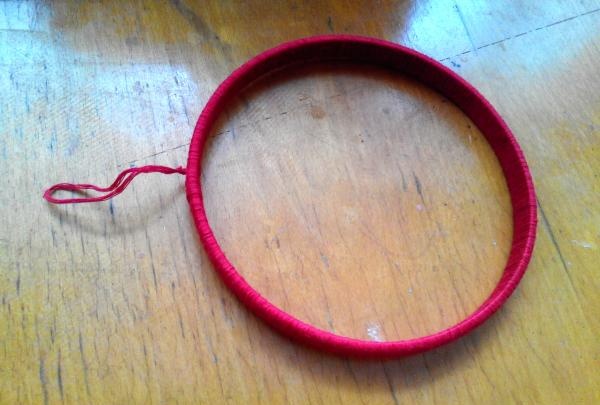
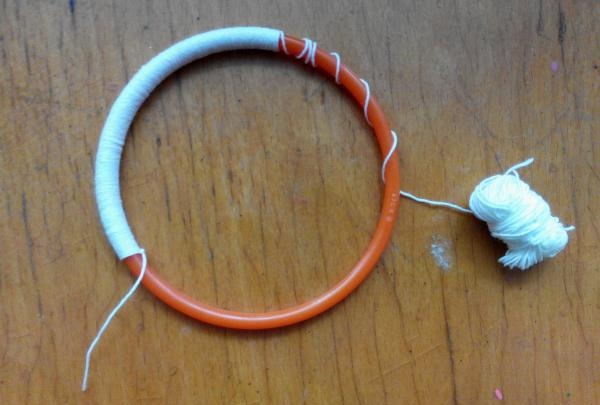
2. Take the center ring and braid it with thread, leaving a piece of thread to make a hook for fastening.
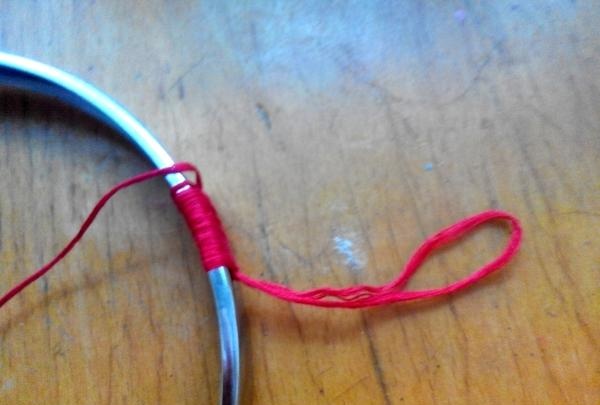
The threads should fit tightly to each other. Braid the ring clockwise. Fasten the ends of the threads tightly.
Be sure to think about the good, put only positive thoughts into your amulet.
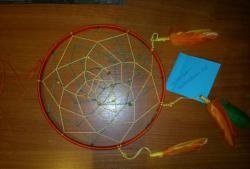
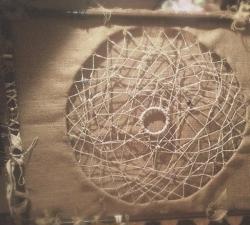
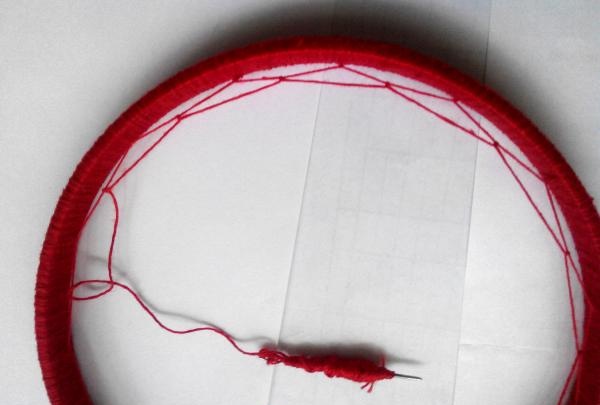
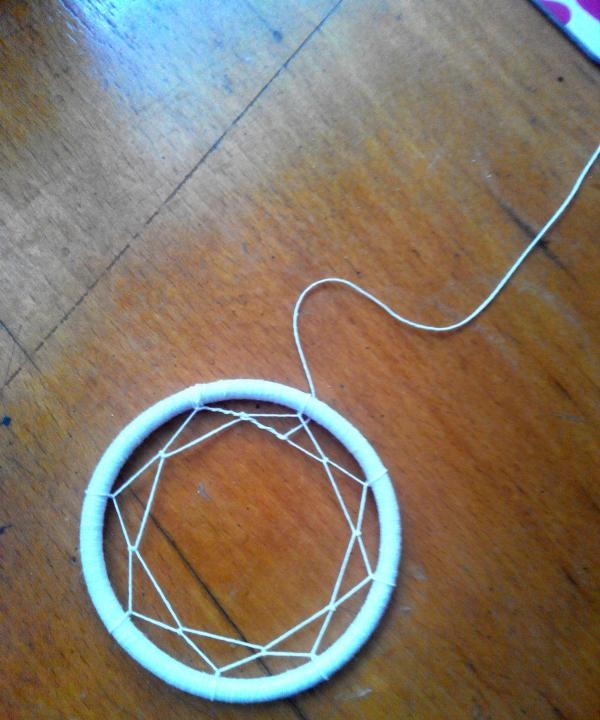
3. Tie a new thread near the knot. After a couple of centimeters, wrap the thread around the hoop and insert it into the loop that has formed. Tighten gently. In the same way, weave the entire first row around the perimeter of the circle.
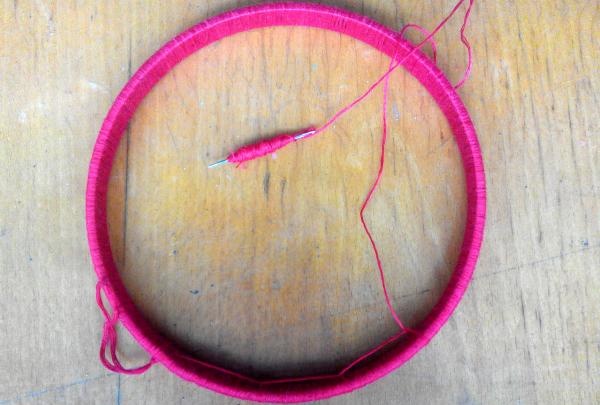
Start the second row with a half-knot not on the hoop, but on the thread of the first row.
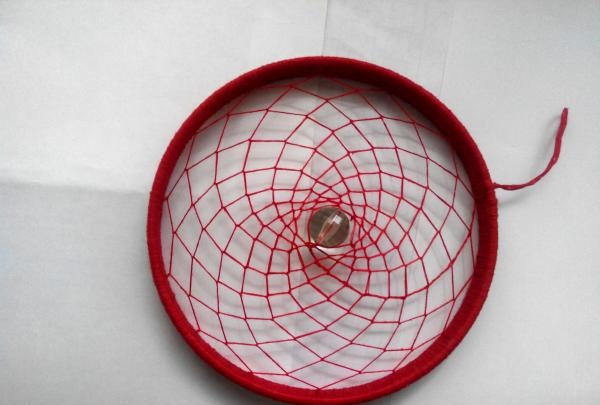
Continue until you fill the entire circle with cobwebs. Weave a beautiful bead into the center and secure the threads.
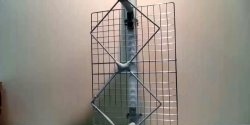
4. Using the same principle, prepare small rings. They can be the same or different sizes. The main thing is that they look harmonious with the main hoop of the catcher.
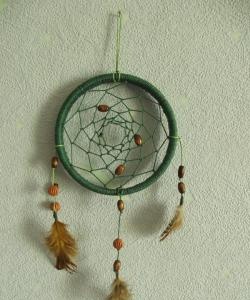
5. You can also attach small pendants to the rings. Fasten the rings together. Some rings can be firmly attached to each other, while others can hang freely on a thread of the appropriate color.
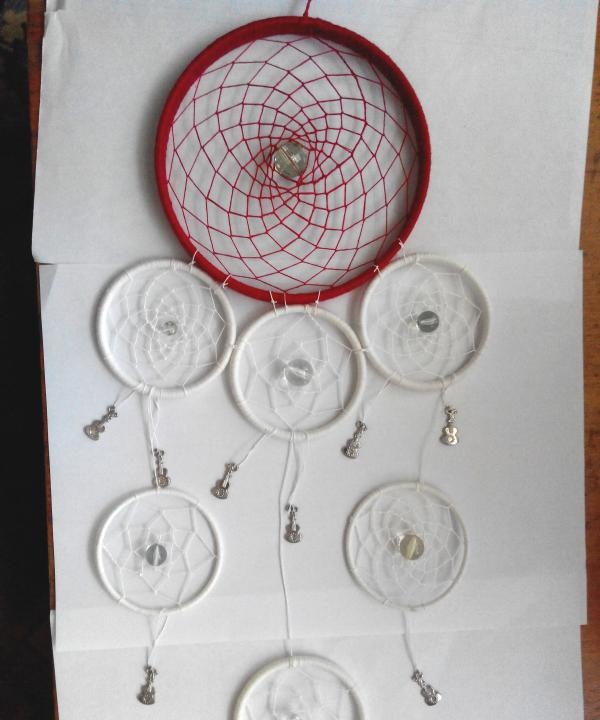
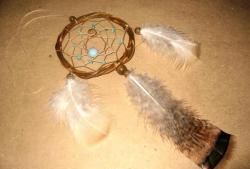
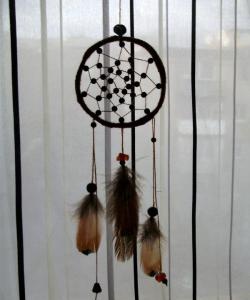
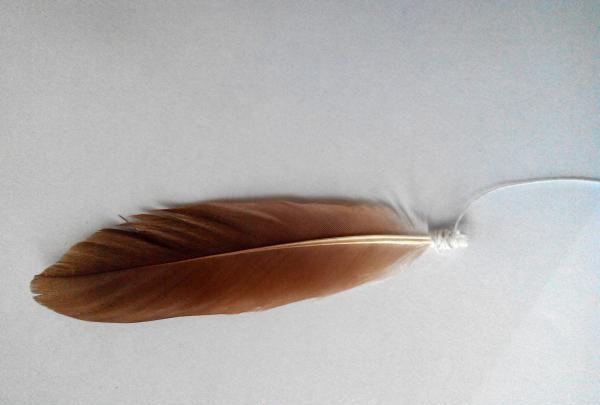
6. Braid the feathers with thread and leave part of the thread to tie the feather to the catcher.
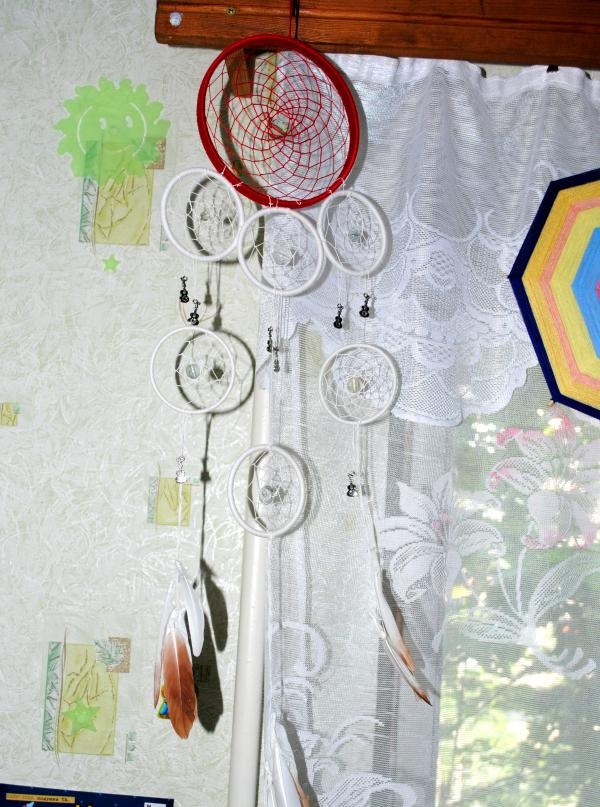
7. Check whether the rings are firmly attached to each other, whether the pendants, feathers and beads are secured. Feathers and pendants can be attached at different levels to make the catcher look beautiful in the wind.
The ancient Indians took seriously not only the materials from which the catcher was made, but also the colors that were used in the work. You can choose your favorite colors or use color therapy data.
Dream catcher - a great addition to your interior or original present to a loved one.