Do it yourself
Life hacks, master classes, useful tips, recipes.
home » Different » For children » Games with children » Educational game “Zoo”
This article will tell you how to make an educational game that will appeal to the youngest children. How to play Zoo? The little one will be presented with drawings of animals, and they will need to be sorted into cells with names. Thus, it will be possible to study with your baby not only the names of animals, but also the sounds that the animals pronounce: woof, meow, oink...

To make the game we will need the following materials:
1. Cardboard;
2. Paper;
3. Old magazines;
4. Markers or felt-tip pens;
5. Ruler;
6. Pencil;
7. Glue
8. Nine caps from plastic bottles.

Game for the little ones


Let's get started with the manufacturing process itself.
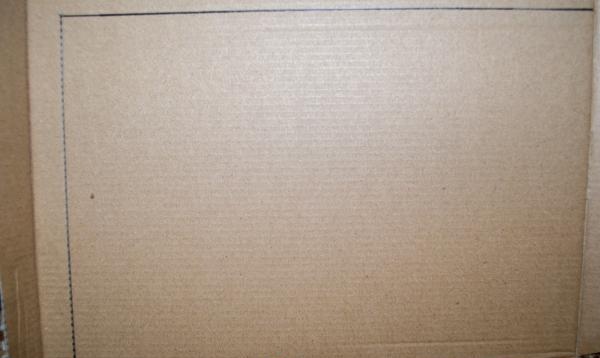
Step #1. Let's make the base.
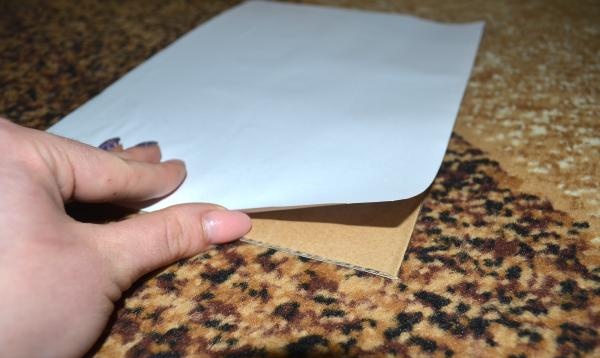
We take thick cardboard (you can use a cardboard box for this) and cut out a rectangle of A4 size from it. Then we glue a white piece of paper on it.
This stage is mandatory, since the base should not sag, otherwise it will quickly wrinkle and have an unpresentable appearance.

Game for the little ones


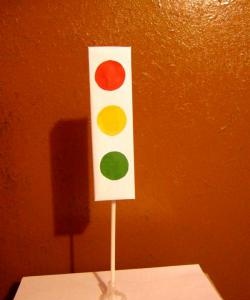
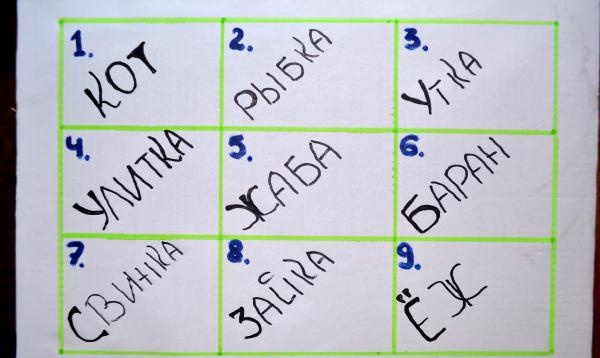
Step #2. We paint the base (tablet).
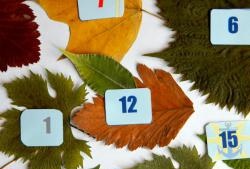
On our basis, draw a rectangle and divide it into nine even cells, highlight them with a marker. Then we number the cells and sign them.

Game for the little ones

Game for the little ones


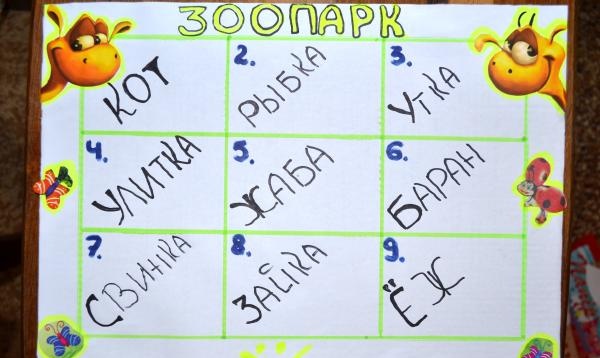
Step #3. We decorate the tablet.
We cut out various cartoon characters from old magazines and glue them outside the rectangle (cells).
Be sure to decorate the tablet, then it will be more interesting for your child to play “Zoo”.

Game for the little ones

Game for the little ones

Game for the little ones


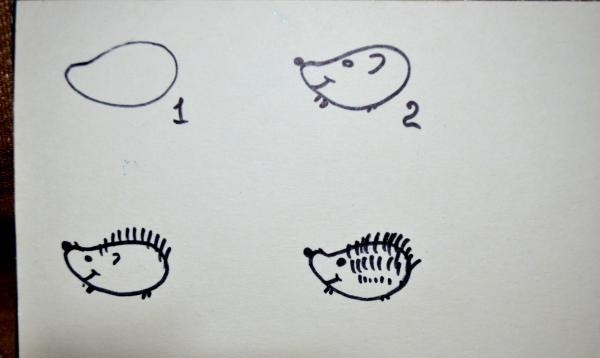
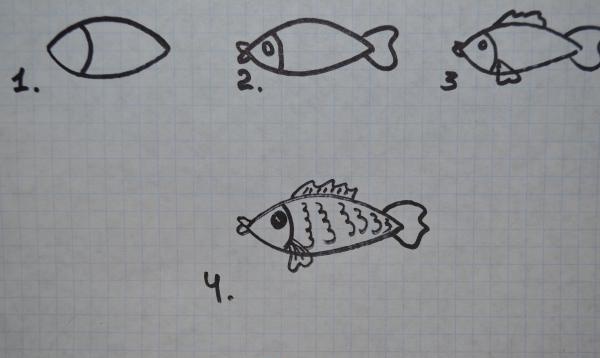
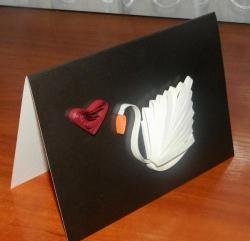
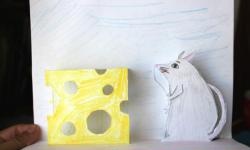
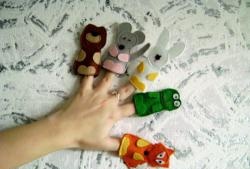
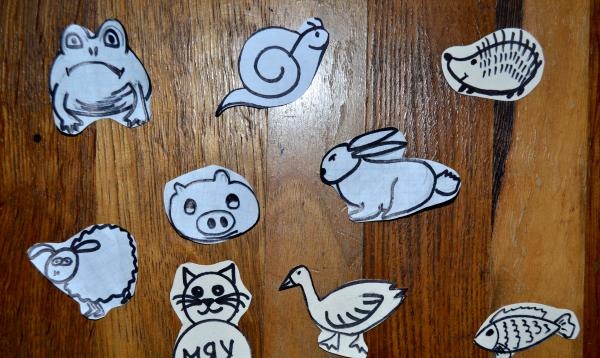
Step #4. We draw and cut out animals.
On white cardboard (you can take colored one) we draw the animals step by step as indicated in the example. Then we cut them out.
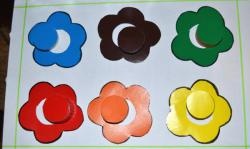
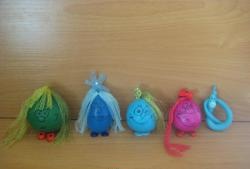
Step #5. We glue the animals onto the lids.

Game for the little ones

Game for the little ones

Game for the little ones


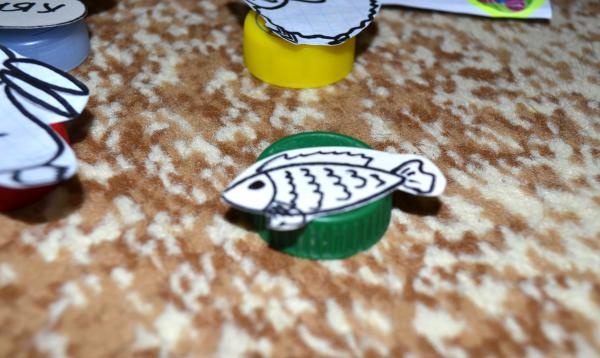
In order for the cardboard animals to keep their shape and be convenient for the baby to take in his hand, we glue them to plastic lids.
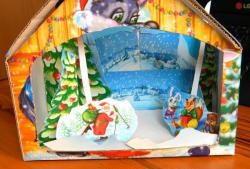
Our game is ready! Your little one will definitely appreciate this fun activity. Have a good time!
come back
Comment
  • bowtiesmilelaughingblushsmileyrelaxed relaxedsmirk
    heart_eyeskissing_heartkissing_closed_eyesflushedrelievedsatisfiedgrin
    winkstuck_out_tongue_winking_eyestuck_out_tongue_closed_eyesgrinningkissingstuck_out_tonguesleeping
    worriedfrowninganguishedopen_mouthgrimacingconfusedhushed
    expressionlessunamusedsweat_smilesweatdisappointed_relievedwearypassive
    disappointedconfoundedfearfulcold_sweatperseverecrysob
    joyastonishedscreamtired_faceangryragetriumph
    sleepyyummasksunglassesdizzy_faceimpsmiling_imp
    neutral_faceno_mouthinnocent
3+three=
Comments (0)

Do it yourself - crafts and master classes | Page 270

Electronics from China | Page 2 | Do it yourself

Do it yourself - crafts and master classes | Page 124

How to repair a remote control

«Do it yourself - with your own hands» - a site of interesting homemade products made from scrap materials and items at home. Step-by-step master classes with photos and descriptions, technologies, life hacks - everything a real master or just a craftsman needs for needlework. Crafts of any complexity, a large selection of directions and ideas for creativity.

We recommend reading

Washing machine error codes