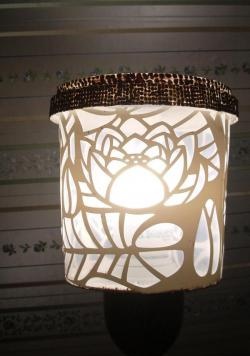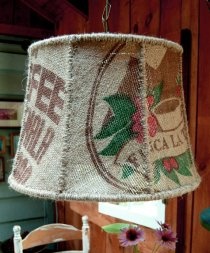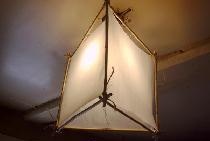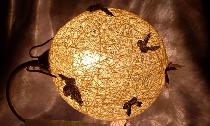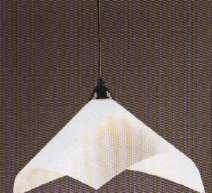
A lampshade, or lamp cap, does not have to be purchased in a store. You can make it yourself.
After renovating the room, a length of fiberglass remained. You can assume that you have in your hands the best material for making one or more lampshades with your own hands. All you need (aside from fiberglass) is spray glue, a ruler, and a hobby knife. In order for a new hand-made lampshade to be strong enough, it is glued together from two layers of material.
We recommend using primed fabric, then the lampshade will be stiffer. If you want to make several lampshades with your own hands, then first make a template from roofing felt or thin cardboard, according to which you can cut out several identical pieces of fabric.
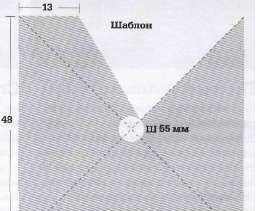
You can also use our template, the dimensions of which (48 x 48 cm) correspond to a regular lampshade. If you need a larger or smaller lampshade, this template is easy to adjust to the desired size. The diameter of the hole in the lampshade is 55 mm. The opening of the folded lampshade is suitable for a socket with a diameter of 40 mm.
Materials:
• primed fiberglass, 50 x 100 cm,
• durable adhesive in aerosol packaging,
• lamp socket,
• wire or lamp,
• paint in aerosol packaging,
• pencil,
• double-sided adhesive tape (optional).
Tools:
• hobby knife,
• ruler,
• roulette.
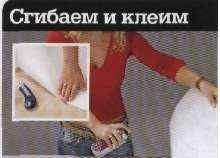
1. Apply glue evenly to the bottom of the fiberglass piece and bend the piece in half.
2. Press the top part to the bottom and smooth the material with your hands. If you use a primed cloth, the fiber will not remain on your fingers.
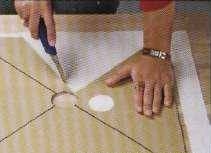
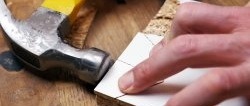
3. Cut out the template according to the dimensions shown in the picture. Place it on the fiberglass and use a hobby knife to cut it.
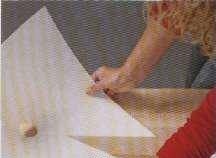
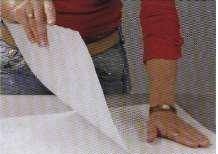
4. Bend the lampshade. After bending, you can mark places on the lampshade beyond the boundaries of which glue should not get.
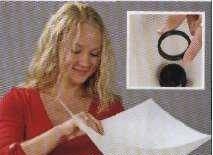
5. Cover the areas that need to be protected from glue with cardboard and apply it at the joints. We compress the parts and leave them for a while.
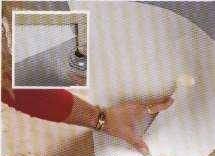
6. Insert the cartridge into the hole. We attach the lampshade using a ring placed on the socket. The lampshade should not be too close to the lamp.