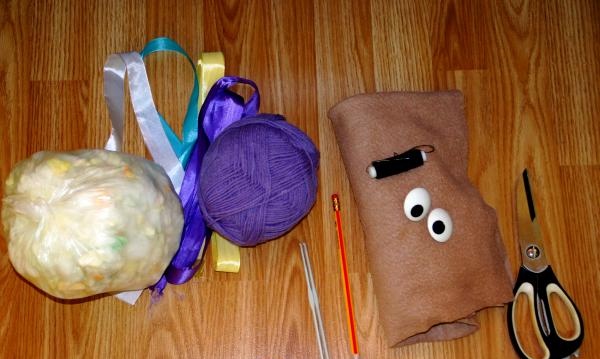
First, we need to prepare all the materials we need, namely:
- Sintepon (we will stuff the toy very tightly, so the more material you prepare, the better);
- Scissors;
- Pencil;
- Fleece;
- Ribbon;
- Eyelets with fastenings (you can buy glass ones, they are sold in almost any sewing store);
- Needle and thread (it is not necessary to select the thread according to the color of the fabric);
Let's try to crochet a skirt for our bear, for this we will need:
Yarn (best to match the color of the ribbon);
Hook (it is best to select it according to the thickness of the yarn, but a 2.50 or 3.00 mm hook is suitable for almost any thickness of yarn).
After all the tools and materials we need have been prepared, we can begin to work.
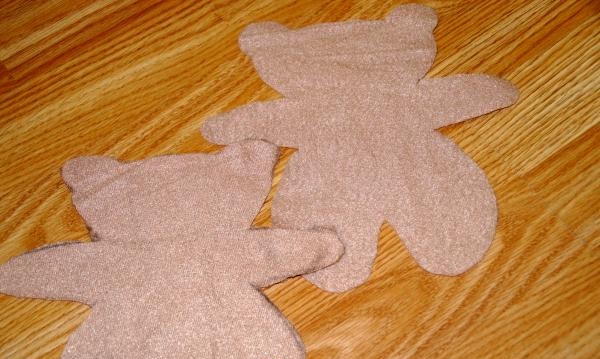
To begin with, you need to cut out two identical pieces from fleece, reminiscent of the silhouettes of our bear.
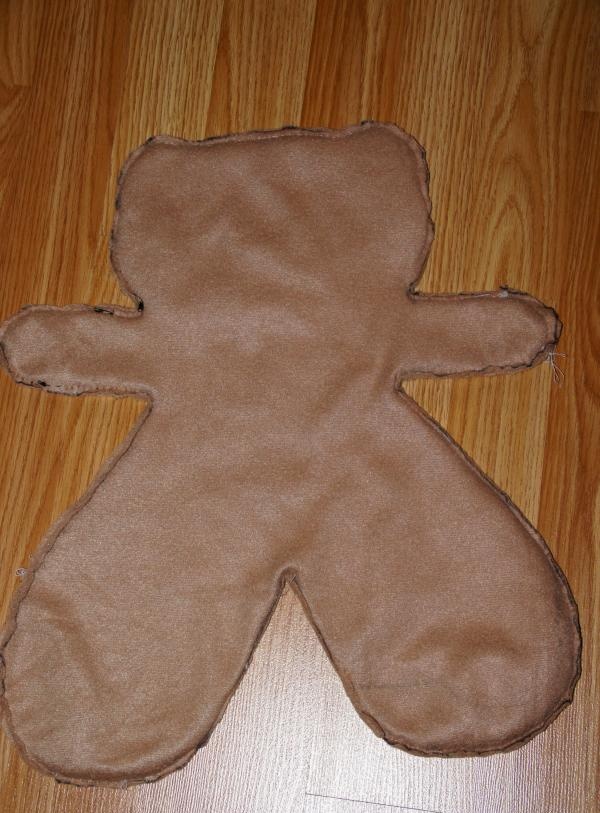
Now, we thread the needle (do not use too long a thread, most often it gets tangled). We take fabric pieces and stack them on top of each other. And only now we sew them together, not forgetting to occasionally turn the bodies inside out and check whether it turns out symmetrically.
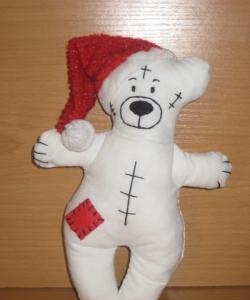
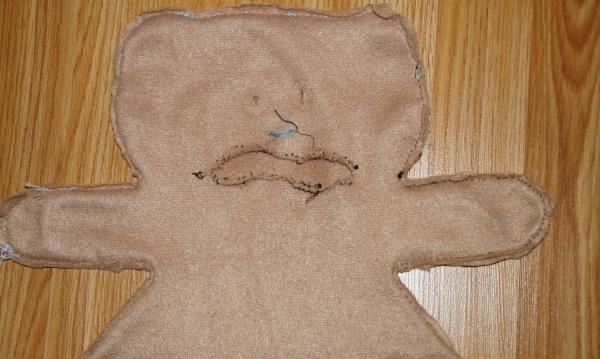
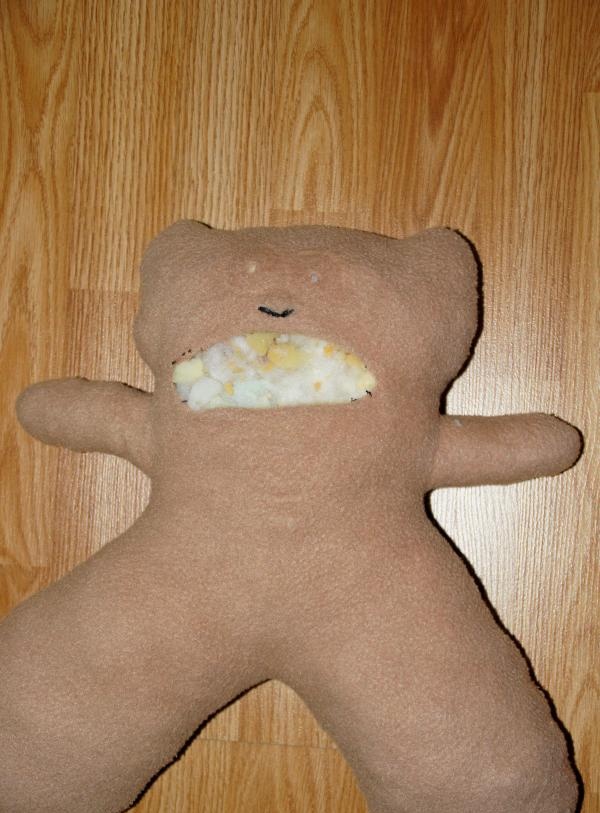
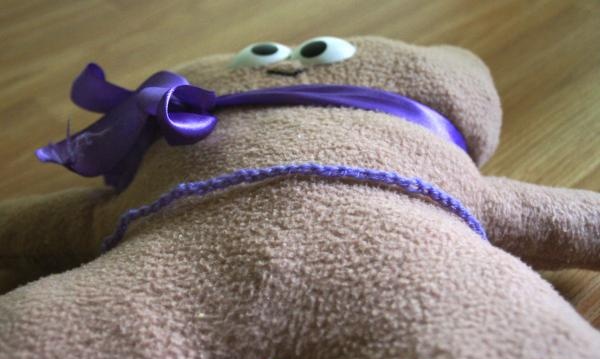
After our parts are completely sewn to each other, we make a hole in the place of the neck of our bear - a little later we will sew a bow into this place and turn the body inside out. We make holes for the eyes, if you bought eyes with fastenings, outline the curve of the mouth with a pencil and, turning the body over to the other wrong side (which we worked with earlier), sew the mouth with stitches. The end result should be something like this:
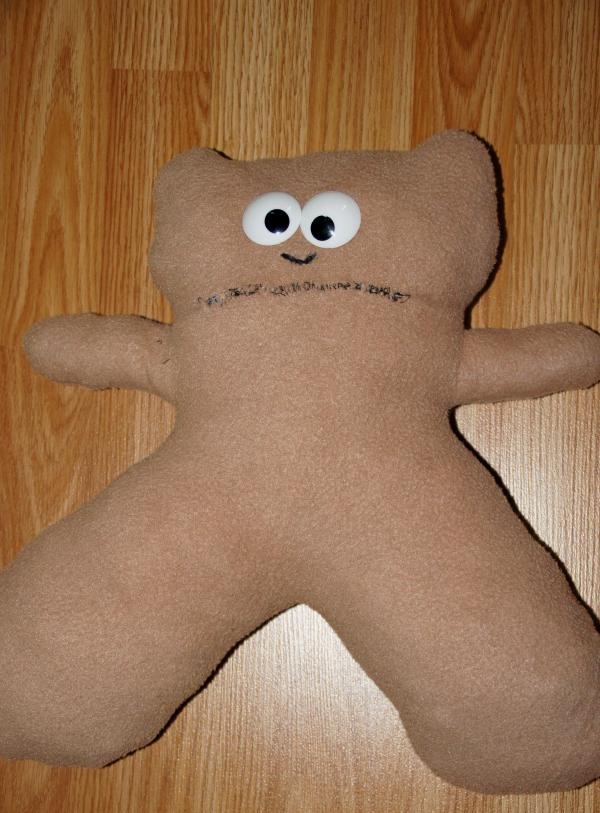
We turn the body inside out again and stuff it with padding polyester.
Next, insert the eyes and sew up the hole.
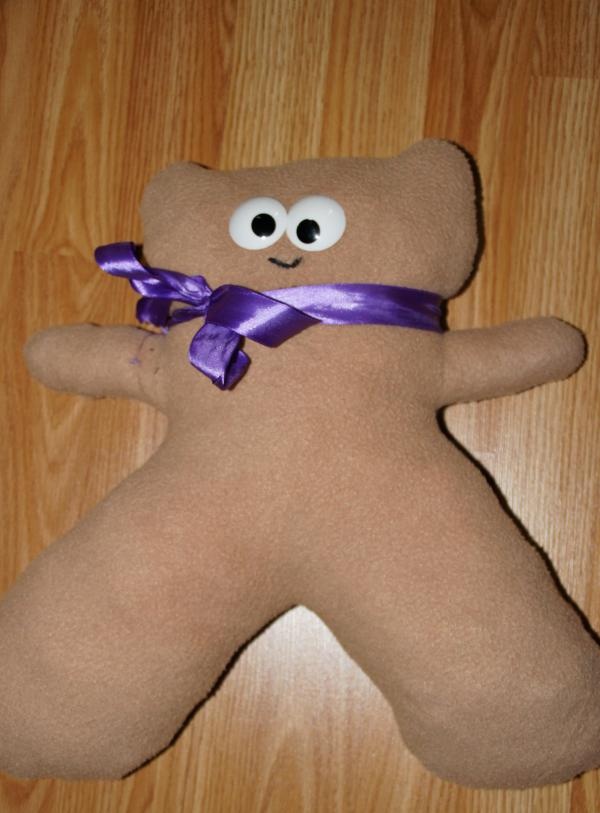
Now we tie a bow on the neck of the bear, which just covers the seam. The ribbon will constantly fly off, so the best option would be to sew it to the bear’s neck.
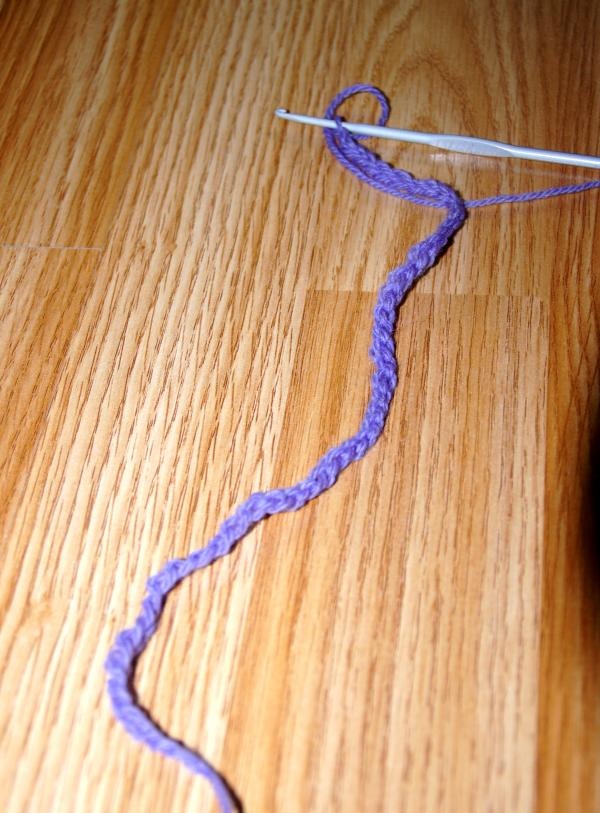
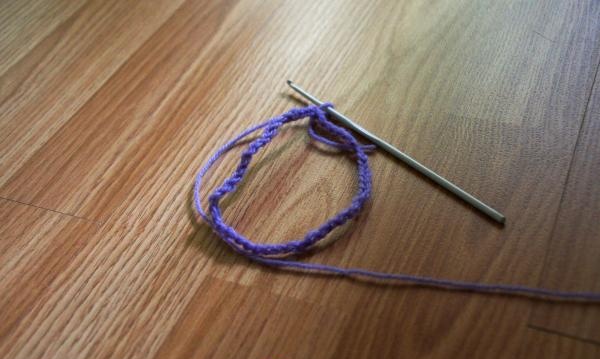
The bear is ready, the skirt is missing. As mentioned earlier, we will crochet the skirt. Therefore, we take yarn and a hook (I have 2.50) and make air loops. For those who are encountering crocheting for the first time, it is worth explaining how to work with a hook and make loops. The hook should be held with your working hand like a handle. The first loop is a knot, which is quite easy to make with a hook, the main thing is to practice. And it’s even easier to make air loops - you need to grab the thread that we hold in your left hand with a hook and pull it through the previous loop. This is how air loops are created. For the skirt, we need to make at least 20 air loops, their number depends on the size of your bear.
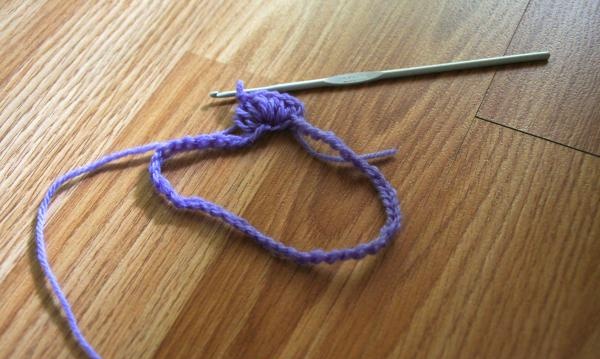
This is what air loops should look like:
We apply the knitted one to the bear and make sure that the loop is enough.
Having collected the required number of loops, we connect the last loop with the first and get a circle - this is the basis of our skirt.
Now we make the columns. If you want to make a fuller skirt, then make double crochets, and thread 2-3 double crochets into every third chain stitch.
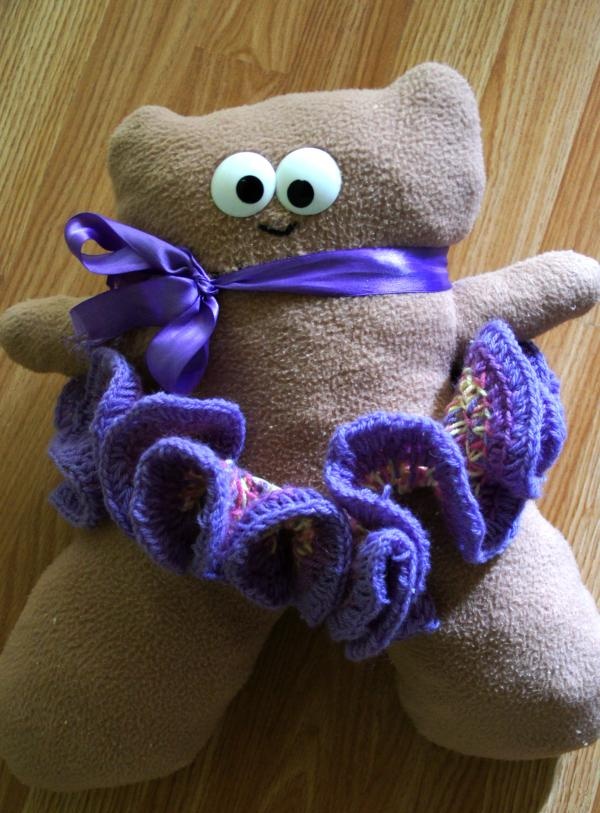
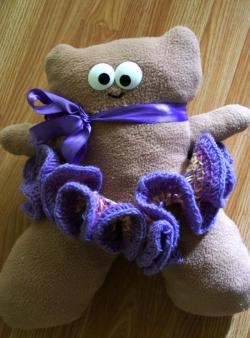
The end result should be a skirt like this. If you want a brighter skirt, you can change the yarn.
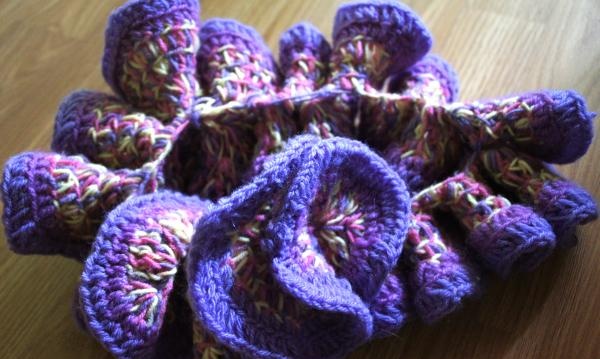
A teddy bear with a skirt seems much brighter, especially when the ribbon matches it in color.