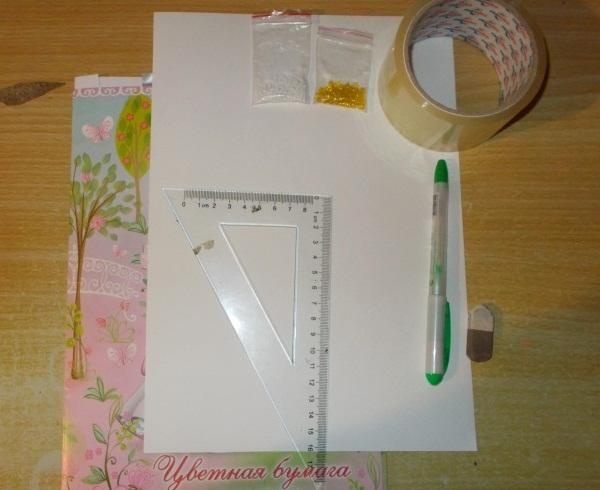
To make such a postcard we will need:
1). Fabric with inner fur (from a fur coat);
2). Scissors;
3). Threads matching the color of the fabric or fur, needle;
4). Glue, beads;
5). A sheet of paper or cardboard and a pencil to depict a sample of a toy;
6). Colored paper, white sheet of cardboard;
7). Tweezers, gel pen.

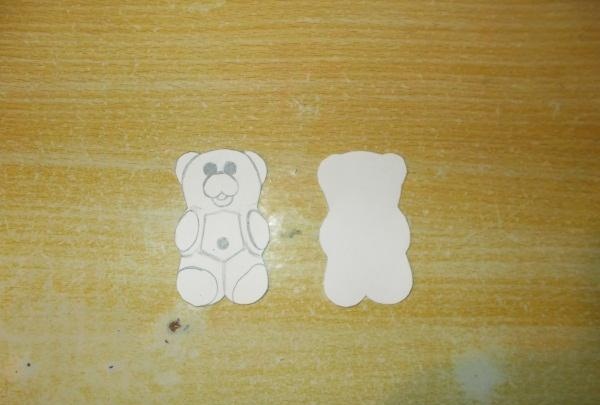
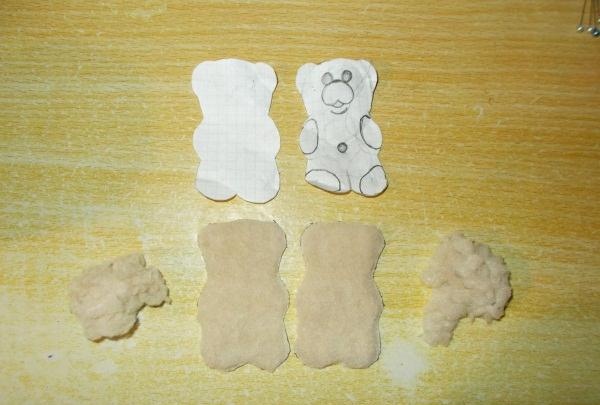
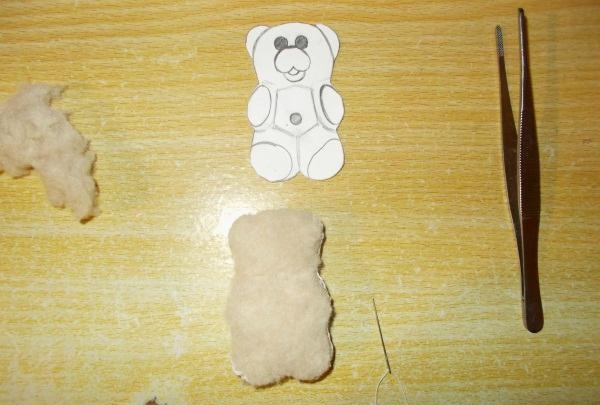
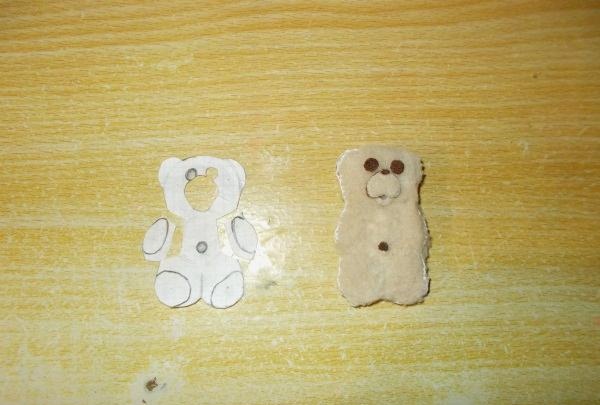
First of all, we decided to start making a toy bear. Having drawn a sample on a piece of cardboard on both sides, cut it out:
Now, having pinned the paper samples to the fabric taken for sewing, we cut out:
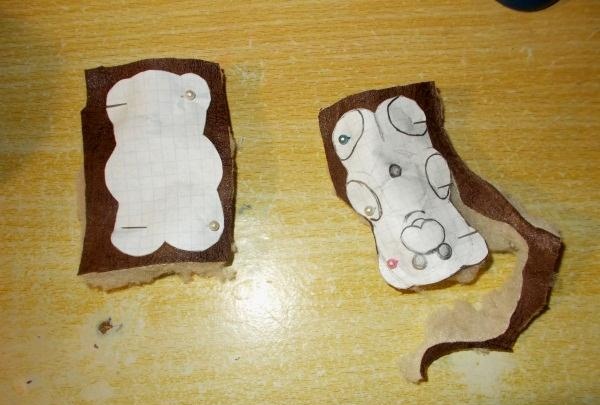
The fabric we took for work has a lot of fur. If you carefully cut the fur, it can replace the natural filler - cotton wool:
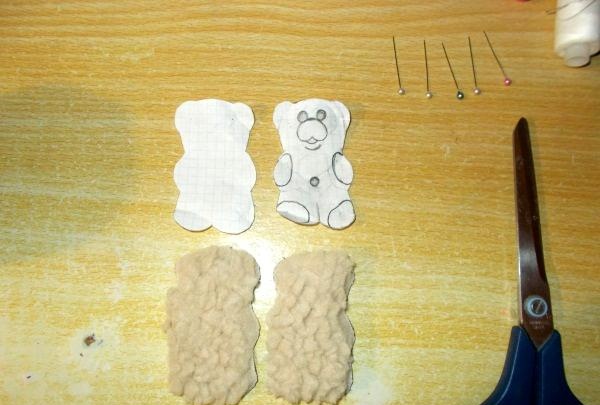
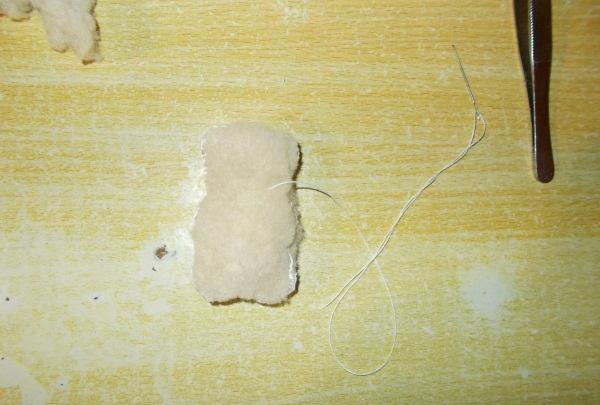
Sew fabric samples together:
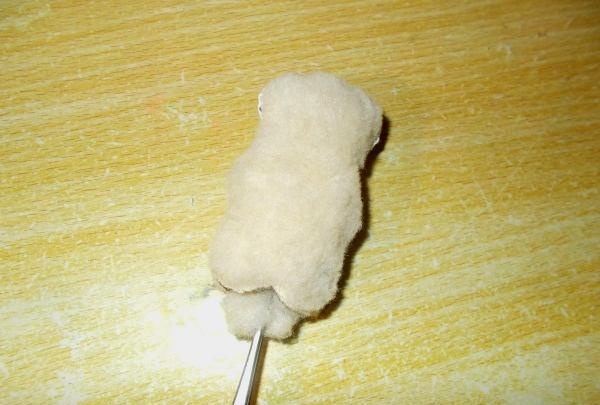
Fill them with fur:
Now we make seams running in the neck area and between the body with the legs, front and back.On the head you need to make seams separating the ears from the head:
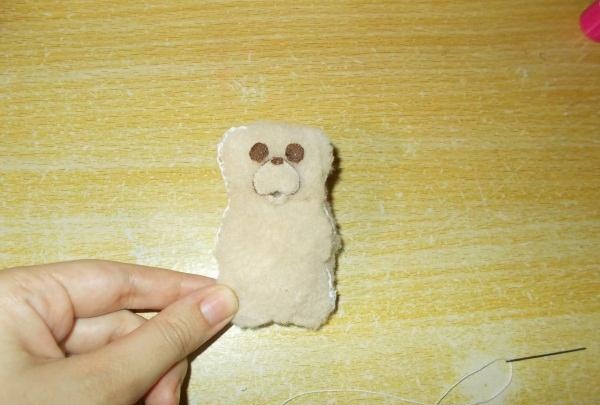
We cut out the small details of the muzzle from the paper sample - the nose and mouth, and cut them out of the fabric:

In the same way, cut out the eyes from the fabric. Then we glue them together with the muzzle to the head of the toy, after which, when the glue dries, we sew the eyes to the toy:
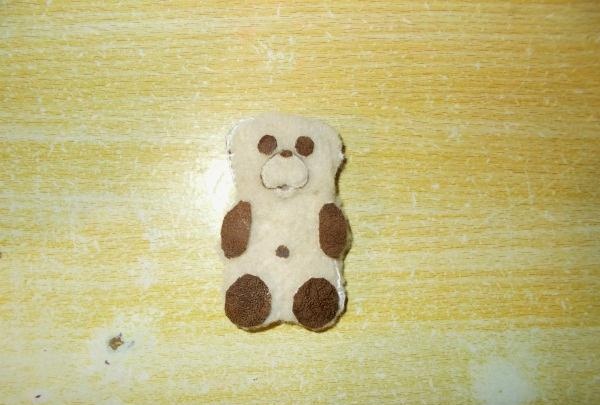
Glue the tail:
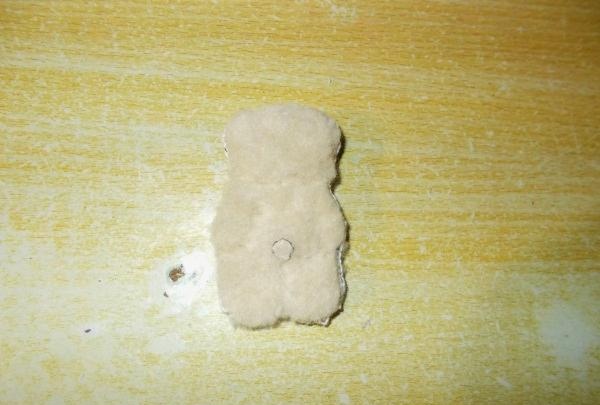
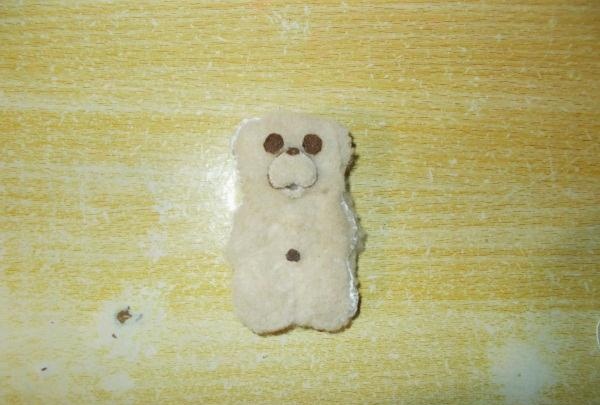
Glue the navel in front and start making the paws:

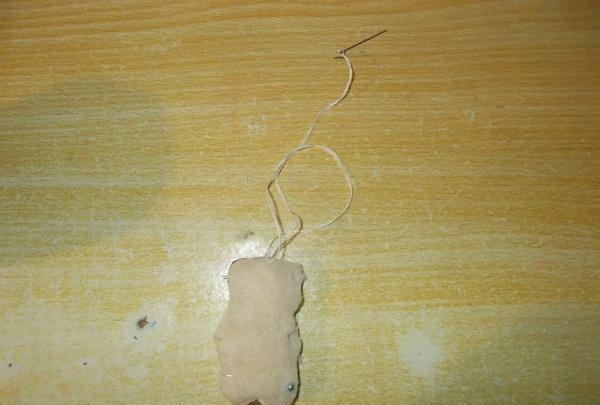
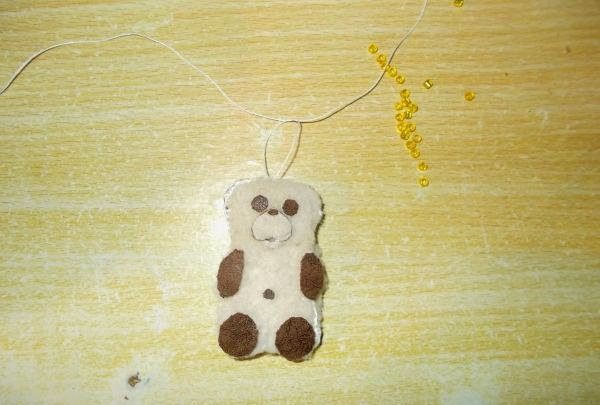
We pass the thread on top to make a loop. Having tied the thread, we put beads on it - any color, but preferably white and small in size:
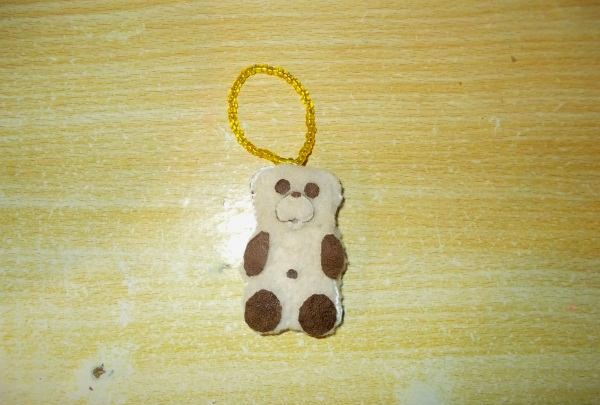
Now carefully sew the eyes, paws, navel and tail glued to the top with the leather surface to the toy:
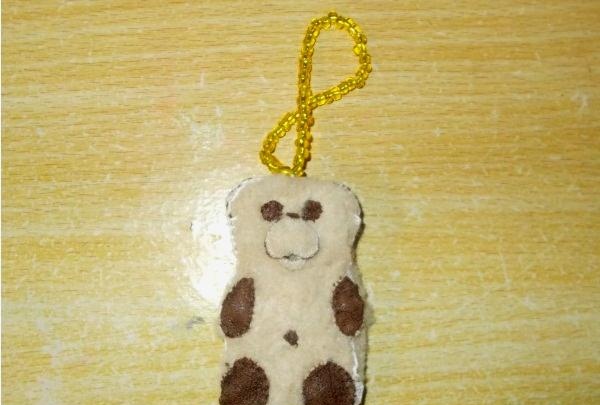
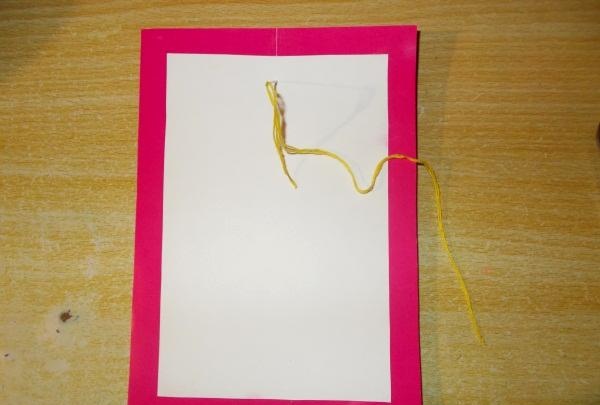
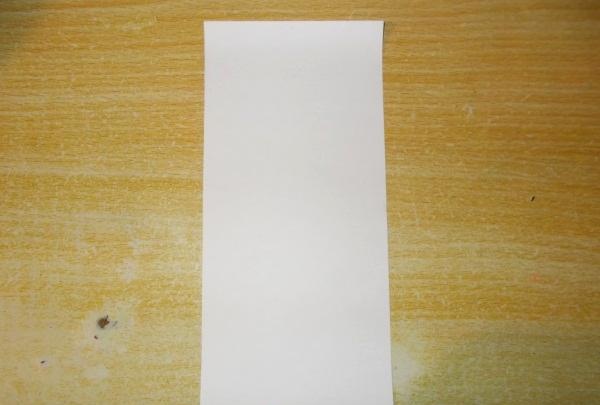
That’s it, our toy “Barney Bear” is ready. Now take a blank cardboard sheet of paper and bend it in half:

Cut out a suitable size sheet of pink paper for it:
From this sheet we cut out a frame for the front and then for the back of the card:


Sew the Barney toy to the card using the loop:

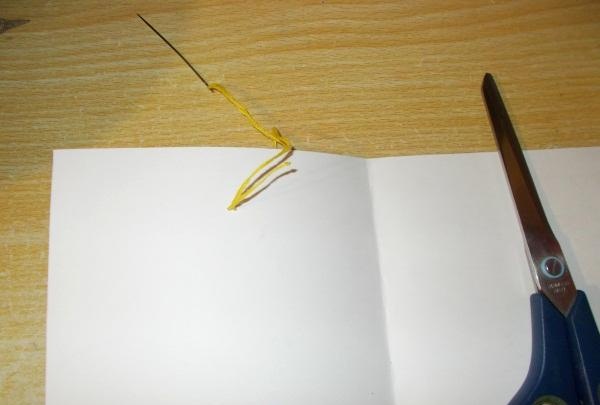
We tie the ends of the threads in the inside of the card (this knot is best suited):
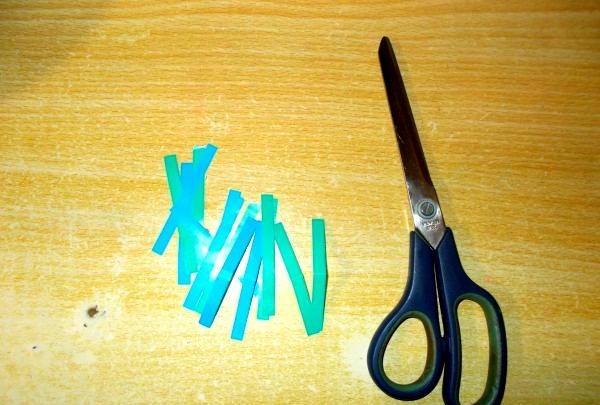
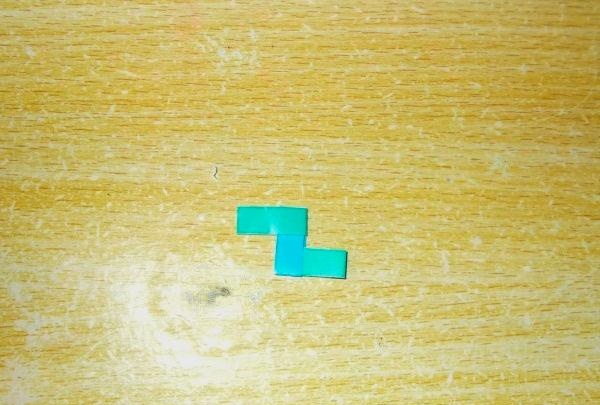
Now we cut strips of paper to make a wicker frame. We chose paper in blue and blue-green colors:
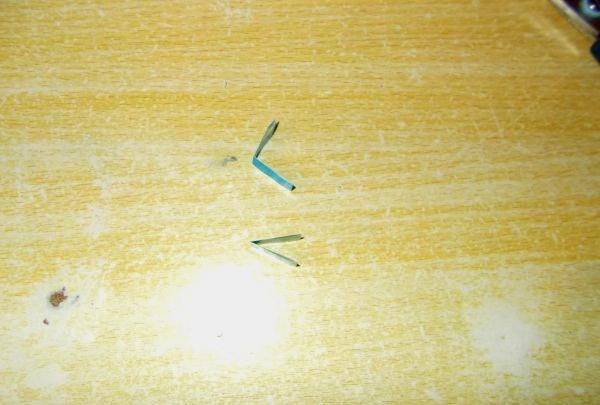
We take several strips and bend them in half, and then fold the ends to the center and glue them:

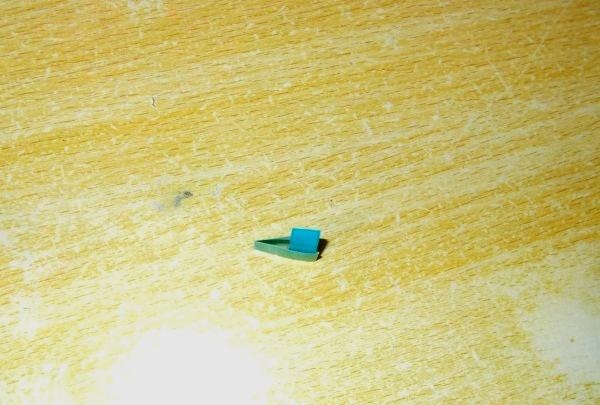
We insert one strip into another and glue them together:
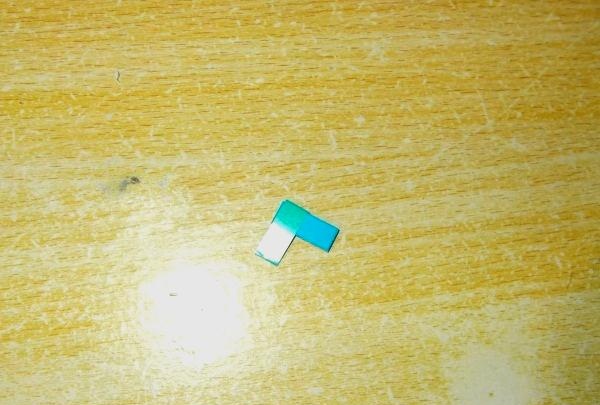
Next, we attach more and more strips and glue them together:
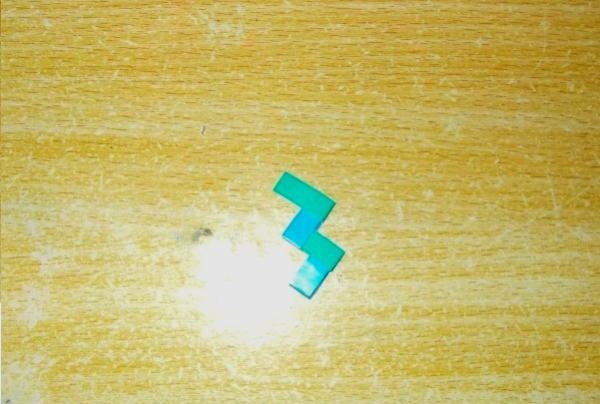
Having made the top part of the frame, we move on to making the sides:
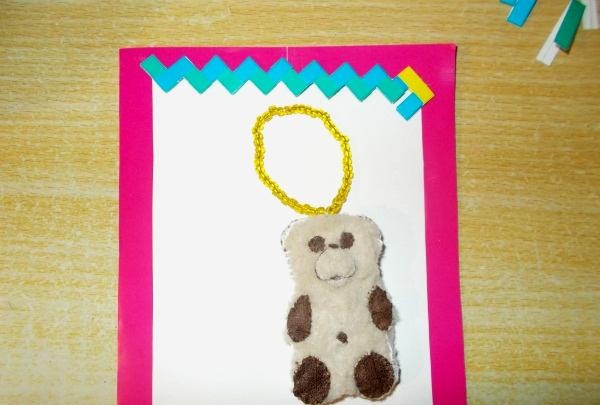
One of the sides of the yellow stripes just needs to be glued on top to the previous ones:
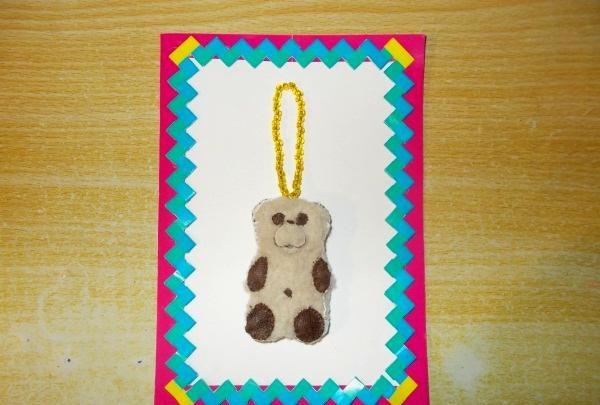
When the wicker frame is completely ready, glue it to the postcard:
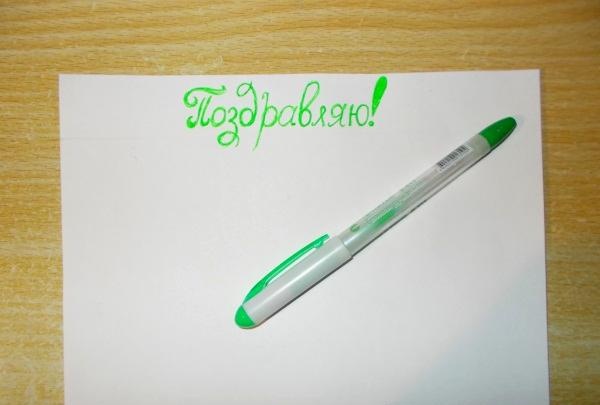
Now we make the inscription with a gel pen:
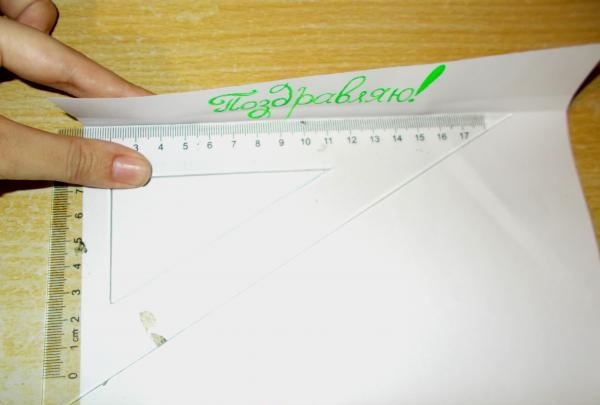
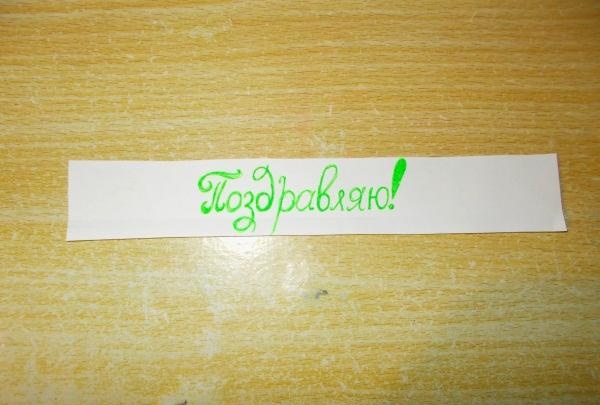
We cut out the inscription, measuring a straight line for the cut (we simply applied a ruler to the pre-made marks and bent the sheet):
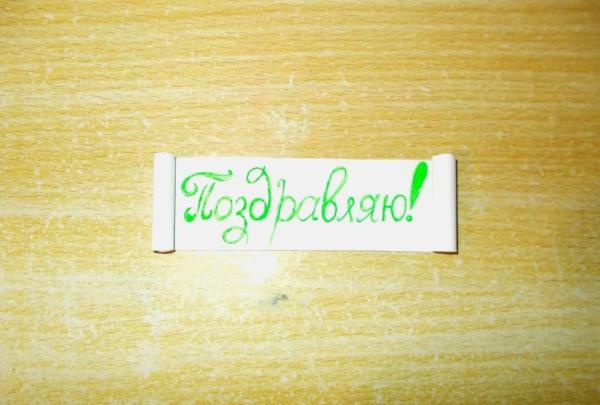
We roll the sides into tubes and glue them together:
We attach our inscription to the postcard:
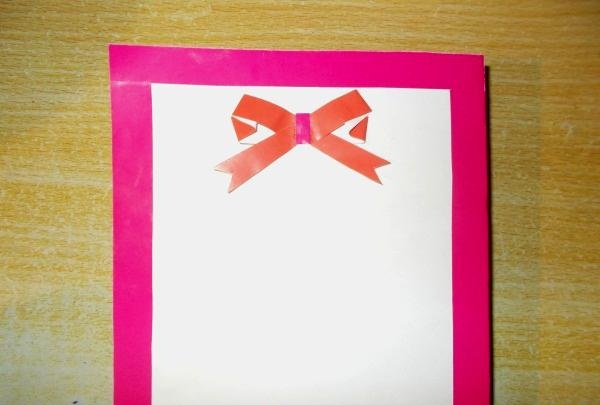
On the back of the card, if desired, you can make a bow from one strip of colored paper:
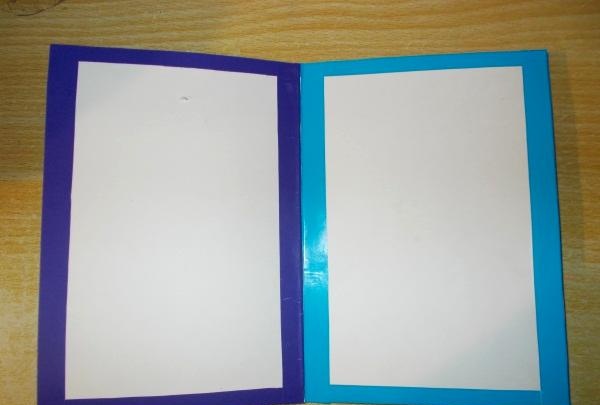
On the inside of the postcard, first we will make simple frames:
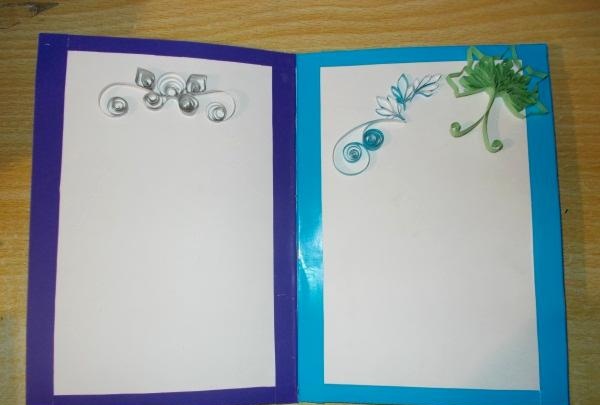
Little by little we fill the upper sides of the card with patterned figures made from twisted colored paper suitable for quilling:
Next, take a clean rectangular long sheet of paper and make a second bundle:

Roll up the top and bottom sides as shown in the photo:
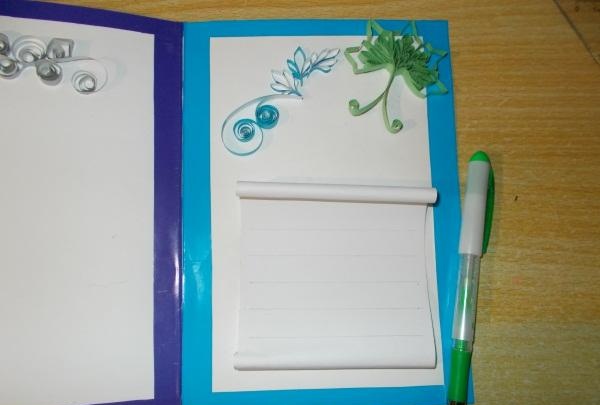
We carefully draw five lines on it - on them we will have to write a congratulatory poem:
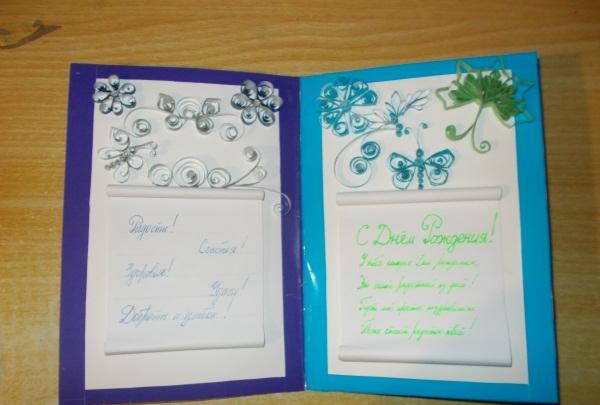
Having supplemented the children's card with patterned figures, we make a second similar package on which we will write wishes for the child:
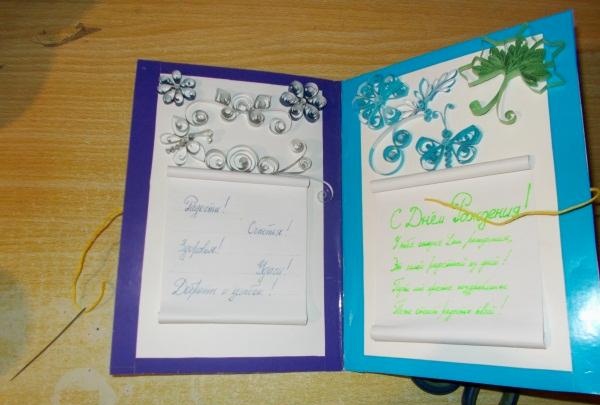
We thread thick floss threads through both sides of the card so that it can be kept closed; Thanks to this, the postcard will have a festive look:

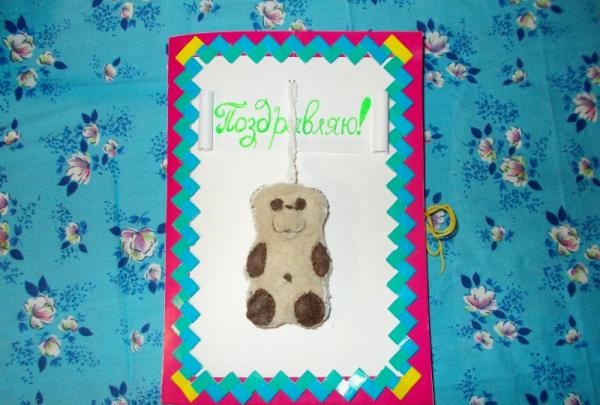
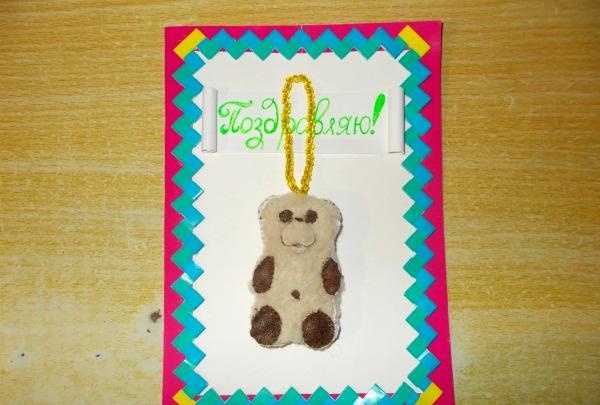
In order to better see the inscription “Congratulations!” on the main page, we decided to replace the beads in the loop of the teddy bear, choosing the most suitable color and size. We tie the card:
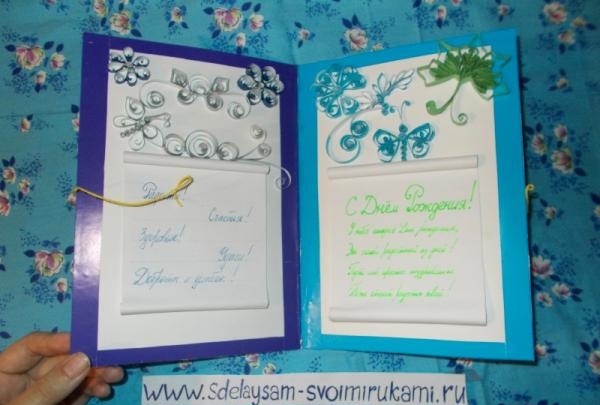
Our card is ready! She, without a doubt, will be able to please the child and, if he does not yet know how to read, then his mother or grandmother will be able to read a poem to him.
Sincerely, Vorobyova Dinara.