Do it yourself
Life hacks, master classes, useful tips, recipes.
home » Different » For animals and birds » Chicken coop
The idea of ​​​​making a chicken coop is not new and is relevant at all times as long as a person eats meat products. We're all familiar with the squeaking lumps in cardboard boxes, but a cardboard box is not exactly the right home for a chicken for a number of reasons. This article will present a relatively successful experience of creating a chicken coop for 250 birds with your own hands from wood and welded mesh.

First of all, we list all the necessary tools and consumables:
1. Board 10*2.5 cm.
2. Rail 3*2.5 cm.
3. Fasteners (screws of various lengths)
4. Welded and punched mesh with a cell from 0.5*0.5 to 1*1 cm.
5. Tools (circular saw, jigsaw or hacksaw, drill, screwdriver for convenience, hammer, stapler, it is possible to use additional tools)

The frame can be made of either wood or a metal square pipe. Metal is more durable and hygienic.
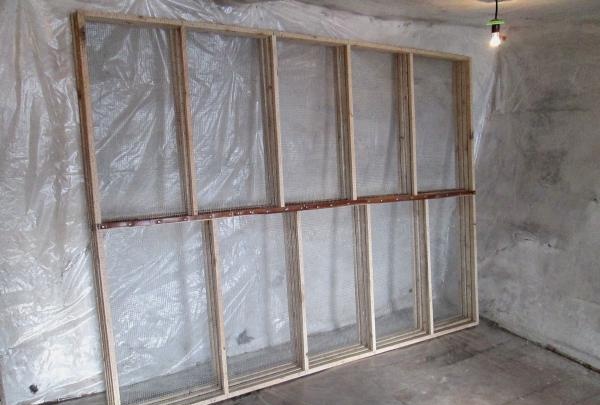
Frame


Let's start with the base, these are four identical mesh panels on a durable frame. Each of them will be either a floor or a ceiling for the “kids”, forming 2 tiers. Dimensions 195*260 cm. The length can be changed, but in width a size larger than the specified one is strictly not recommended.
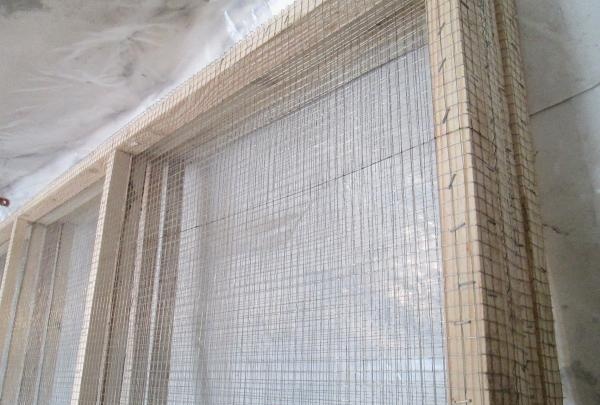
Frame


In this case, the welded mesh is fastened with a stapler with a twist at the ends at the edge and in the middle.It is very important to make the tension as effective and durable as possible. A more reliable option against sagging would be a punched mesh. It will provide increased rigidity.
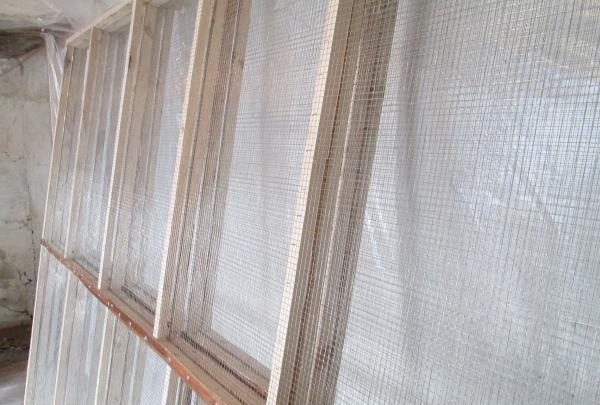
Frame


We prudently treat the joints in the middle with a protective material so as not to injure the chickens’ paws, for example, with a strip of linoleum.
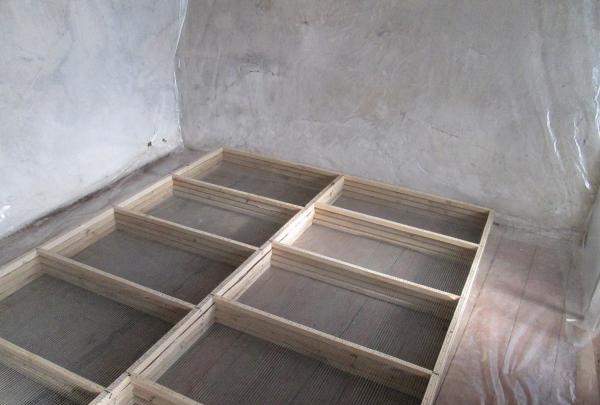
Frame


We make slots in the mesh for the racks in the same places and lay all four sheets with the mesh up on the prepared floor. It is worth taking care of the walls so that there are no drafts.
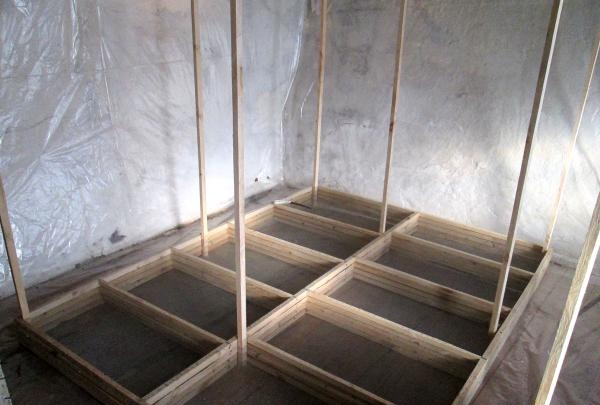
Frame


We insert the racks all the way into the floor into the prepared slots, and fasten them to the ceiling strictly vertically in level.
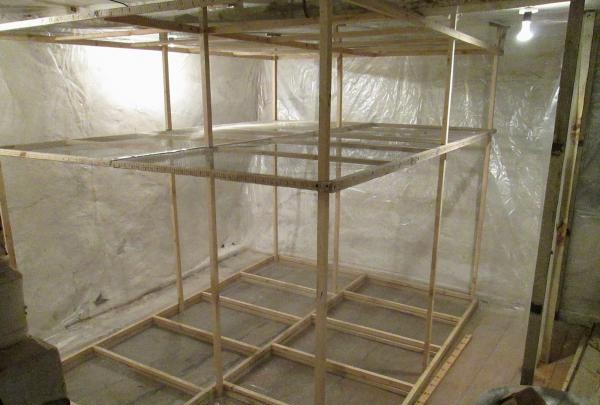
We collect the chicken coop


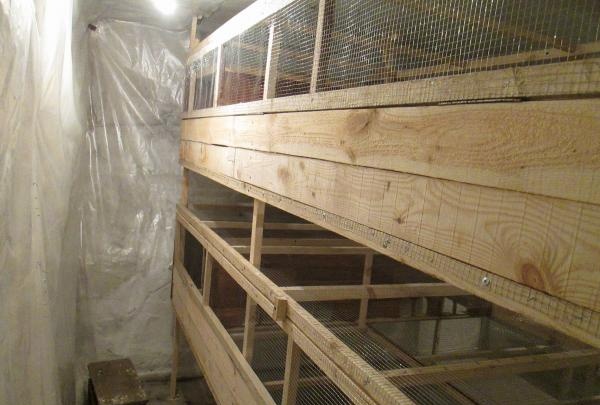
The next step will be fixing the ceilings and floors. The overall width of one tier was 58 cm. Between tiers there is a minimum of 22 cm, however, if you use pallets to collect litter, which will undoubtedly facilitate removal of litter, then less is possible.
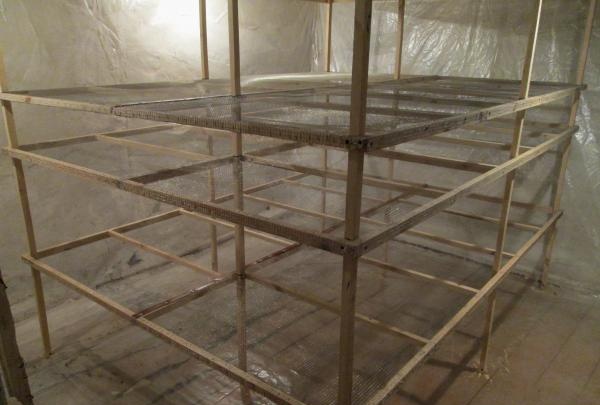
We collect the chicken coop


The distance between the floor of the lower tier and the zero floor is 52 cm.
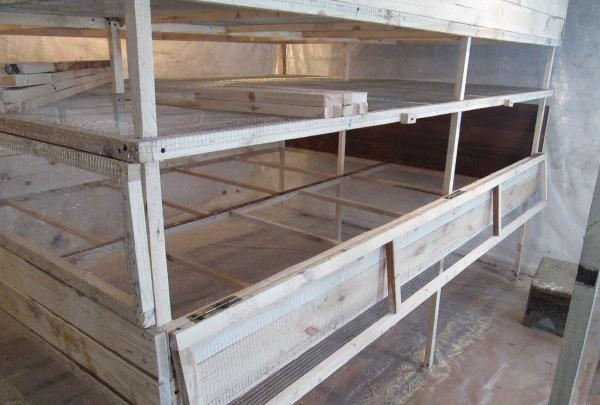
We collect the chicken coop


Sew up the sides. There are two 10 cm boards on the bottom and a transom on hinges on top.
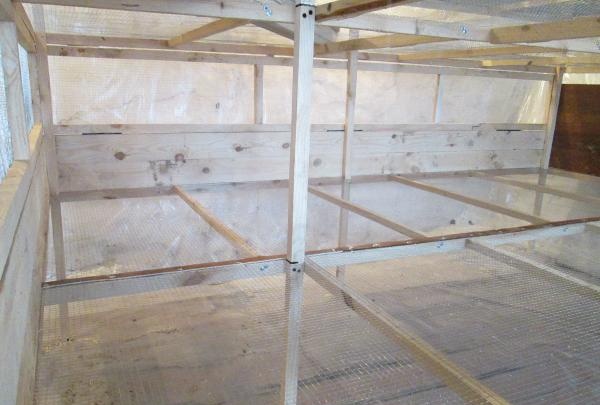
We collect the chicken coop


Our chicken coop is ready. All that remains is to make electrical wiring for 3 - 5 light bulbs for each level.
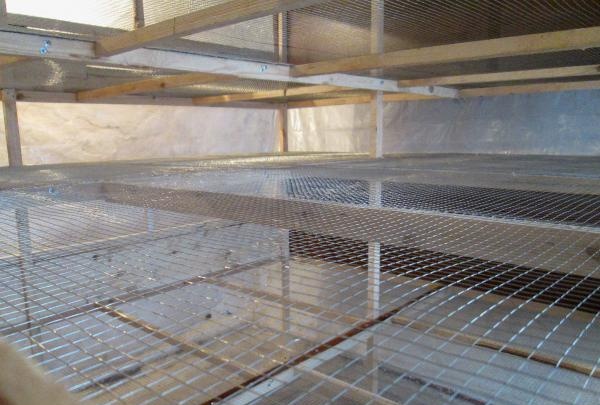
We collect the chicken coop


We lay newspapers, burlap or plastic film on the ceiling of the lower level and on the ground floor for easy collection of droppings.
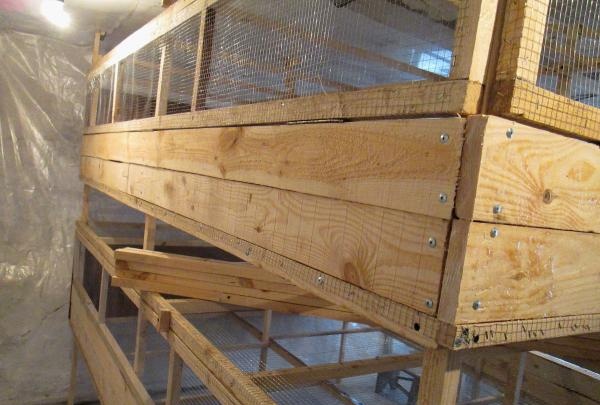
We collect the chicken coop


For a comfortable life for yellowmouths, you can build a heating tank by fencing off 60 cm on one side with a separate box.
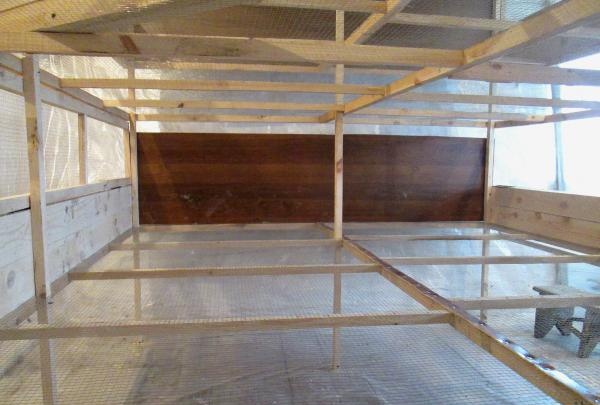
We collect the chicken coop


Practice has shown that the temperature in the heating room is only two degrees higher, i.e. if there are no drafts in the room, then you can do without it.
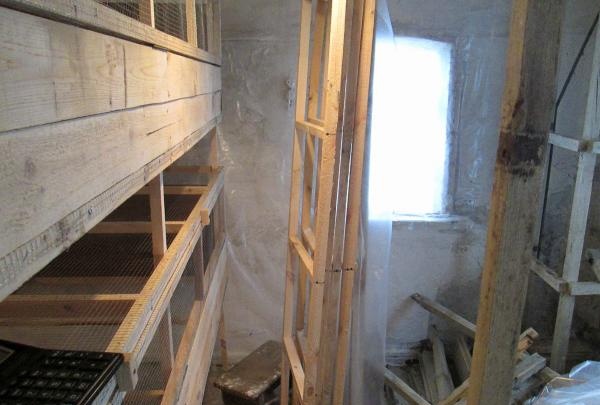
DIY chicken coop


The structure can be disassembled and installed in another location if desired.
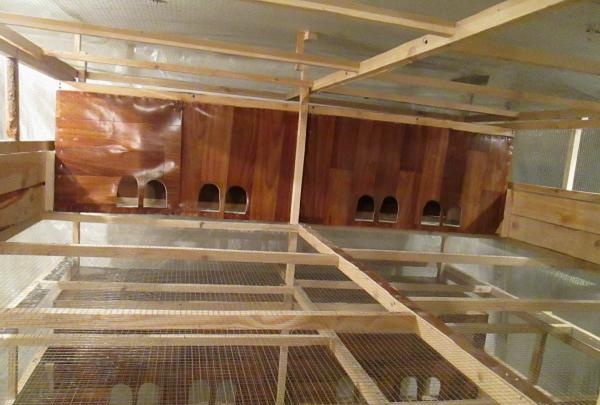
DIY chicken coop


Front view of the heating tank inside the tier.
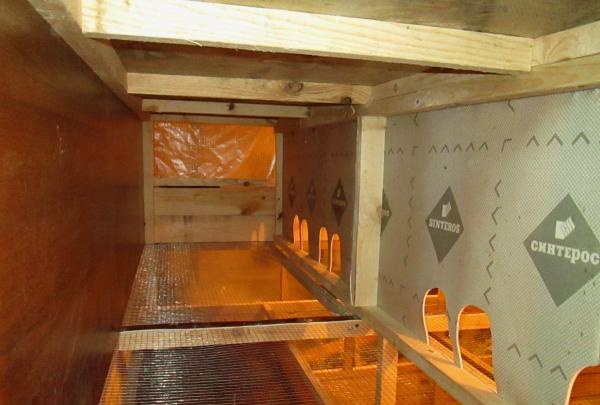
DIY chicken coop


Heater side view.

DIY chicken coop


Do not forget about safety precautions when making wiring for light bulbs.The cartridge should not come into contact with flammable materials and be at a distance of 10 cm from them.
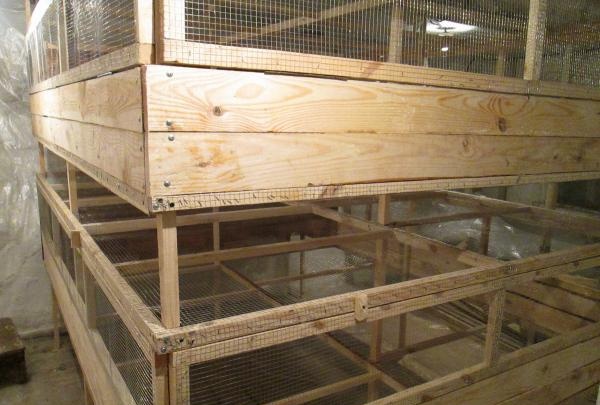
DIY chicken coop


Each tier of such a chicken coop can support up to 100 kg of live chicken weight.
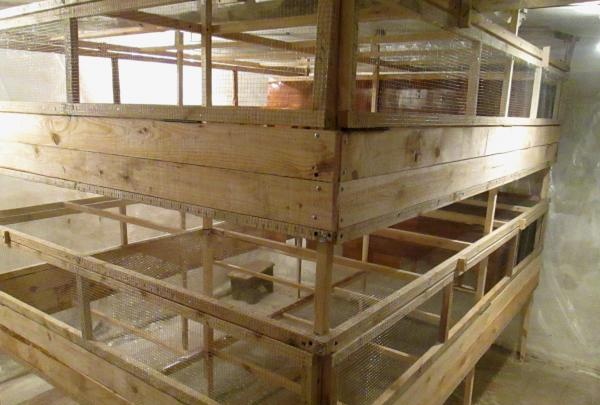
DIY chicken coop


The chickens will be delighted!
come back
Comment
  • bowtiesmilelaughingblushsmileyrelaxed relaxedsmirk
    heart_eyeskissing_heartkissing_closed_eyesflushedrelievedsatisfiedgrin
    winkstuck_out_tongue_winking_eyestuck_out_tongue_closed_eyesgrinningkissingstuck_out_tonguesleeping
    worriedfrowninganguishedopen_mouthgrimacingconfusedhushed
    expressionlessunamusedsweat_smilesweatdisappointed_relievedwearypassive
    disappointedconfoundedfearfulcold_sweatperseverecrysob
    joyastonishedscreamtired_faceangryragetriumph
    sleepyyummasksunglassesdizzy_faceimpsmiling_imp
    neutral_faceno_mouthinnocent
4 minus one =
Comments (1)
  1. Victor
    #1 Victor Guests 19 July 2015 23:24
    1
    Firstly, plaster mesh is not the right option. It is too thin and cuts into the paws of older chickens, and even more so if they are broiler chickens. Secondly, this structure cannot be properly washed or burned for disinfection, and the stands in the middle are, IMHO, superfluous. You need to make it steel, this will allow you to burn it with a blowtorch or gas torch, wash it, and avoid installing extra racks. Thirdly, pallets for collecting litter are required and this is not discussed. I say this from personal experience. Anyone who gets chickens for the first time can do it without pallets, but by the second season I got tired of rowing, and I made other cages with pallets.V-N-nyh, where are the feeders? where are the drinking bowls? how many doors are there on each floor? Why are the floors so low? Why is there such a large distance between the floor and ceiling? If we are already talking about safety, then why is there 220 volts in a wooden structure? You can heat it with an infrared heater even in winter, if the barn is not full of holes and the walls are not thin. And light it with LED strip. So, before proposing designs for repetition, you need to think them through well... if not on your own, then at least on the forums, or just read how people do it. Good luck to everyone and the search engine to the rescue!

Vibrating mouse for games. | Do it yourself

How to collect and store onions so they don't spoil

How to make a hole punch for gaskets

Earrings “Cakes with cream roses” | Do it yourself

«Do it yourself - with your own hands» - a site of interesting homemade products made from scrap materials and items at home. Step-by-step master classes with photos and descriptions, technologies, life hacks - everything a real master or just a craftsman needs for needlework. Crafts of any complexity, a large selection of directions and ideas for creativity.

We recommend reading

Washing machine error codes