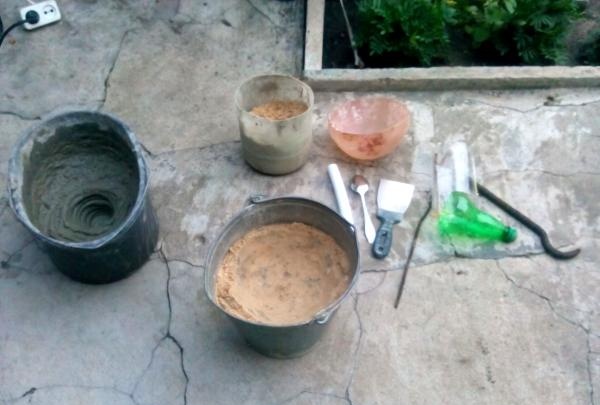
So, you will need:
• Sand;
• Cement;
• Glue for laying tiles Ceresit, Moment or other brands;
• Rubber ball (you can take an old one you don’t need or buy the cheapest one);
• Plastic 2-liter soda or beer bottle.
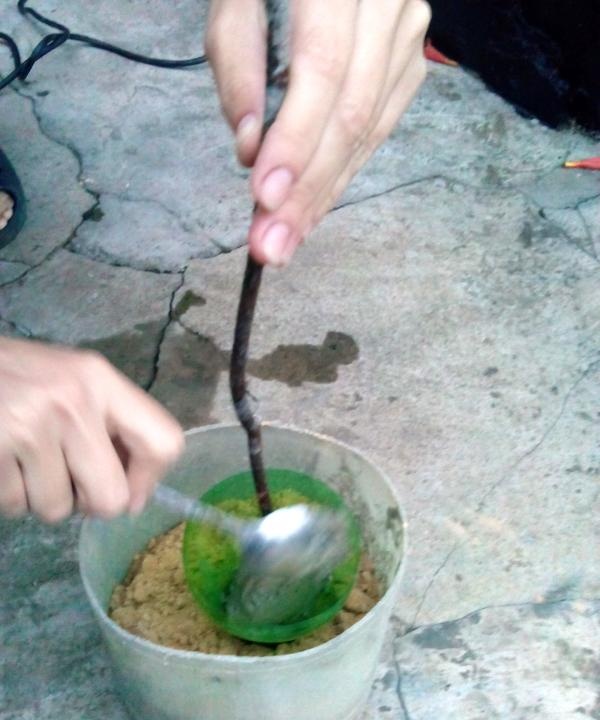
• Metal rod or fittings.
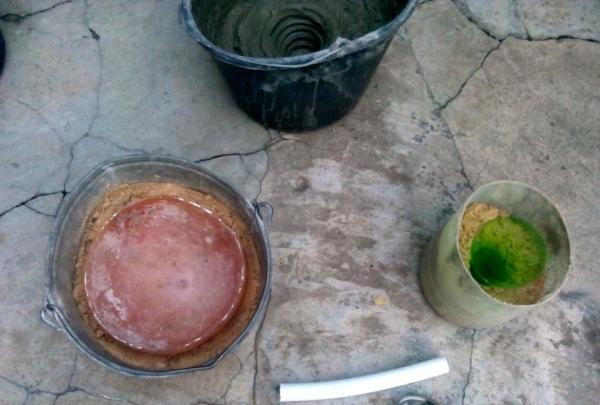
Cut the rubber ball into two parts. Next, take a bucket and pour sand into it. We make a hole in the sand and place half a rubber ball in it. If you just put the ball on the ground, then there will be an ugly fold-dent on the top of the future mushroom cap.
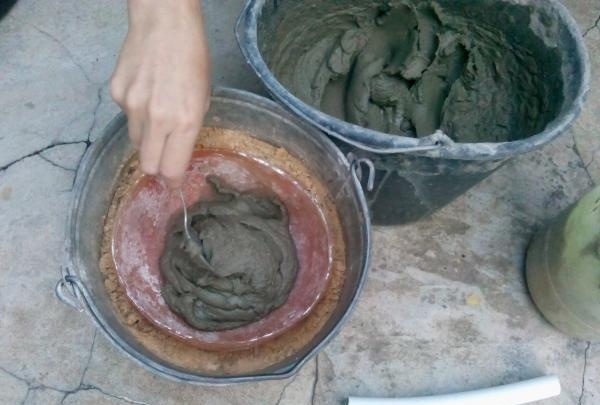
Now it's time to make the concrete mixture. To do this, you need to take sand, cement and glue for laying tiles or glue for reinforcing or gluing polystyrene foam boards.Glue is necessary so that the mixture is more plastic and durable, and in the future does not crack. The proportion is: 1/2 sand, 1/4 glue and 1/4 cement. When you add water, you should not pour too much, because the consistency should not be too liquid.
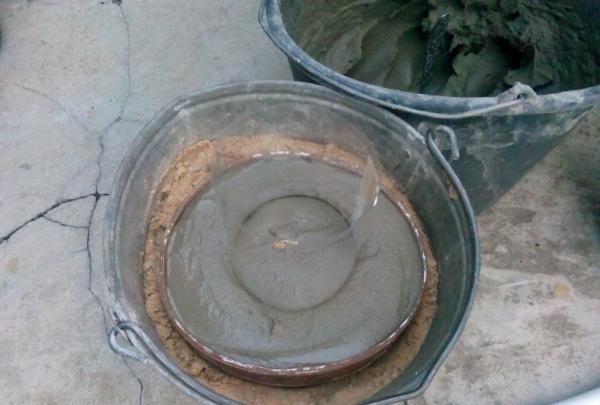
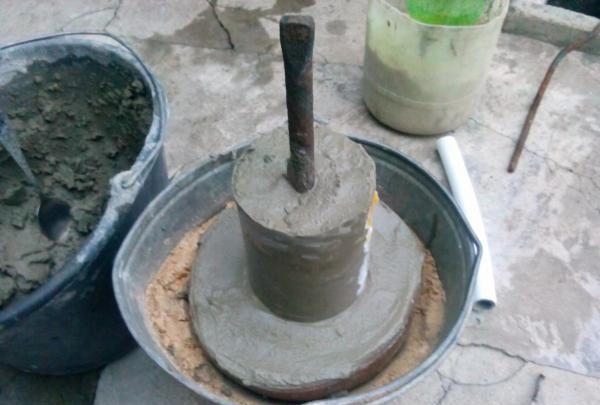
Fill half of the rubber ball to the brim with the resulting concrete mixture and level it. We take a plastic bottle cut off at both ends and bury it in the center one centimeter into the filled half of the ball. We insert the reinforcement so that it connects the bottle (mushroom stem) and half of the ball (mushroom cap). It's time to fill the cylinder made from a plastic bottle with concrete mixture.
After all this has been done, you need to let the product dry.
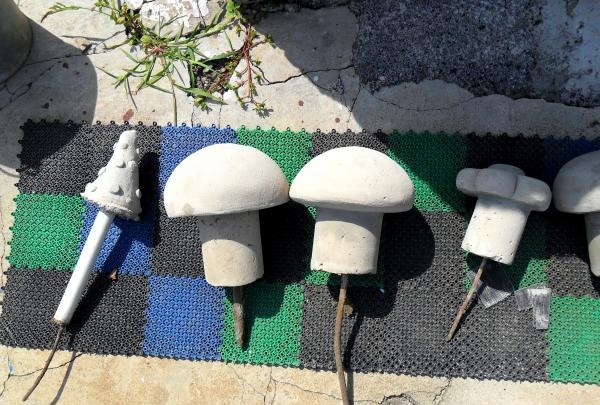
The rubber ball can be removed the next day so that the mushroom cap dries faster, and the mushroom stem should be kept in a plastic cylinder for at least three days. After this period, you need to take a construction knife and cut the plastic cylinder, freeing the mushroom stem. Now it is necessary that the freed stem of the mushroom, while in the open state, dries well.

A small clarification needs to be made here. When the ball is removed, the mushroom cap will already hold a good shape, but will still be damp and pliable for making some adjustments. Using a spatula, it is recommended to slightly round the edges of the mushroom cap. If there are minor voids on the surface in the mushroom cap or stem, then they should be filled with a solution. After the mushroom has dried well and petrified, it must be opened with a primer. The primer will protect the mushroom from various weather conditions, and in addition will become an excellent basis for further painting.
Various materials can be used as paints: spray paint, oil paint, acrylic paint, etc. If you want your mushroom to shine in the sun, then after painting it, you can cover it with a layer of varnish. The mushroom can be painted in various ways. If you make a red hat and white circles on it, then you will get a very interesting, fabulous fly agaric. If the mushroom cap is brown, you will get a boletus. If you want something unusual, you can gild the mushroom cap using a can of gold paint. And if you like the idea with the fly agaric, then you can paint the mushroom cap red, and buy white glass pebbles from a craft store and stick them on with glue.
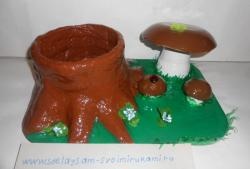
Mushrooms look great when they are presented as a group. It is desirable that the mushrooms have different sizes, then this will make them doubly realistic. For mushrooms of different sizes, balls of different diameters and plastic bottles of different sizes are needed.