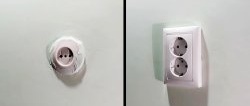
When replacing an old socket with a new one, a problem arises with replacing the socket. To ensure that everything holds securely and the socket does not become loose in the future, it is necessary to somehow firmly secure the new plastic socket box in the wall. Of course, this is not difficult to do, but not everyone knows what, how and with what to fasten it.

Required materials and tools
To replace sockets, we will need:- New socket;
- Socket box;
- Indicator screwdriver - http://alii.pub/64bk4x
- Spatulas;
- Putty or alabaster;
- Insulating tape;
- Screwdrivers (phillips and flathead).
Removing the old socket

It is necessary to remove the cover from the socket by unscrewing the central screw with a screwdriver. Then use an indicator screwdriver to check for voltage. The wire with the phase must be marked or at least remembered. The next mandatory step is to turn off the power supply in the electrical panel. After turning off the power, check the voltage at the ends of the wires again with an indicator.
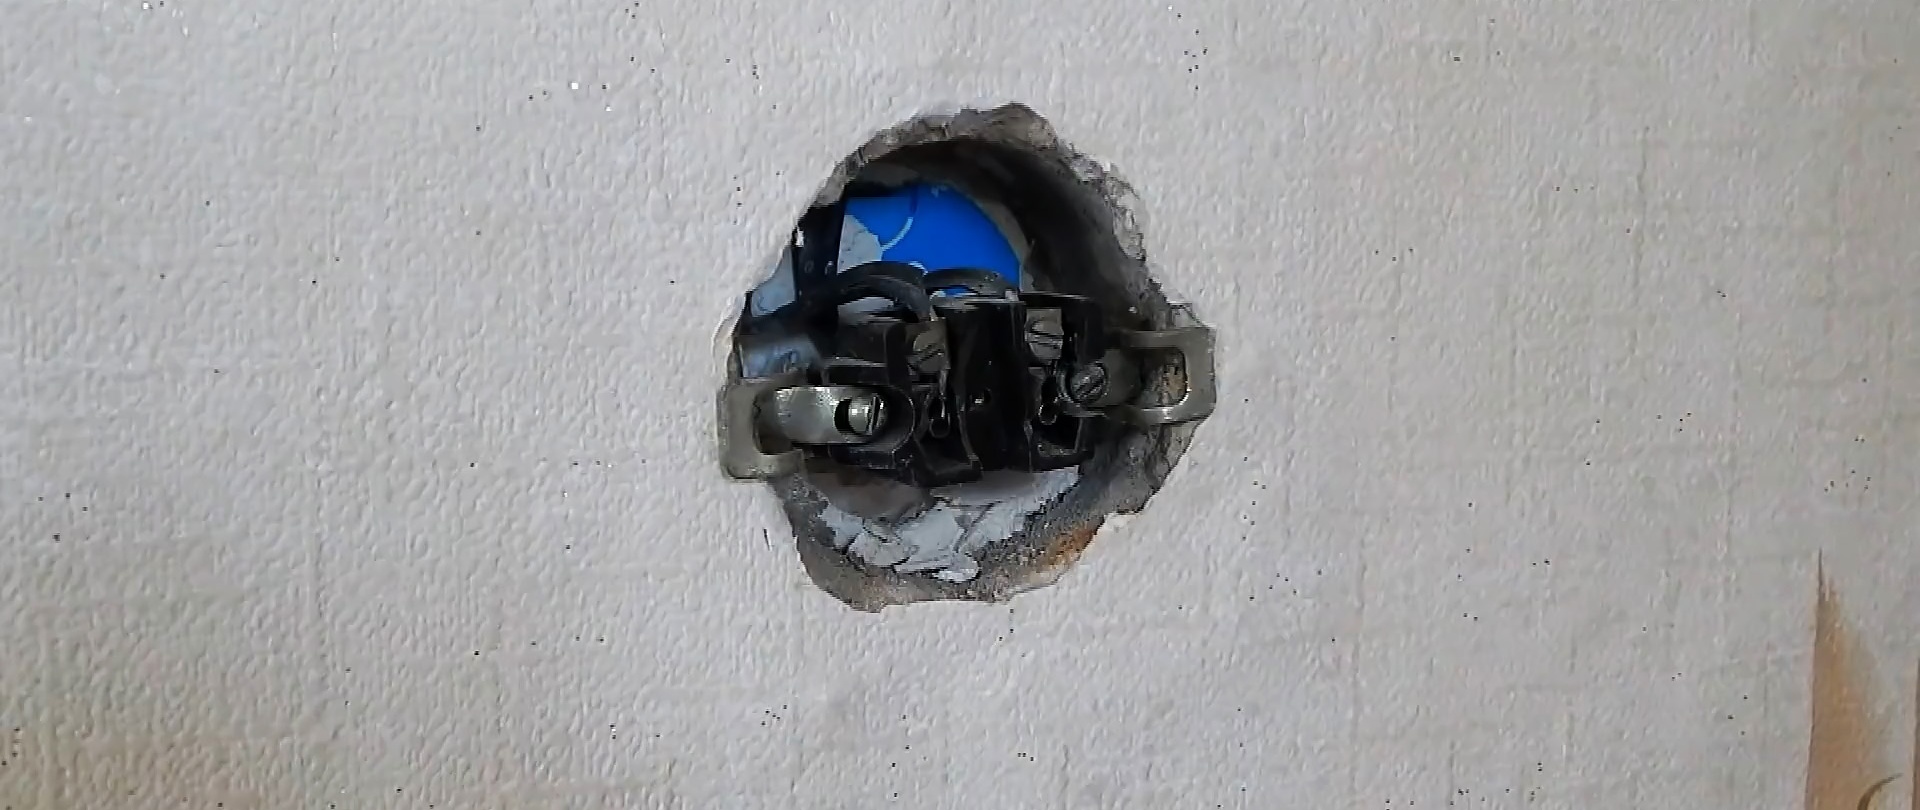
After making sure that there is no current in the socket, unscrew the spreading tabs.
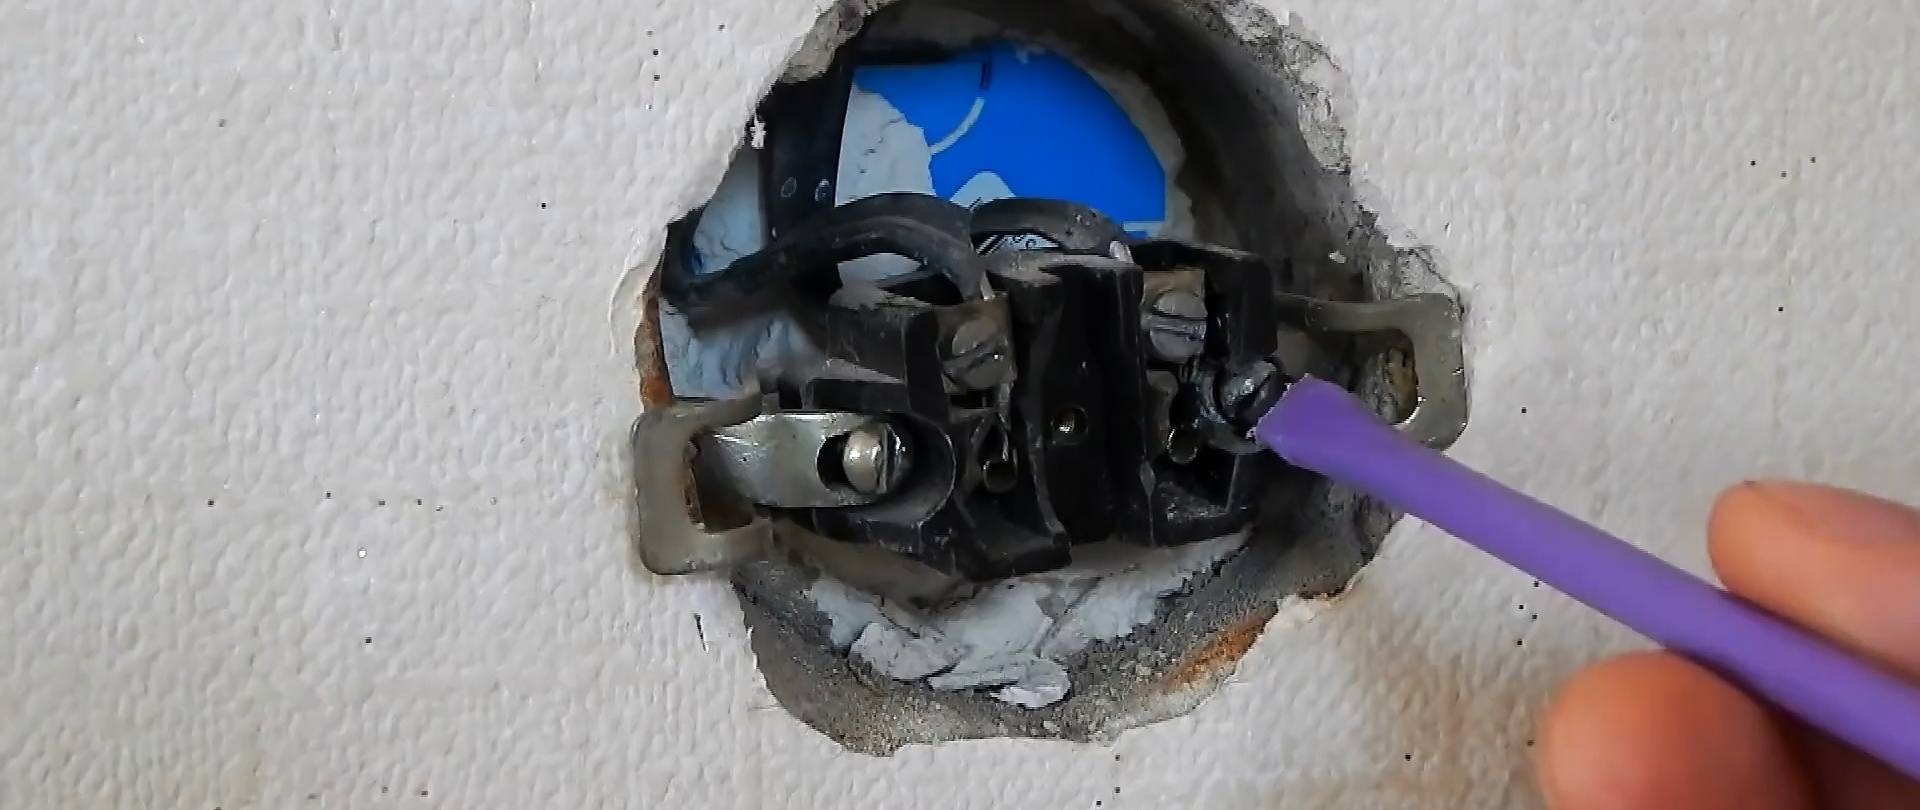
Then unscrew the screws of the power contacts of the socket and release the wires. After this, the old socket can be removed.Exposed wires must be wrapped with electrical tape.
Replacing the socket box
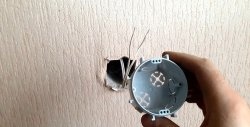
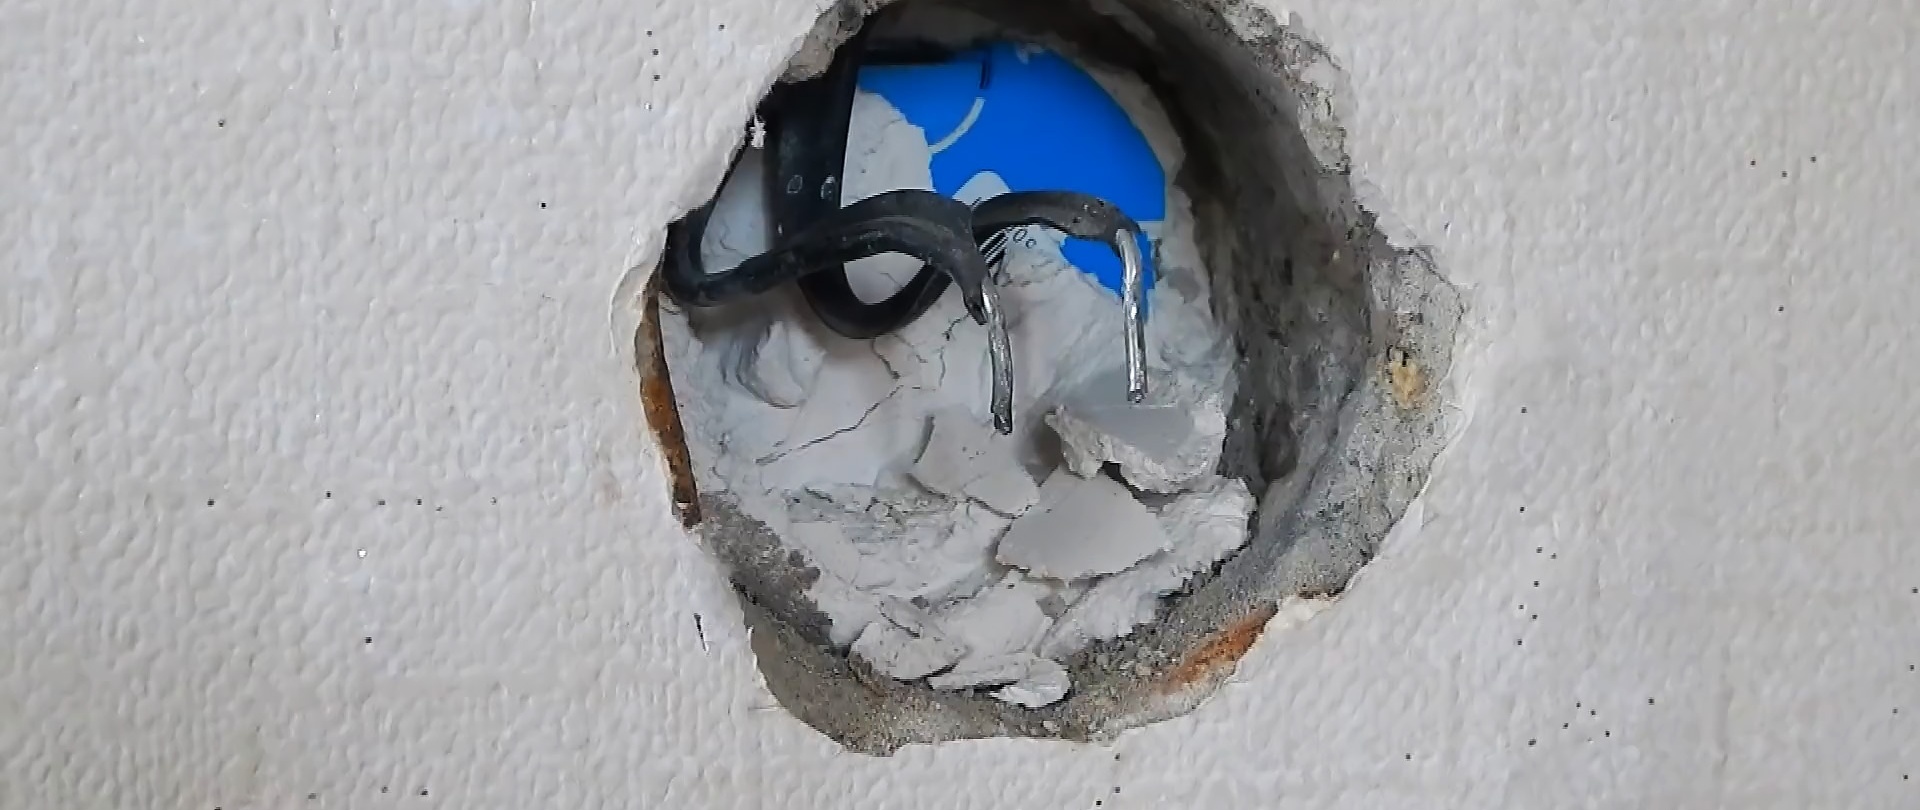
The old and steel socket box must be dismantled using pliers.
Next, we clean the hole from old rubbish and remaining plaster.

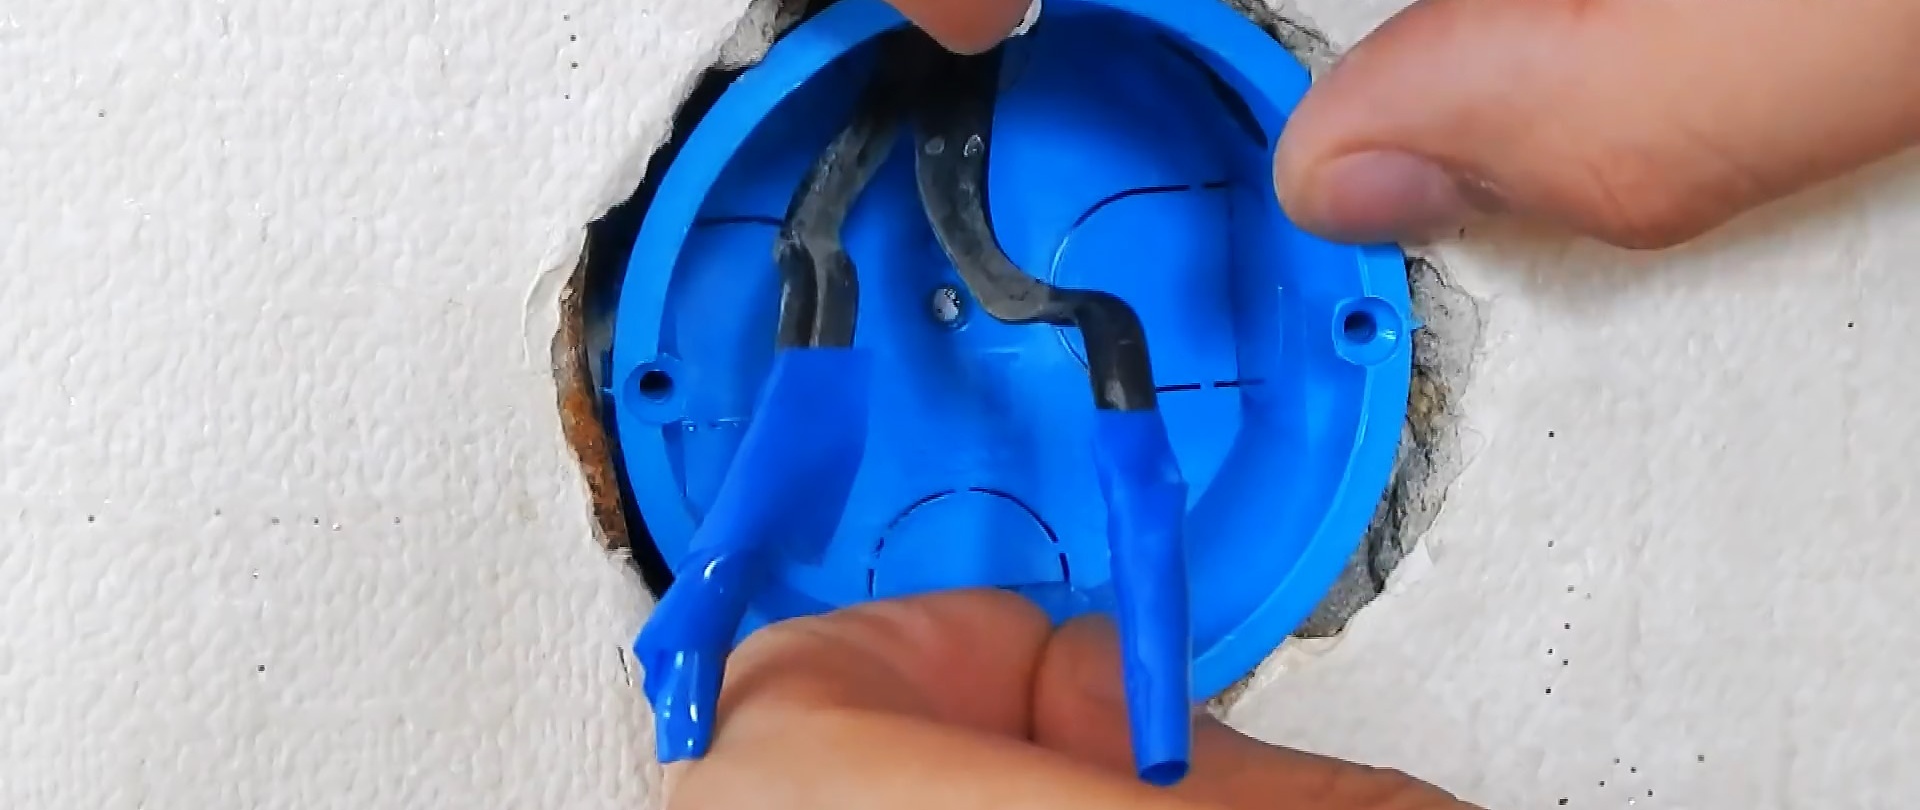
We break out one side window in the socket box. Having pushed the wires through this window, we insert a plastic cup.
Now we need to fix our box in the wall using putty. In order for the putty to better adhere to the concrete, the inner surface of the hole must be moistened with water.

We apply the prepared mass of alabaster or putty with a spatula into the hole around the perimeter. For convenience, one spatula should be narrow. We also coat the outside of the plastic glass itself with this mixture.

And now we install the socket box into the seat, inserting the wires. The glass should sink into the socket flush with the wall; protrusion is not allowed.

Use a spatula to remove any remaining putty. This is where the preparation ends.

For complete hardening, you need to wait a day.

Installation of a new socket
First, remove the cover by unscrewing the central screw. Then we install the wires into the terminals, connect the phase to the right terminal, zero to the left and tighten with a screw.

The installation box has special thickenings into which self-tapping screws are screwed. We will fasten the socket with these self-tapping screws. To do this, remove the spacer tabs and insert the socket into the installation box. We thread the heads of these self-tapping screws through the holes of the terminal pad and securely fix them with screws.

If there is a decorative cover, then do not forget to install it. After checking that the socket is installed correctly and that there are no distortions, we install the cover in place, securing it with a screw.We turn on the power in the panel and check the presence of voltage with an indicator screwdriver.

Watch the video
How to install a socket if there are short wires left - https://enn.washerhouse.com/4914-kak-ustanovit-rozetku-esli-ostalis-korotkie-provoda.html