Do it yourself
Life hacks, master classes, useful tips, recipes.
home » Handicraft techniques » Decoupage » Decoupage master class » Balls for the New Year tree
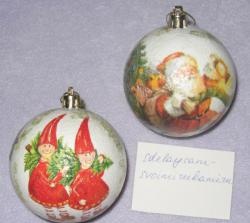
New Year is a holiday that is loved by absolutely every person, it is not just a holiday, it is real winter magic and a miracle that comes to every home. Every adult on this holiday becomes like a baby, rejoices, screams, has fun and, of course, looks forward to the gift under his New Year's guest. Moreover present may be absolutely trivial, but it will bring joy as if this thing costs a lot of money. Well, of course, you need to greet your New Year’s guest with all honors. Basically, every housewife tries to decorate her New Year tree with a few brand new balls. The assortment is undoubtedly rich in the stores; they will literally be overflowing before the New Year holidays, but it will be especially interesting and exciting to make balls for the Christmas tree using the technique decoupage. Moreover, you can select absolutely any fragment of the picture and display it on the ball. For example, 2015 will be the year of the Sheep, so you can take napkins with images of sheep, as well as with New Year’s drawings.

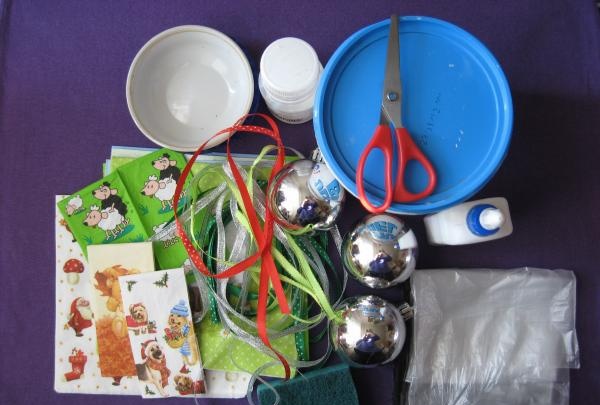
To decoupage Christmas balls we will need:
• Three plastic plain balls with a diameter of 5 cm;
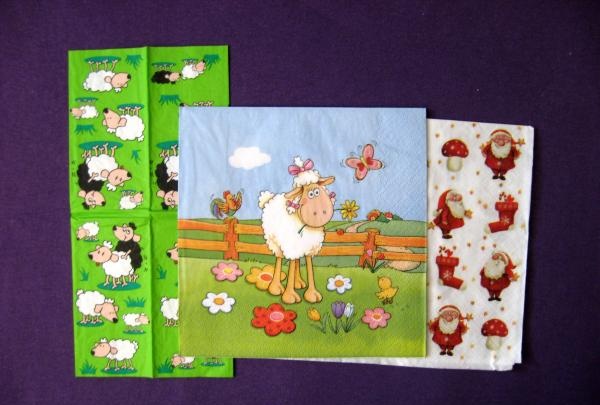
• Three napkins for decoupage: two with sheep, and one with Santa Claus;
• White acrylic paint;
• PVA glue;
• Decoupage glossy varnish;
• Foam sponges;
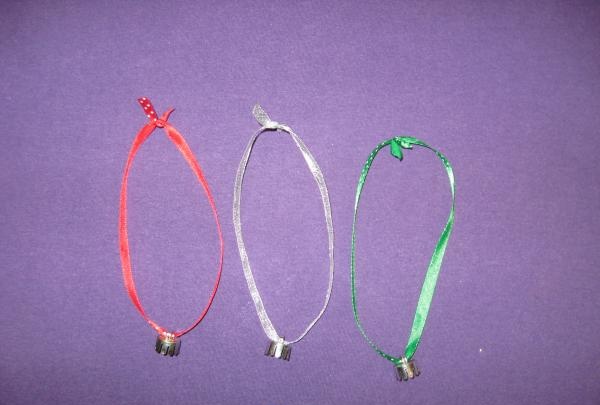
• Three narrow ribbons made of satin and organza of different colors;
• Scissors;
• Bags or oilcloth;
• A plate for paint and glue;
• Gold outline for decoration;
• Three sticks or pencils.
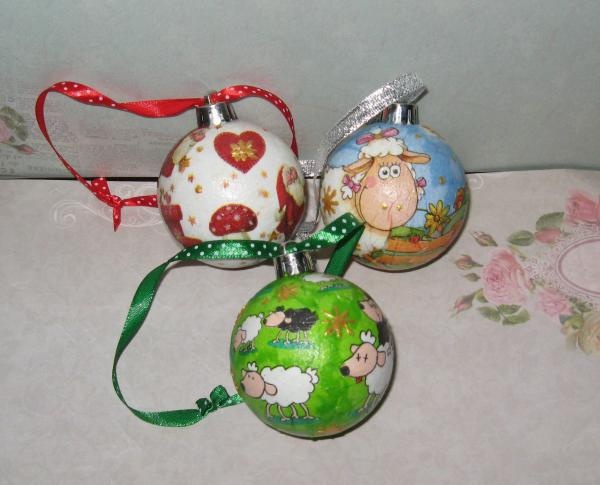
Balls for the New Year tree

Balls for the New Year tree


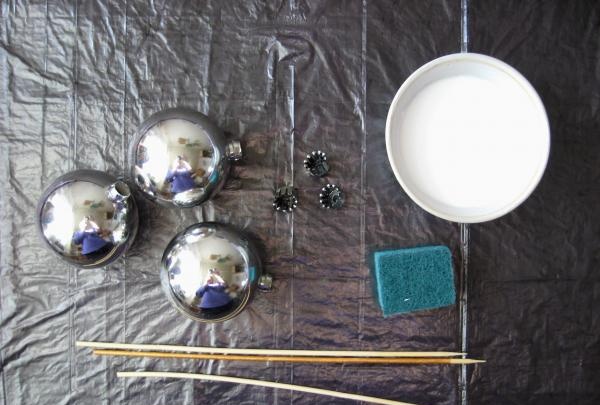
To work accurately, you need to prepare your workplace, first cover it with a bag or oilcloth. We take the balls and remove their caps. Pour white paint into a plate and add a little water, about 20%.
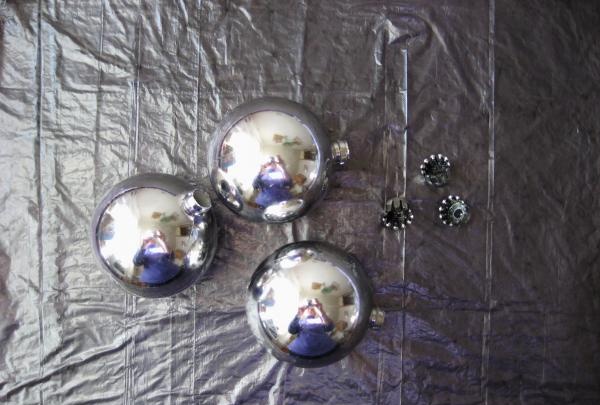
Balls for the New Year tree

Balls for the New Year tree


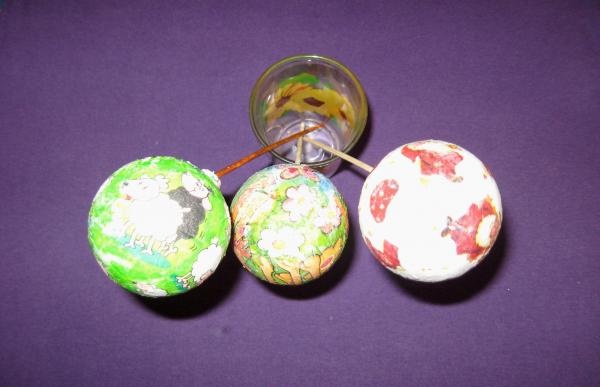
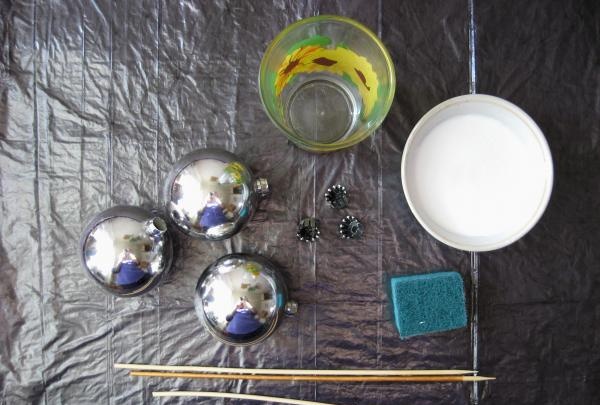
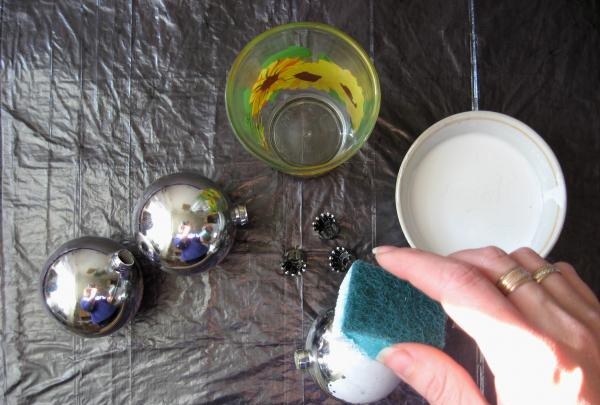
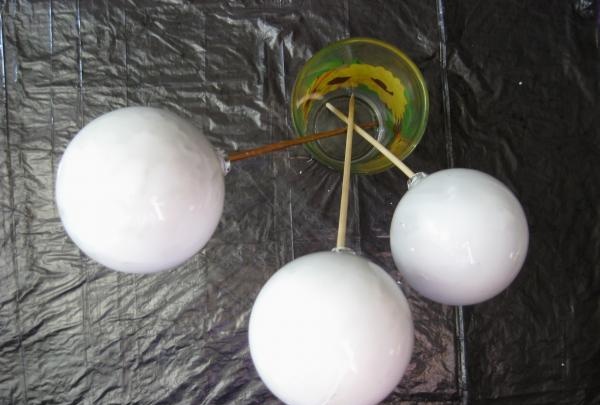
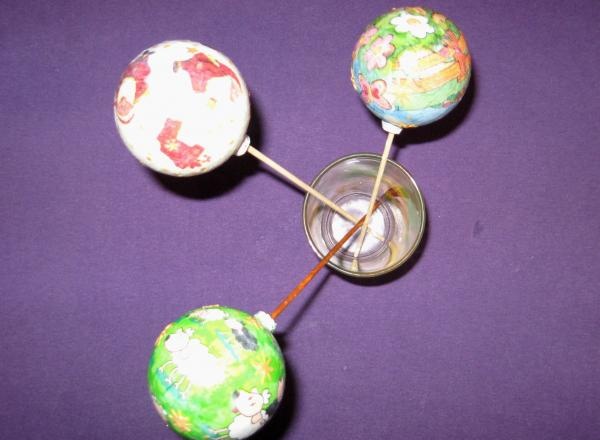
Using a sponge, we begin to paint each ball, starting with the cap, then we put the ball on a stick and place it in a glass so that the ball dries. So we paint all three balls. Place them in a glass and wait for them to dry completely, or speed up drying with a hairdryer.
Balls for the New Year tree

Balls for the New Year tree


We paint all the balls with a second layer of paint and wait for drying. In the meantime, we are preparing pictures for decoration.
Balls for the New Year tree

Balls for the New Year tree


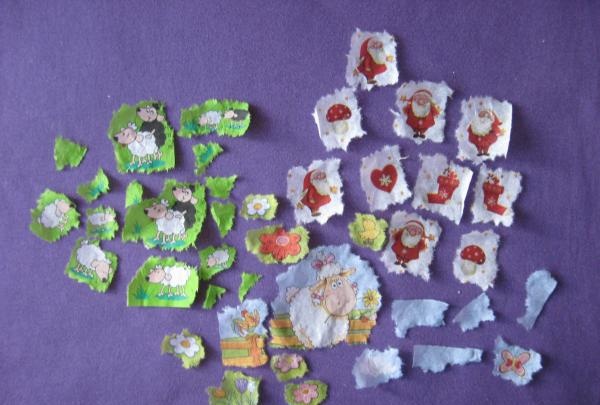
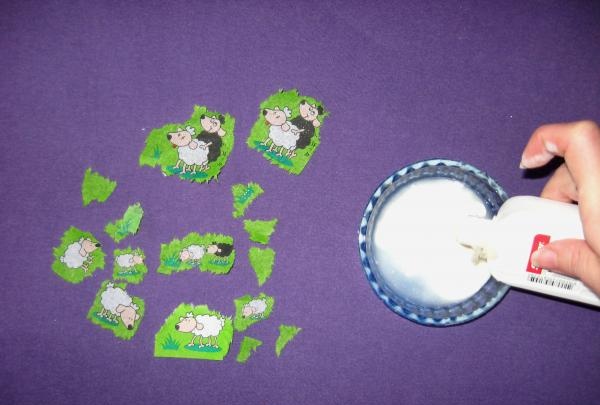
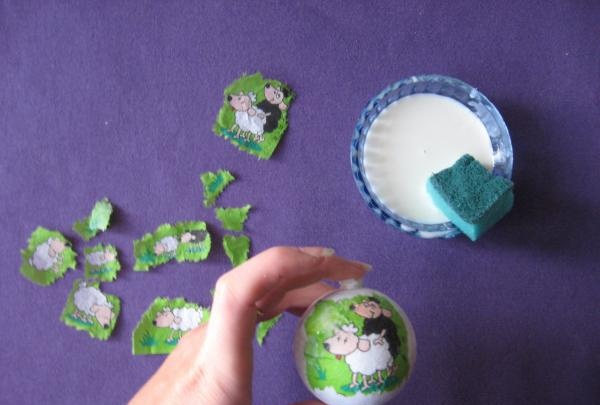
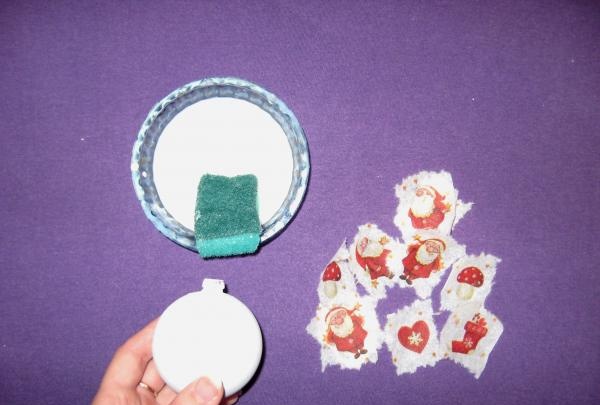
Carefully tear off small fragments from each napkin. It is better to take napkins with small pictures, then it is convenient to apply them to the ball and the picture turns out uniform and without wrinkles. Carefully remove the top layer from each piece of napkin, the bottom two are simply white, and remove them. We rinse the paint plate and pour PVA glue and water into it in the same ratio.
Balls for the New Year tree

Balls for the New Year tree


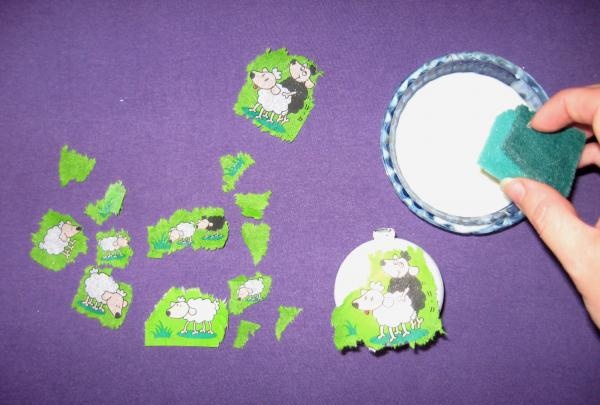
Stir well and now use a sponge to glue each fragment of the napkin with this mixture to the ball. Each ball has its own pieces of napkin.
Balls for the New Year tree

Balls for the New Year tree


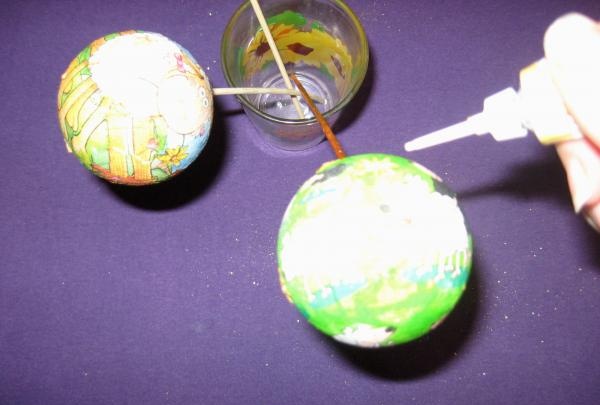
We also put all the balls on sticks and dry them.
Balls for the New Year tree

Balls for the New Year tree


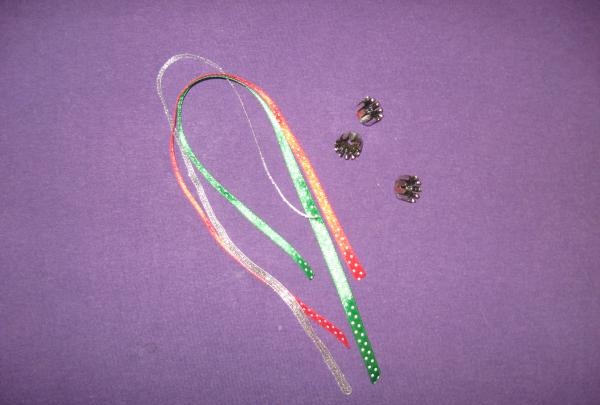
When the surface is dry, draw snowflakes with an outline and dry it again. We measure out 20 cm of each ribbon and burn the edges of each.
Balls for the New Year tree

Balls for the New Year tree


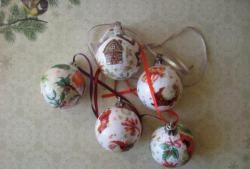
We thread the ribbons through the loops and tie knots.The final step is to coat the balls with glossy varnish in several layers, pausing to dry.
Balls for the New Year tree

Balls for the New Year tree


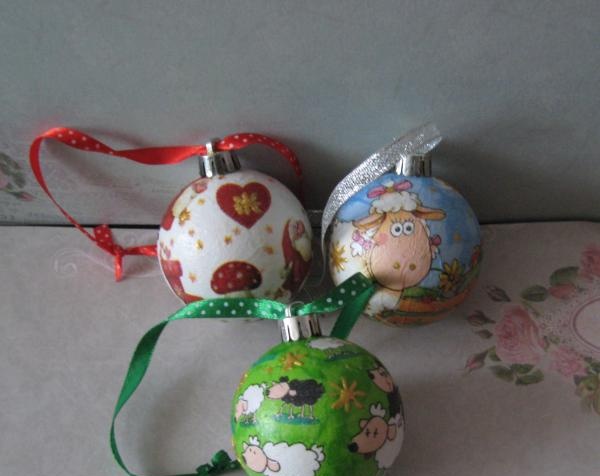
We put hats with ribbons on the balls and you're done! You can decorate your guest. Thank you.
Balls for the New Year tree
come back
Comment
  • bowtiesmilelaughingblushsmileyrelaxed relaxedsmirk
    heart_eyeskissing_heartkissing_closed_eyesflushedrelievedsatisfiedgrin
    winkstuck_out_tongue_winking_eyestuck_out_tongue_closed_eyesgrinningkissingstuck_out_tonguesleeping
    worriedfrowninganguishedopen_mouthgrimacingconfusedhushed
    expressionlessunamusedsweat_smilesweatdisappointed_relievedwearypassive
    disappointedconfoundedfearfulcold_sweatperseverecrysob
    joyastonishedscreamtired_faceangryragetriumph
    sleepyyummasksunglassesdizzy_faceimpsmiling_imp
    neutral_faceno_mouthinnocent
4 minus one =
Comments (1)
  1. Nastya
    #1 Nastya Guests 22 November 2014 20:57
    1
    Very cool and touching!

How to make a simple stereo system with bluetooth on LA4440

How to make a thermostat for a fan with your own hands

Useful and interesting | Page 23 | Do it yourself

4 DIY repair tricks

«Do it yourself - with your own hands» - a site of interesting homemade products made from scrap materials and items at home. Step-by-step master classes with photos and descriptions, technologies, life hacks - everything a real master or just a craftsman needs for needlework. Crafts of any complexity, a large selection of directions and ideas for creativity.

We recommend reading

Washing machine error codes