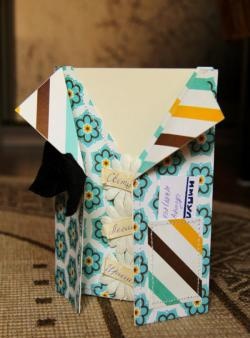
To create a postcard you will need:
- paper for scrapbooking with a New Year theme,
- scissors,
- double sided tape,
- pencil and ruler,
- glue moment,
- sewing machine,
- velvet paper in green and red colors,
- blank for a postcard,
- needle and thread,
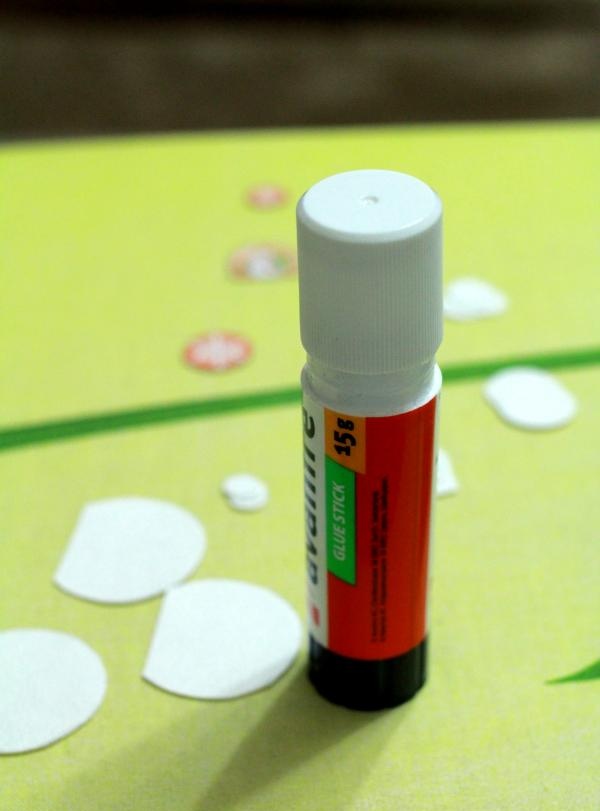
- glue stick,
- beads,
- a piece of fruit packaging or any other available material (for making a “Christmas tree”).
Making a postcard
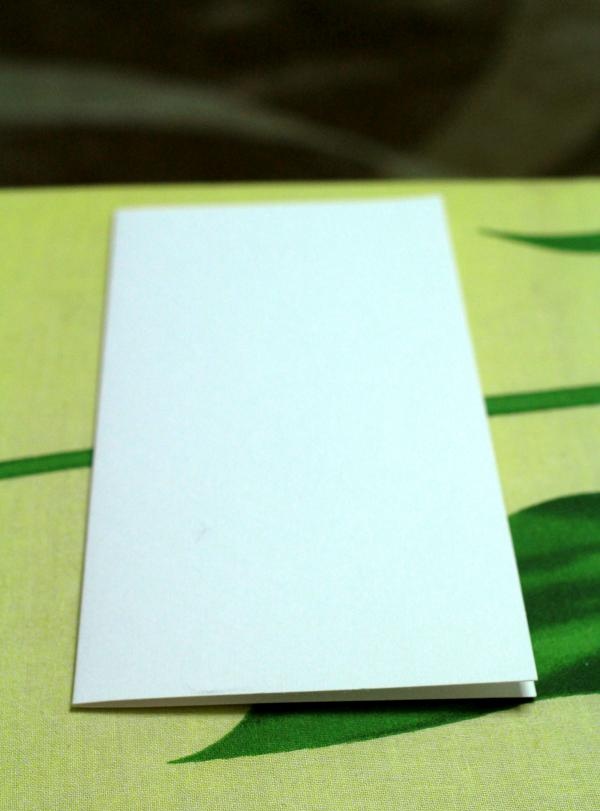
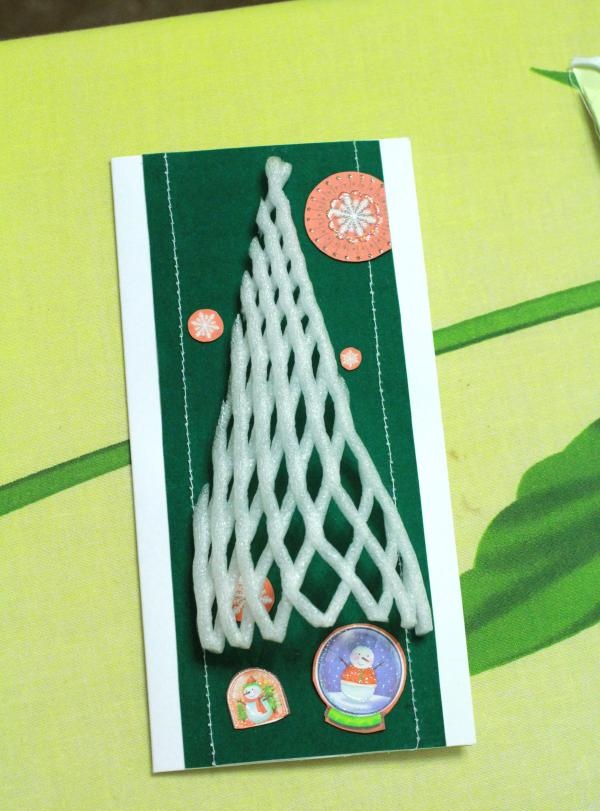
1. Prepare a vertically oriented blank for the postcard.
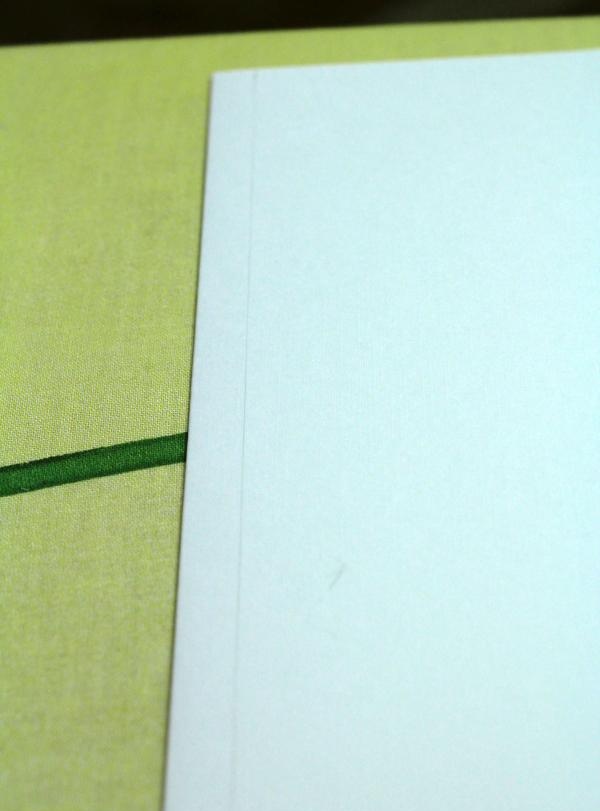
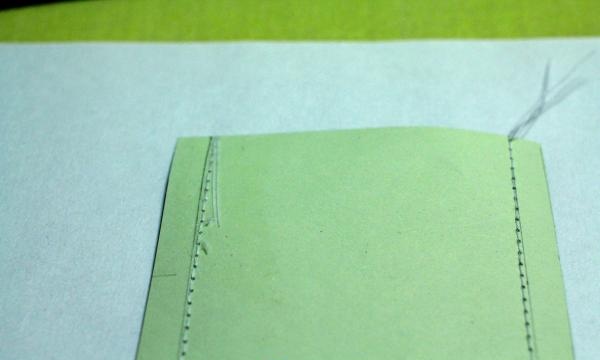
2. Stepping back from the edge of the postcard at a distance that seems appropriate to you, draw a vertical line. The lines must be on both sides of the product.
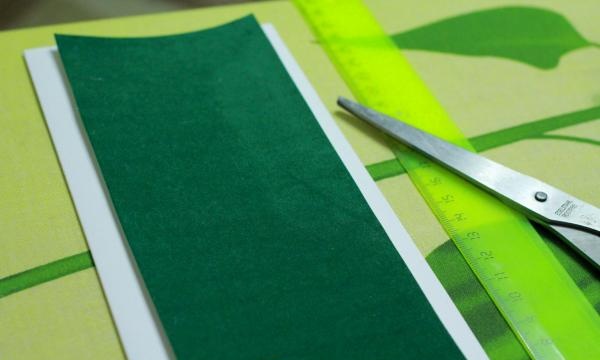
3. In the resulting “frame” you need to fit a rectangle of green velvet paper.
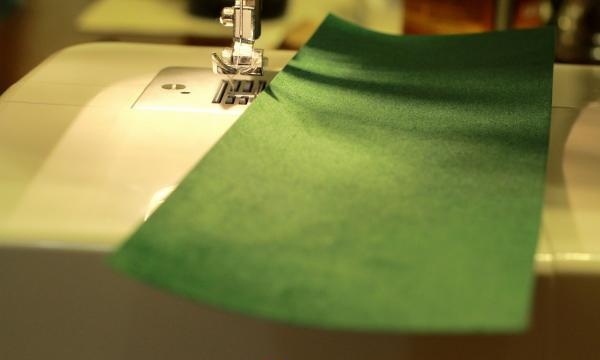
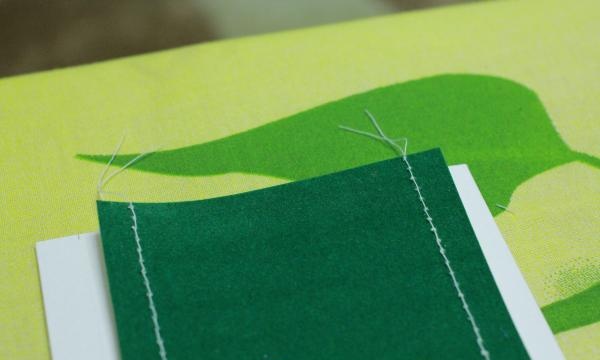
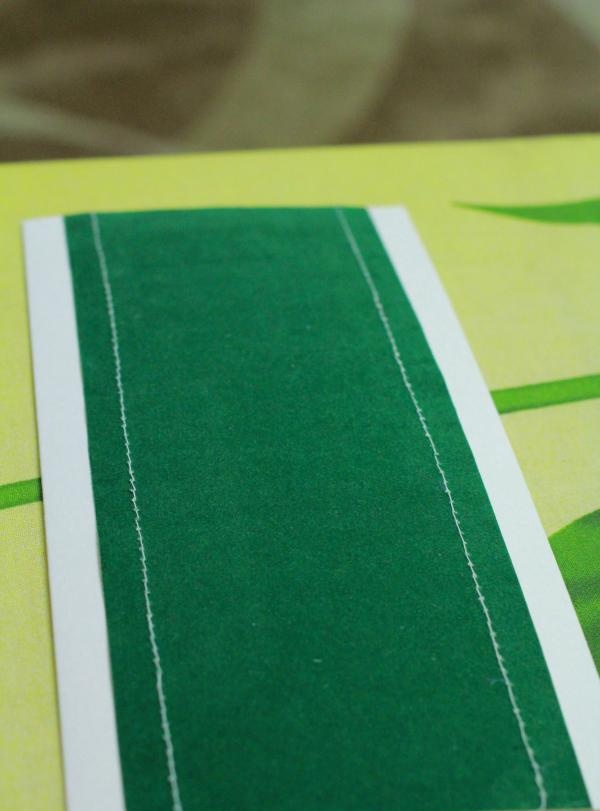
4. Duplicate the lines on the velvet paper using stitches, i.e. Sew two vertical lines using a sewing machine.
5. Generously coat the back of the velvet paper with glue and place it on the front of the card.
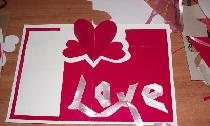
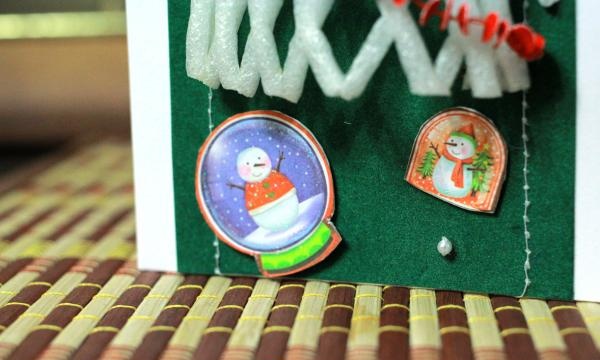
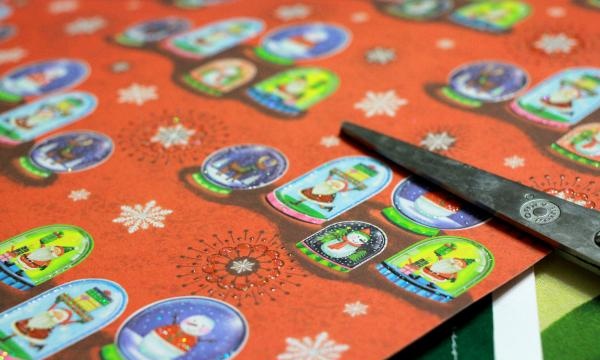
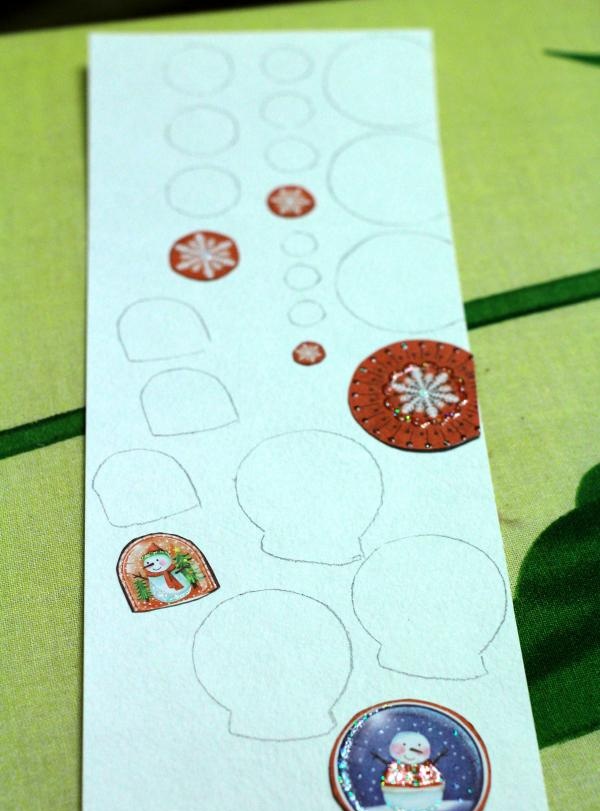
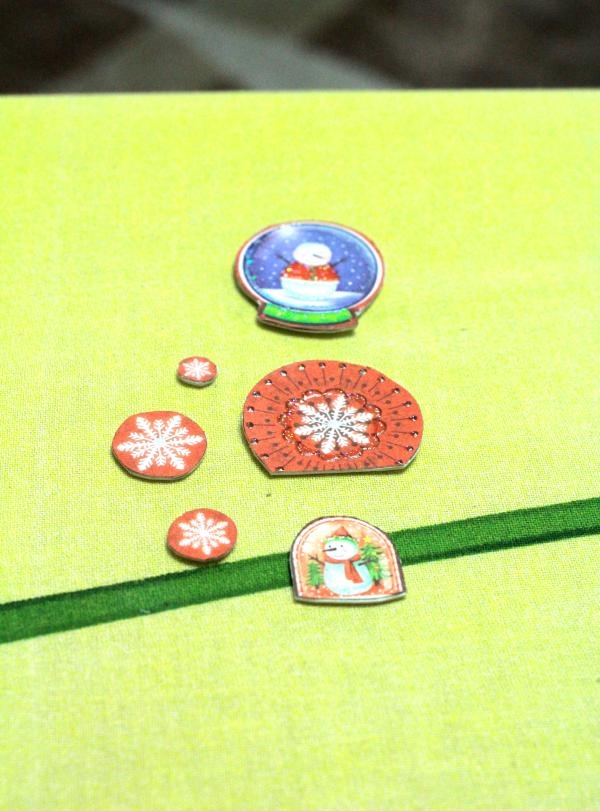
6. Make decorative elements to fill the velvet paper area. Cut out the shapes you like from scrapbooking paper.
7. For each figure, make a backing from several fragments. Use thick paper.Glue all the parts, layering them on top of each other. This will give more volume to the images. It is best to cut off the rough edges of the white paper when the figure is assembled.
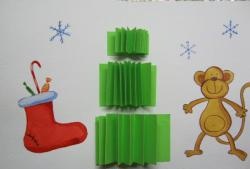
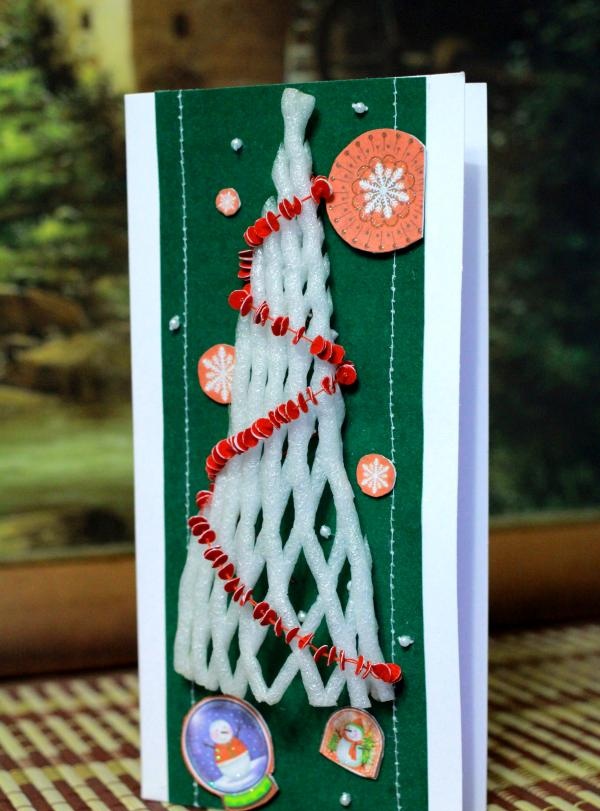
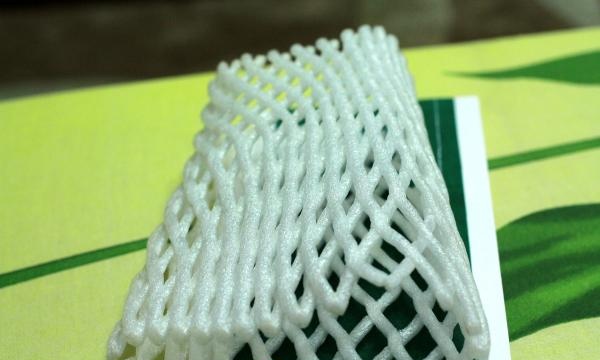
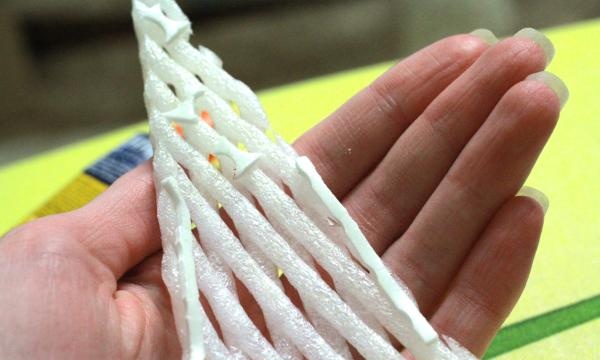
8. Making a “Christmas tree”. In this case, part of the packaging was used, but you can choose something from the materials that you have in stock. Show your imagination and try to see a “Christmas tree” in some ordinary or unusual object.
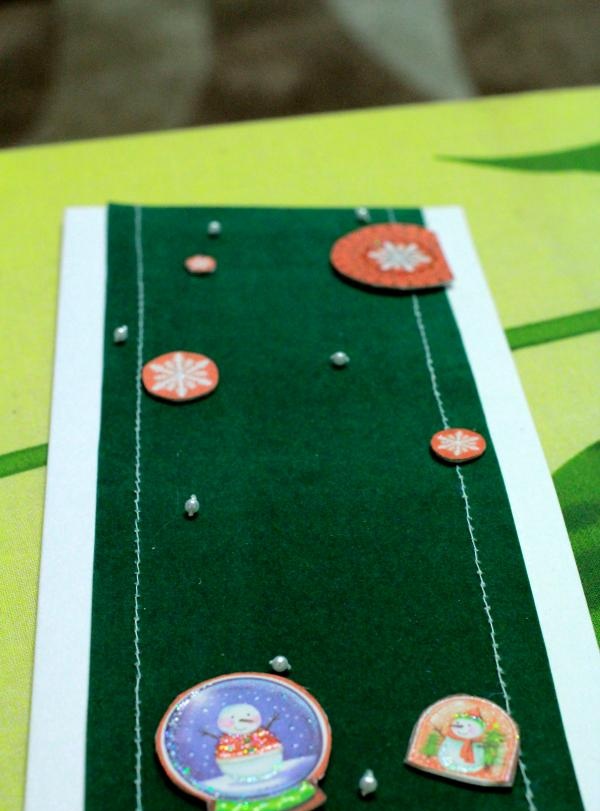
9. Place the finished parts on the card in those places where they look best. At this stage it is too early to glue the figures.
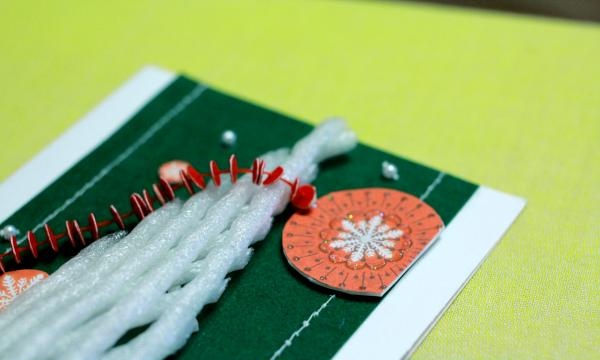
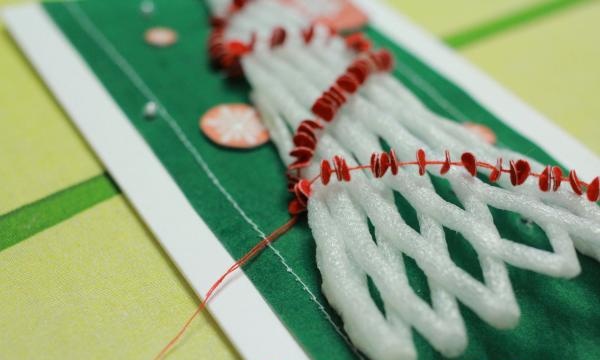
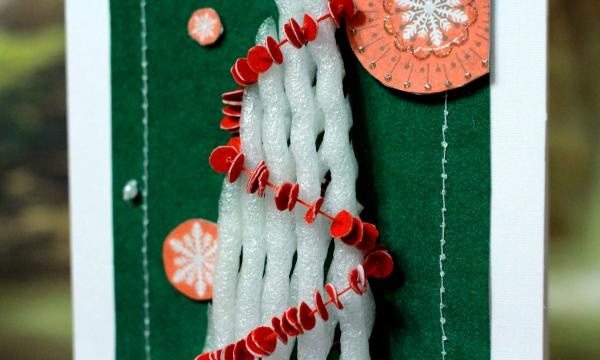
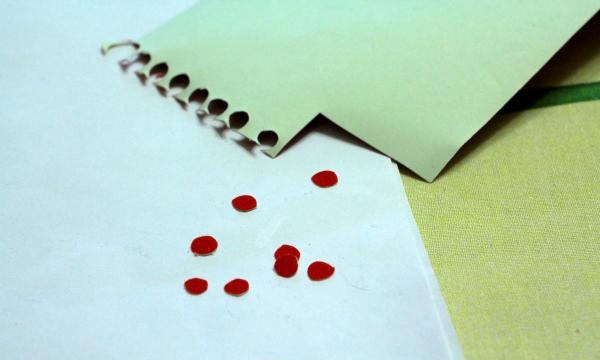
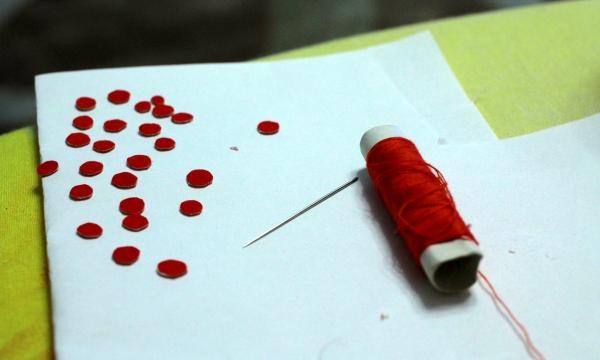
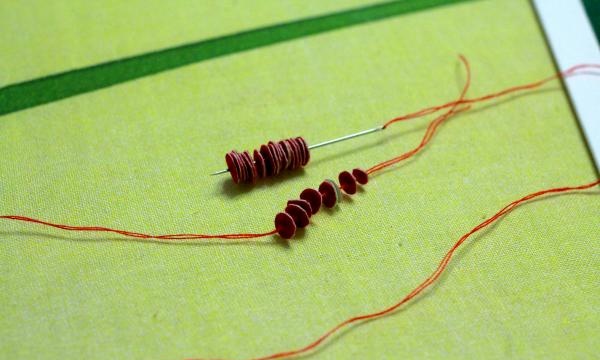
10. Make a “garland” for the “Christmas tree”. Cut out circles from red velvet paper. Glue the circles together so that they are red on both sides. Select a matching thread and use a needle to make a “garland”.
11. Decorate the card with beads, covering the area under the herringbone. It is best to use instant glue.
12. Glue double-sided tape on the inside of the Christmas tree. Apply it randomly, without touching the lower part of the product, which will preserve the volume of the figure. Glue the Christmas tree to the card.
13. The “Garland” can be attached to the postcard using instant glue. There is a second way - pass a needle with a red thread behind the “herringbone” and intercept the “garland” in the right places with a loop.