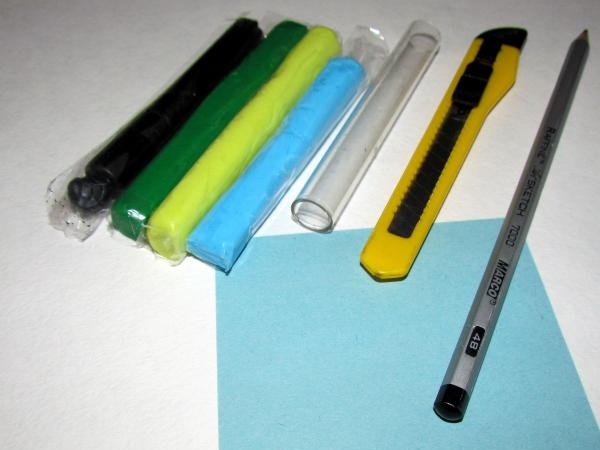
So, to get the job done we need:
- a piece of paper for a sketch;
- a pencil (preferably a simple one with a soft lead so that you can easily correct the lines);
- paper scissors and nail scissors (to cut out the sketch);
- stationery knife;
- a rolling pin (to roll out the clay evenly, but if you have a pasta machine, it will make the task much easier);
- a hard, flat surface on which we will roll out the clay;
- paper or oilcloth (which can be used as a backing for clay);
- polymer clay of four colors (you can take it as desired, but it is necessary that the colors are in harmony with each other). The master class uses black, dark green, light green and blue polymer clay;
- chain (thick and long);
- large connecting rings – 2 pieces.
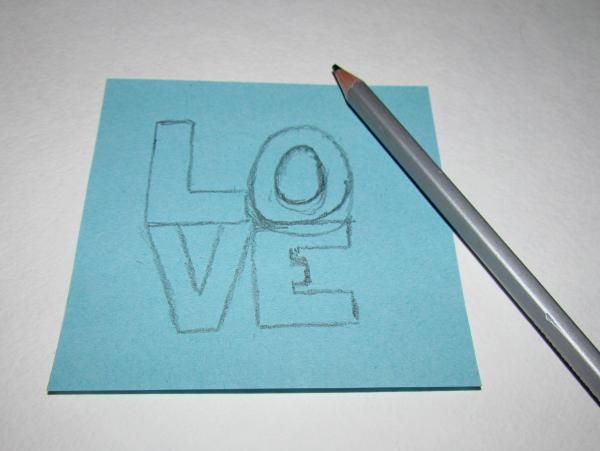
Step 1.
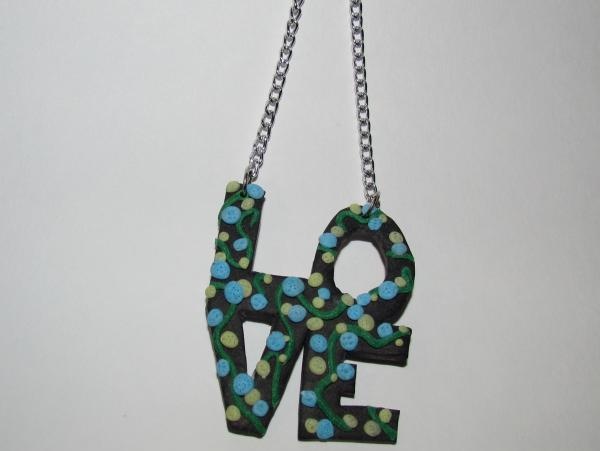
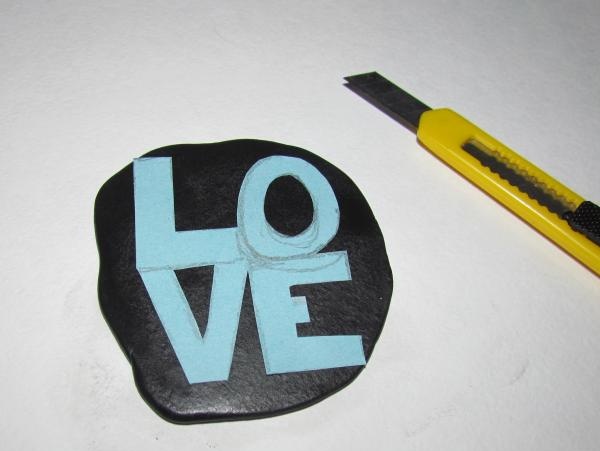
First you need to draw a sketch of the future pendant. We align the lines as much as possible, trying to make as few holes as possible. In the master class, a pendant with the word “Love” is made, but you can also take any other word, but small, to avoid possible tearing of the plastic and other problems. It is also advisable to line up two, maximum three letters in one row, and if the word is longer, in two rows.
Step 2.
We cut out the sketch using large scissors along the contour, then use nail scissors to complete the cutting and refine all the lines. It is necessary to try on the sketch to the rolled out layer of polymer clay. In order to make a thin layer of clay, you must first knead the clay itself well, then roll it into a ball, and begin to flatten the ball from the center to the edges with your fingers. When the layer becomes 3-4 millimeters thick, you need to put it either in a pasta machine or roll it out with a rolling pin on a flat surface covered with film or paper (but it’s still better to use film) to a thickness of 2 millimeters.
Step 3.
Next, you need to carefully cut out the word using a stationery knife, while making sure that the sketch does not slip off the layer of polymer clay.
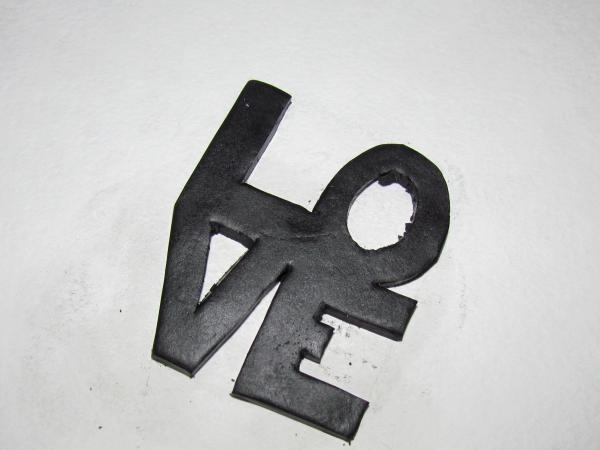
Step 4.
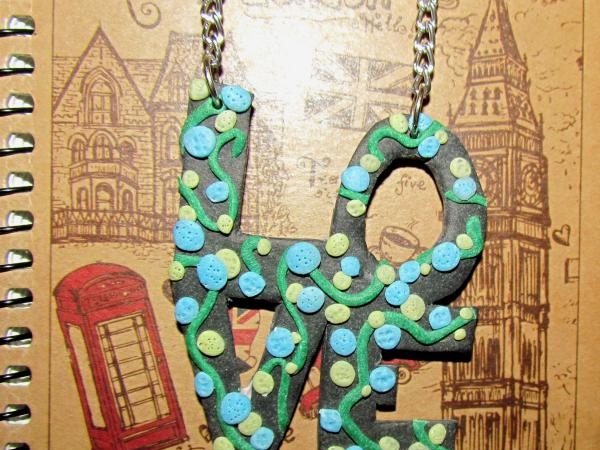
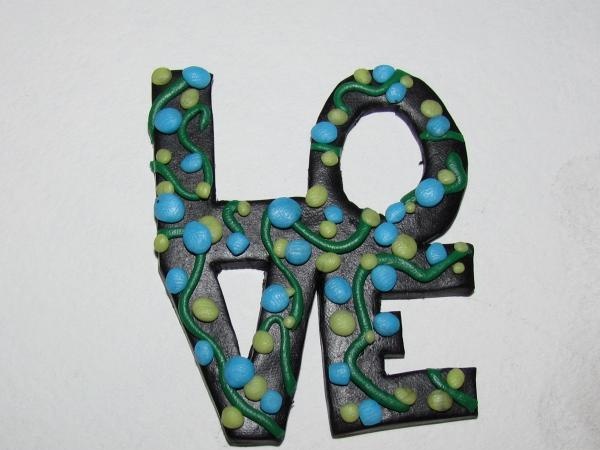
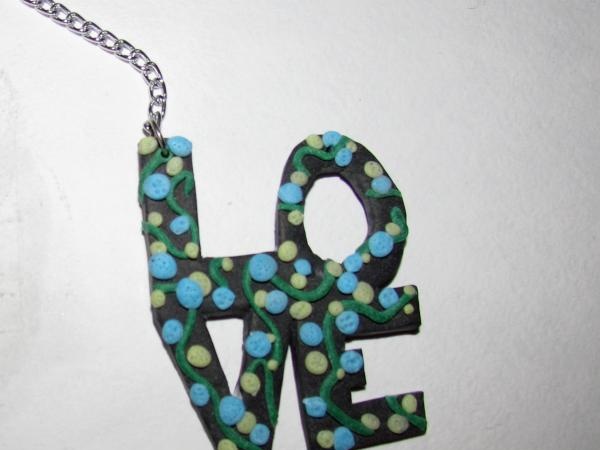
Align and smooth all the edges of the pendant with your fingers or stacks. We take some dark green polymer clay, roll it into a thin strip, no more than a millimeter, and draw sprouts on the pendant, as shown in the photo. You can come up with absolutely any arrangement of sprouts.
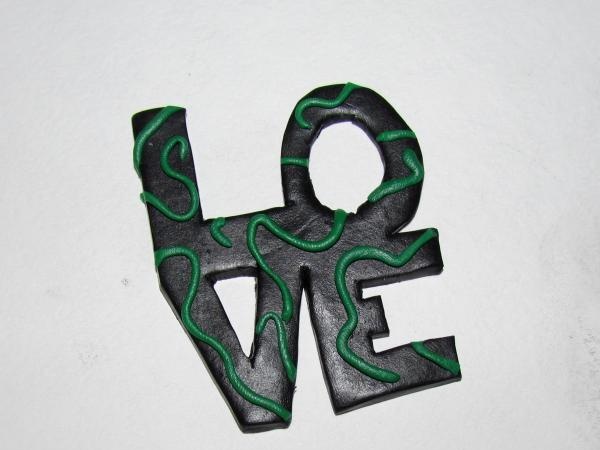
Step 5.
Using light green polymer clay (preliminarily kneaded and rolled out), we make petal balls (or leaf balls, whichever is more convenient for you) on the sprouts.
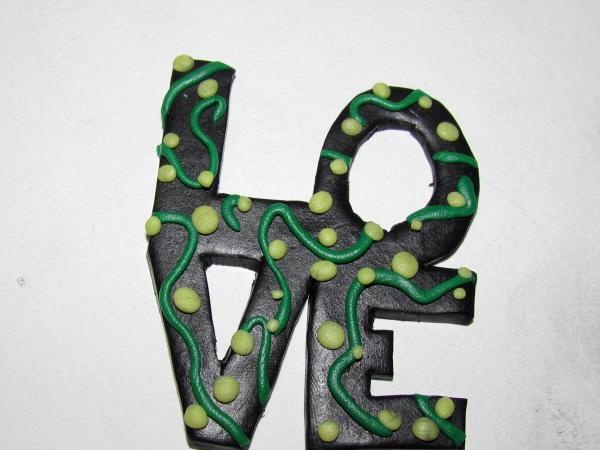
Step 6.
We make slightly larger circles from blue plastic and also place them randomly around the pendant.
Step 7
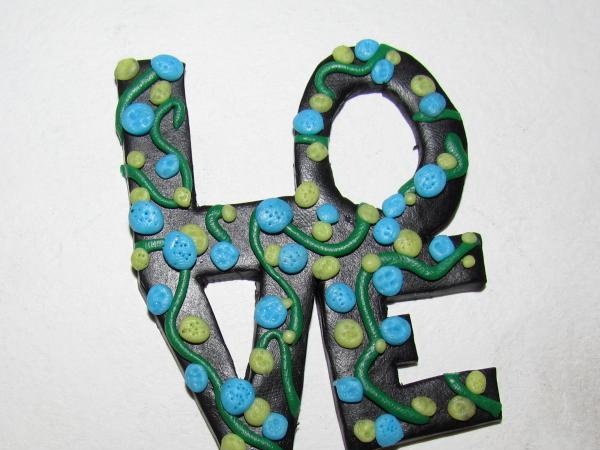
Using a needle, we make small punctures in the light green and blue areas of the pendant.
Step 8
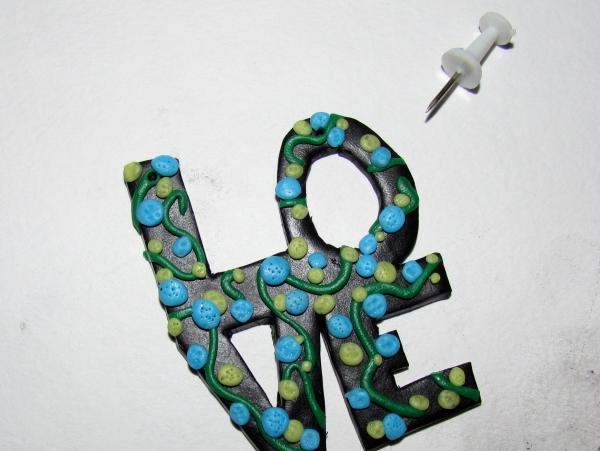
Using the same needle, we make two through holes at the top of the pendant, so that later the chain can be attached.
Step 9
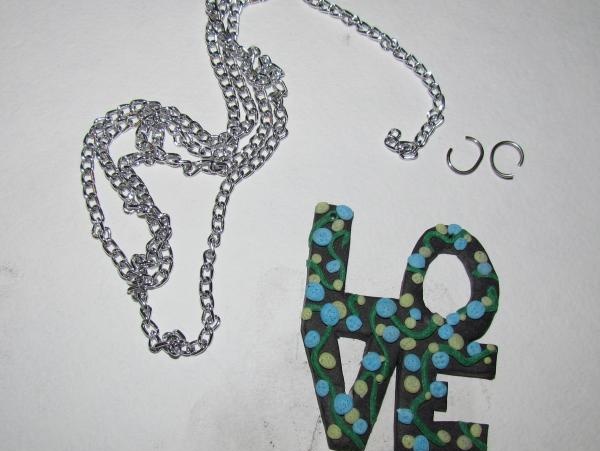
We bake the pendant in the same way as described in the instructions for the clay. Take the chain and connecting rings.
Step 10
Carefully attach the chain to the pendant with a connecting ring.
Step 11
We fasten the chain on the other side in the same way.
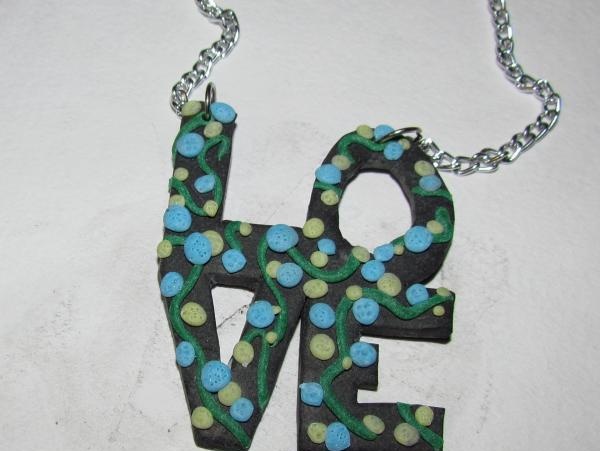
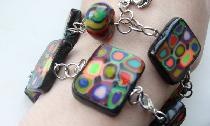
The pendant is ready! Wear it for your health!