We distribute the threads by color and knit like this:
- 4 complete rows with red thread;
- 4 rows of purple;
- 4 rows of yellow;
- 4 rows of white;
- We transfer 52 loops from the RP (working position) to the PNP (front non-working position) and knit further:
- 4 rows with red thread;
- 4 rows of purple.
We transfer another 52 loops from RP to PNP. We now have 104 loops in the PNP. We knit 4 more rows, this time with yellow thread.
We move all the loops into the RP and start knitting from full rows, but now we have a shift, and the first color will be white, then red, purple and yellow.
Let's continue knitting short rows, 8 more rows. The color will shift again for full rows. We knit the fabric 336 rows.
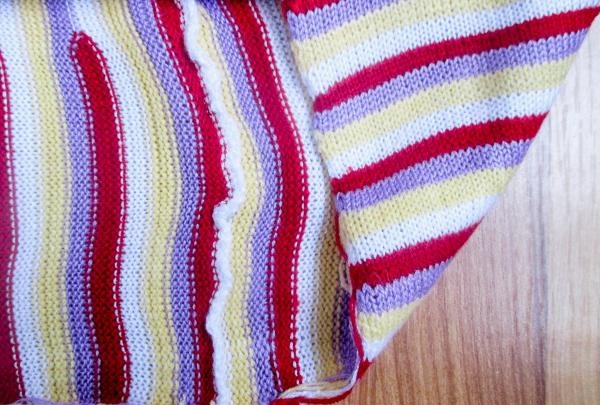
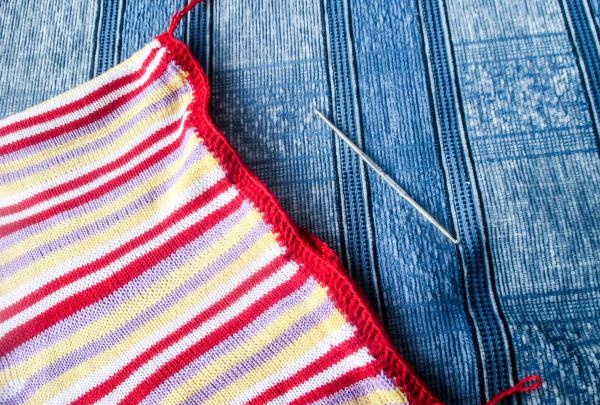
We remove the fabric from the loops and sew it on a machine, or connect it with a knitted seam.
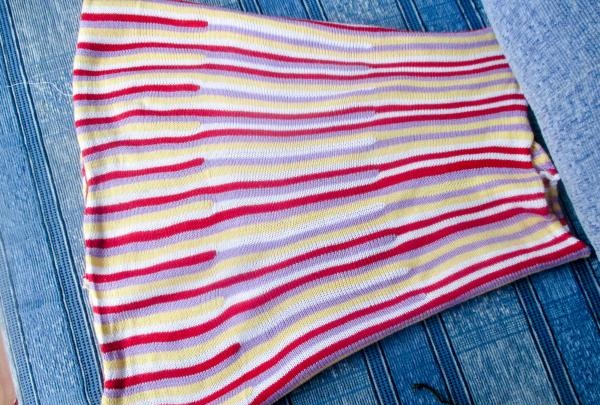
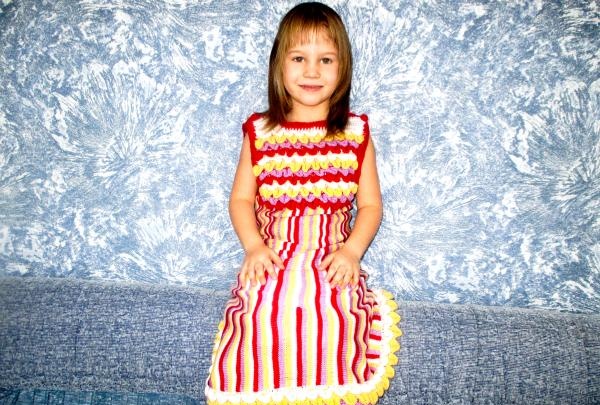
We ended up with a skirt that flared downwards.
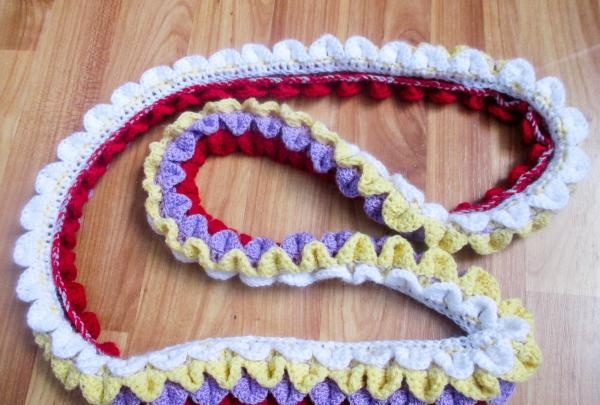
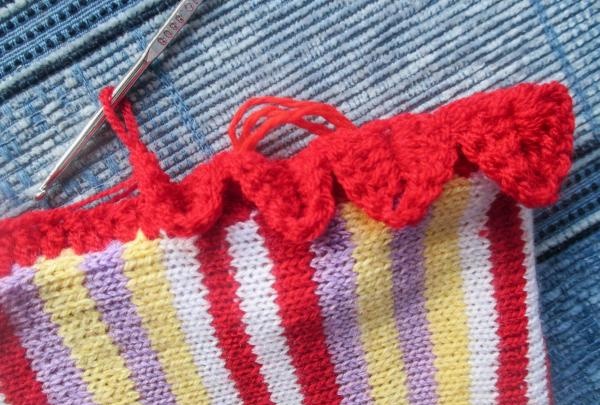
Now you need to tie 4 rows of scales to it with lace. In the same order of alternating colors as the main canvas. To do this, we collect a chain of air loops, equal in length to the bottom of the skirt, maybe a little longer. We close the chain and knit “scale” lace.
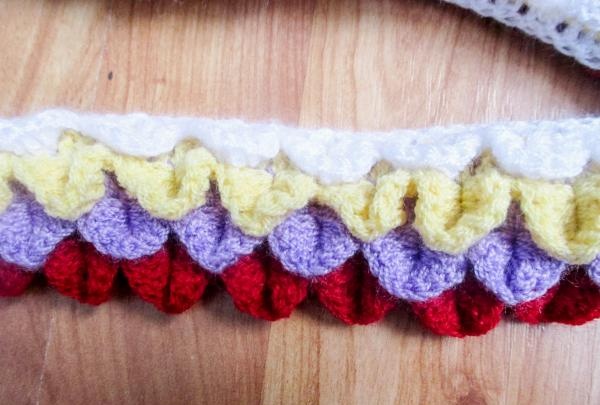
We don’t finish the lace with the scales themselves, but knit another row above them.

We tie the narrow part of the skirt, that is, its top, with red thread in double crochets.
Having knitted one row, we mark the side “seams” of the fabric with some thread or pins.
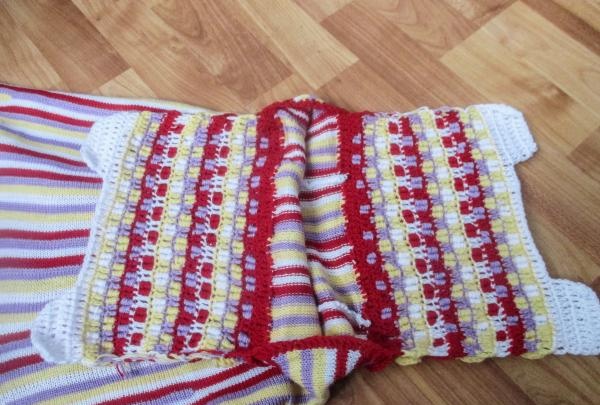
Having retreated 3 cm from the intended line, we begin to knit a row of scales with red threads.
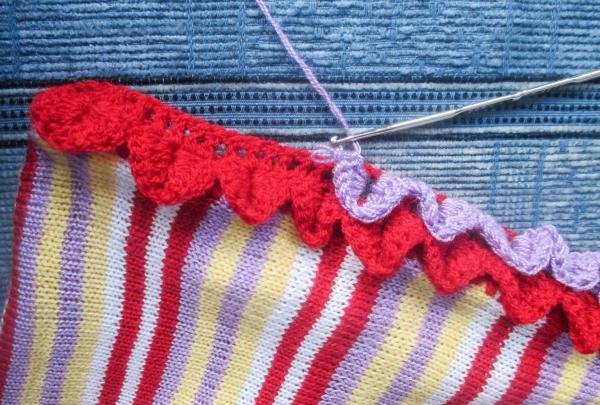
Above the red scales we knit a row with double crochets of the same color, and the next scales will be purple and... etc..
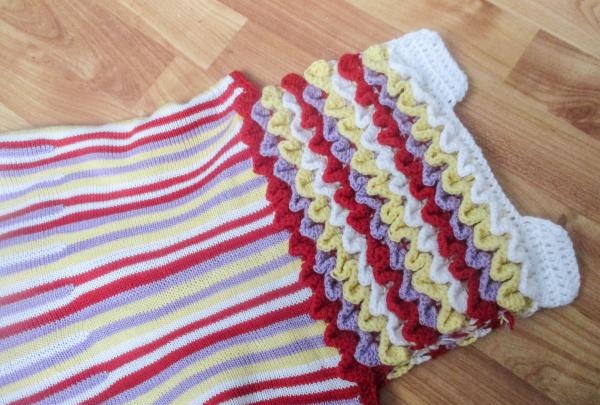
We knit 3 times 4 rows of scales, and knit hangers on top. To do this, we knit 12 loops from the edge line, three rows on each side.
From the wrong side, we cut off all unnecessary threads and hide them in the outer loops of the rows.
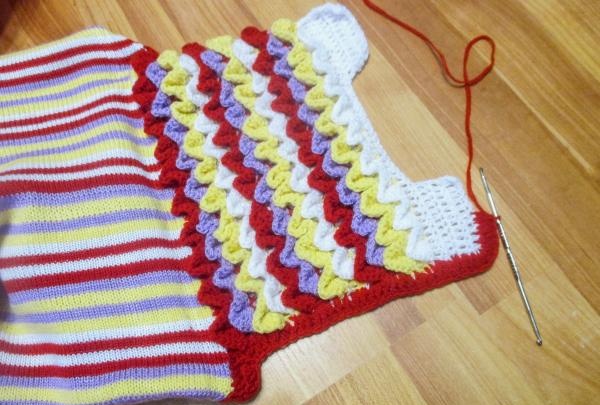
We begin tying the armhole and shoulders with red thread very tightly, using 2 dc with a common top. This will allow you to create a beautiful edging on the top.
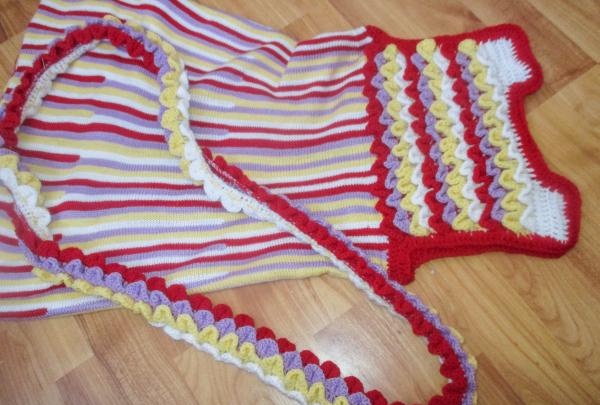
Now all that remains is to sew our lace to the hem of the skirt.
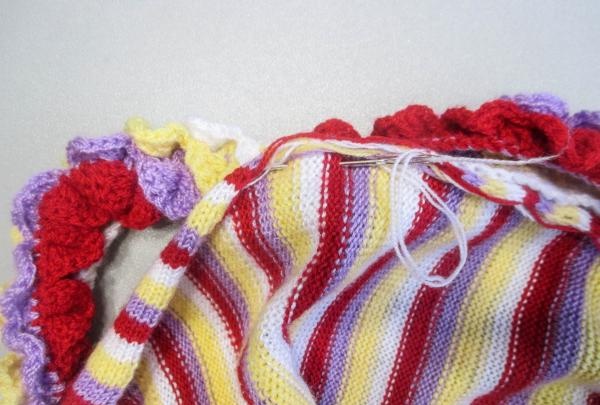
To do this, we baste it to the bottom edge of the panel.
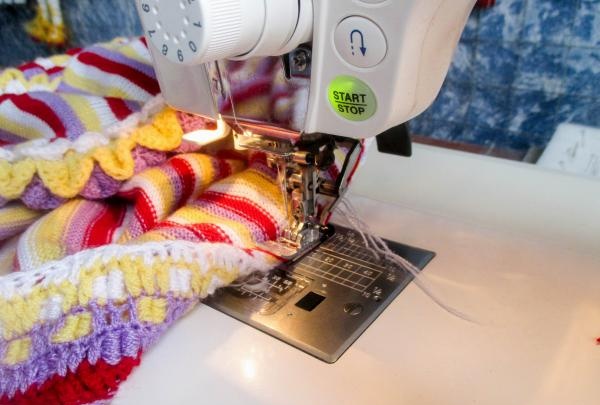
We attach it on the machine.
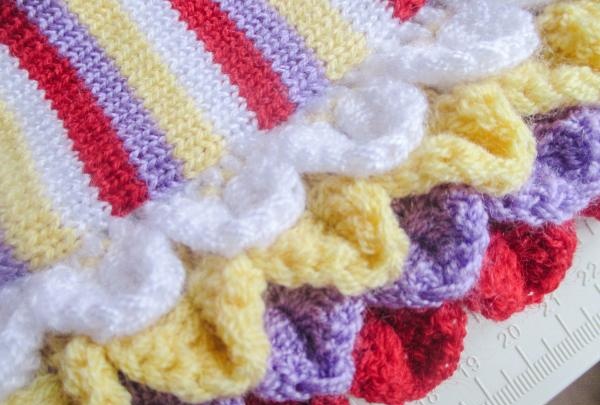
The lace has a cute stripe of holes in the pattern at the top.They can be left untouched, or you can stretch a satin ribbon or thread.
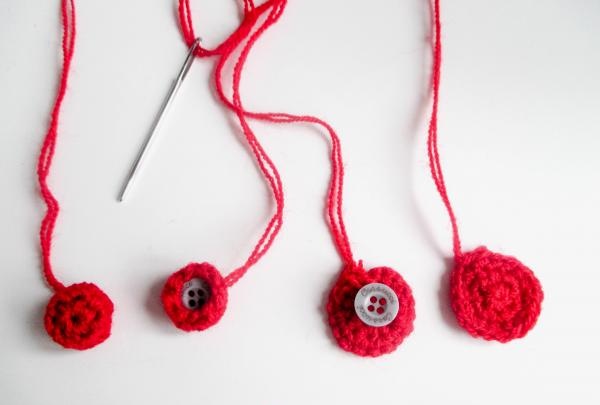
For fastening, we tie the buttons with red yarn. Starting with an open loop, which we then tighten. It is also called an amigurami loop. Leave a long end and then sew the buttons onto the back hangers. On the right, 2 buttons can be sewn tightly, but on the left, leave one to the neck so that the head can fit through.
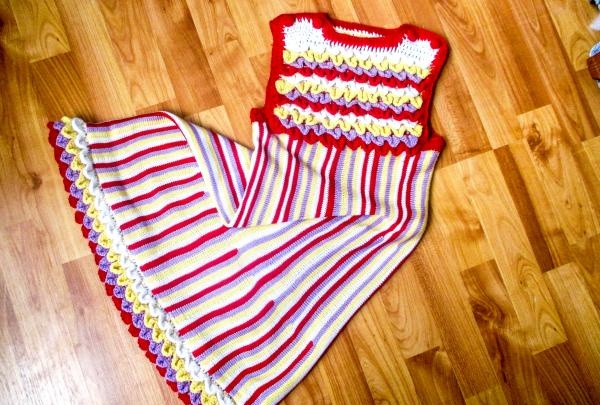
The dress is ready! And how my granddaughter likes it! I barely took it off.