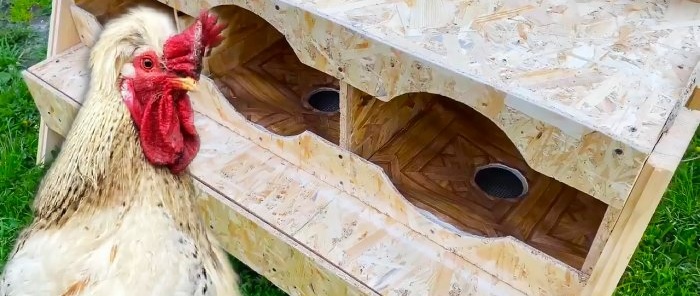
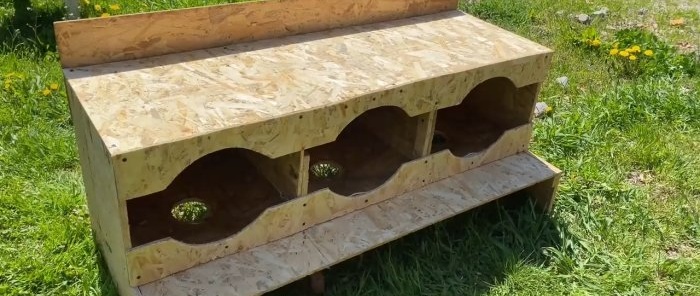
Chickens sometimes peck at the eggs they lay and contaminate them with excrement. Various devices have been invented to preserve eggs. One of them in the form of nests for chickens with egg receptacles is discussed below.
Will need
Materials:
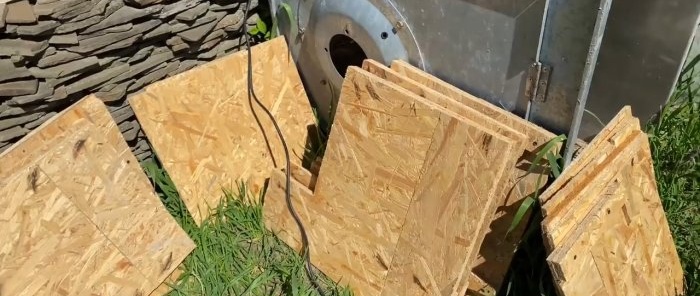
- remains of OSB boards;
- wooden blocks;
- screws or self-tapping screws;
- pieces of linoleum;
- wooden plank;
- U-shaped metal profile;
- a piece of soft insulation.
Tools: measuring and marking tools, jigsaw or hand saw, drill, sandpaper, construction stapler, multi-blade knife, metal scissors, etc.
The process of manufacturing functional nests for chickens with egg receptacles from OSB waters
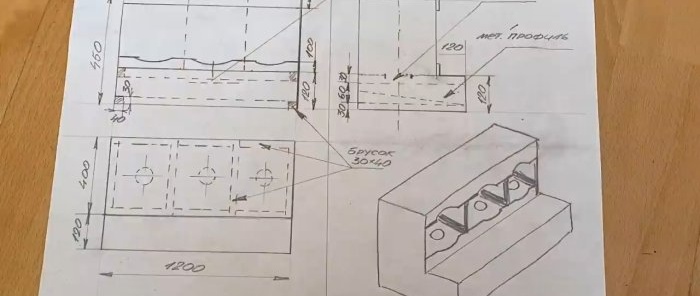
After marking, we cut out all the blanks from OSB boards according to shape, size and in the required quantity.
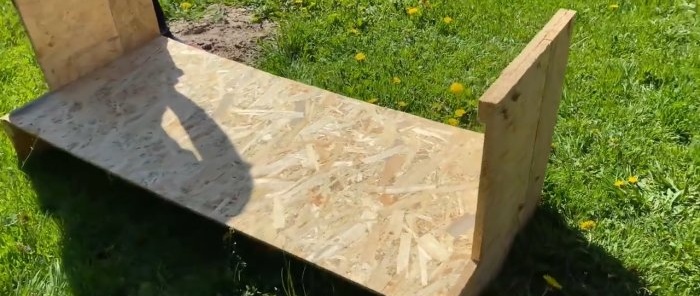
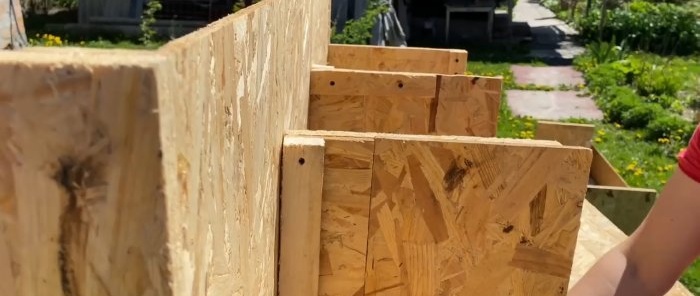
We start by assembling the outer side walls and the base, which will serve as the floor for the nests. We attach the base to the stops on the side walls using self-tapping screws.
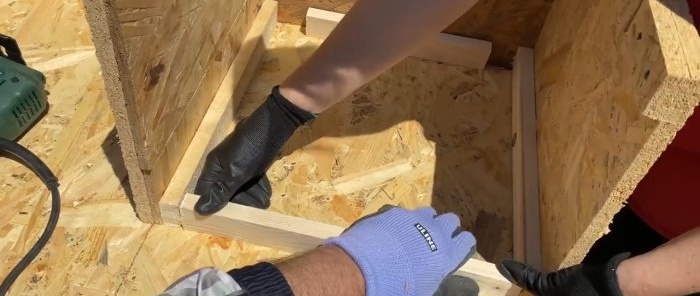
We attach the back wall to the side walls using small wooden blocks. Next, we install 2 partitions using wooden blocks across the entire width of the partitions.
Also, in all nests we attach 2 more bars to the base, partitions and back wall.That is, each nest should be bordered by four bars around the perimeter.
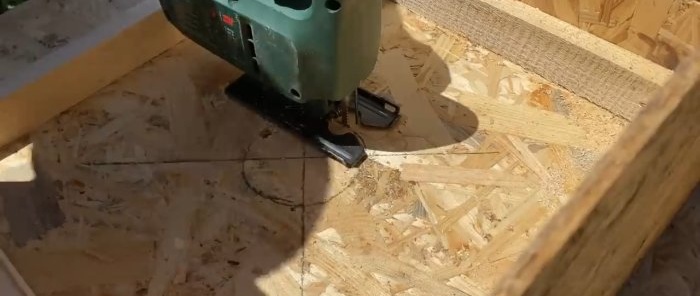
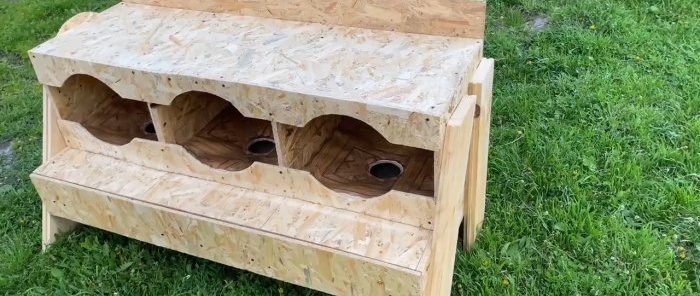
We draw diagonals in the sockets along the base and find their centers. Using a circle with a diameter of 7 mm, cut from OSB, we draw circles in the center, which we then cut out using a jigsaw. Sand the edges of the round cutouts with sandpaper.
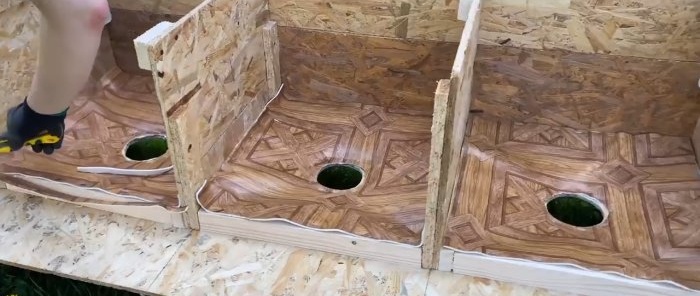
In each of the three nests we lay linoleum in the form of a 41x41 cm square, having previously made a hole with a diameter of 7 cm in each of them in the center. Along the perimeter of the nest and the hole in the center, we fasten each piece of linoleum to the planks and the base, respectively, with a construction stapler.
To install the front plank, we cut off the protruding strips of linoleum with a knife and finish installing the back wall. Now we attach the top cover and the front strips, in which we make cutouts in the form of circular arcs. We make legs from a wooden tongue-and-groove board (this is what we had in stock) and attach them from the outside to the side walls.
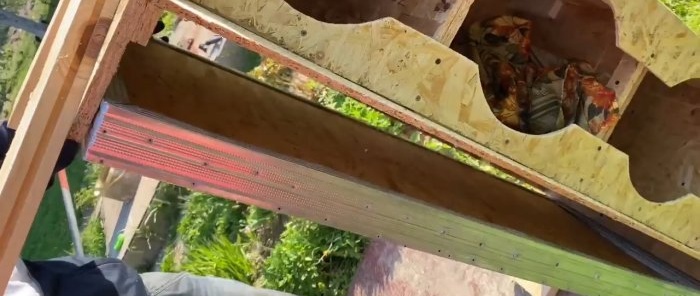
In the U-shaped metal profile, according to the markings, we cut out notches using metal scissors and bend it into a rectangular frame. We attach an OSB sheet of appropriate sizes to the resulting frame with a slope to the height of the profile using wooden blocks.
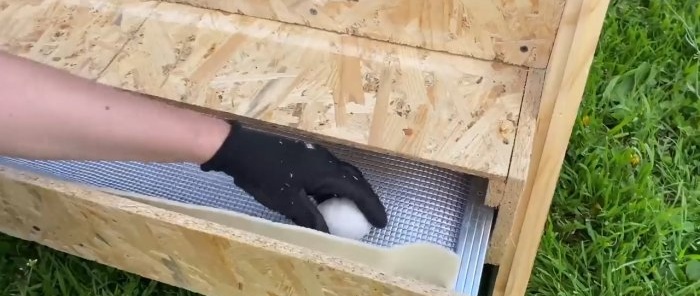
We adjust the frame from the profile to the location. In order for the frame to be fixed, as well as to move in and out, we screw the strips along which the frame will slide from below to the inner sides of the legs. We nail an OSB strip to the front side of the frame with the pallet.
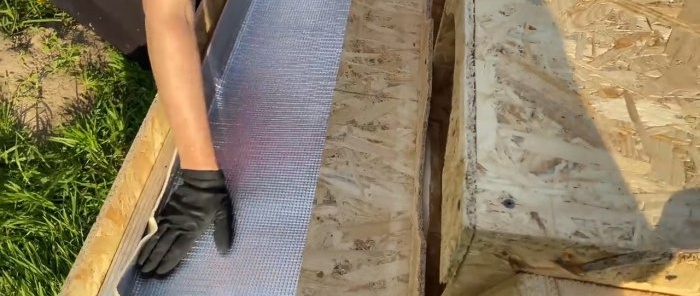
We cover the inclined bottom of the frame with soft insulation with the foil side on top without any fastening. This will allow you to remove the nest from time to time during operation to clean it from various debris and disinfect it.
