To work you will need:
- cardboard box.
- corrugated paper in two colors.
- beads of 2 colors.
- universal glue "Titan".
- glue gun.
- textile.
- scissors.
- foil.
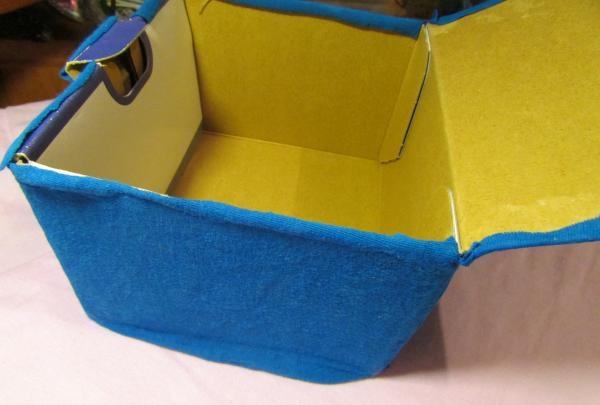
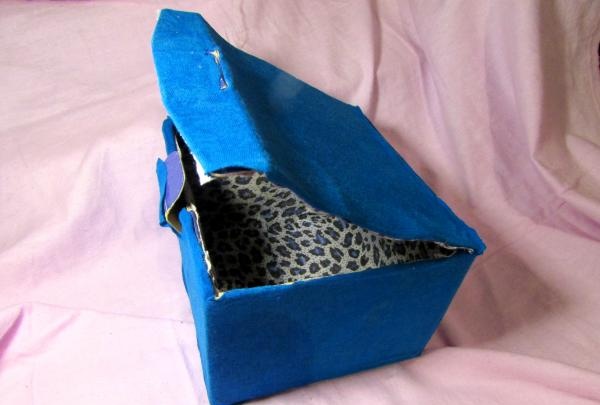
Let's get to work. We take a box, the size of the sides is 10x15 cm, the bottom is 15x15 cm, and the lid is 15x17, taking into account the fold.
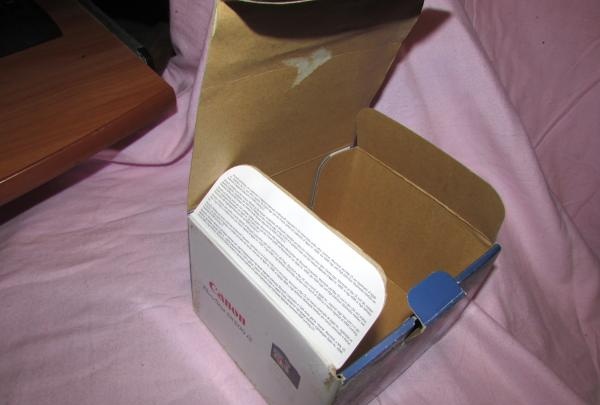
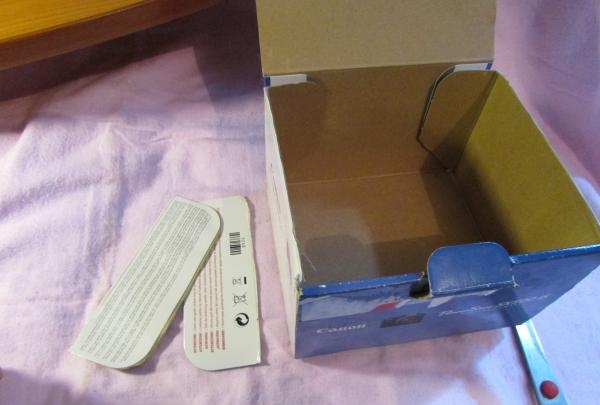
Now using scissors we cut the inner strips of the cardboard box. We won't need them. Therefore, we cut them off without hesitation.
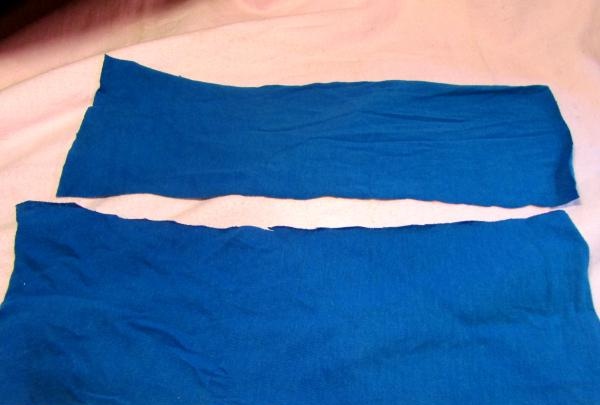
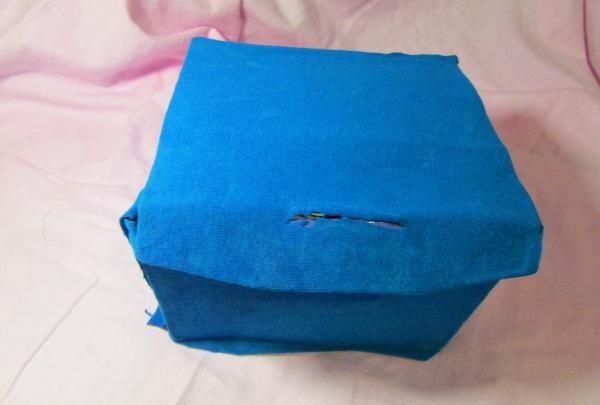
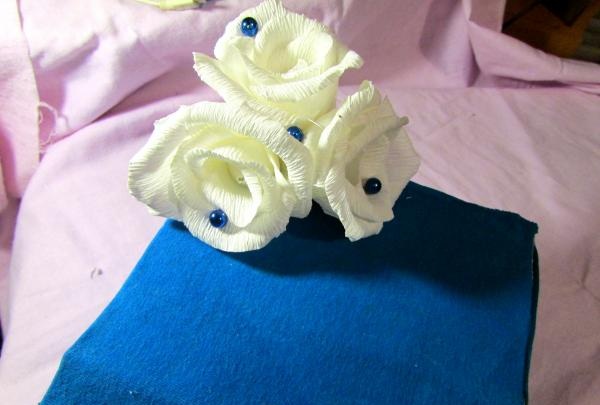
Let's move on to working with fabric. We take blue elastic fabric to decorate the outside of the box. To cover the sides of the box, take two strips of fabric measuring 10x30 cm.
Using universal glue “Titan” we attach the fabric to the box. We stretch it a little, overlapping it a little.
We cut a fabric measuring 15x17 cm for the lid. And glue it to the box in the same way. Stretching it and bending it slightly to the other side of the lid.
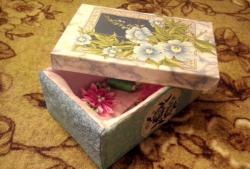
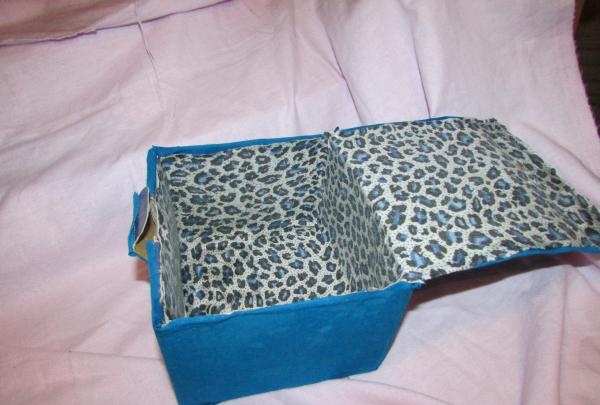
Now it's time for the second color of fabric that we will use to cover the inside of the box. We take elastic fabric with blue shades. We cut 2 strips measuring 9x28 cm. We also cut a square for the bottom of the box measuring 14x14 cm. Then we cut the fabric for gluing the lid, you will need 14x16 cm. When we glue the fabric to the box, stretch it a little. Let the glue dry completely.
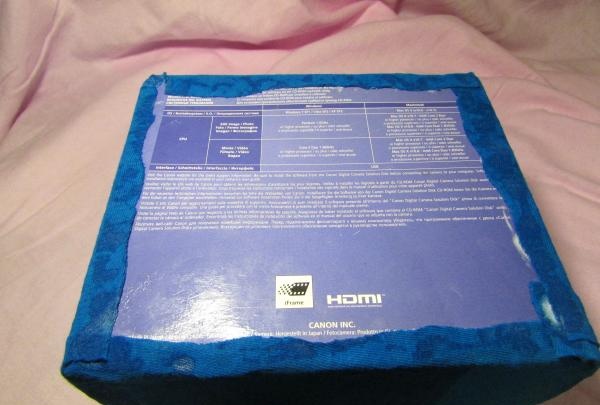
On the outside we glue a square of fabric measuring 14x14 cm to the bottom. We also stretch the fabric slightly. Allow time for the box to dry completely and for the glue to adhere firmly.
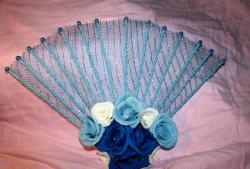
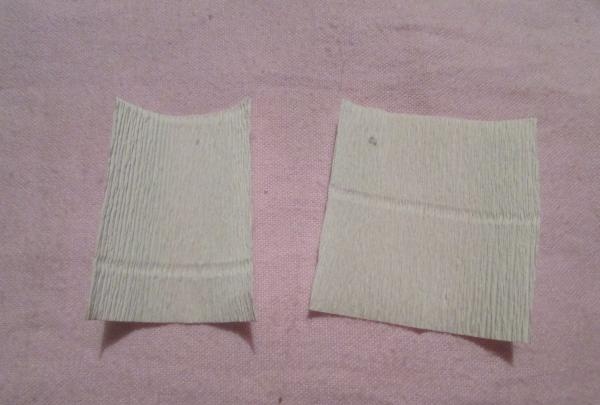
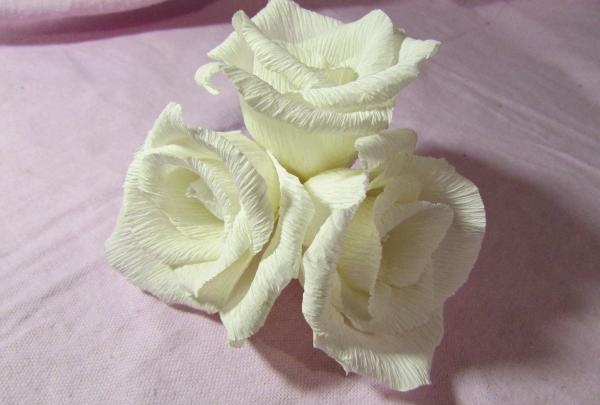
Let's move on to working with flowers. To do this, take white corrugated paper. For flowers we will need petals of two sizes. Large ones are 5x5 cm, and small ones are 3x5 cm. You will need 3 of them. And you also need a strip measuring 3x5 cm for the base, the bud.
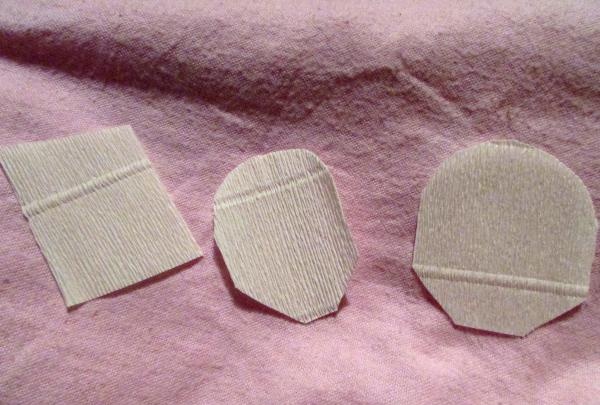
We cut off the corners of the petals, giving them a rounded shape. We do not touch the strip for the bud.
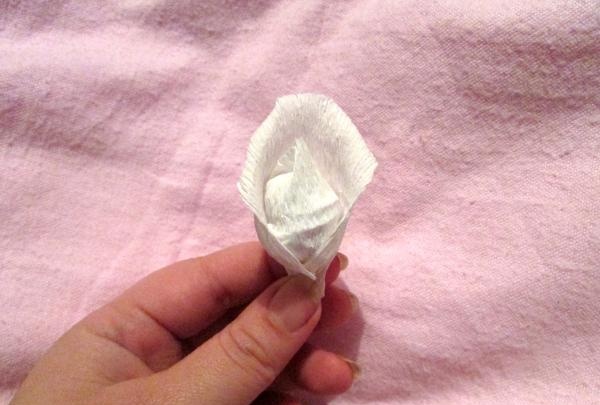
Let's move on to the bud. Stretching the strip with your fingers in the middle, making a depression. Take a piece of foil measuring 10x10 cm and crumple it into a ball. This will be the core of the bud. Place a ball of foil in the middle of the recess and fold the upper corners of the strip to form a cone. Glue it together using a glue gun. And below, under the ball of foil, we twist the paper into a rope.
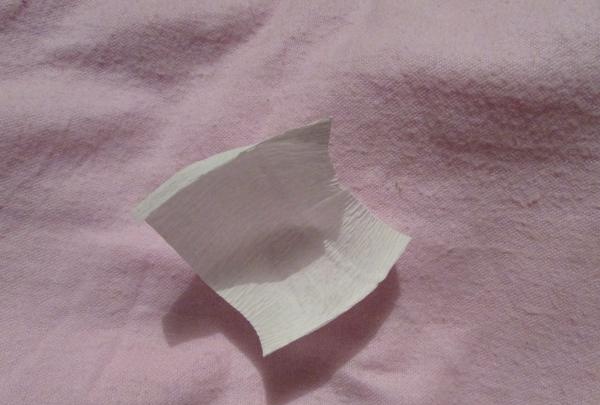

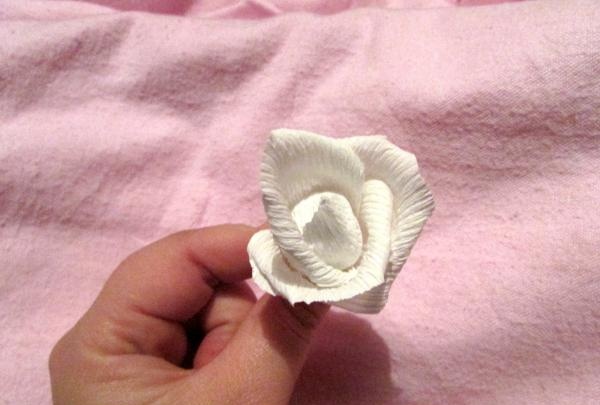
Now we give a new shape to the petals. To do this, twist the edges of the petals with a skewer or knitting needle. And in the middle we make a depression. Using a glue gun, glue the first small petal to the bud.
Glue the remaining small petals one by one.
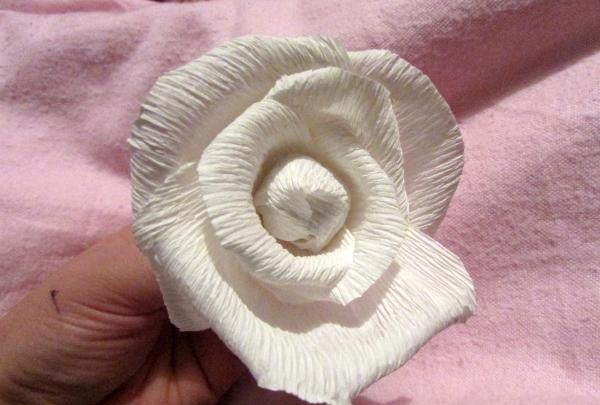
Then we glue the large petals in a checkerboard pattern relative to the previous ones.
We will need three of these colors.
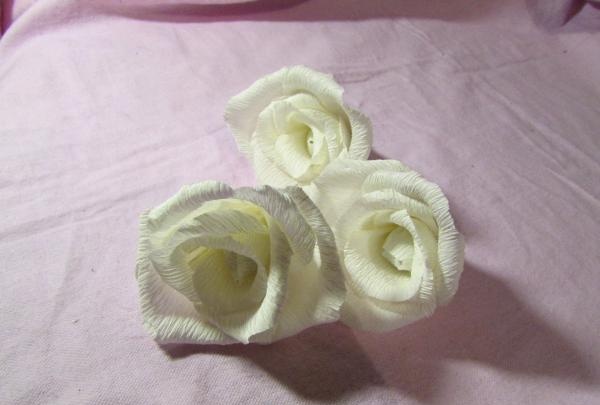
Glue them to each other.
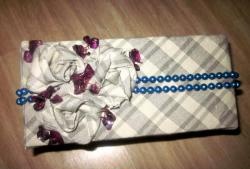
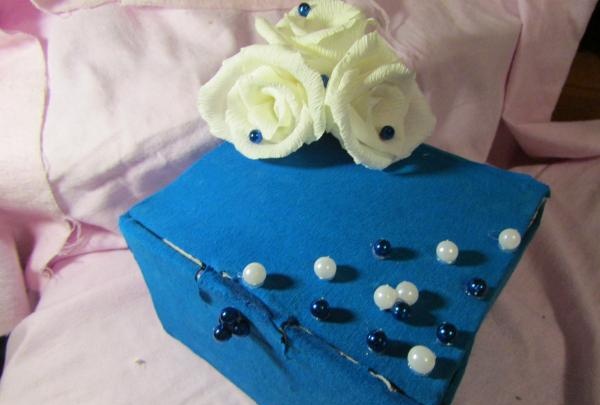
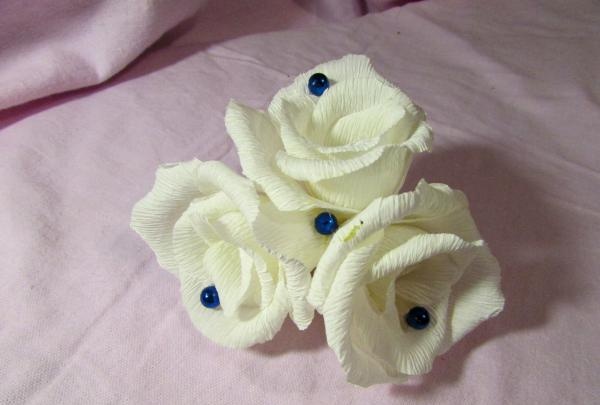
To finish the box we take two colors of beads. White and blue.We will also use blue ones to decorate roses. Take 4 blue beads and glue one on each flower and one in the middle between the flowers where they are glued.
Now we take green corrugated paper and cut out two strips measuring 1.5x2 cm. Cut out the teeth at the top. And we stretch them a little. Glue them on the back side to the tails of the flowers.

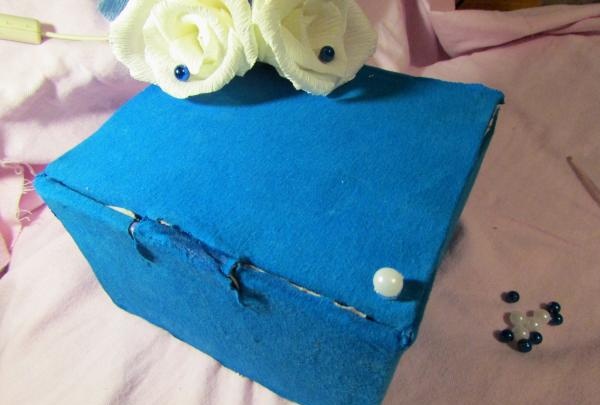
Next we glue the flowers onto the box. Placing them in the upper left corner.
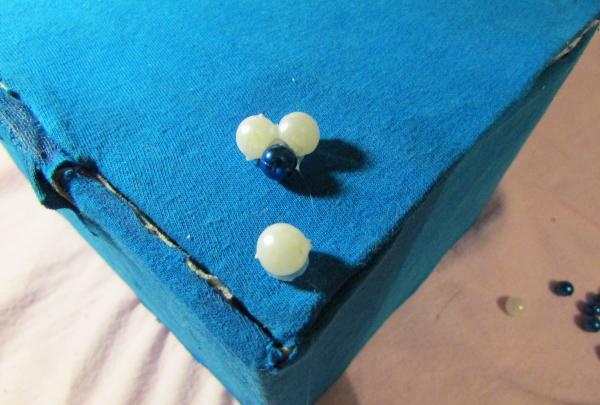
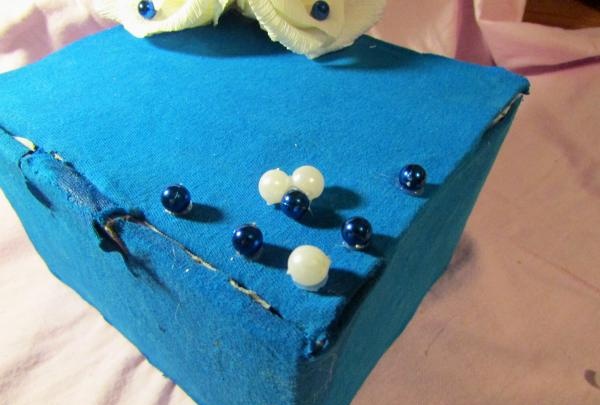
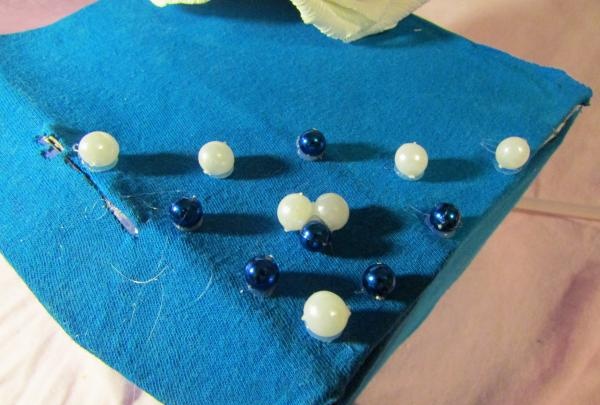
We proceed to gluing the beads to the box. Take a white bead and glue it in the opposite corner from the flowers. Then we glue together two white beads and one blue one. We glue them at a distance of 2 cm from the first one, directing the blue bead to 1, and the white ones to the flowers. Now we draw the corner of the box with blue beads. We glue them from the first bead, two pieces on each side. We take 2 more white ones and 1 blue one and attach them at a distance of two cm. Arranging them accordingly, the white ones are opposite the glued triangle, and the blue one is in the middle, between them. And only two white ones remained, glue them in such a way as to complete the corner.
That's all, our wonderful box is ready.

Good luck to all.