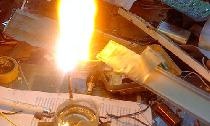
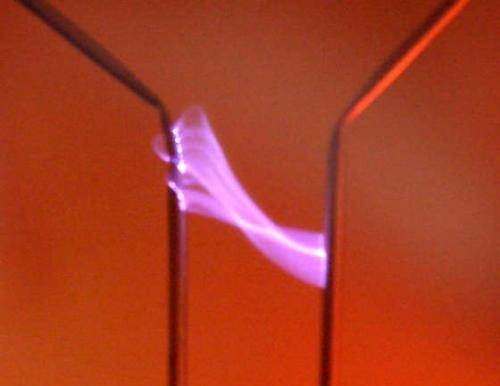
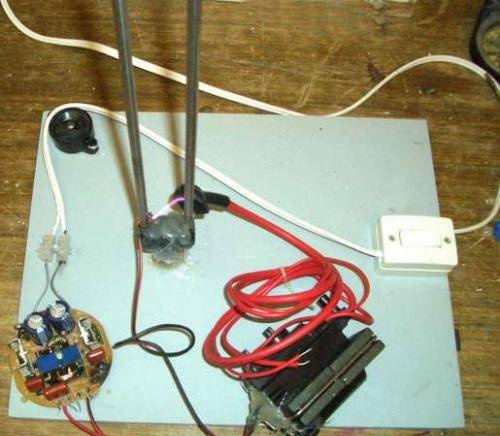
Jacob's ladder - two electrodes located as in the figure are called. It is most likely the most beautiful use of an electric arc :)))
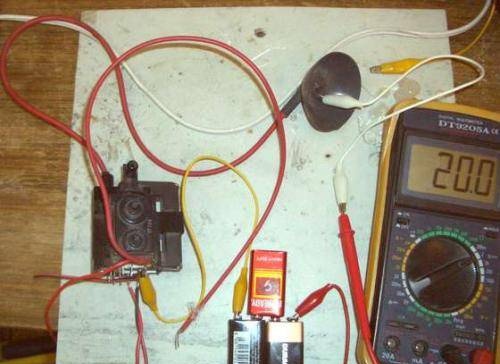
And it works like this: an arc appears at the bottom of the electrodes, the air around it heats up and rises, the arc also rises and goes out, then the process is repeated. The distance between the electrodes at the bottom should correspond to the maximum arc initiation distance, and between the electrodes at the top should correspond to the maximum arc holding distance. The current must be at least 5 mA. To power it, we will use a converter on the line.
WARNING!
[/b]
These flows and tensions are deadly! You can easily hurt yourself. You build this electrical circuit at your own risk. Attention - fire hazard!
Here are the basic safety rules:
1. Use only one hand (place your other hand on your lap or in your pocket)
2. Boots must have insulated soles,
3. Use a wooden stick or insulated pliers when touching or operating the electrical circuit,
4. When soldering, disconnect the circuit.
5. Read [b]safety instructions carefully!
Safety precautions when working with electricity
Rules for working with electrical appliances and wiring:
1. Always treat electricity with respect. Be alert, attentive, and consider every action when working with electrical devices and wiring.
2. Check that the work area is well lit enough to see what you are doing. Often during repairs, you have to use a flashlight with a battery to illuminate the workplace.
3. Never touch multiple exposed wires with your bare hand, even if you are sure the circuit is disconnected. It may happen that by mistake the circuit remains on or turns on. Use a voltage tester and make sure there is no voltage.
4. Place exposed wires so that one cannot touch the other, even by accident.
5. When making twists, connect the wires and insulate the twist. Only then proceed to the next connection.
6. Never tamper with live wiring. Always turn off the electricity before opening the appliance or electrical fittings.
7. Do not rely on insulated tool handles or electrically insulating gloves as protection against electric shock. They protect, but only in case of accidental contact with a bare live wire.
8. Avoid working with electrical wiring and devices in damp places. If the area is damp, place a dry board under your feet and stand on it. For added protection, wear rubber-soled boots.
When replacing a light fixture, turn off the lights and carefully lower the light fixture. Remove the end caps from the twists and touch the plugs to the bare ends of the black and white wires. If the lamp lights up, then the wires are live.Check switches and sockets in the same way.
9. Before completing the repair, review your actions to make sure you haven’t forgotten to do anything.
10. Always insulate ends with certified wire splices or electrical tape.
Never use office adhesive tape or any other substitute.
In general, in electricity there is a current that kills. If flows are low there is little danger.
This circuit contains high voltage currents that make it significantly dangerous.
65W CFL can supply 65mA easily (65W/1000v)!
And if you look at the picture below, you will see that more than 50mA is fatal.
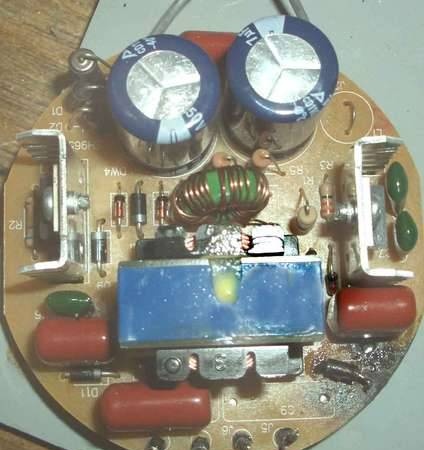
Step 1. Working with CFL
CFLs come in many different shapes and sizes. In general, the more power consumed, the greater the voltage produced. For this topic I took a 65 watt light bulb.
Most CFLs have similar features in their work)). They all have 4 wires coming out of them. The wires are in pairs, and each pair is connected to a filament in the light bulb.
The CFLs I've encountered have high voltage on the outer wires. You only have to connect the outer wires to the primary coil of the flyback transformer.
Step 2. Preparing the transformer
Flyback transformers come in a variety of shapes and sizes. Choose big.
The problem with a flyback transformer is finding 3 pins out of 10-20 pins. One pin will be the high voltage ground, the other two pins will be the primary coil pins that will connect to the CFL.
ATTENTION - if you are going to remove the transformer from the TV or CRT, then all responsibility for this lies with you.
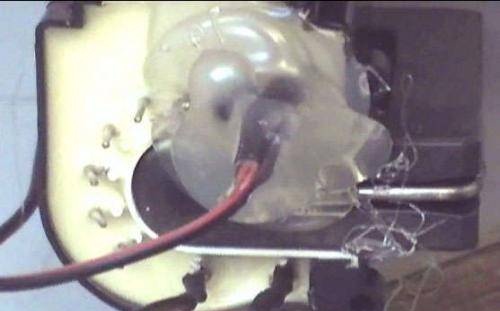
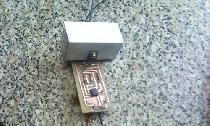
Step 3. Final stage
Here's what the completed high voltage model looks like.
Remember, this is direct current (DC) voltage. If you need high voltage AC, you must remove the built-in diode or find an old flyback transformer that does not have a built-in diode.
I remind you to be very careful, you are dealing with very high voltages and high voltage currents!
Step 4. Possible improvements
The first time I built this design, it worked immediately. I used a 26 watt CFL.
Then I decided to install a larger CFL, and I did everything the same as in the first design. But it didn't work. I was disappointed.
But when I reconnected the fluorescent tube with four wires, the CFL worked again. Remember, I only used the outer wires and left the inner two wires alone.
So I placed a resistor on the outer wire and the inner wire. The design seemed to work! But within seconds the resistor quickly burned out.
So I decided to use a capacitor instead of a resistor. A capacitor allows AC currents but blocks DC, while a resistor allows both AC and DC currents to pass through it. Also the capacitor does not get hot because it provides a low ohm path for AC currents.
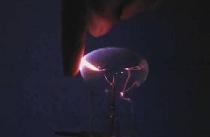
The capacitor lasted longer! And the electric arcs produced were very large and thick.
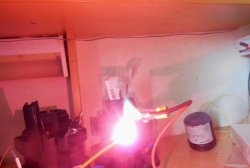
I remind you once again - when soldering, disconnect the circuit.
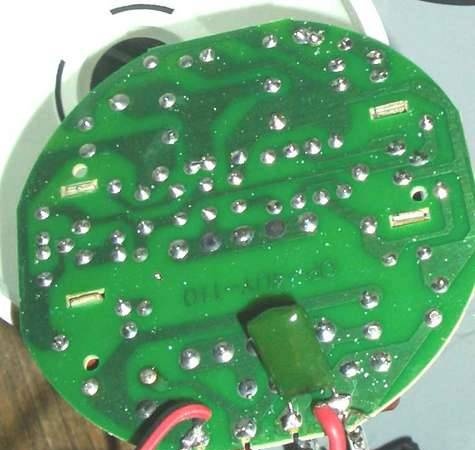
Pay attention to the bottom photo! See photo below (where the wires fit) - The chain is broken!!!
Jacob's ladder - one of the beautiful and very dangerous experiments! Good luck!