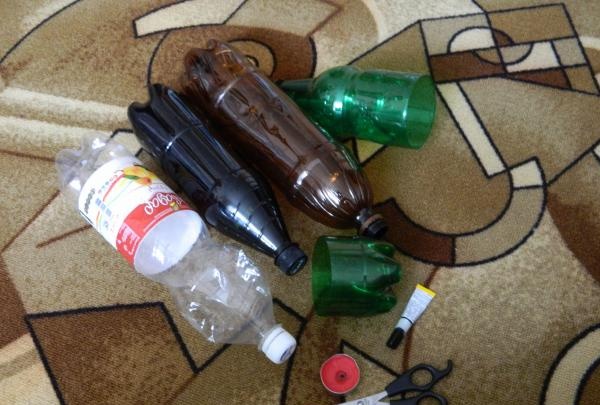
So for crafts from plastic bottles “Blooming Tree” you will need:
- green, brown plastic bottles
- yellow or pink plastic (for example, cups from cottage cheese desserts)
- candle (or matches, gas burner)
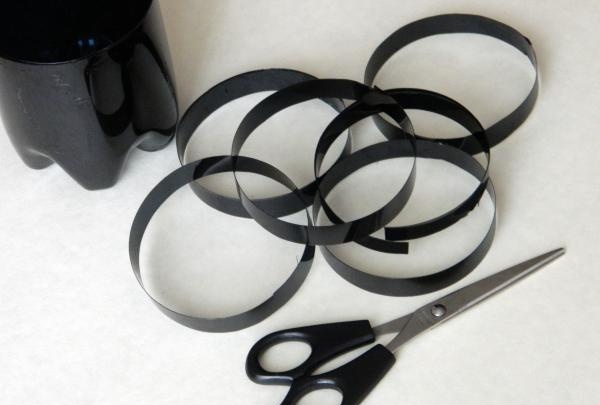
- scissors
- glue.
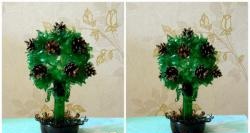
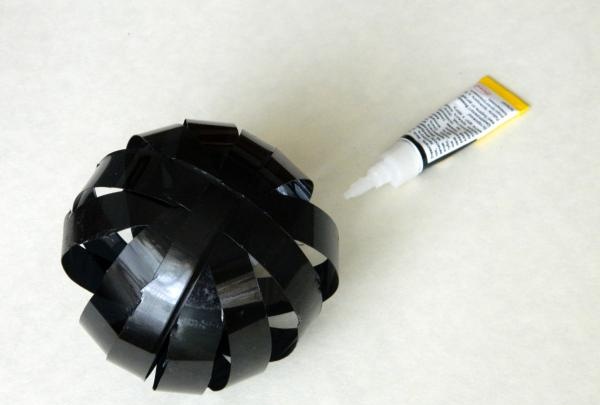
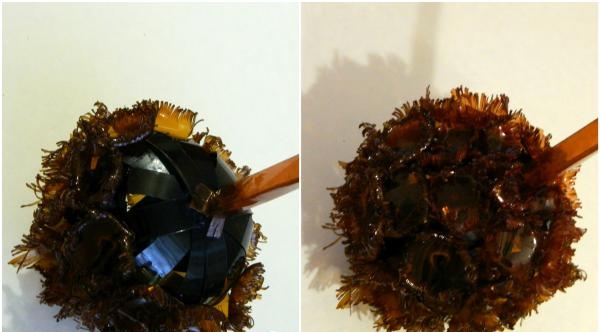
The size of the topiary will depend on the volume of bottles used. The central element of the craft is a ball glued together from several plastic hoops. The width of the hoop strip is approximately 1 cm.
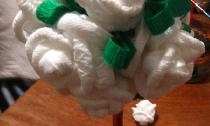
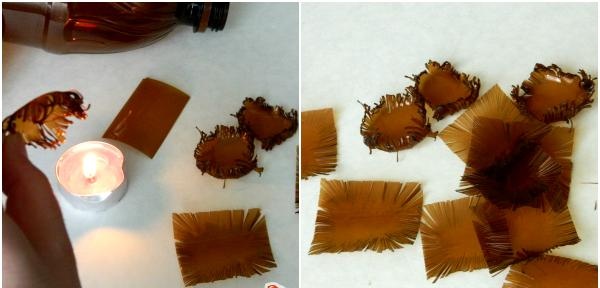
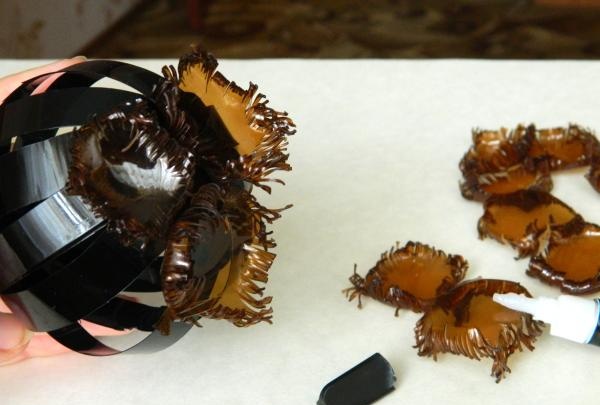
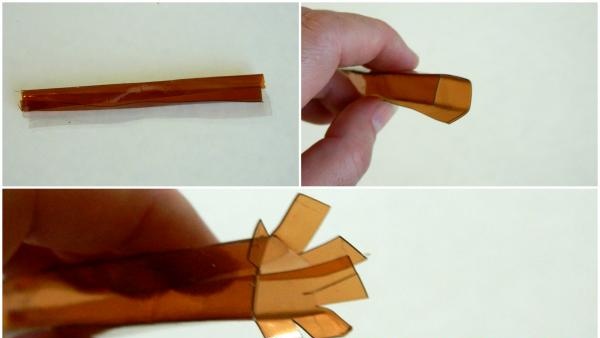
From the next brown bottle we cut out squares, circles and rectangles with side sizes within 5-6 cm or a diameter of up to 6 cm. Using scissors, we thickly cut the edges of the finished geometric shapes and lightly melt them over the fire.Thin strips are wrapped in different directions, forming the branched trunk of our flowering tree.
We start gluing the branches from the top of the topiary. Periodically give the craft a chance to dry thoroughly. If in some places there are gaps between the parts, it’s okay; they are not visible against the general background. Moreover, they can be hidden by bending some of the brown curls towards the gaping hole. In principle, there are no such noticeable holes in our work. It’s just that during the gluing process you should carefully select the branches, assembling them into one whole, like a mosaic.
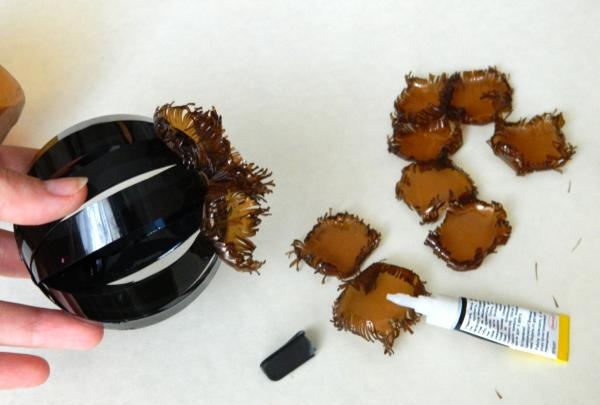
It is worth noting that we glue the branches up to about half of the ball. Then we begin to design the barrel. To do this, cut out a rectangle from a plastic bottle with sides approximately 4 by 10 cm. Next, roll the plastic into a long round or profile tube. We make slits at the ends of the tube to be able to attach it to the ball.
After gluing the trunk, we continue working on the branches.
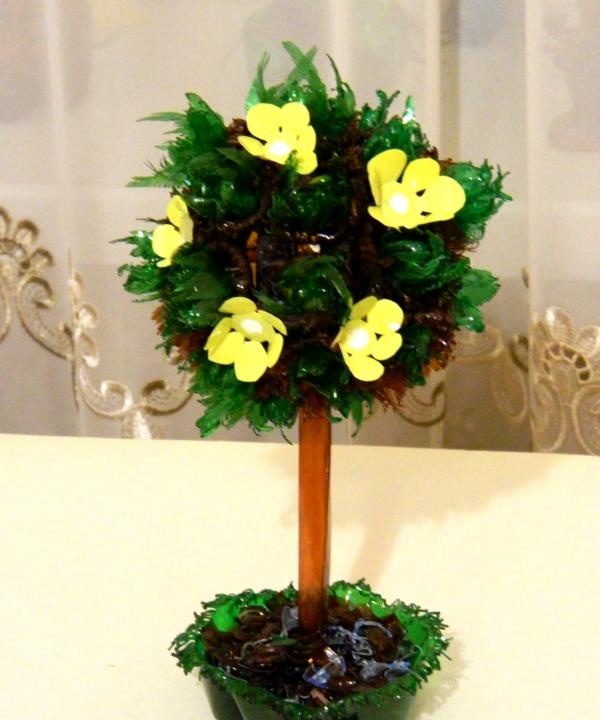
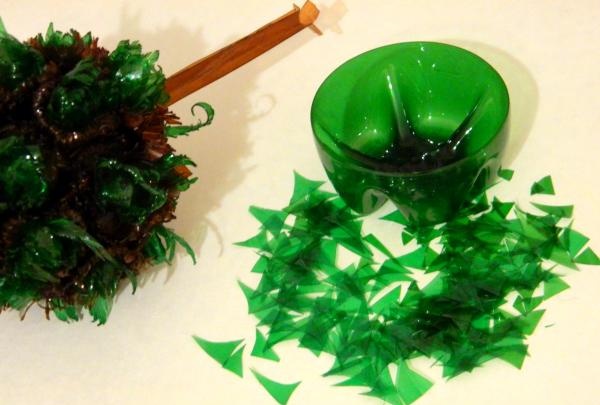
Now you need to cover the topiary with greenery. We cut out stars from the bottle, then traditionally tear off the edges with scissors and melt them over the fire. All that remains is to collect the leaves into a bud.
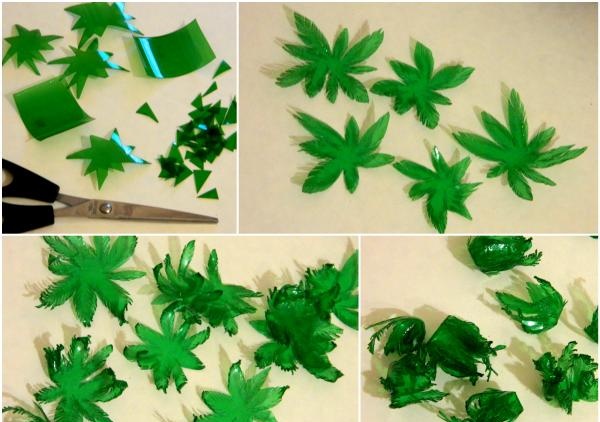
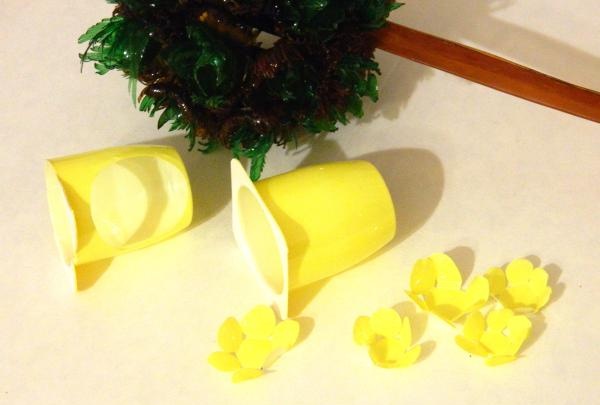
Lubricate each bud with glue and place it in the center of the round brown branches. Immediately cut out flowers from yellow plastic. I like the round shape of the petals. I will paint the center of each flower white.
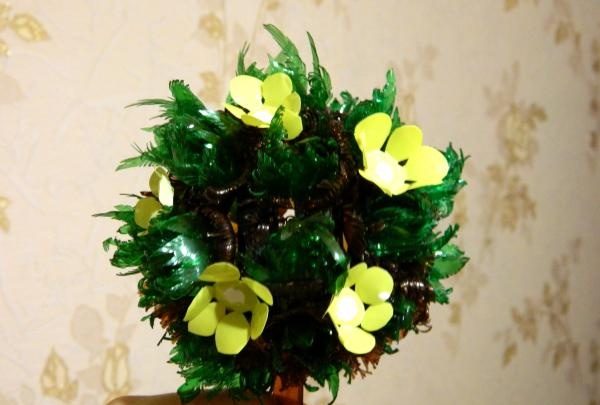
Add color to the tree, place flowers between the green leaves.
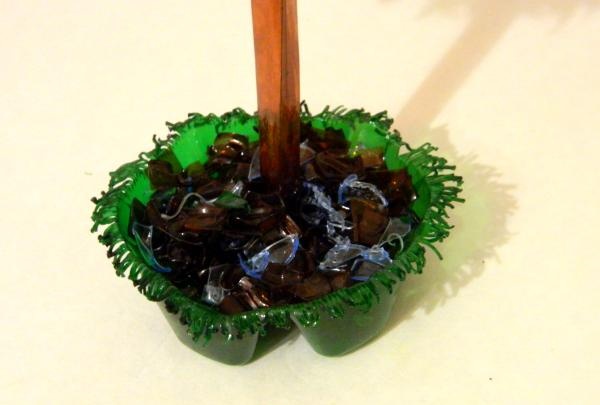
Now we cut out a bowl from a plastic bottle. Glue the trunk to the bottom of the resulting flowerpot. We fill the roots with soil on top - the remains of plastic bottles.
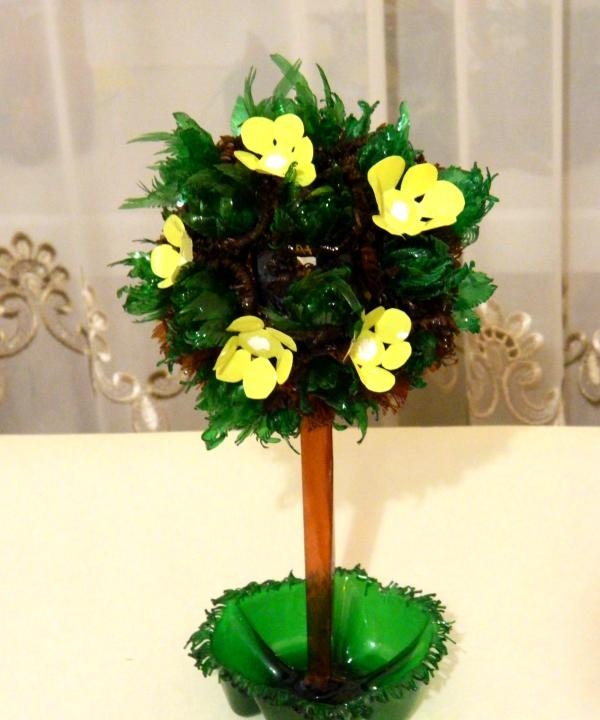
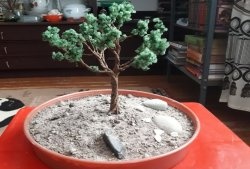
The topiary is ready. In sunlight, the leaves of the tree acquire an emerald shine.
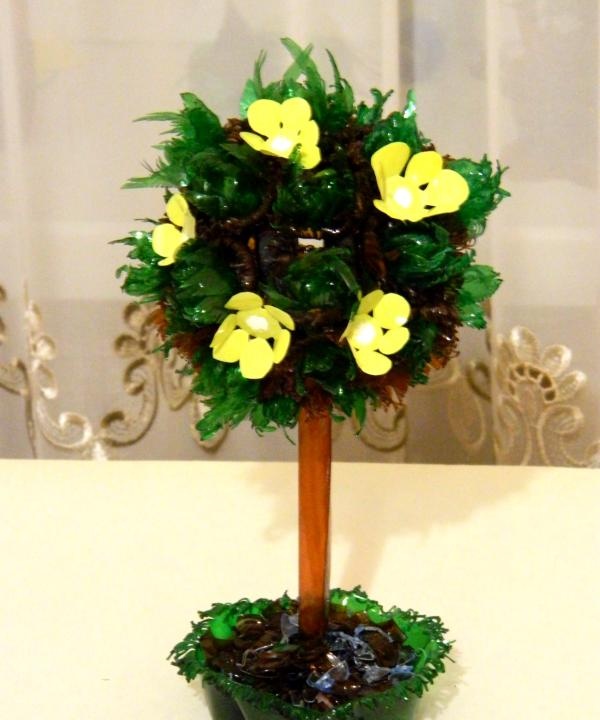
The craft looks unusually beautiful and elegant.