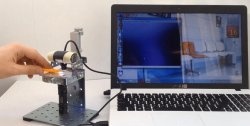
For soldering small components, a magnifying glass may not be enough. It is much more comfortable to work with a microscope. It connects to a large computer monitor and provides a detailed, clear image. With it, soldering is much more accurate and of better quality. It is quite possible to assemble such a microscope with your own hands from a webcam.
Materials:
- Webcam;
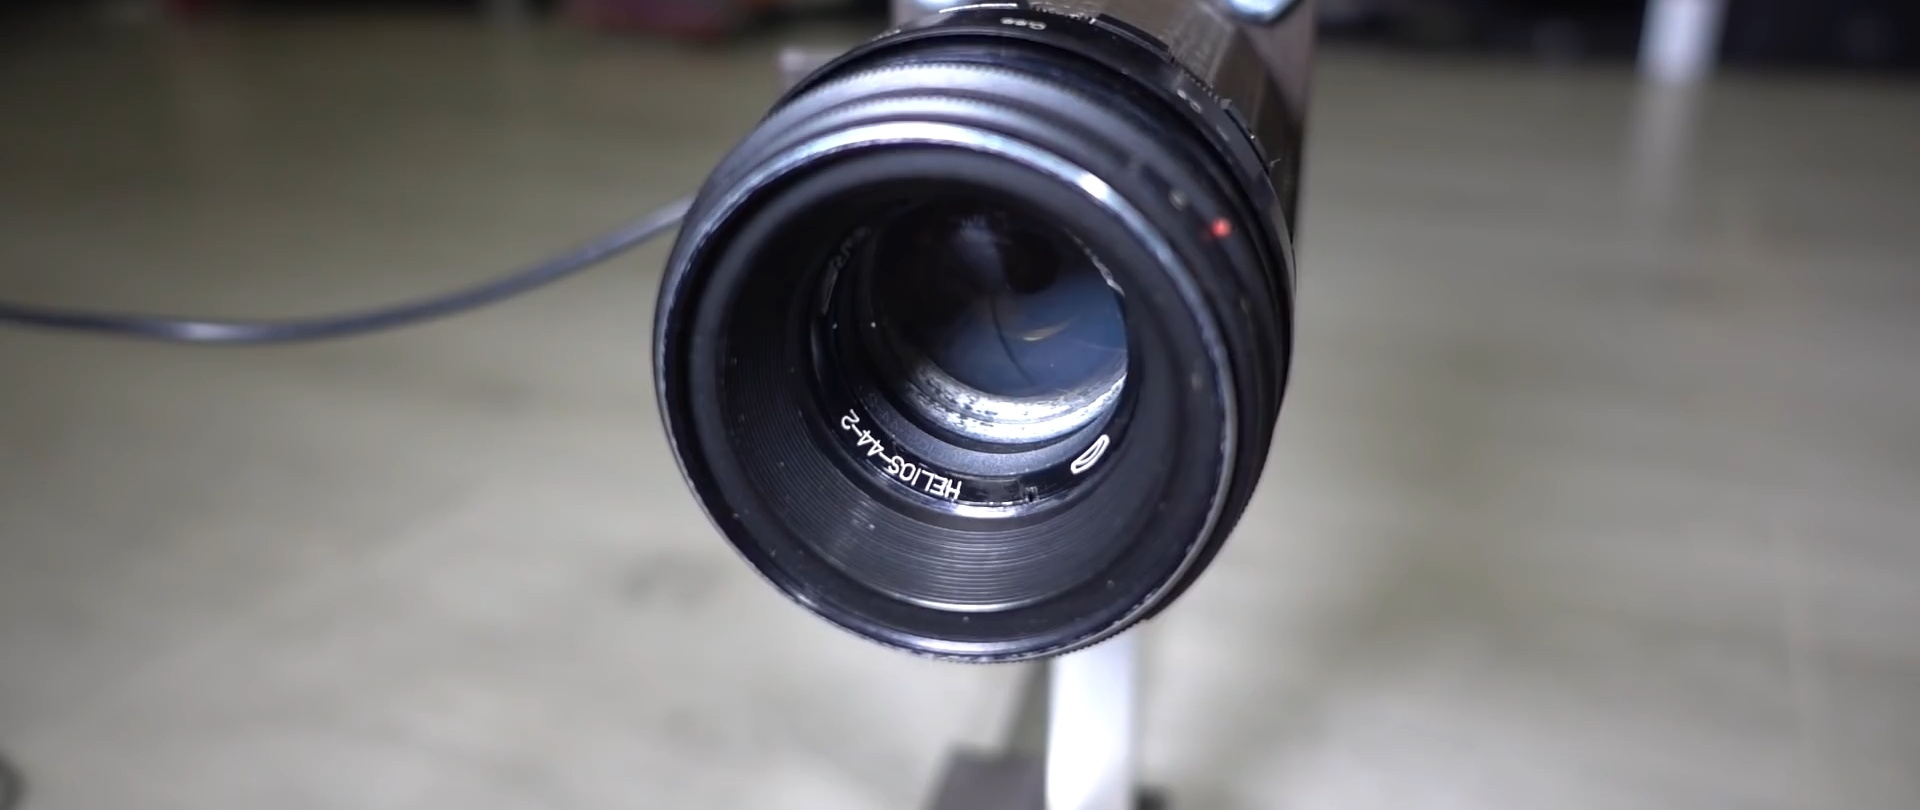
- lens from an old camera with a focus of 50 mm;
- aluminum profile pipe 10x10 mm.
Microscope manufacturing process
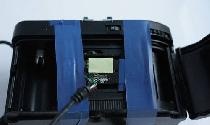
To make a microscope, you will need to disassemble the webcam, since its standard housing is not needed.

We immediately remove the microphone if it becomes disconnected. The cable goes to the board through the back cover of the case. It should be disconnected and then soldered again, or simply break the case, which is faster.

On the camera board near the lens there is Light-emitting diode. In the case of a microscope, it will interfere. It needs to be desoldered. Then be sure to check the functionality of the camera, since you can accidentally unsolder the excess.

Now we unscrew the standard lens from the camera. Instead, you need to put a big one from the camera.But to do this, you need to determine at what distance to install it from the matrix. This is done by practical tests with the aperture as closed as possible.

The lens is mounted on a long tube above the sensor. Then the camera turns on. When testing, you need to record 2 parameters: the distance between the camera and the lens, at which the picture is clear, and between the lens and the object in question. By taking measurements and gradually shortening the tube, you need to achieve such a balance so that the camera and lens combination can focus on the object with optimal magnification. And at the same time, the object was far enough away that it could be reached with a soldering iron while working.
Having decided on the distances, you need to work on the microscope body. The most convenient way is to print it on a 3D printer. To do this, a mount is made for the camera board with mounting holes.

A part in the form of a diffuser is also printed. It should connect to the first mount. It contains guides for adjustment.
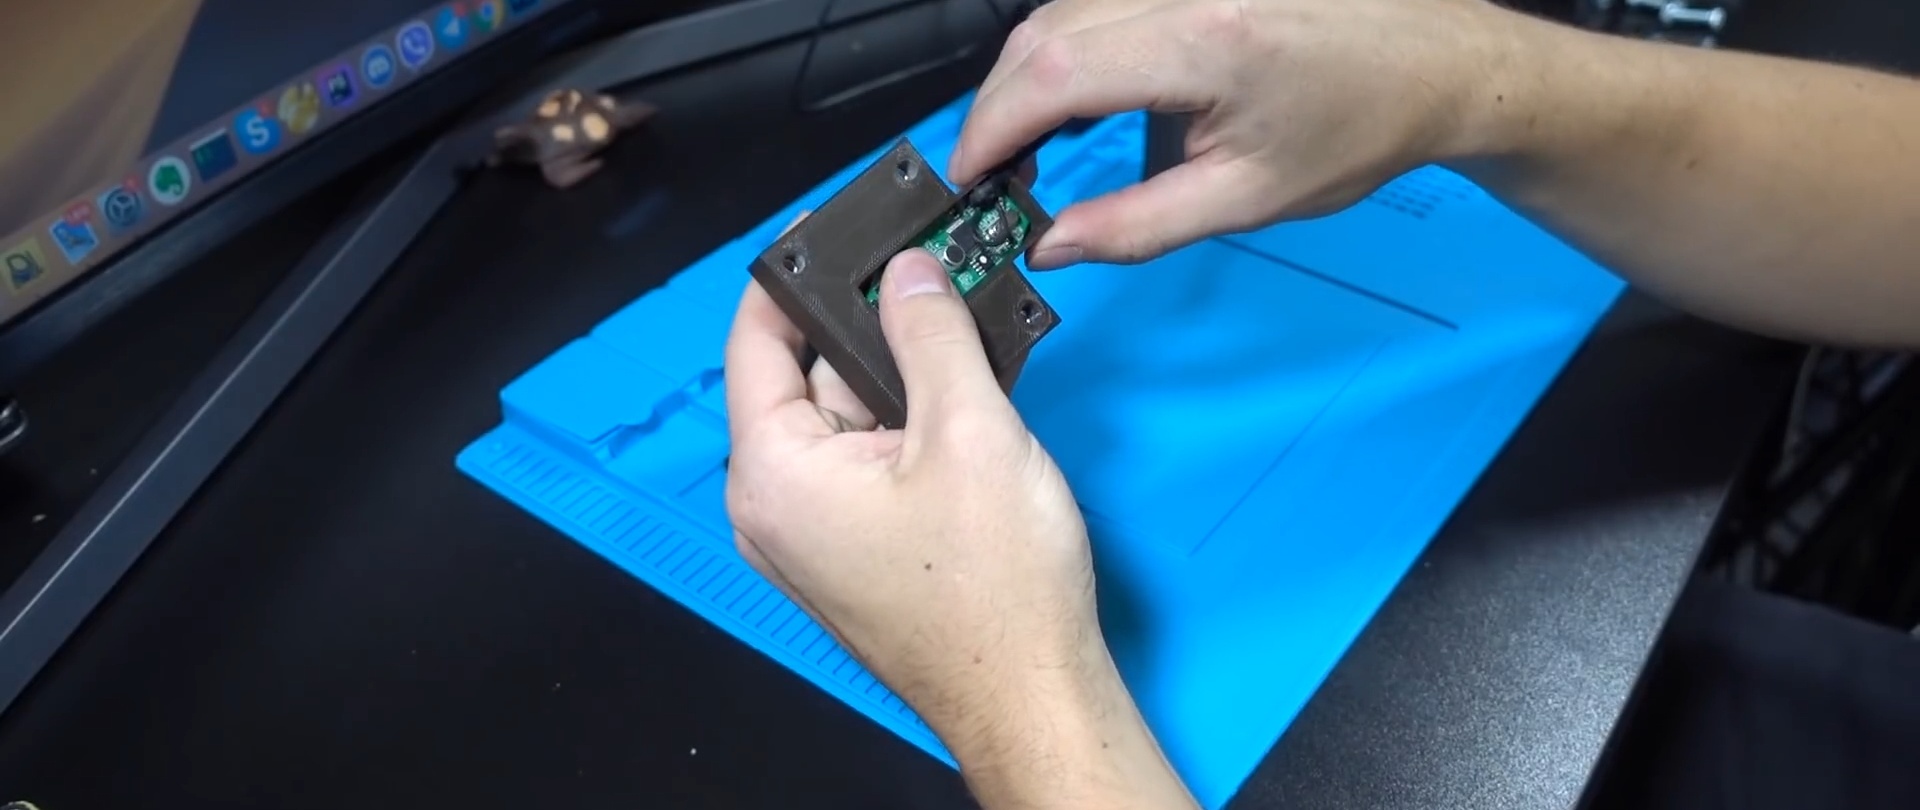
The third part is a tube that screws onto the lens thread. It should fit tightly into the diffuser. There are 2 protrusions made on it that will slide along the counter guide. Thus, it will be possible to fix the lens at a previously measured distance, and also, if necessary, make adjustments in one direction or another. This will allow you to bring the picture even closer, or to refine it.

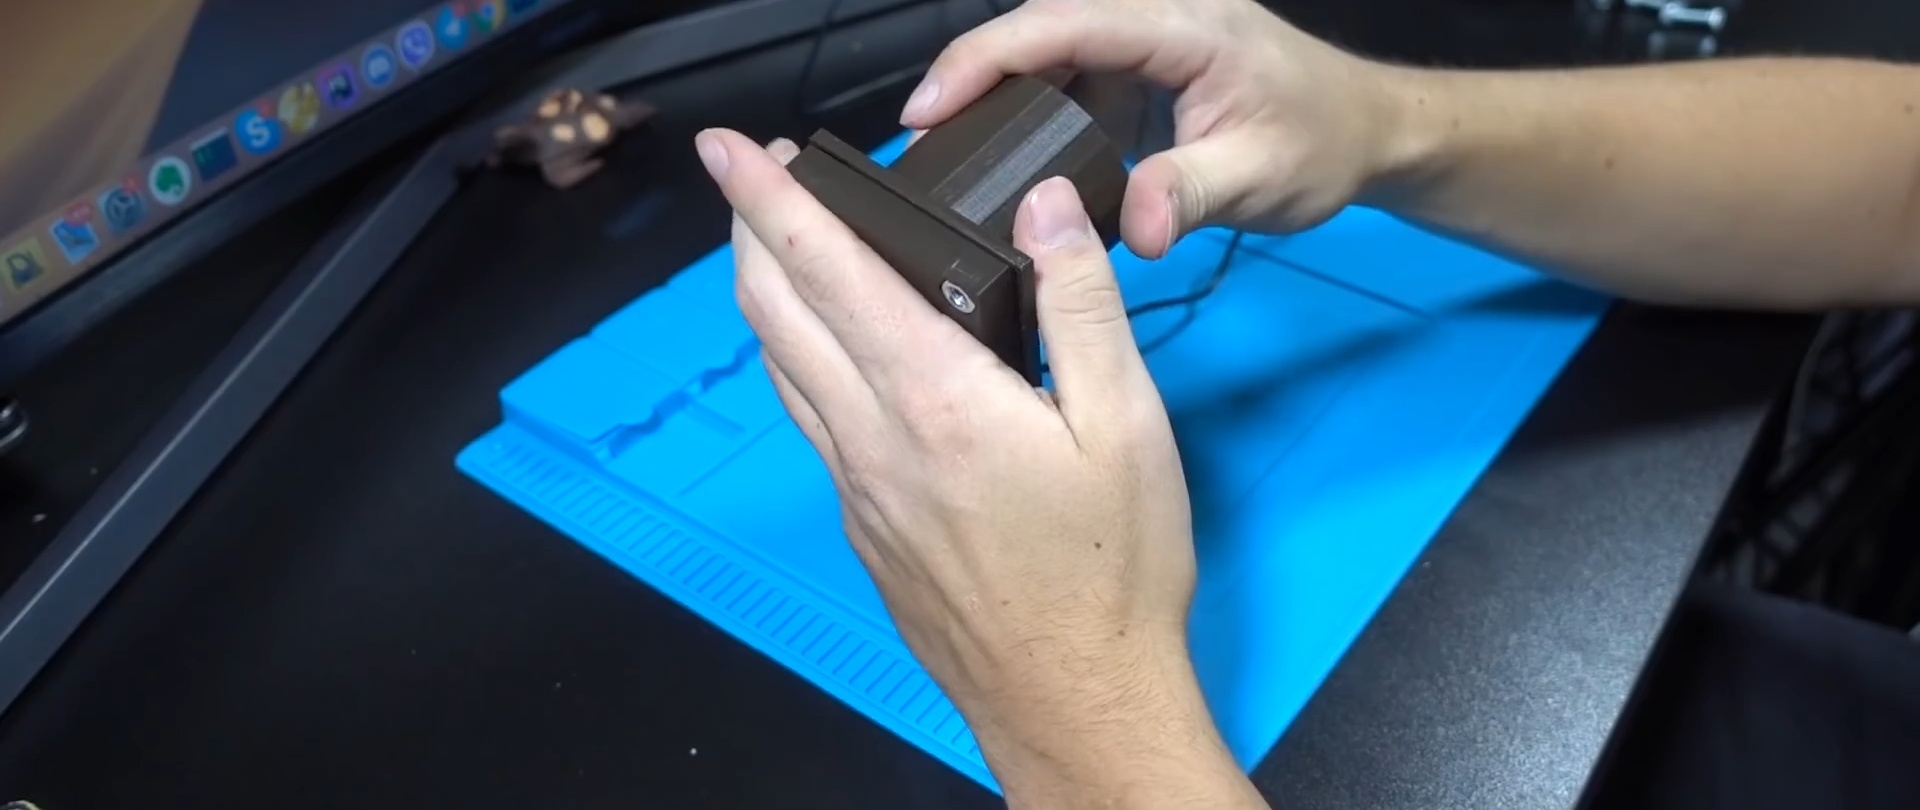
In the absence of a 3D printer, such a structure is made from plastic pipes, plates and glue. Next, the board is placed in the case and assembled with the lens.
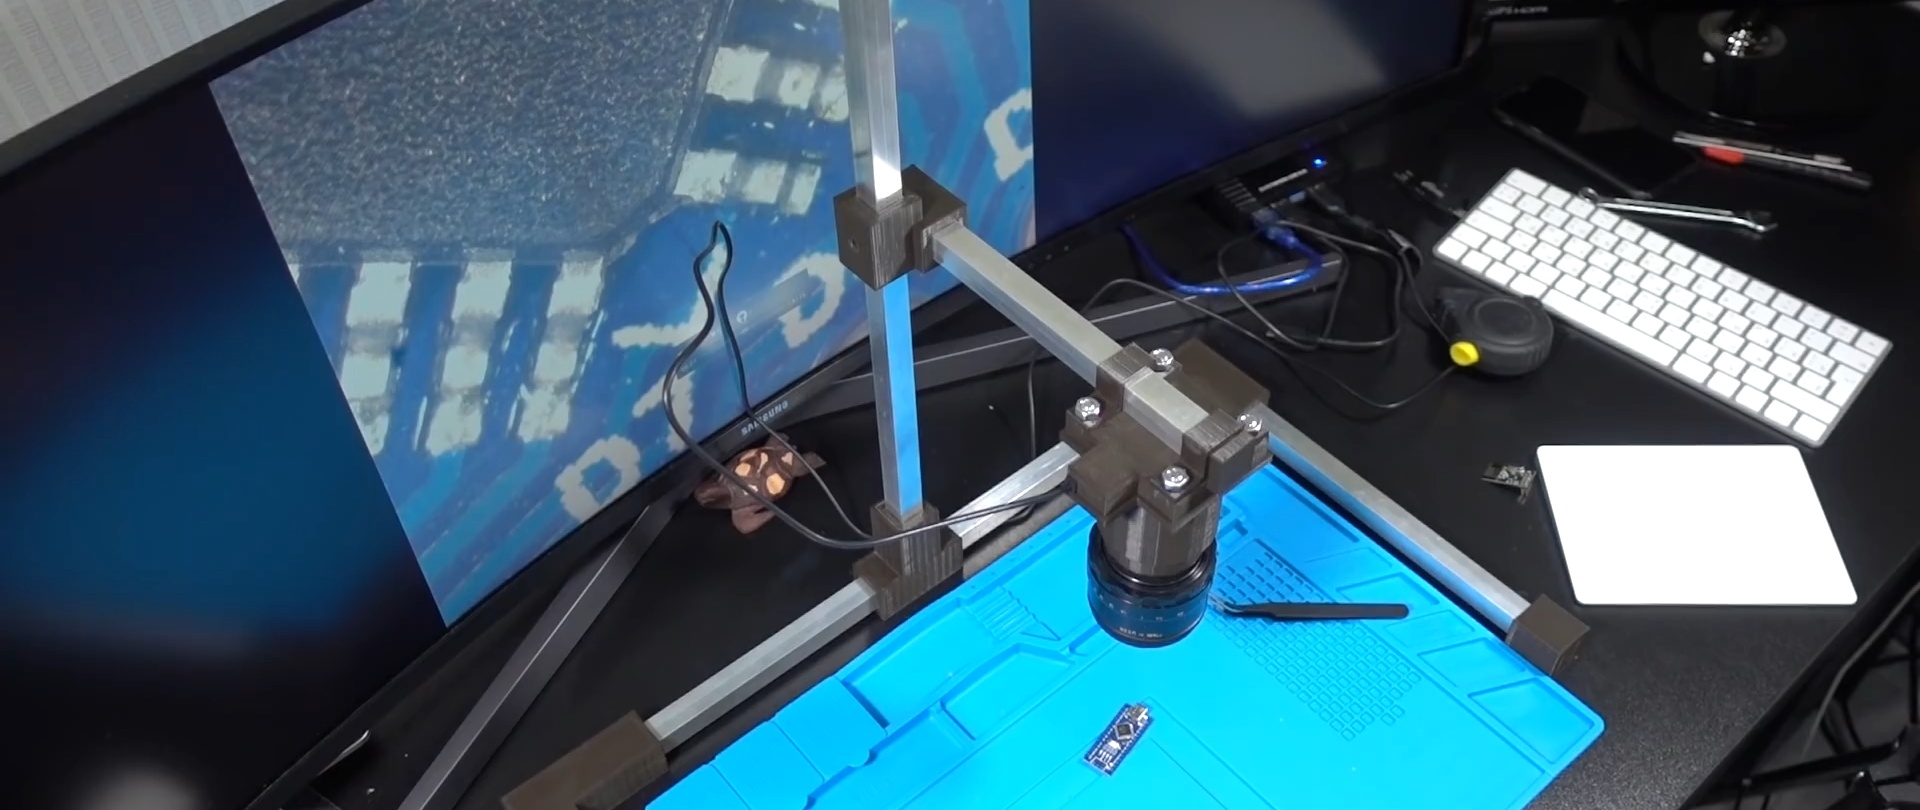
The microscope stand is made from an aluminum profile pipe.
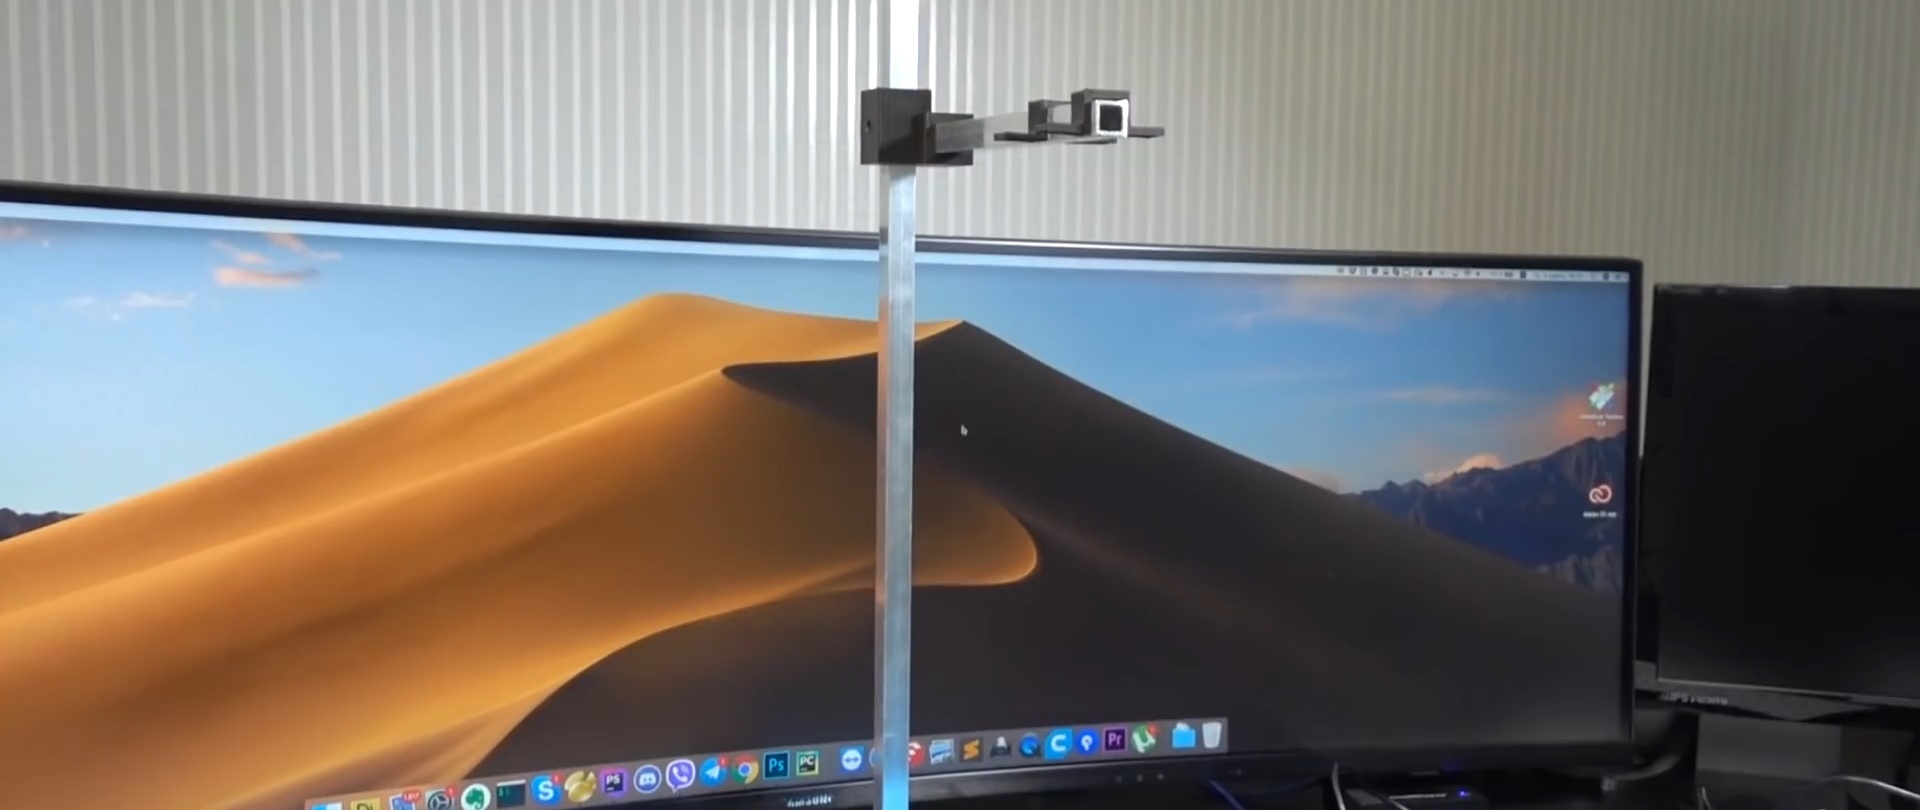

The fasteners for the connection, as well as the adjustment bracket, can be similarly printed on a 3D printer. It is better to make the legs of the stand in such a way that your soldering mat fits between them.
Now it is enough to hang up the microscope and insert the cable into the USB port of the computer to see an enlarged image of the soldering area on the screen.