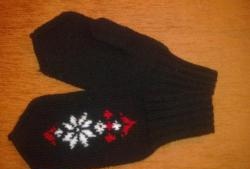
Mittens for the winter period are practically irreplaceable. Everyone in our climate zone knows this. And in addition to practical benefits, fashionistas and needlewomen want to make this accessory also beautiful. And here your imagination can run wild. Mittens can be sewn, crocheted and knitted, felted from wool, as we see there are quite a few possibilities for making this winter wardrobe item, especially since each method has a countless number of options and models.
In our case, we choose a tool - a crochet hook and pure wool yarn. 80 g is enough, i.e. you can fit into one hundred gram skein of wool, and there will be some left over. In addition, you will need the remains of bright threads in a contrasting color to decorate the back of the mittens. It’s easy to do knitting calculations yourself using our example.
Materials for our model:
- 80 g, pure wool yarn of bright blue-violet color (120 m per 100 g);
- 20 g, fancy dyed acrylic yarn in peach tones for knitting flowers;
- 10 grams of any yarn in green tones for leaves;
- hook No. 4.
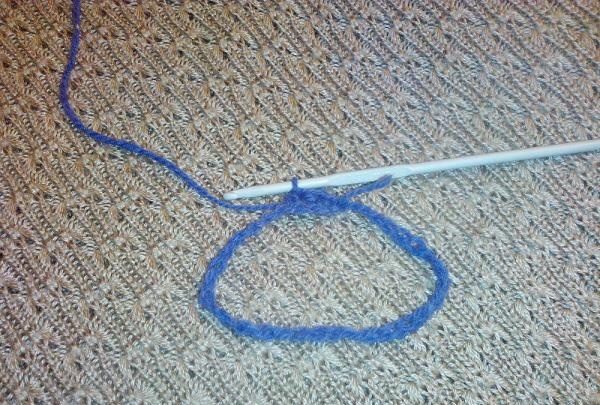
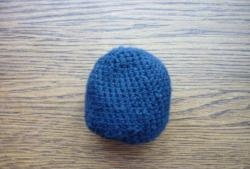
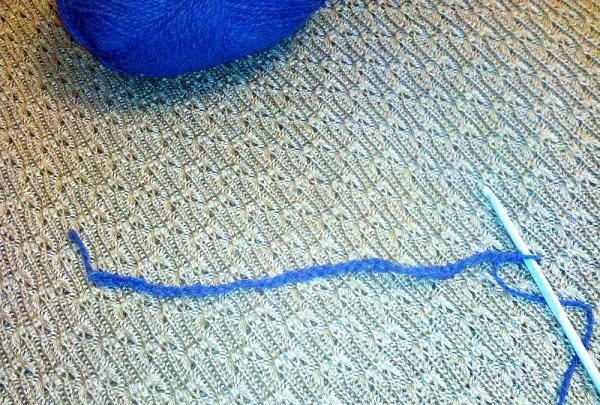
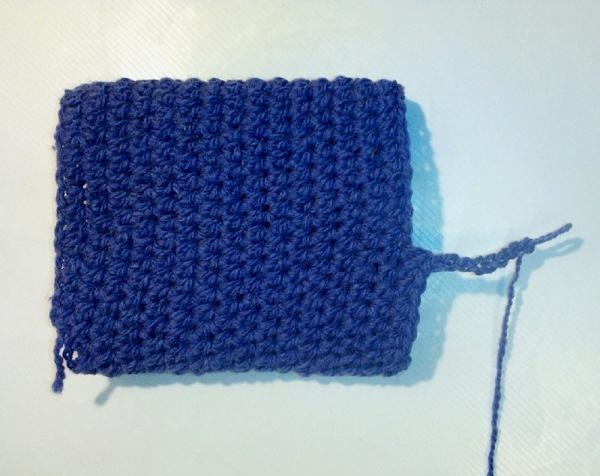
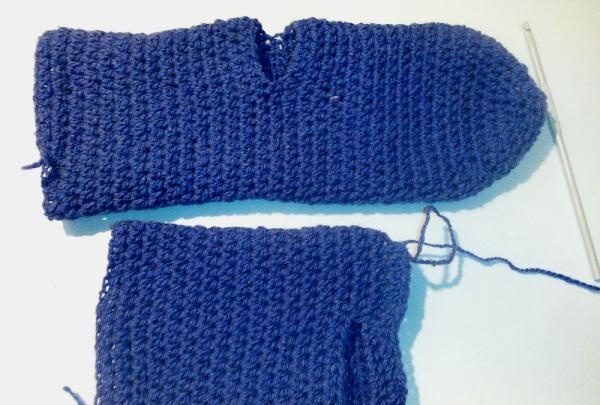
Knitting We start with the cuff of the mitten.To determine the length of the first row, use a thread to measure your hand at its widest point. The first chain of chain stitches should be equal to the length of this thread. We close the chain (in our case - 35 loops) into a ring and knit in the round with simple double crochets to the desired height of the mitten cuff. For our mitten, this is 16 rows to the base of the thumb.
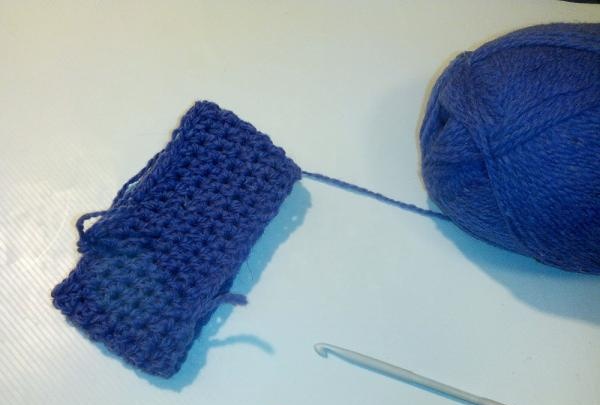
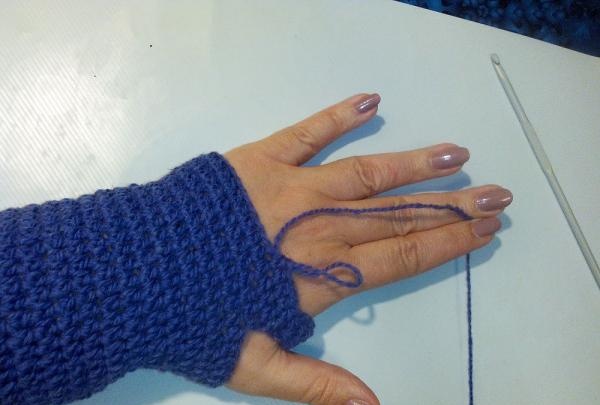
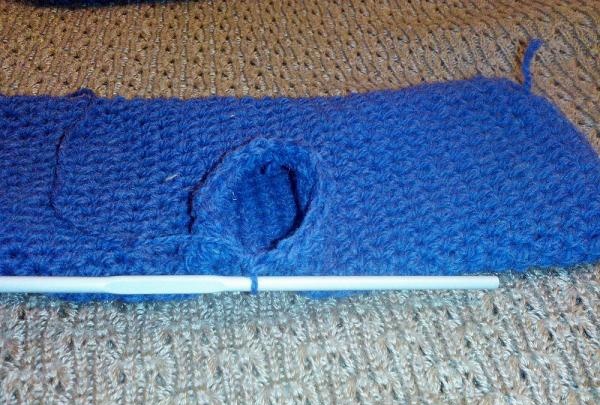
Now you need to provide a hole for the thumb. We skip 8 loops of the bottom row, knitting the same number of chain loops above them. We connect the next loop with the bottom row, and again continue to knit in a circle with double crochets for the entire length of the palm and 2/3 of the length of the fingers. For our model this is 12 rows.
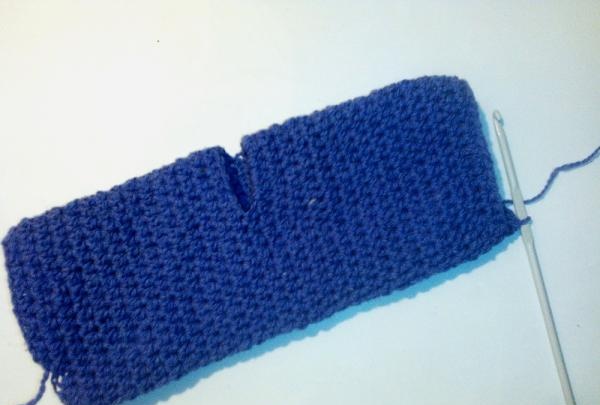
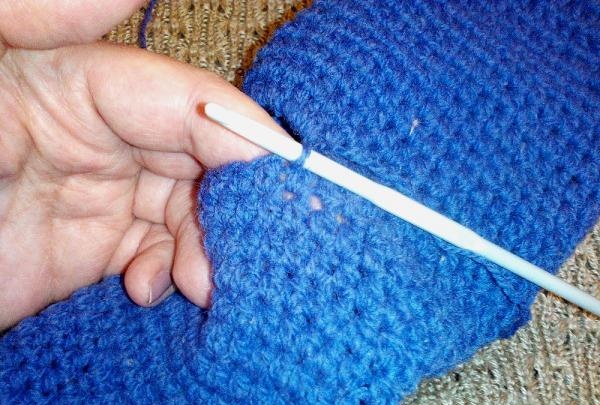
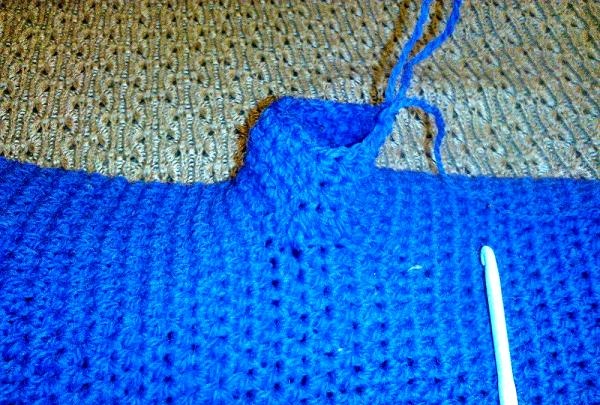
Next we decrease the loops, completing the mitten. The reduction is made taking into account the sides of the mittens. Identifying them with such circular knitting is simple: fold the mitten so that the hole for the thumb takes its place, the folds are on the sides. We will first decrease the loops near the folds to give the desired shape to the mitten.
Row 13 - knit 2 loops together before the fold, then at the bend place a regular double crochet, then 2 loops together. Next we knit to the second fold and repeat the decrease in the same order. Thus, in the 13th row 4 loops are decreased. We knit double crochets to the first fold.
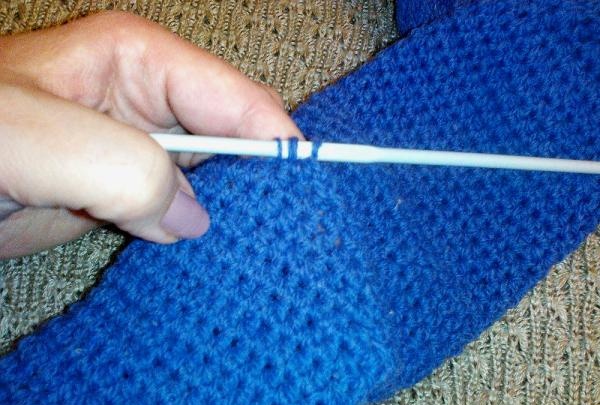
Row 14 - before the fold we knit 2 loops 2 times in a row, at the bend place - a double crochet, again we knit 2 loops 2 times in a row. Next, double crochet to the second fold. We repeat - before the bend we knit 2 loops 2 times in a row, at the bend place - a double crochet, again we knit 2 loops 2 times in a row. Thus, in the 14th row, 8 loops are decreased.
We knit the 15th row in the same way as 13.
Next, we decrease the loops, knitting every two loops into one, until we complete the mitten. We collect the last 6 loops onto one thread and tighten them.
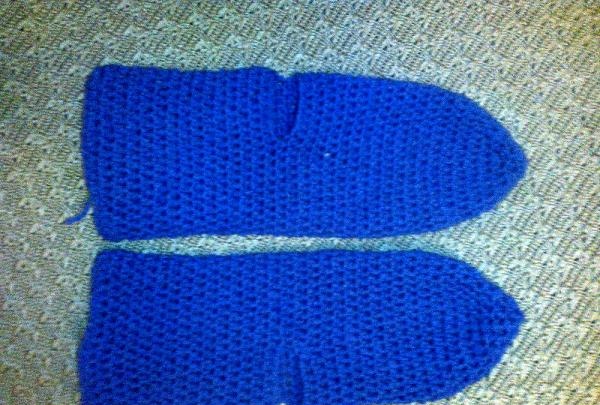
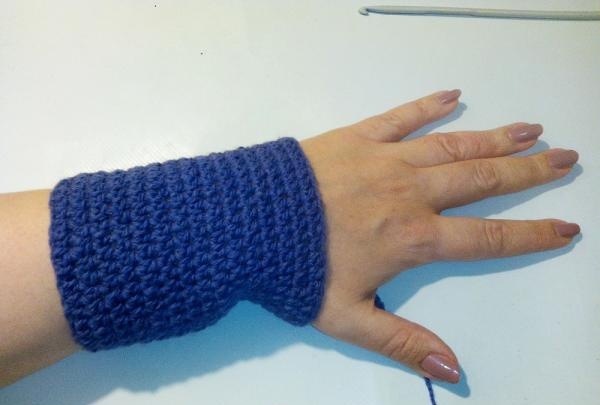
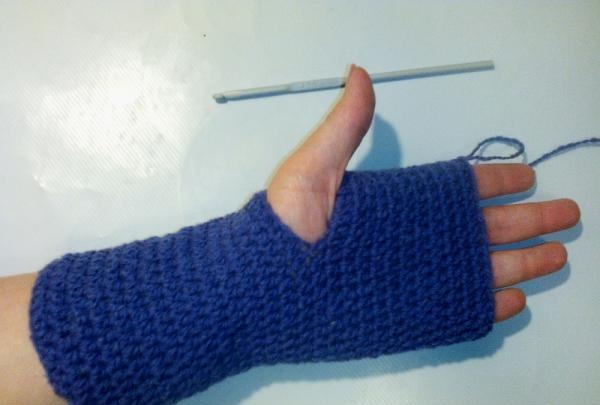
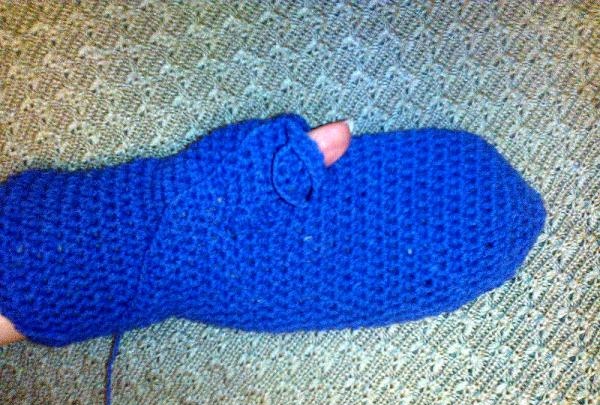
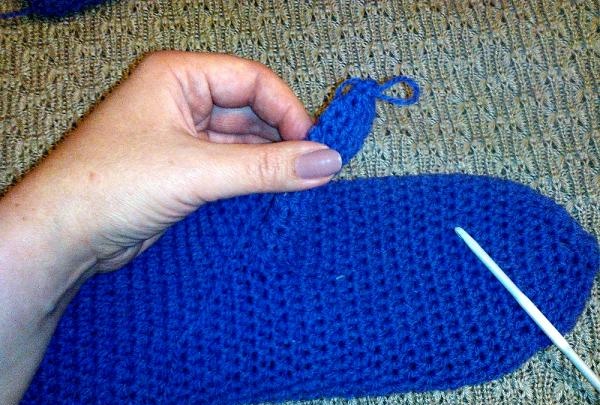
We return to the hole for the finger. We collect along the edge of the loop, knitting a thread into each loop of the left opening. The circumference of the thumb at the base is 16 loops. We continue to knit in circles. In the next 3 rows we decrease 2, 1, and 1 loop. We continue to knit a circle of 12 air loops to the height of a finger, for our model it is 9 rows, then we begin to decrease the loops, knitting two loops of the bottom row until we complete the knitting.
We break the thread and begin to design the cuff of the mitten. We knit one row of single crochets, then a second row of air arches in 7 loops through one loop of the bottom row. We knit the second mitten in a mirror image of the first.
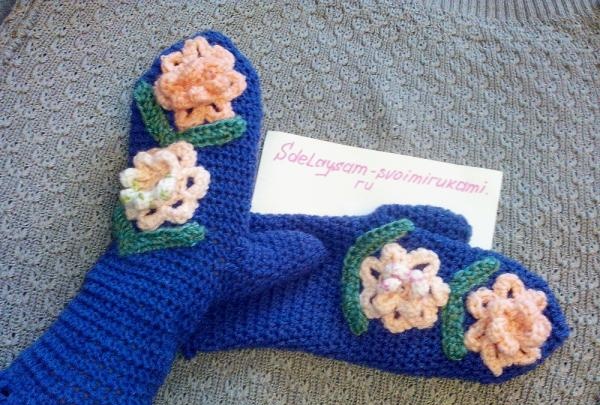
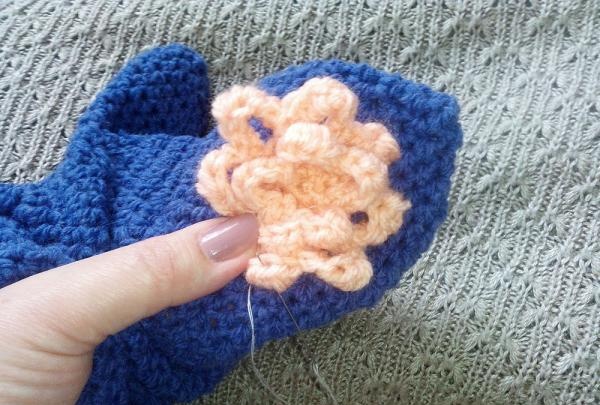
All that remains is to decorate the mitten. To do this, we will knit flowers from peach-colored yarn.
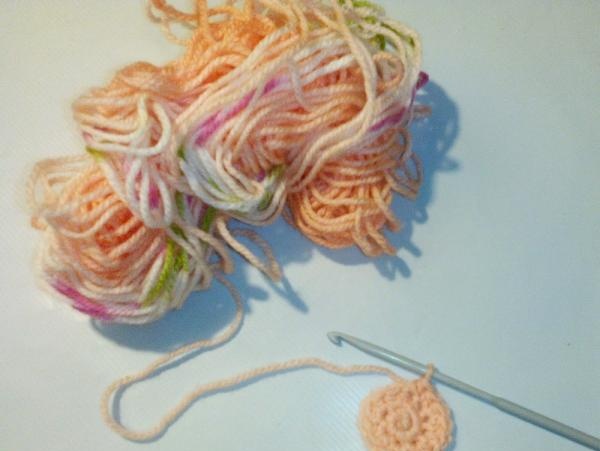
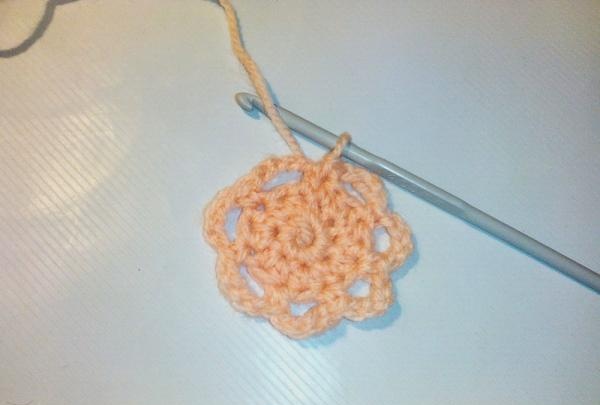
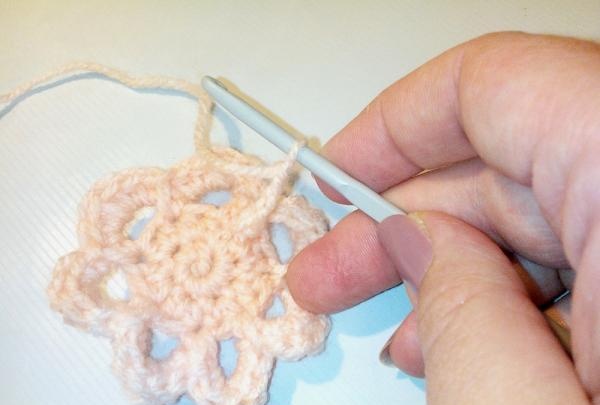
We cast on 4 air loops, close them into a ring and knit the 2nd row, tying the original ring, we get 8 loops, then we knit two double crochets into each loop. Then we cast on arches of 5 air loops through one loop of the bottom row. We then knit each arch with simple single crochets. We get the lower tier of the flower.
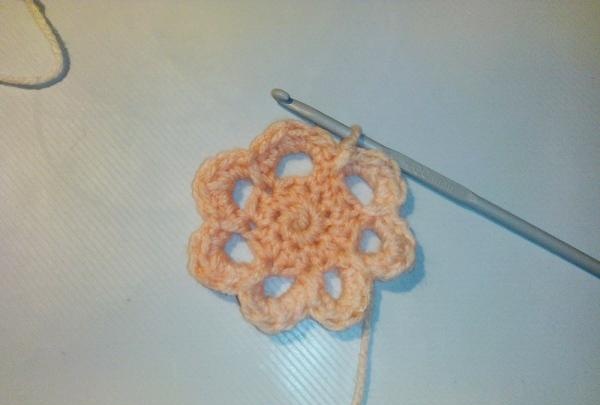
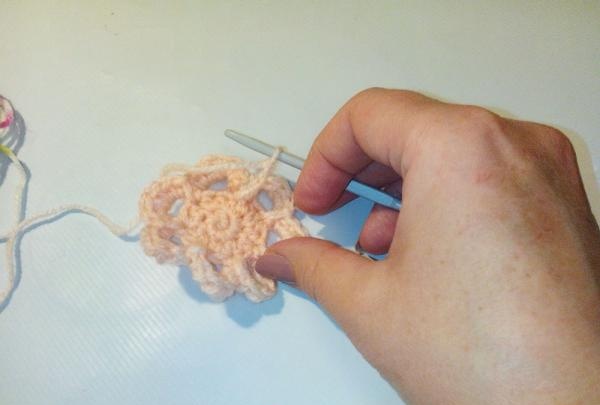
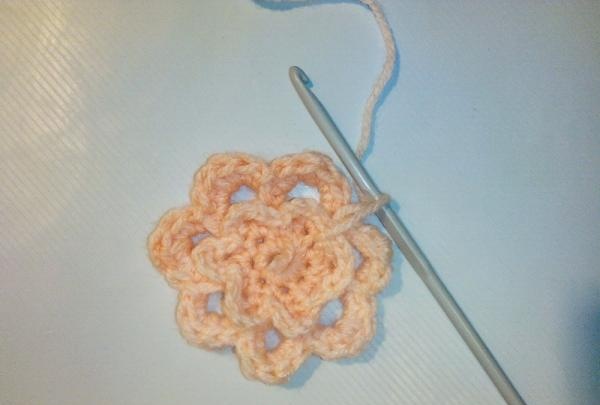
Then we straighten the thread to the front side of the knitting and knit the same number of arches from air loops in the center, then we knit each arch with single crochets. We get the second tier of the flower. We are preparing four of these flowers.
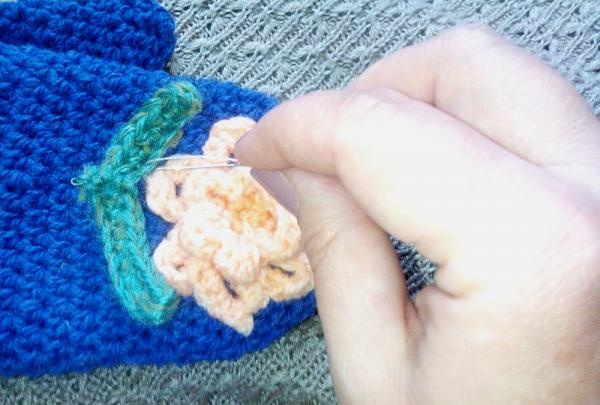
All that remains is to tie the leaves. From green yarn we knit strips in two rows with double crochets.
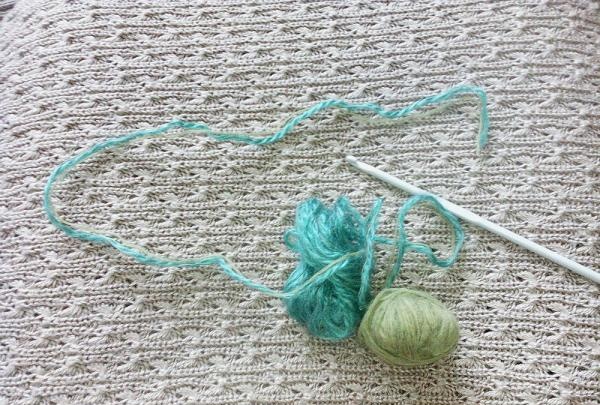
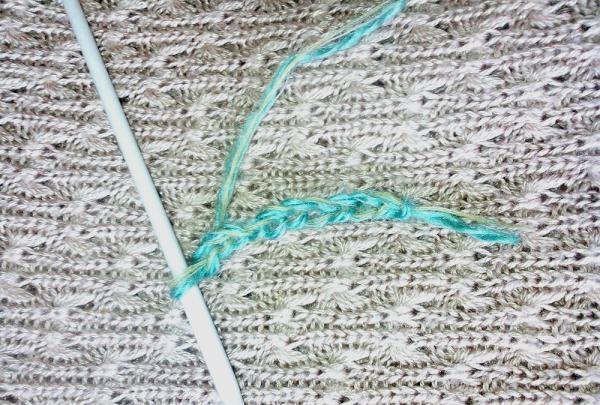
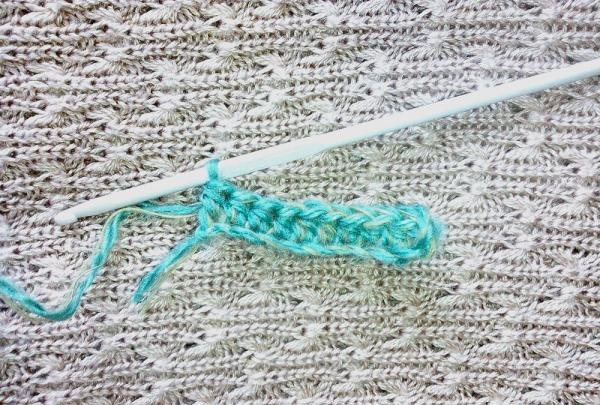
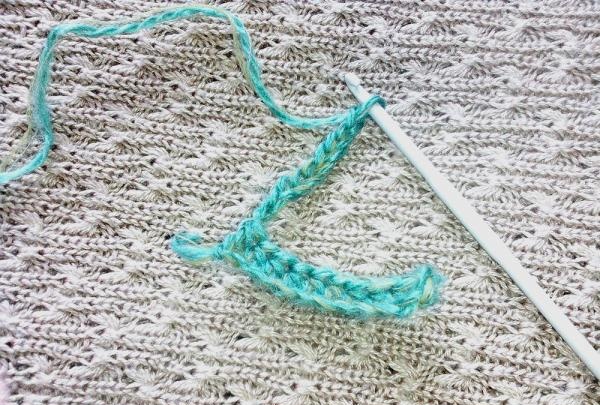
To make a bend in the middle, we knit three double crochets into one central loop of the first row. There should be as many leaves as there are flowers.
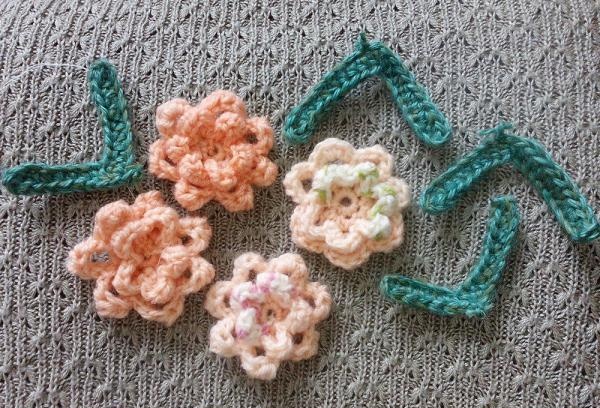
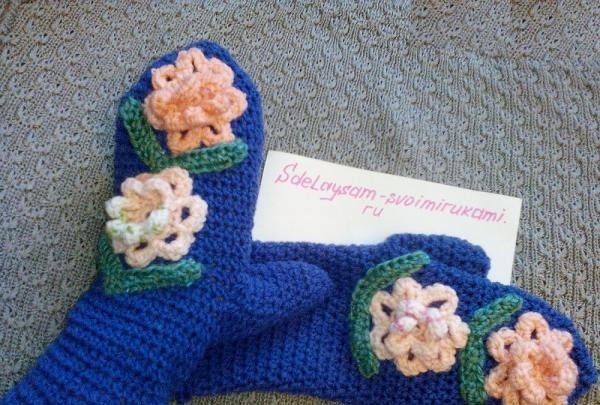
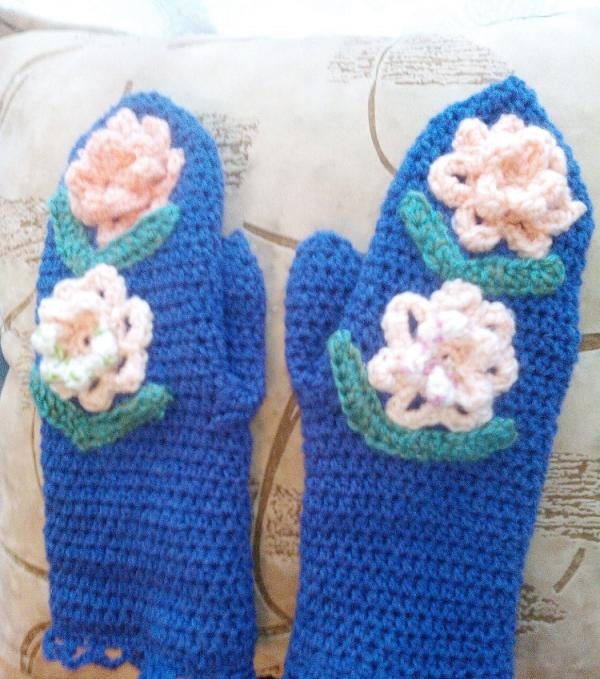
When all the parts are ready, sew flowers and leaves to the back of each mitten.
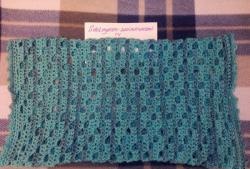
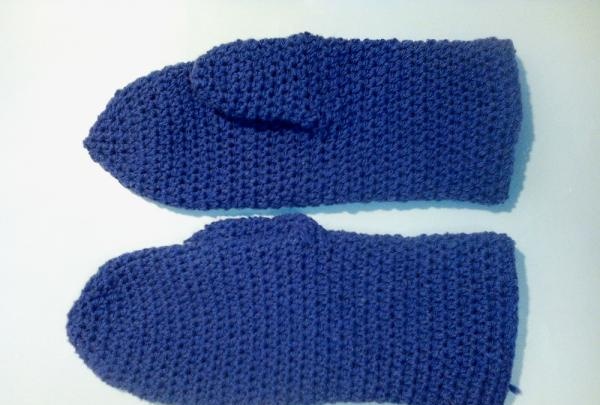
Look how elegant the mittens turned out!