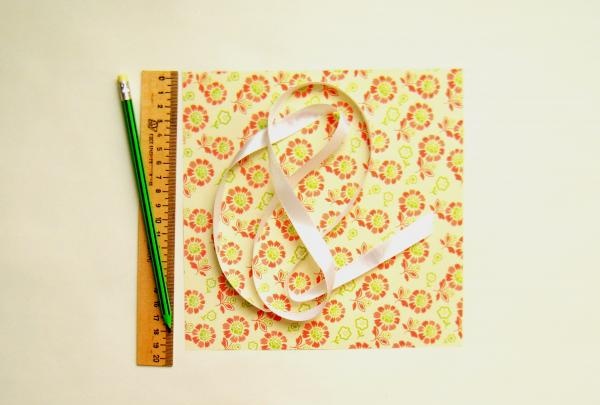
You will need the following materials:
- beautiful wrapping paper, regular colored paper will do;
- scissors;
- ruler;
- pencil;
- ribbon or other details for decoration (lace, rhinestones, beads).
Step-by-step instruction.
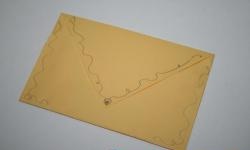
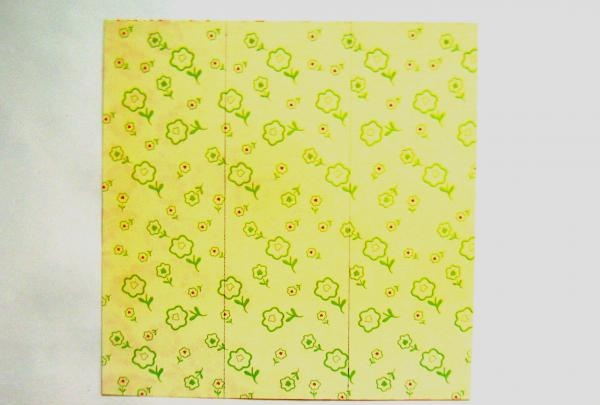
1. Cut a square of the required size from a sheet of paper, for example, 20x20 cm. Place the workpiece in front of you and, using a ruler and pencil, divide it into 3 equal parts.
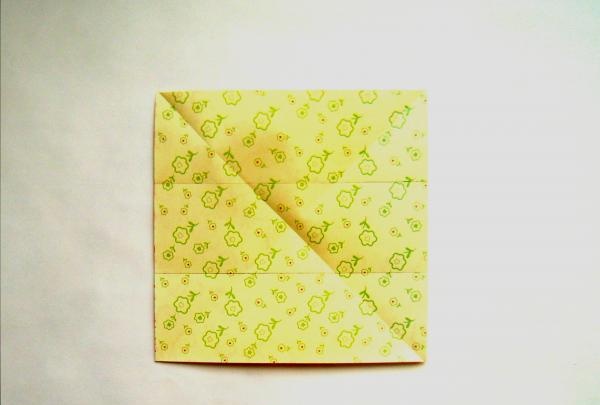
2. Make folds, focusing on the markings made in step 1. Next, fold the sheet in half diagonally twice (draw a pencil along the resulting folds). The result will be a kind of cross crossed by three lines.
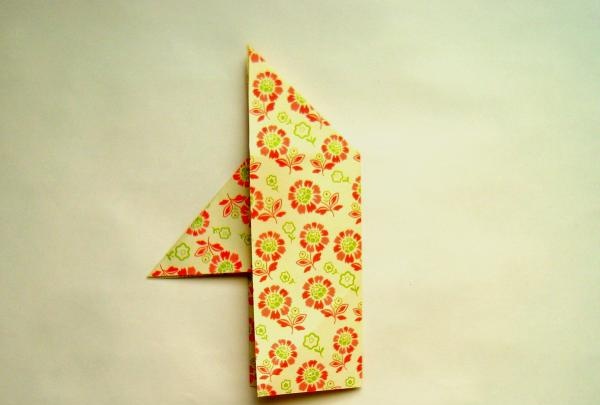
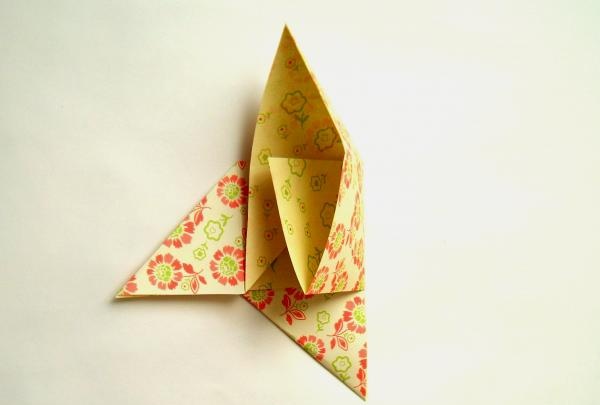
3. Bend the top of the workpiece to the first strip from the bottom.
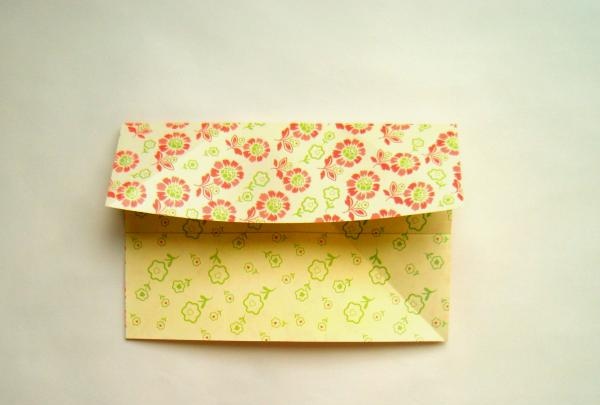
4. Lift up the lower right corner of the part of the sheet you worked with in step 3.Holding the craft with your left hand, align the back of the paper with the diagonal line drawn with a pencil. Seal the fold with your finger.

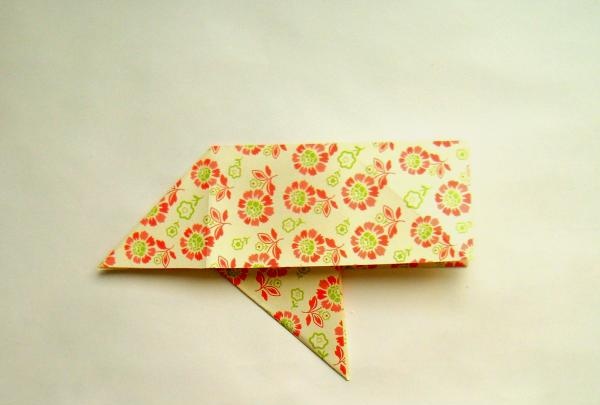
5. Grasp the right half of the paper and point it towards the center (left hand). Seal the fold.
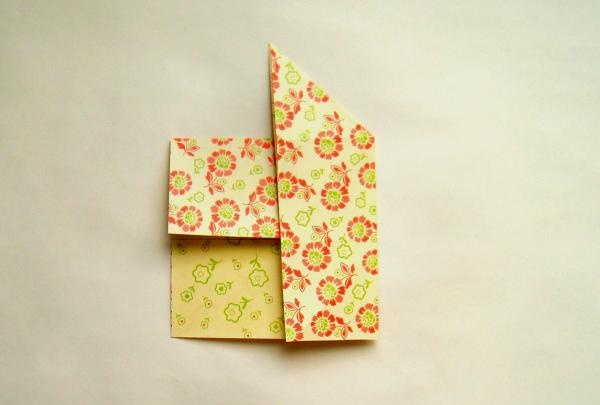
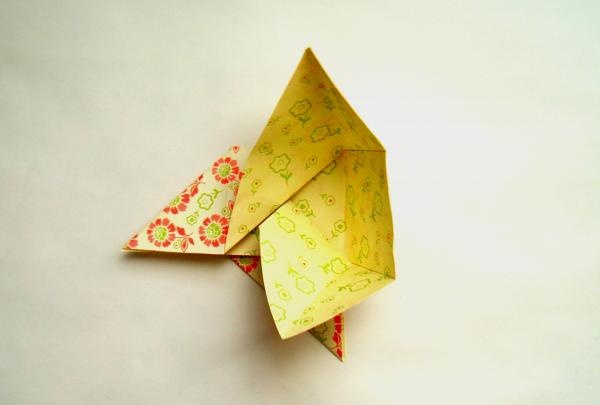
6. Turn the craft counterclockwise, ready for the next step.
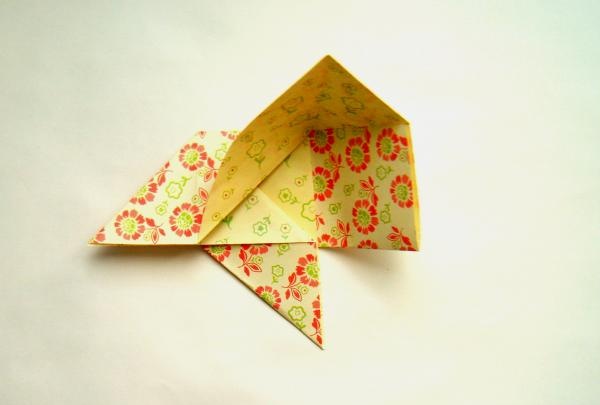
7. Lift the lower right corner in the same way. With your fingers on the left half, guide the paper with your right hand. The result should be a triangle, one edge of which must be aligned with a diagonal line drawn with a pencil, and the second with another similar figure.
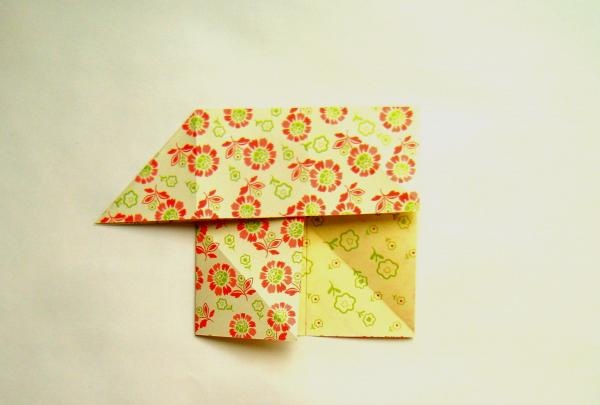
8. Just like in step 5, fold and seal.
9. Turn the future envelope counterclockwise.
10. Repeat the same action as in step 7. You should have three identical triangles in the center.
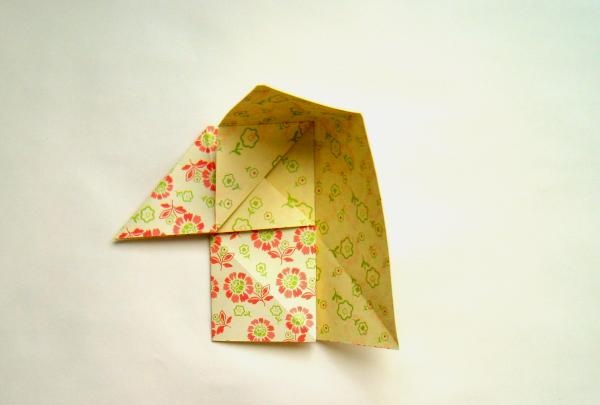
11. Press the resulting square on the right and seal the fold.
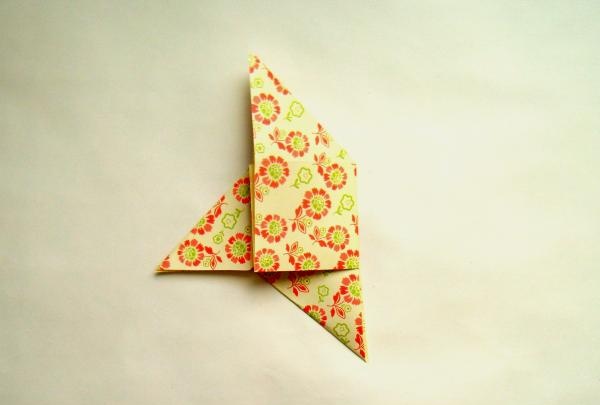
12. Grasp the inner rectangle and bend it back. Seal the right edge of the lower triangle.
13. Holding the middle crafts With your left hand, press down on the right half of the paper and press. Seal the fold of the square with your finger.
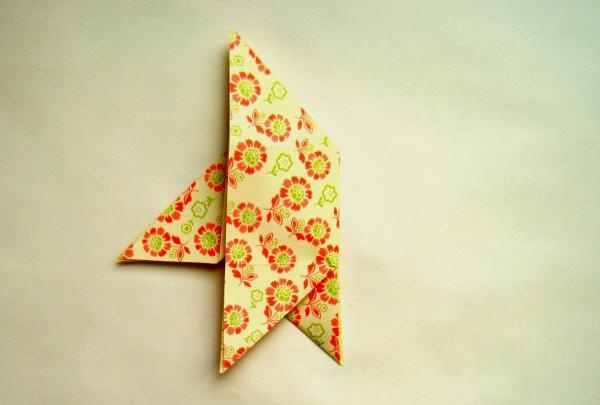
14. Grasp the corner of the lower left triangle and bend it to the right.
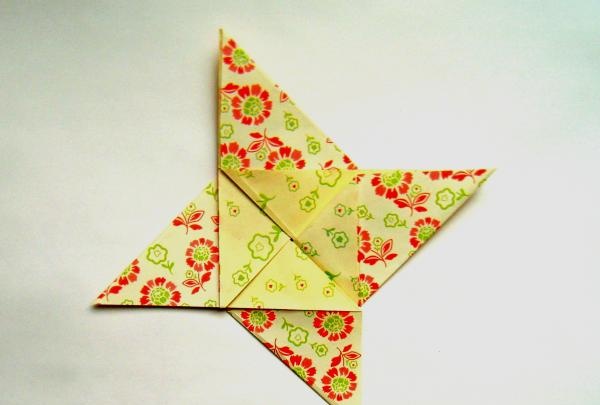
15. Collect the envelope. Bend the triangles towards the center, starting from the right. The sequence is counterclockwise.
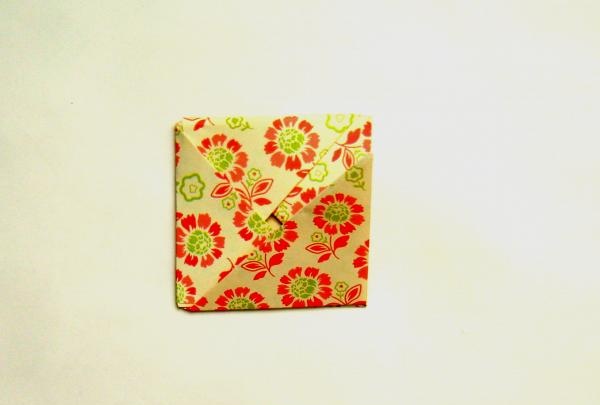
16. Pull out the right triangle that you folded first and tuck it in as shown in the picture.

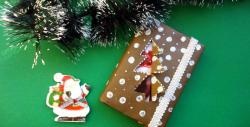
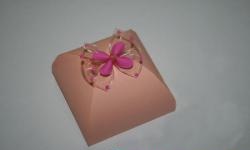
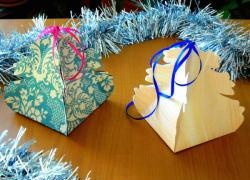
17. Decorate the craft with decorative elements you like - glue lace, tie a ribbon or make a voluminous bow.
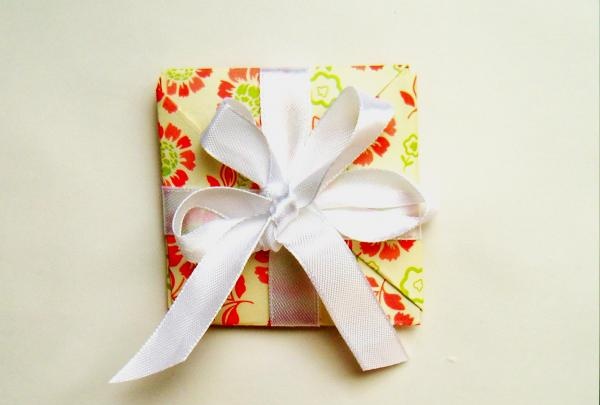
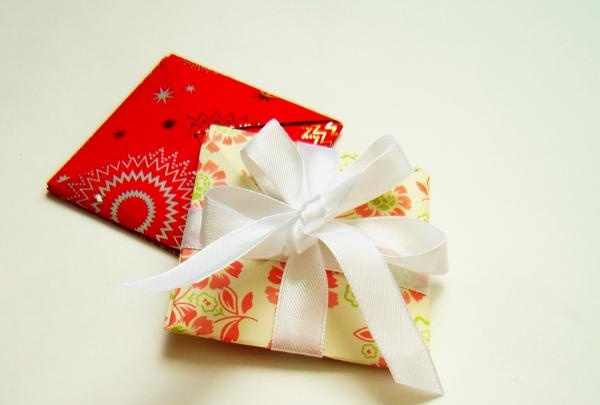
When following step 16, do not forget to put inside the envelope present, postcard or invitation card.It is especially convenient to use this scheme for making crafts when you need to make several pieces at once - a minimum of materials is spent, and assembly does not take so much time.