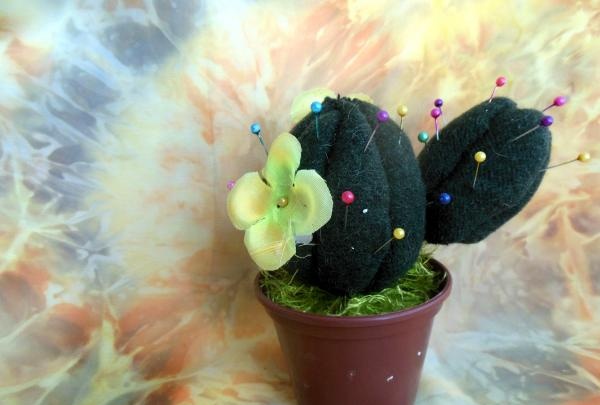
And most importantly, this indoor plant will not only always be evergreen and beautiful, but it will not even require any special effort from you when creating it. Usually, to get a great result, you first need to work hard. Yes, but not in this case. Set your knitting needles, hook and needles aside as this pincushion couldn't be easier to make!
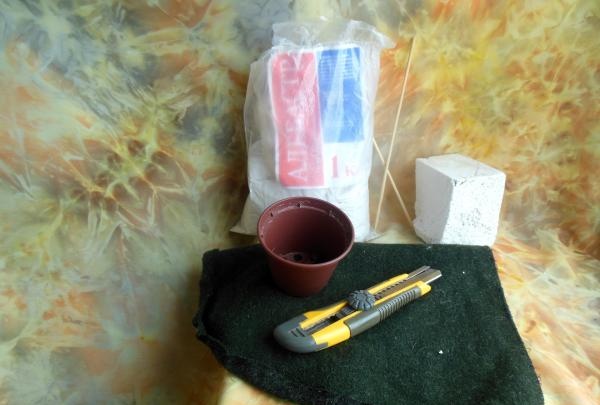
So, prepare the following:
• a small flower pot for “planting” a cactus;
• alabaster as a holding base;
• two skewers with a sharp end (or several toothpicks);
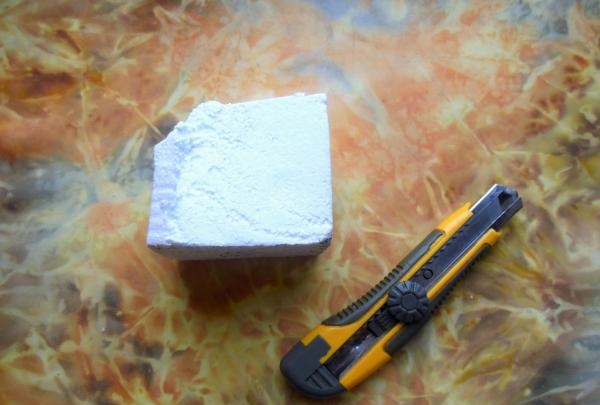
• a square piece of polystyrene foam (10x10 cm is enough);
• stationery knife;
• green felt or drape;
• “Grass” yarn and an artificial flower for decoration.
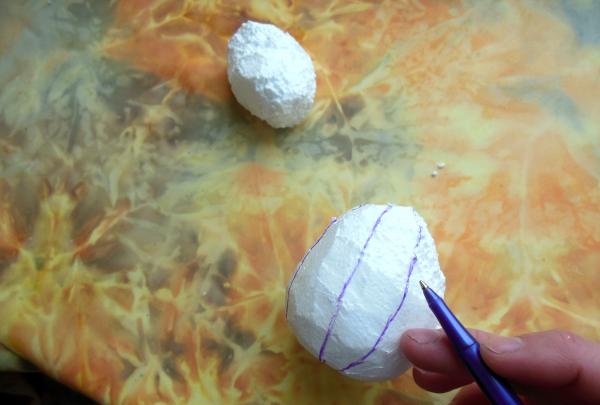
Using a sharp knife, cut off the corners of the foam, making something like an oval.
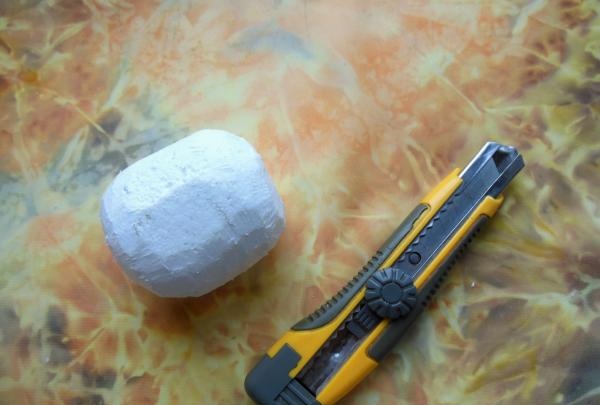
Any small scrap can also be used. Therefore, form a more or less even oval from the small remainder, which will become a shoot of the cactus.
Now divide the surface of the cactus into equal cells, outlining them with a ballpoint pen.
Create felt blanks according to the size and number of cells. Please note that they should be embedded with a slight indentation on all sides.
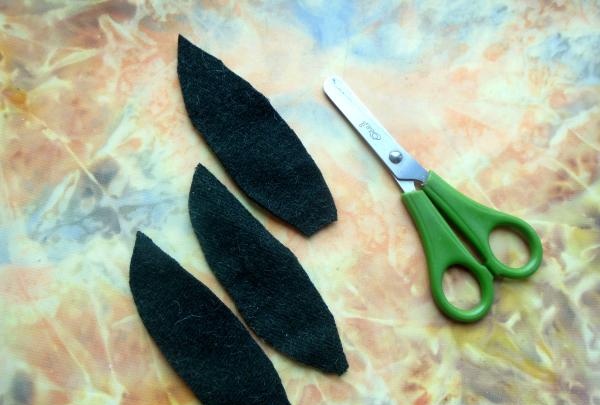
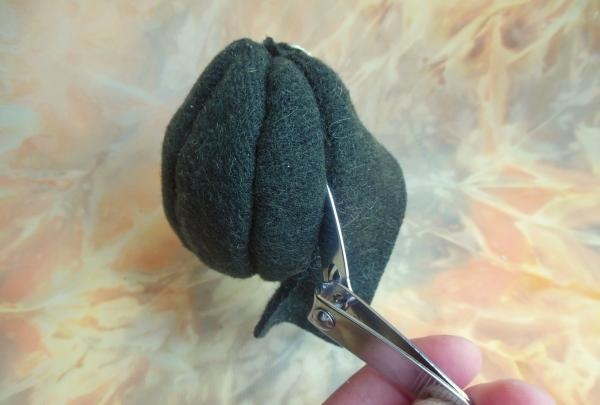
These green parts should cover the cells, forming a whole cactus from individual fragments. To do this, make a cut on all the outlined lines to tuck the edges of the fabric blanks inside each of them.
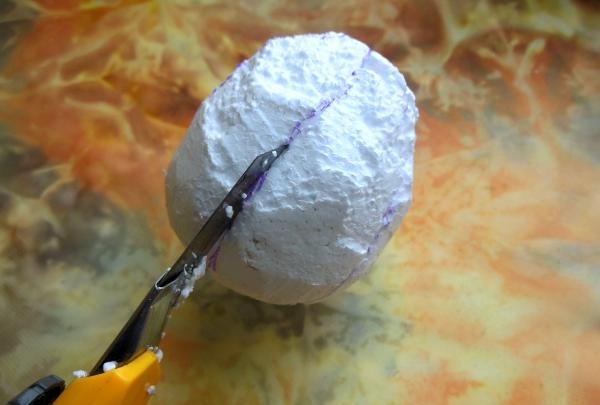
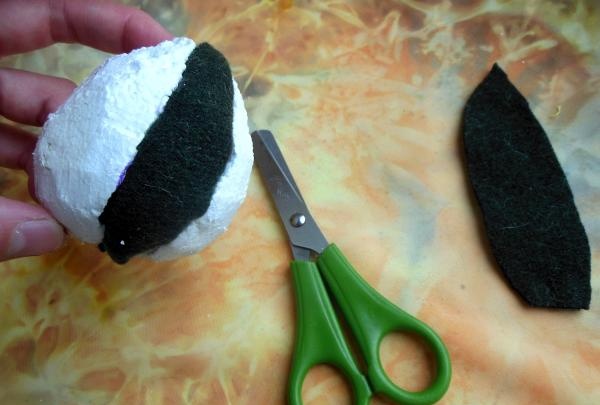
The felt is easy to manipulate and fits tightly into the cut. And you can insert it with a nail file, skewer, toothpick, knitting needle, in general, anything that has a pointed shape.
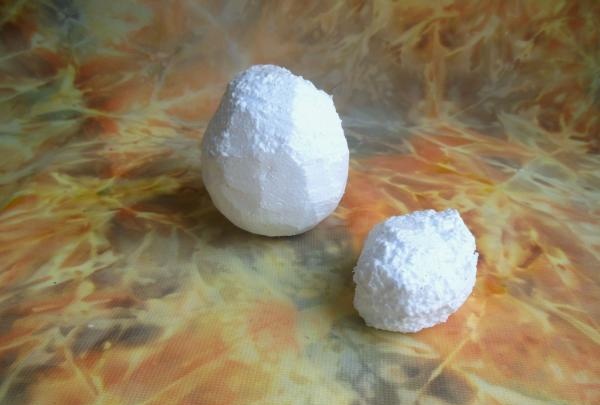
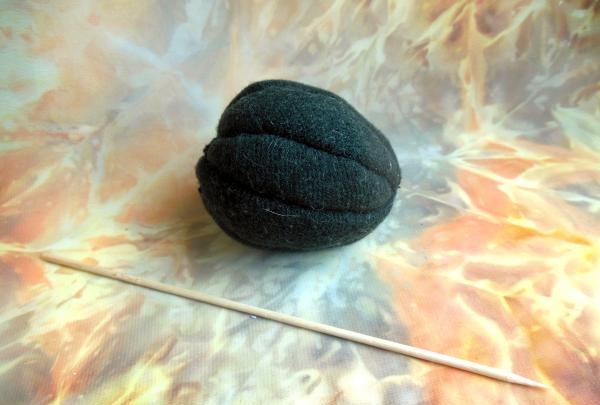
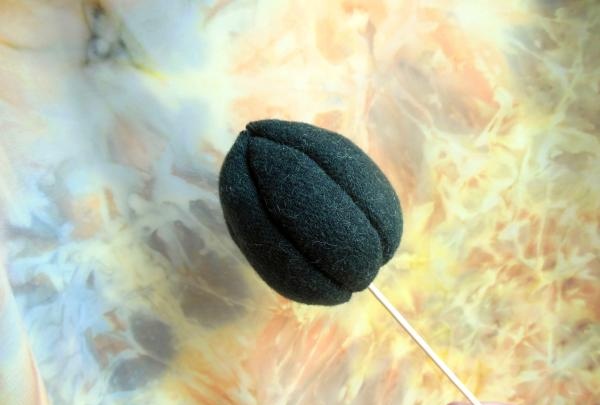
Place the finished cactus on a stick, which will penetrate inside without any obstacles.
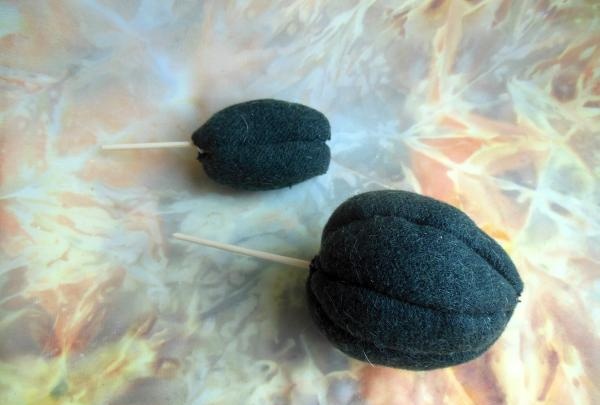
Treat another “baby” cactus in the same way, then place it on one of the sides of the main plant.
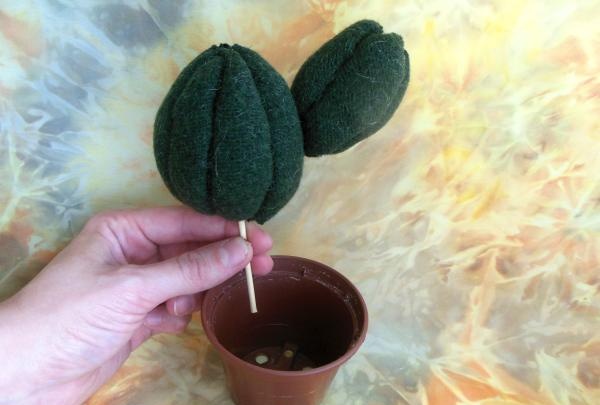
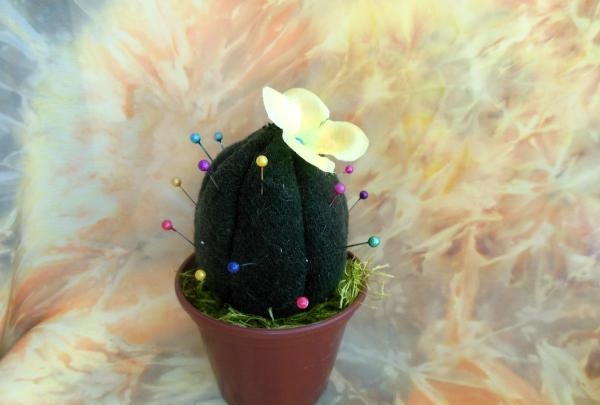
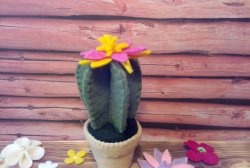
Now fill the pot with diluted alabaster, immerse the cactus in it and let the liquid harden. At this time, prepare the “ground greens” and flower.
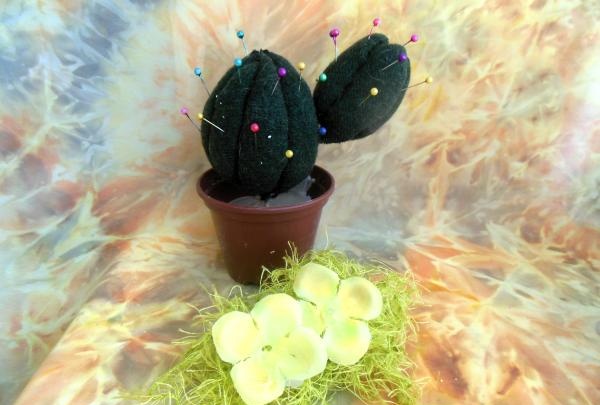
So easily and quickly we got a cute blooming cactus with colorful needles.
Beauty and benefit rolled into one!