Do it yourself
Life hacks, master classes, useful tips, recipes.
home » Computer homemade products » 10 ideas on how to carefully lay and mark wires using a cable tie
10 ideas on how to carefully lay and mark wires using a cable tie

To route exposed wires neatly, all you need is several packages of cable ties of different sizes, self-adhesive labels, and clear heat shrink tubing. You'll be surprised how much you can make from these materials.

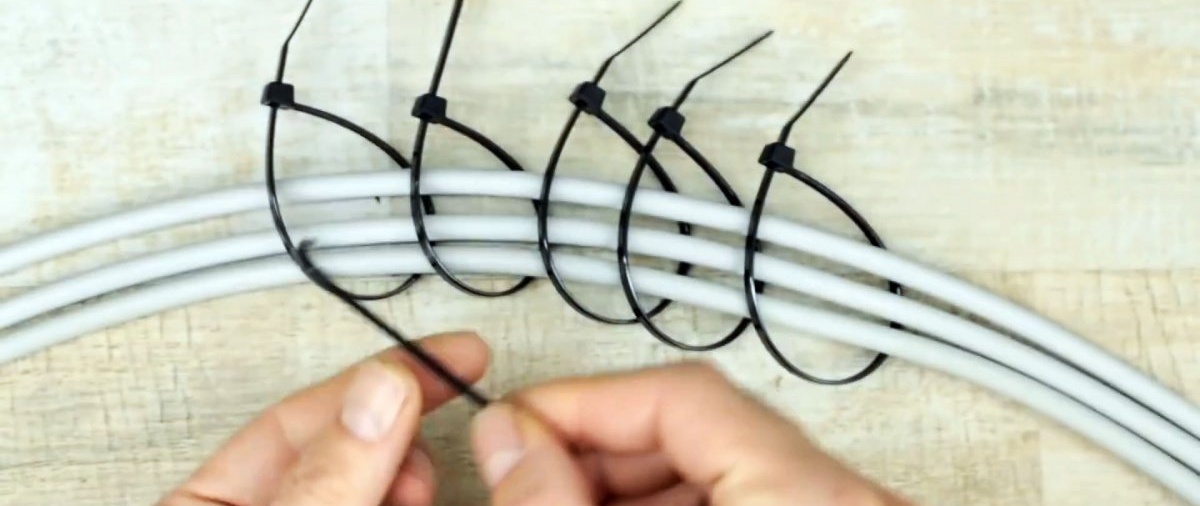
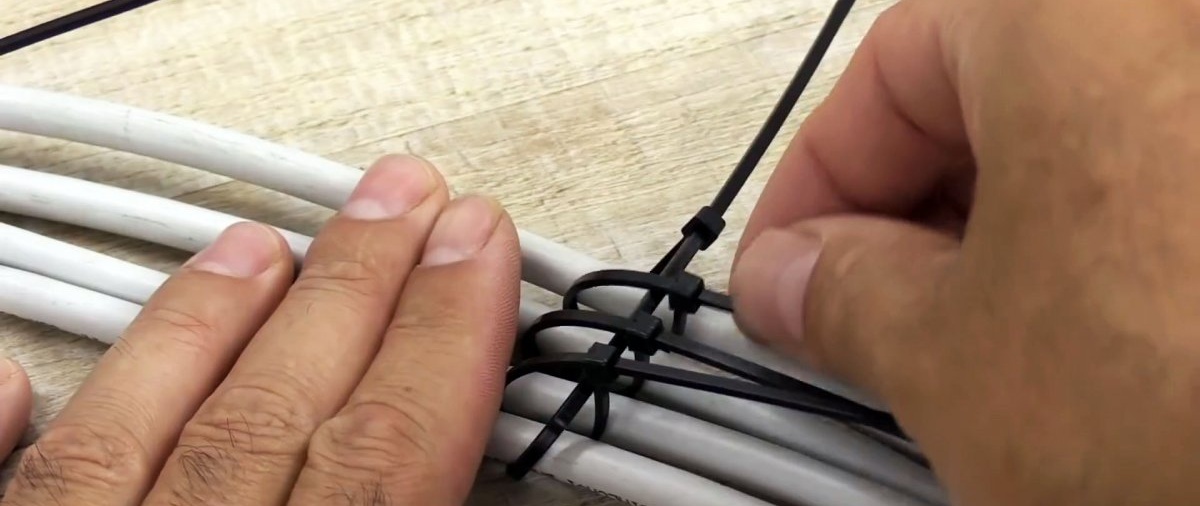
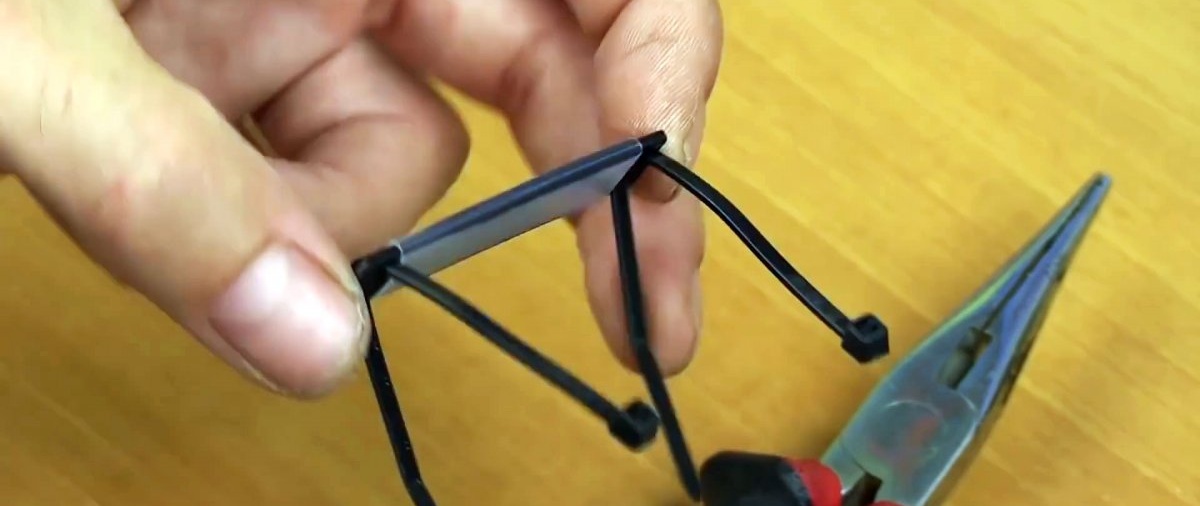
Forming a flat tire from a bunch


10 ideas on how to carefully lay and mark wires using a cable tie

A tie is attached to the bundle of wires being pulled together, but not tightened. Then the same nylon clamps are placed between the wires.
10 ideas on how to carefully lay and mark wires using a cable tie

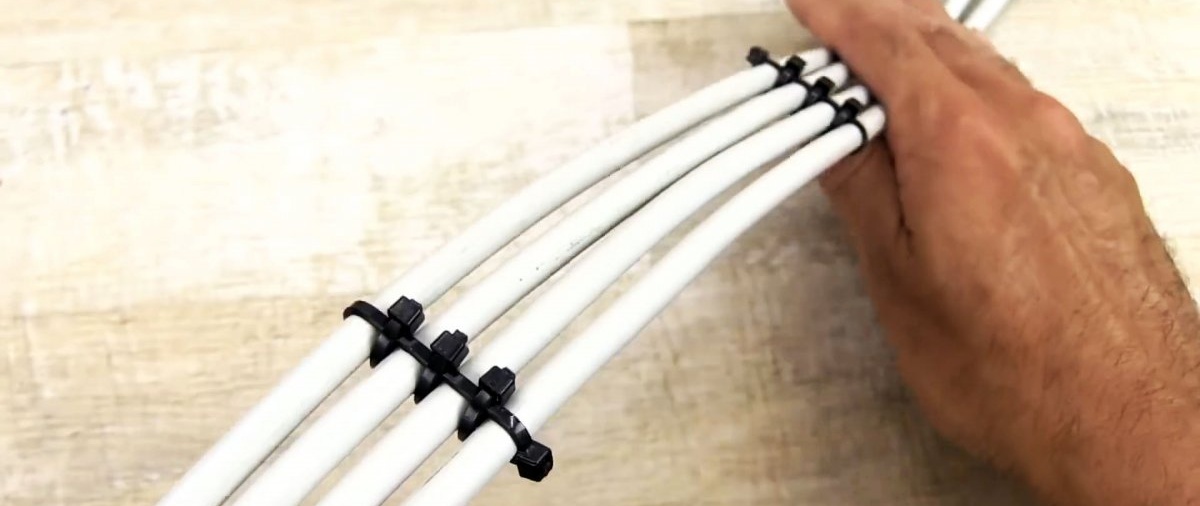
Now, after tightening all the ties, you will get a neat line of non-intersecting wires.
10 ideas on how to carefully lay and mark wires using a cable tie

10 ideas on how to carefully lay and mark wires using a cable tie

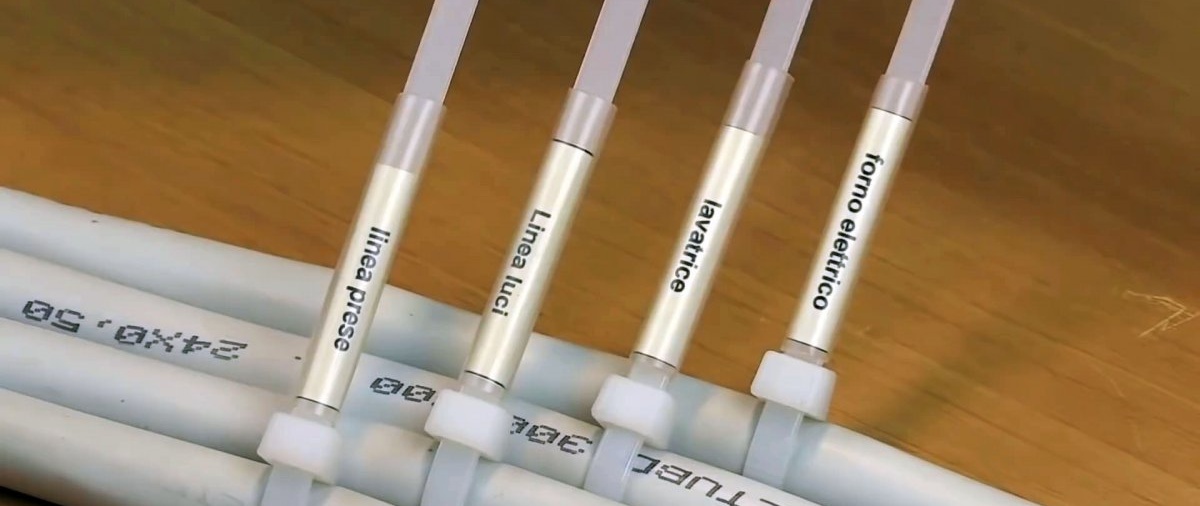
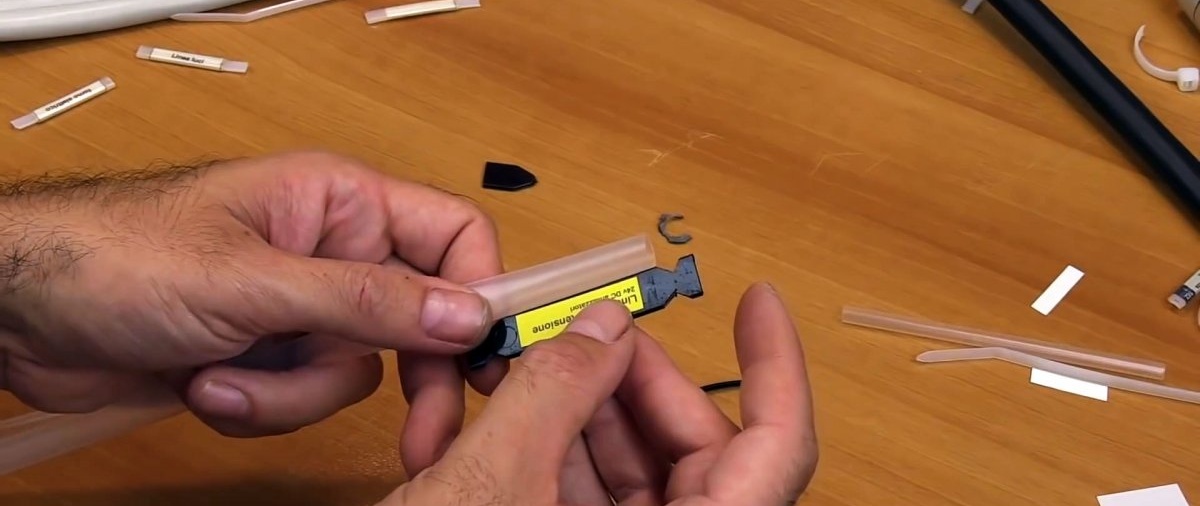
Marking with a longitudinal tag


10 ideas on how to carefully lay and mark wires using a cable tie

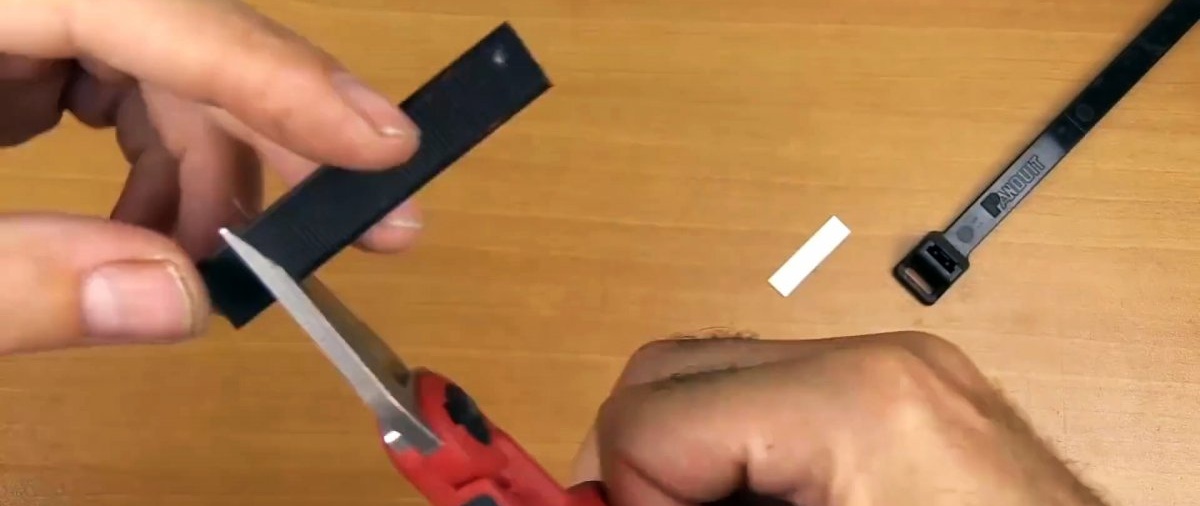
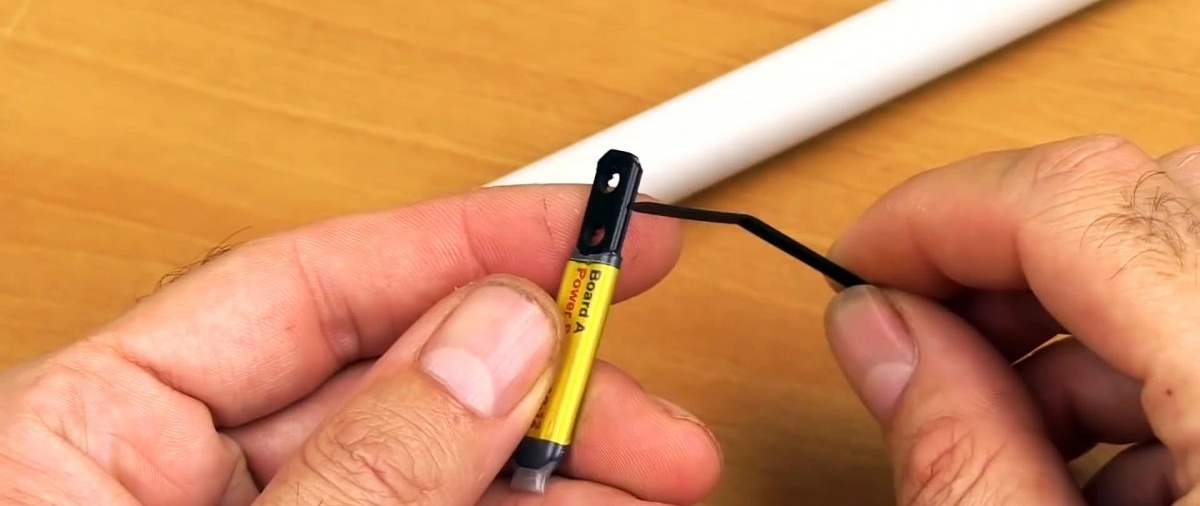
A label is glued to a piece of a large tie. Then holes are drilled in the corners of the plate.
10 ideas on how to carefully lay and mark wires using a cable tie

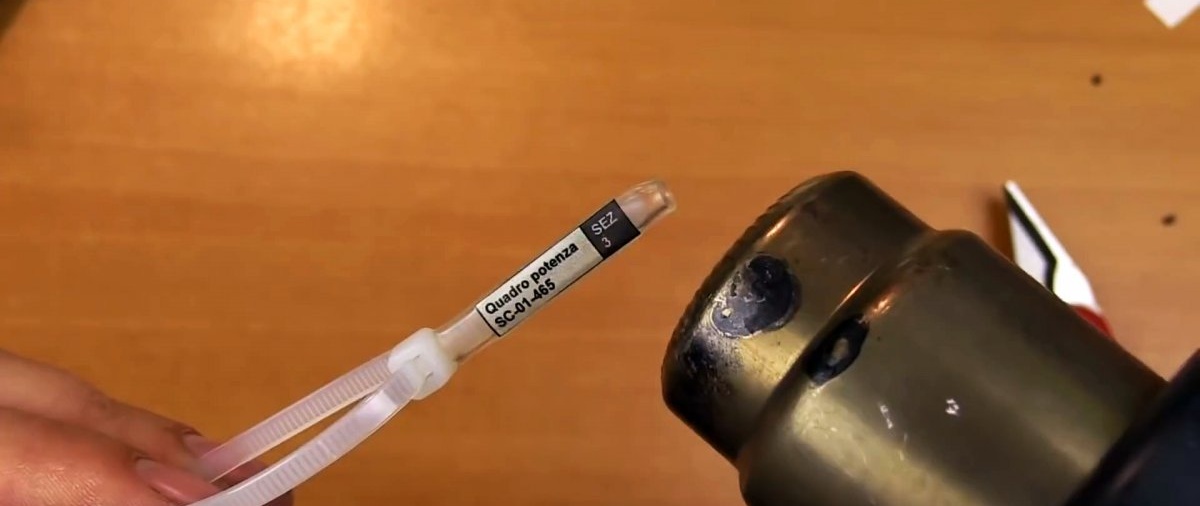
Transparent heat shrink is placed on the tag and shrinks.
10 ideas on how to carefully lay and mark wires using a cable tie

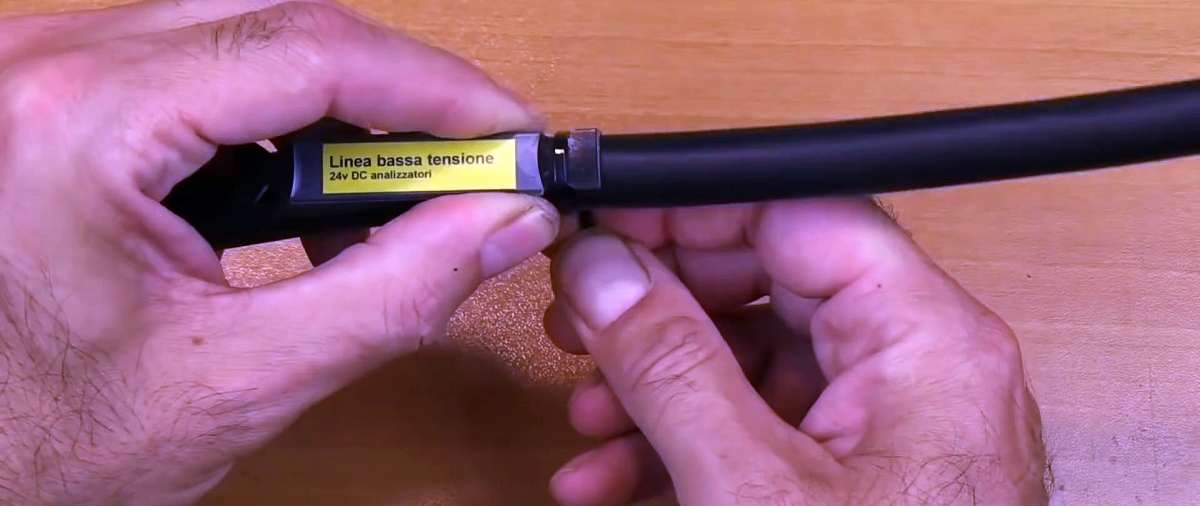
After this, it is installed on the cable to be marked with two small ties.
10 ideas on how to carefully lay and mark wires using a cable tie

10 ideas on how to carefully lay and mark wires using a cable tie

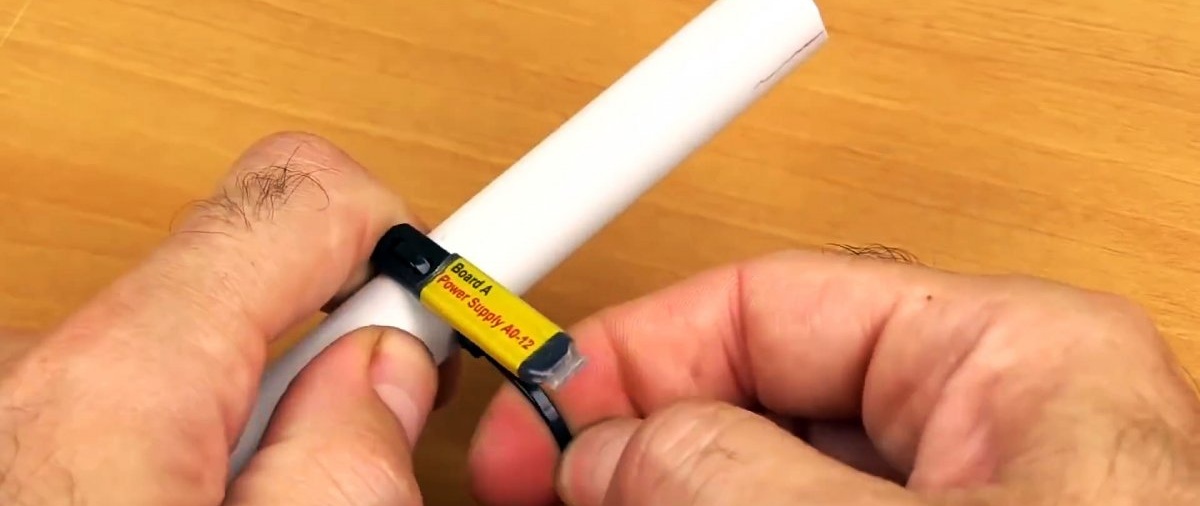
Marking with cross tag


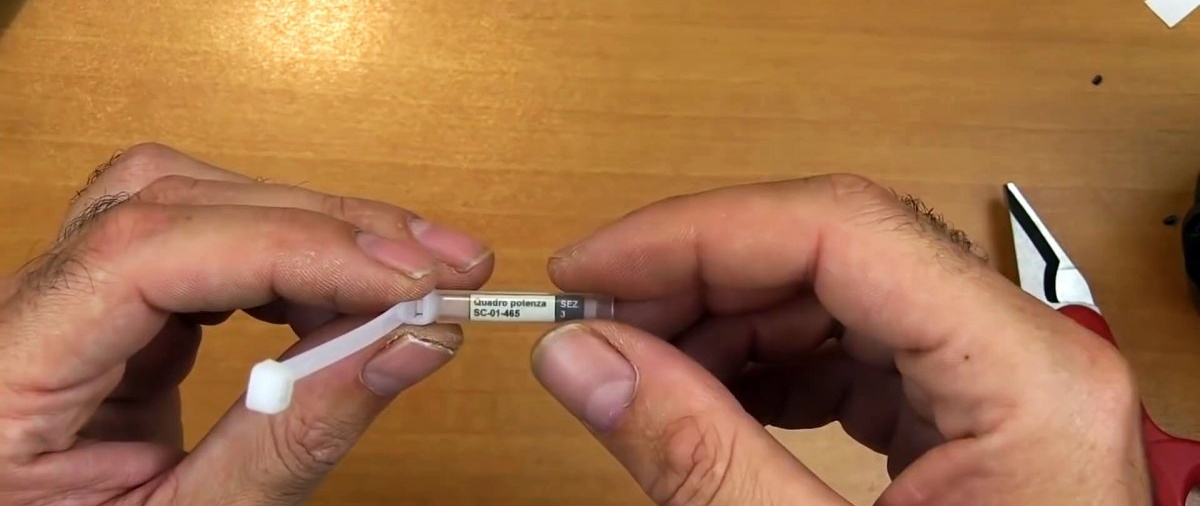
In this version of the tag, a paper label is also glued to the piece of tie. It is then fixed with transparent heat shrink.From one edge of the tag you drill 2 holes through which it is tightened onto the cable with a tie.
10 ideas on how to carefully lay and mark wires using a cable tie

10 ideas on how to carefully lay and mark wires using a cable tie

10 ideas on how to carefully lay and mark wires using a cable tie

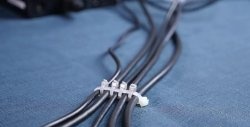
Quick tags from clamps


10 ideas on how to carefully lay and mark wires using a cable tie

A separate tie is tightened for each wire.
10 ideas on how to carefully lay and mark wires using a cable tie

A label is glued to its base. It is then protected with transparent heat shrink.
10 ideas on how to carefully lay and mark wires using a cable tie

10 ideas on how to carefully lay and mark wires using a cable tie

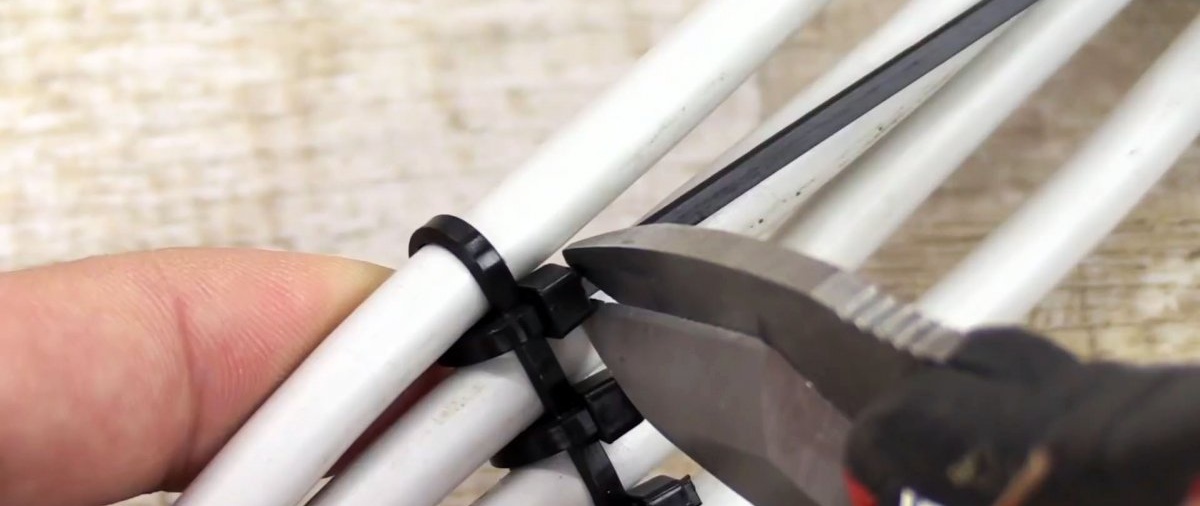
The excess length of the clamp is cut off.

Tags from scrap ties


You can glue a label to the cut tail from the screed and protect it with heat shrink. Then the marked section is pulled onto the cable with a thin tie.
10 ideas on how to carefully lay and mark wires using a cable tie

10 ideas on how to carefully lay and mark wires using a cable tie

10 ideas on how to carefully lay and mark wires using a cable tie

10 ideas on how to carefully lay and mark wires using a cable tie

Permanent tag with notch


10 ideas on how to carefully lay and mark wires using a cable tie

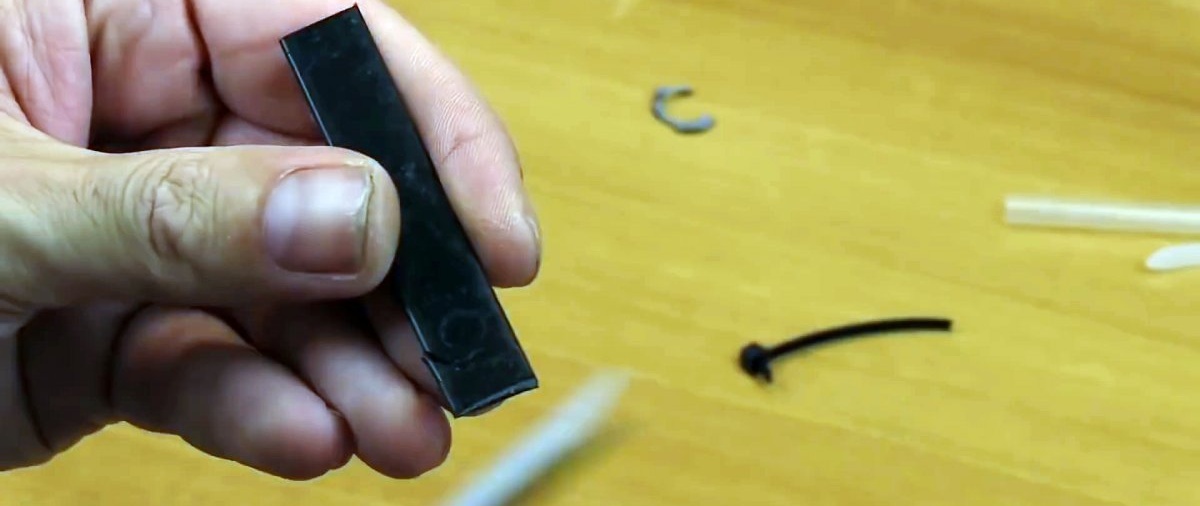
Notches are made on the edges of the screed section. Then a label is glued in the center and shrink-wrapped. The finished tag is installed on the wire with ties. Thanks to the notches, it will definitely not fall off, even if the clamps are slightly loosened when bending the cable.
10 ideas on how to carefully lay and mark wires using a cable tie

10 ideas on how to carefully lay and mark wires using a cable tie

10 ideas on how to carefully lay and mark wires using a cable tie

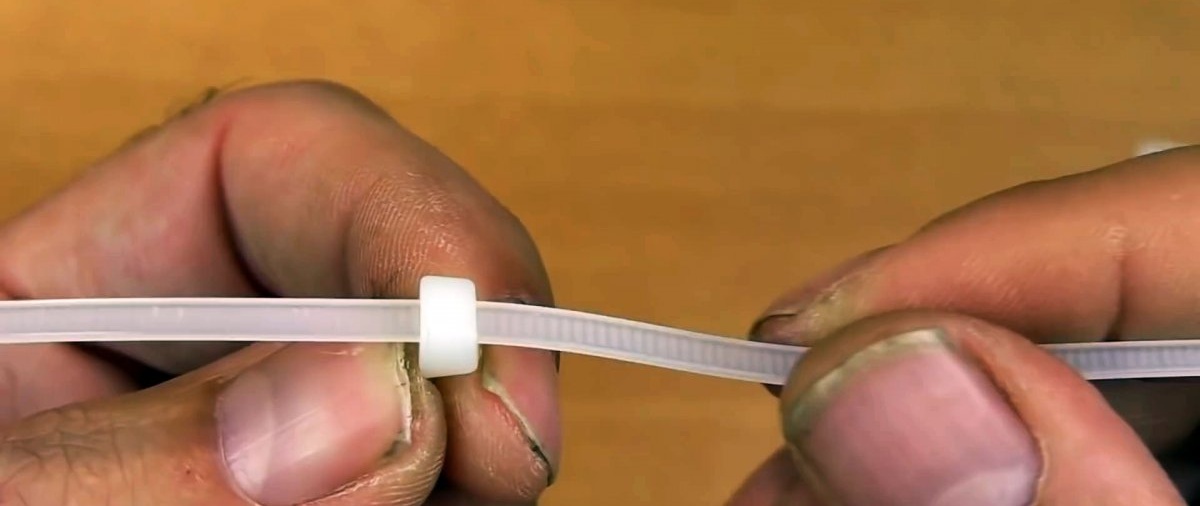
Tag with two thin clamps


A second one is strung onto one tie. A label is glued to the installed one and protected with heat-shrink tubing. Then the whole tie is installed on the wire.
10 ideas on how to carefully lay and mark wires using a cable tie

10 ideas on how to carefully lay and mark wires using a cable tie

10 ideas on how to carefully lay and mark wires using a cable tie

10 ideas on how to carefully lay and mark wires using a cable tie

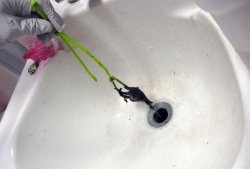
Laying cable through a pipe


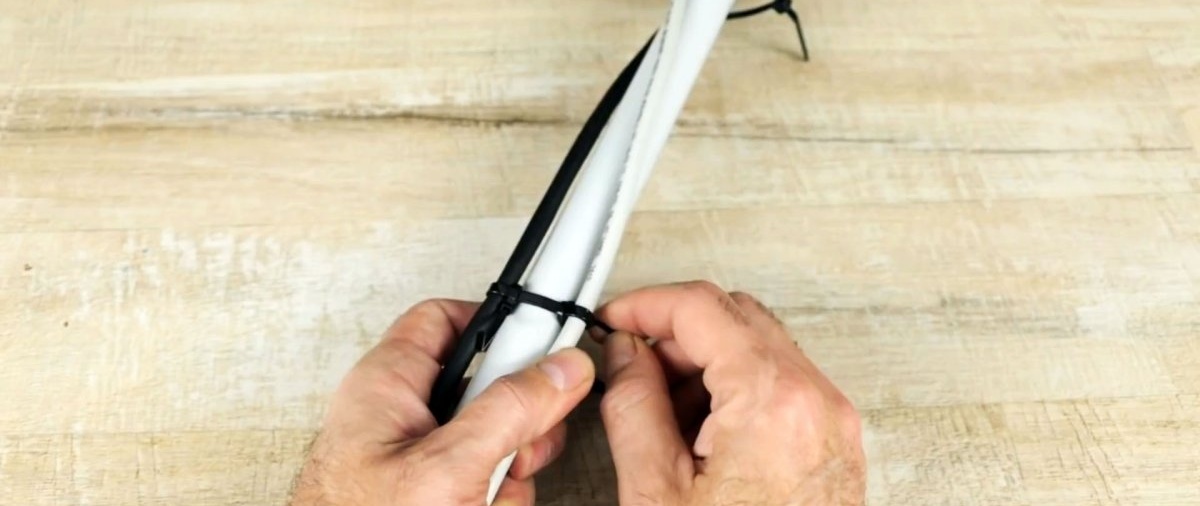
This method will help to lay the cable through the pipe so that it does not touch it. They are baited with ties first without tightening. Then small ties are placed on the clamps between the pipe and the wire. After tightening the fasteners, there will be a gap between the cable and the pipe.
10 ideas on how to carefully lay and mark wires using a cable tie

10 ideas on how to carefully lay and mark wires using a cable tie

10 ideas on how to carefully lay and mark wires using a cable tie

10 ideas on how to carefully lay and mark wires using a cable tie

Laying multiple wires through a pipe


If you need to lay several wires through a pipe, then everything is done in the same way as the previous method. The only difference is that a tie is placed in front of each cable to create a gap.
10 ideas on how to carefully lay and mark wires using a cable tie

10 ideas on how to carefully lay and mark wires using a cable tie

10 ideas on how to carefully lay and mark wires using a cable tie

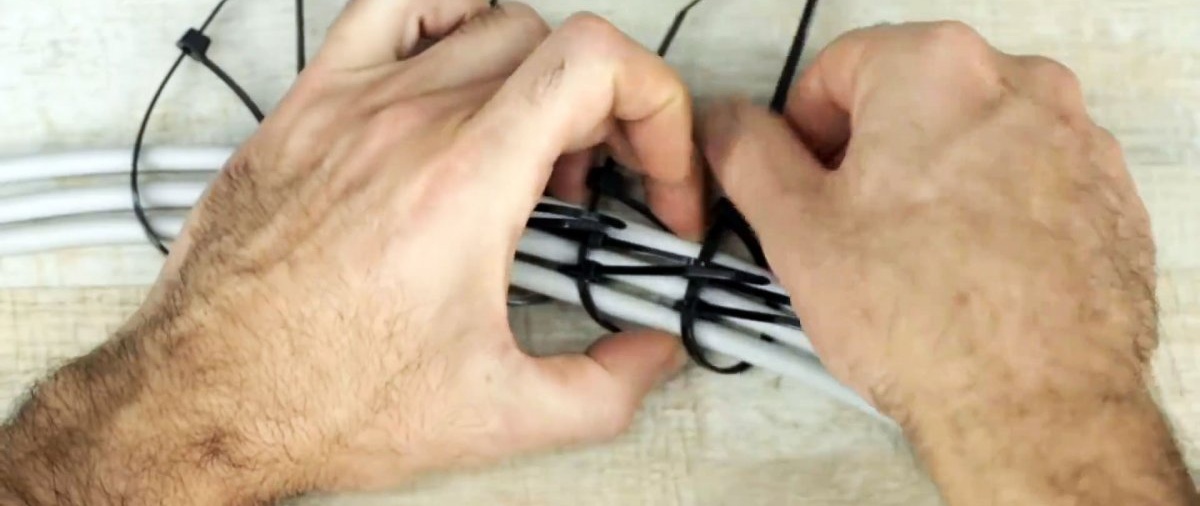
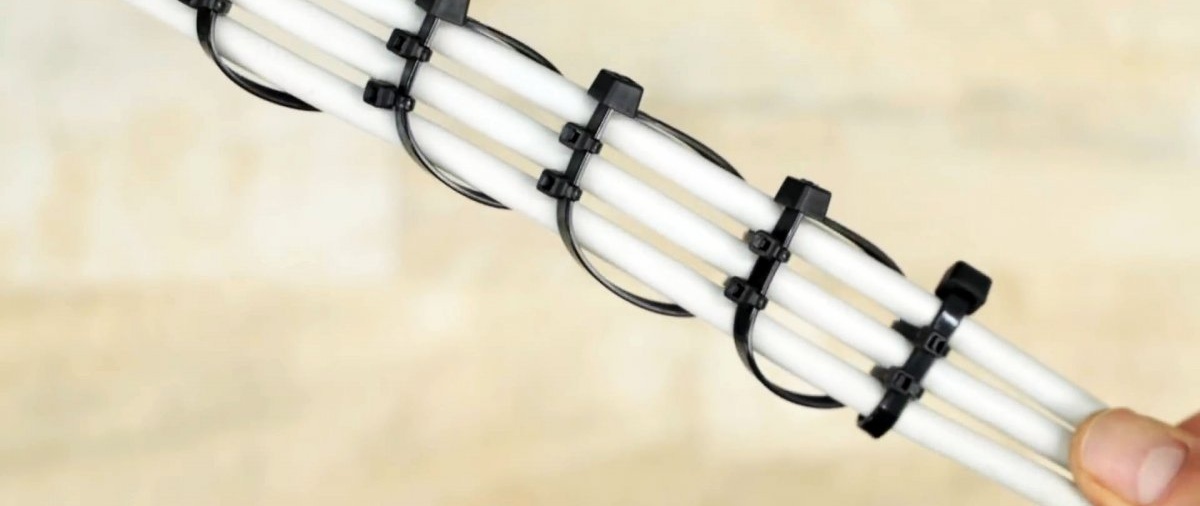
Formation of a tire from a bundle option 2


The wires are aligned in parallel. Large clamps are attached to them and turned out as in the photo. A small tie is then placed between each cable. It should simultaneously grab 2 adjacent clamps.One is grabbed behind the wires, the second from the front side.
10 ideas on how to carefully lay and mark wires using a cable tie

10 ideas on how to carefully lay and mark wires using a cable tie

10 ideas on how to carefully lay and mark wires using a cable tie

10 ideas on how to carefully lay and mark wires using a cable tie

Watch the video


come back
Comment
  • bowtiesmilelaughingblushsmileyrelaxed relaxedsmirk
    heart_eyeskissing_heartkissing_closed_eyesflushedrelievedsatisfiedgrin
    winkstuck_out_tongue_winking_eyestuck_out_tongue_closed_eyesgrinningkissingstuck_out_tonguesleeping
    worriedfrowninganguishedopen_mouthgrimacingconfusedhushed
    expressionlessunamusedsweat_smilesweatdisappointed_relievedwearypassive
    disappointedconfoundedfearfulcold_sweatperseverecrysob
    joyastonishedscreamtired_faceangryragetriumph
    sleepyyummasksunglassesdizzy_faceimpsmiling_imp
    neutral_faceno_mouthinnocent
4 minus one =
Comments (0)

Cooking | Page 9 | Do it yourself

How to replace a Soviet socket with a modern one with your own hands

Tree of Happiness | Do it yourself

Wedding money chest | Do it yourself

«Do it yourself - with your own hands» - a site of interesting homemade products made from scrap materials and items at home. Step-by-step master classes with photos and descriptions, technologies, life hacks - everything a real master or just a craftsman needs for needlework. Crafts of any complexity, a large selection of directions and ideas for creativity.

We recommend reading

Washing machine error codes