I am completely delighted when I see various figures, crafts in someone's garden or garden. For a long time I wanted to buy a gnome for the garden, but since I am on maternity leave, I honestly admit that I don’t have the money to buy garden figures. But on the other hand, I have free time, imagination and hands that have no rest, and I also have a little assistant. Therefore, I decided to make a gnome with my own hands from scrap materials.
To make a gnome I needed:
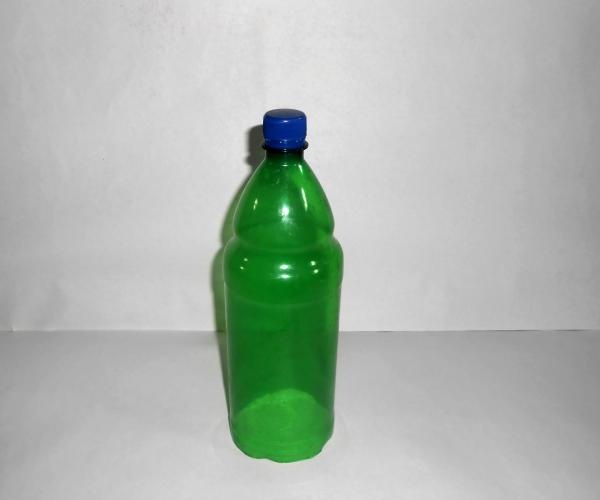
- Plastic bottle.
- Scissors, knife.
- Scotch.
- Plastic bag (T-shirt).
- Newspapers.
- Egg trays (paper).
- Paste (water + flour).
- Cement + sand + water.
- Glue moment.
- A tablet.
- Sandpaper.
- Primer.
- Enamel paints of different colors.
- Brushes.
- Decorative eyes.
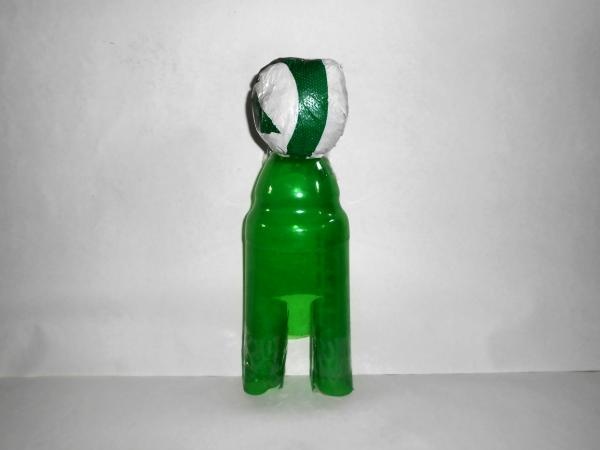
I repeat, I wanted to make a gnome for a long time, but I didn’t know how to make it. And so I began to fantasize, to look for ways to make my little dream come true. My gnome will be made from a plastic bottle. First I cut off the bottom of it.
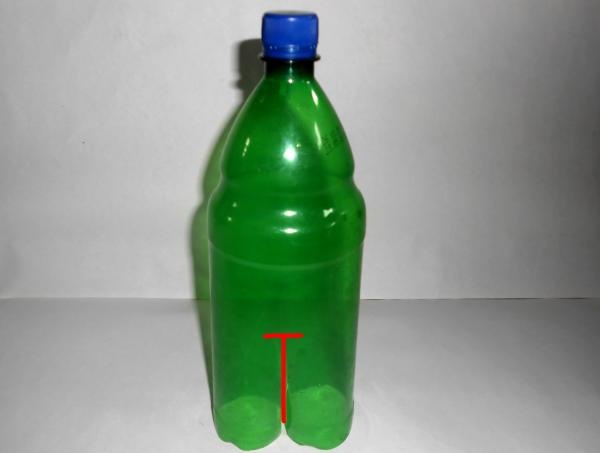
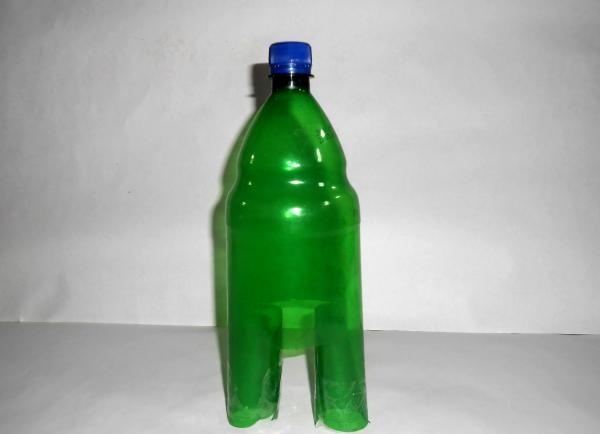
From bottom to top, from opposite sides in the middle of the bottle, I made cuts of the same length, then at the top I made small cuts to the right and to the left. These will be the legs. In order to secure them, I wrapped them with tape.
Next I needed a plastic bag. I rolled it into a ball and glued it to the top of the bottle so that the neck was inside the ball, and secured it all with tape. The result is a head.
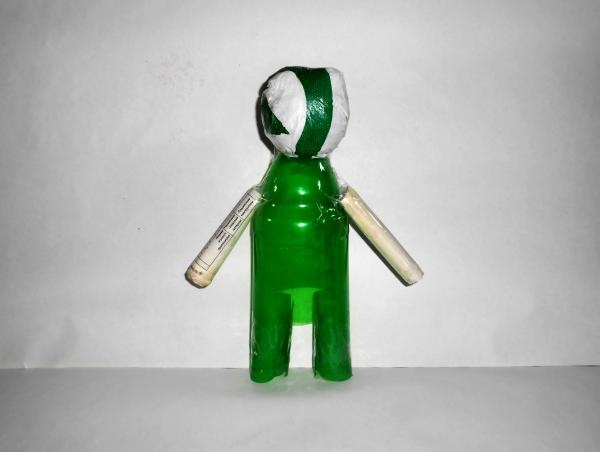
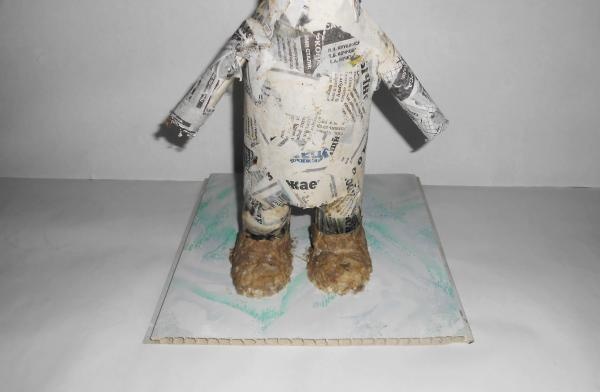
I made hands from newspaper. I just rolled the newspaper into a tube and attached it with tape in the right place, and made the second hand in the same way.
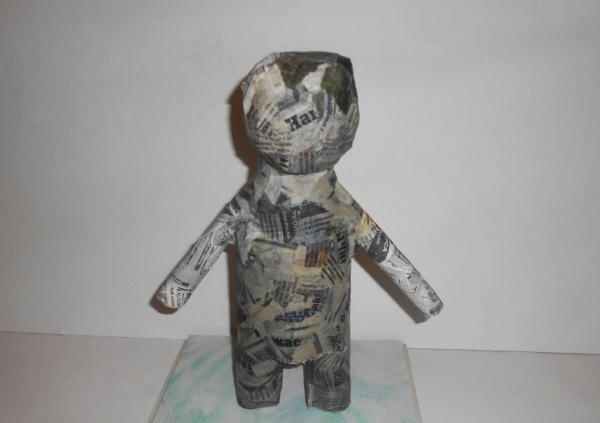
I also needed newspaper to cover the frame. Having torn small pieces of newspaper, I dipped them in paste and glued them to the gnome’s body. Yes, I almost forgot, I first sealed the hole between my legs with strips of tape, and then covered it with paper.
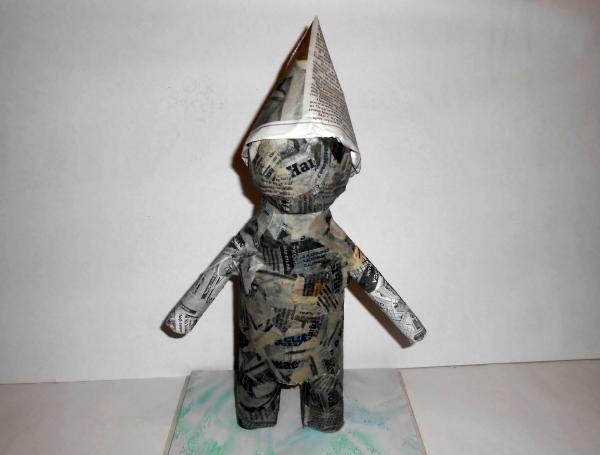
The next step was the cap. It was also made of paper. I rolled the newspaper into a bag, folding in the uneven edges, secured it with tape and glued it to my head. I also covered it with newspaper.
Then I took paper egg trays, tore them into small pieces and poured boiling water over them. I left it to soak for a day.
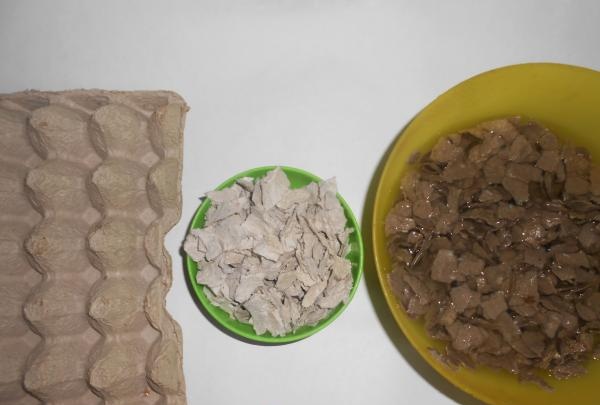
When the paper swelled, I began further work. I cooked the paste again and dipped pieces of paper into it and began to form the feet. It is better to do this on a smooth board.
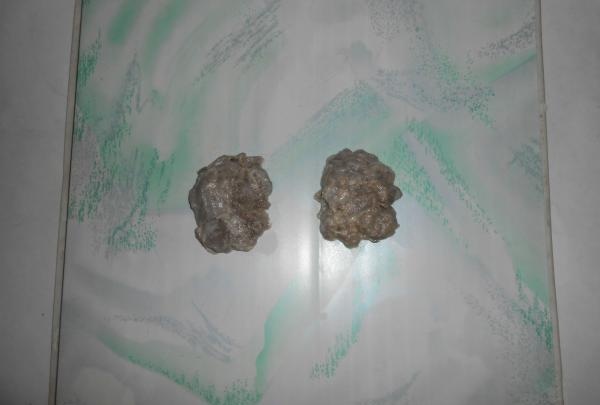
I placed a gnome on the feet and also used this paper to shape the legs. I left the craft to dry for a while.
Then I used the same technology to paste over the entire figure again. Also, the figure’s arms turned out to be long, so I shortened them a little.
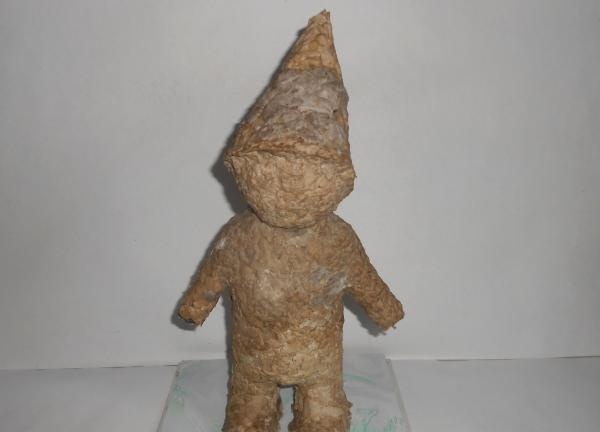
In general, I wanted to make a gnome only with the help of such paper, but it turned out to be lumpy and I didn’t like it, and it turned out to be light in weight. So, this stage probably could have been skipped, but everything is learned in the work. (Although, if soaked pieces of paper were crushed, for example, using a blender, then with this material it was possible to bring the gnome to mind.) In the end, I decided to apply cement mortar to it, to give the desired shapes on the face and body, as well as gnome weights. I went over the uneven lines with a damp brush to make it smooth. After a satisfactory result, I left the craft to dry for three days. This is what happened.
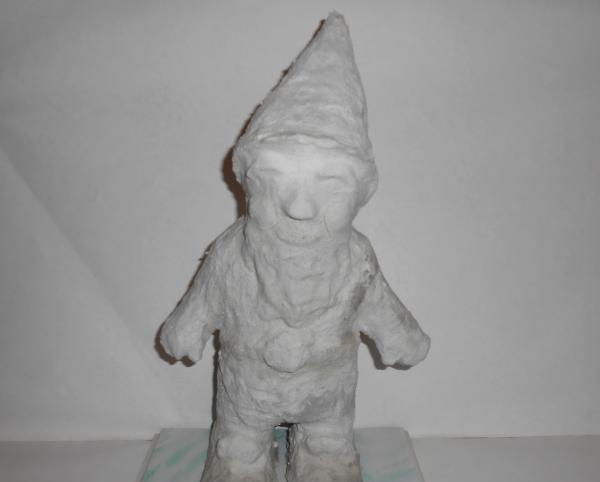
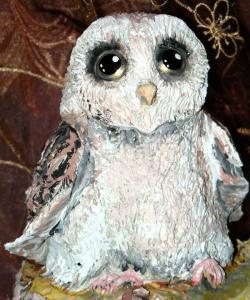
First, I sanded the entire figure, covered it with primer, and only then painted it with oil paints. Since I am not an artist, and I had difficulty drawing eyes, I decided to glue decorative eyes (from an old soft toy). Voila, my garden gnome is ready.
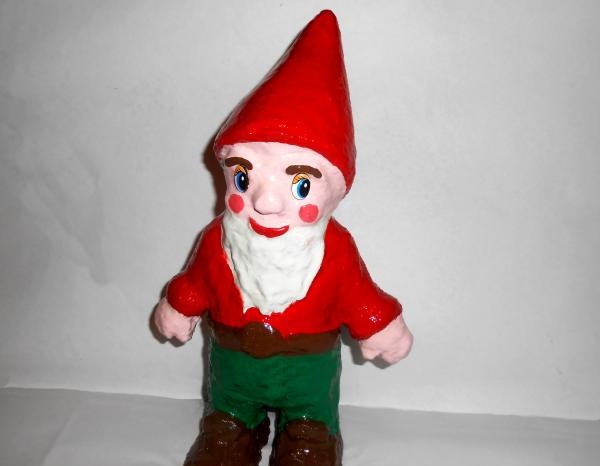
In general, there is room to show your imagination. For example, insert some object into your hand - a flower, a flashlight, a bucket, or place a gnome on a bench. But, since this is my first work, I decided to make the craft simpler. I hope you liked my garden gnome. I would be glad if I inspired anyone to do creative work. Goodbye, see you again.