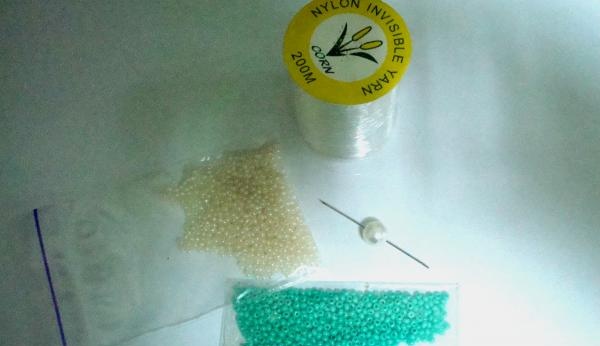
We will need:
- fishing line;
- bead needle;
- beads: milky and turquoise (approximately 10 and 5 grams each);
- a pearl in the middle of the flower (diameter 4 mm).
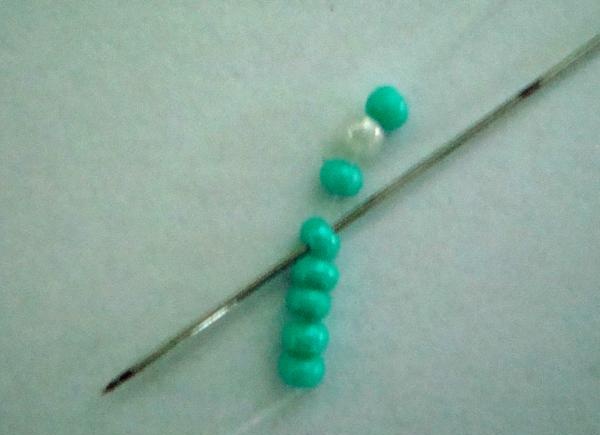
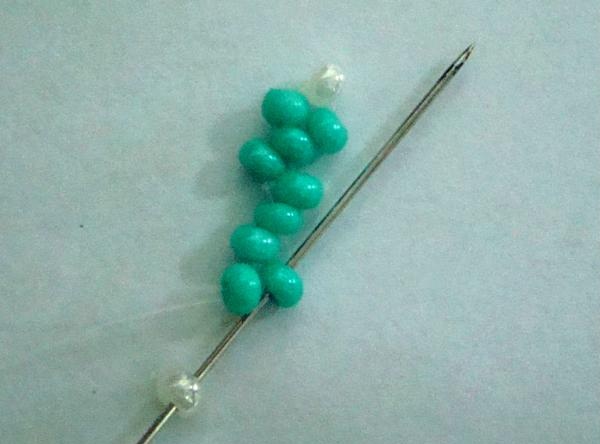
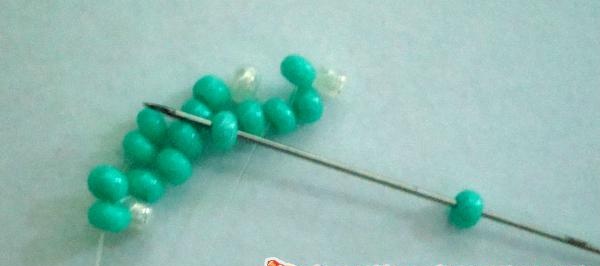
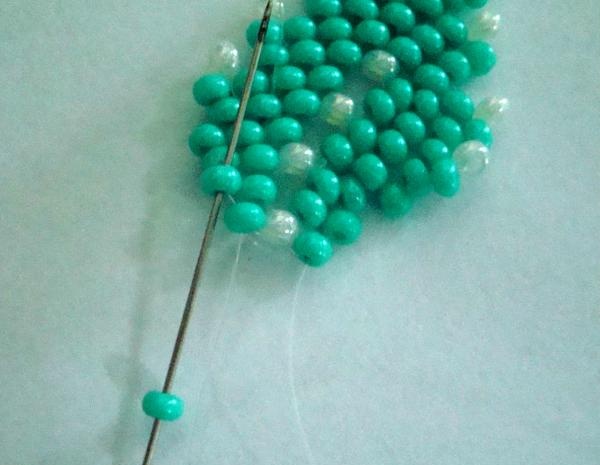
1. Weaving begins with a set of 8 beads: 7 of the main turquoise color and the penultimate one - milky.
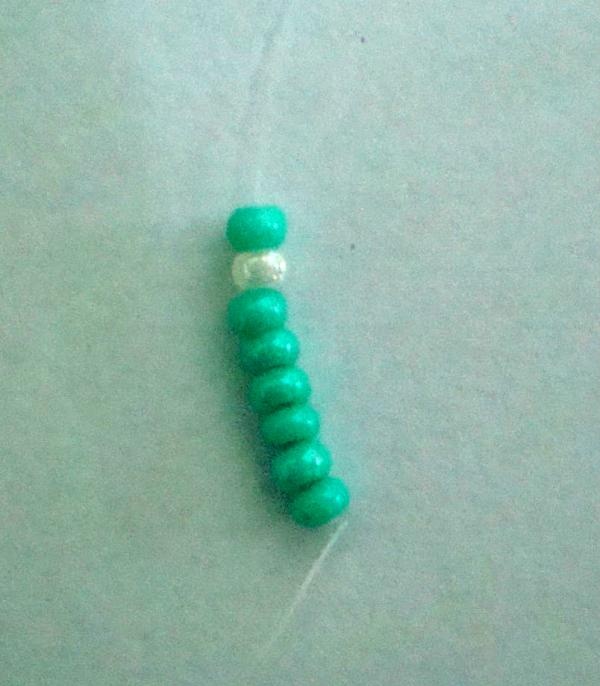
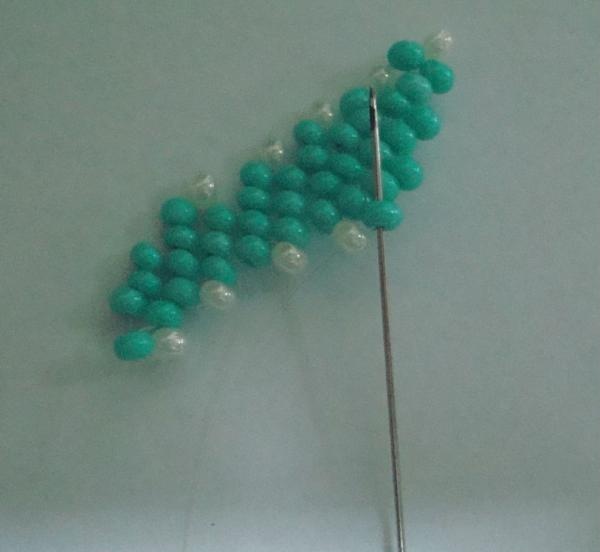
2. Next, we pass the needle into the fourth bead from the end or the fifth from the beginning.
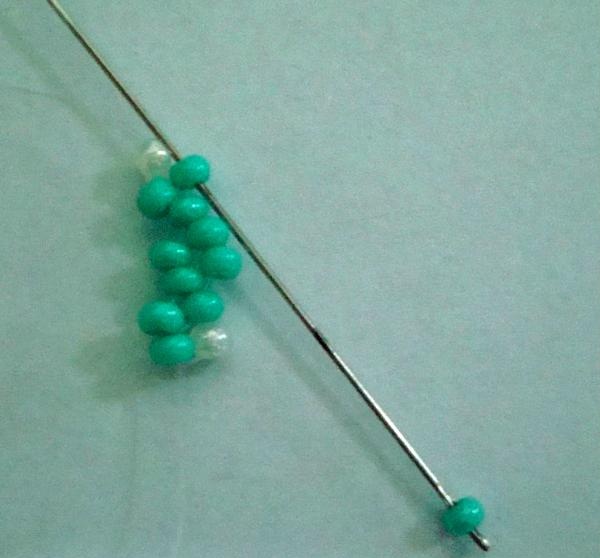
3. Now we collect one turquoise bead and weave a mosaic weave through one convex bead.
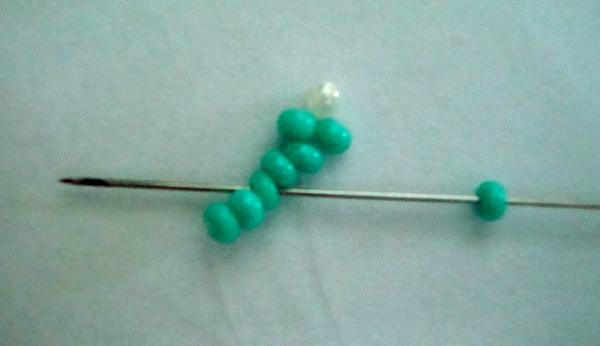
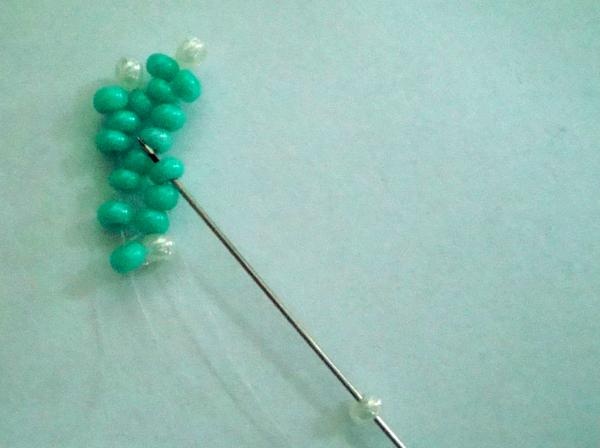
4. Again one bead and go through the first bead.
This is how it should turn out.
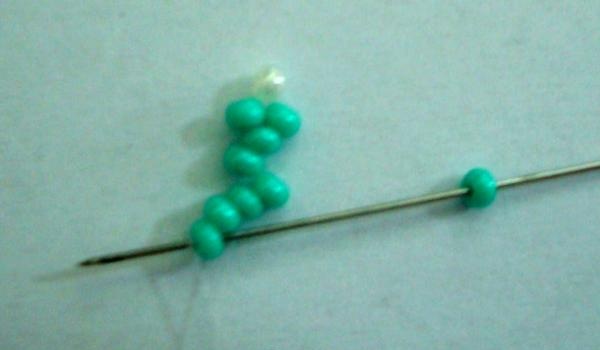
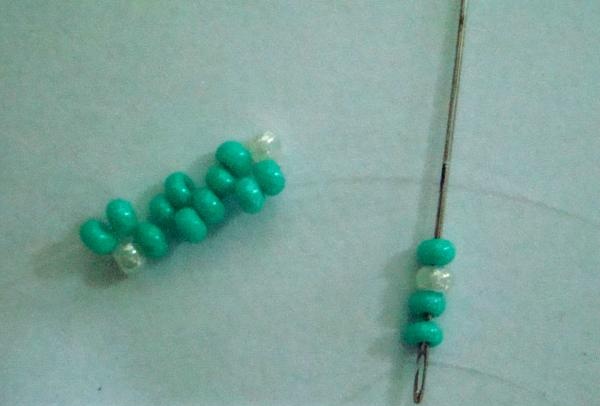
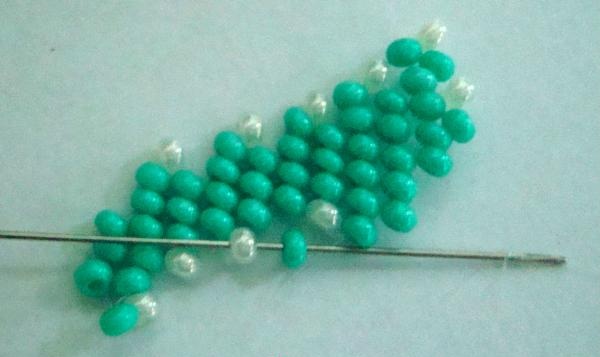
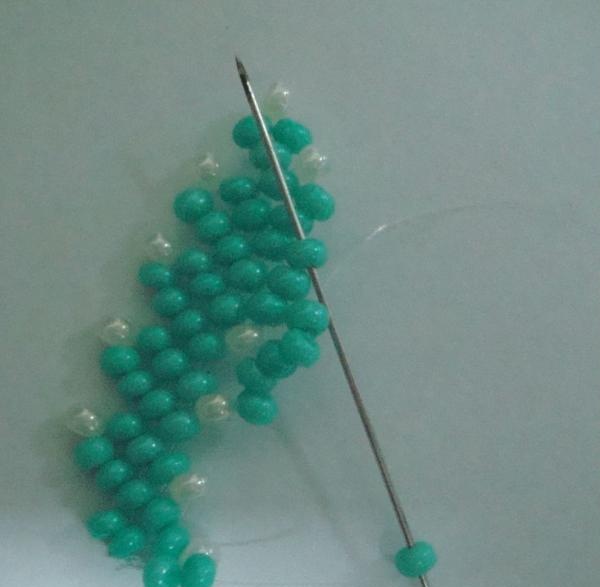
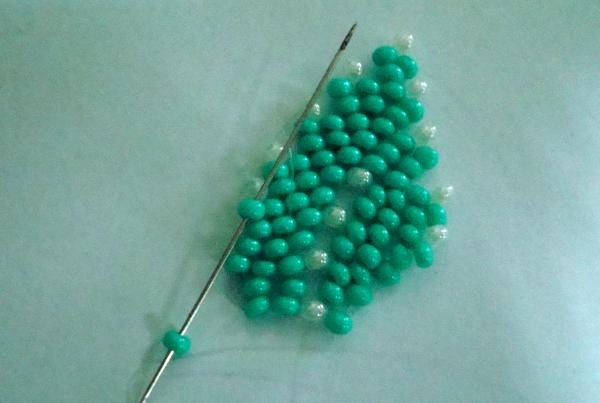
5. Continue weaving as shown in the photo.
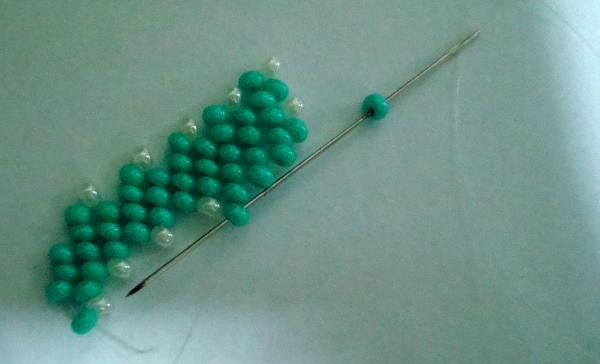
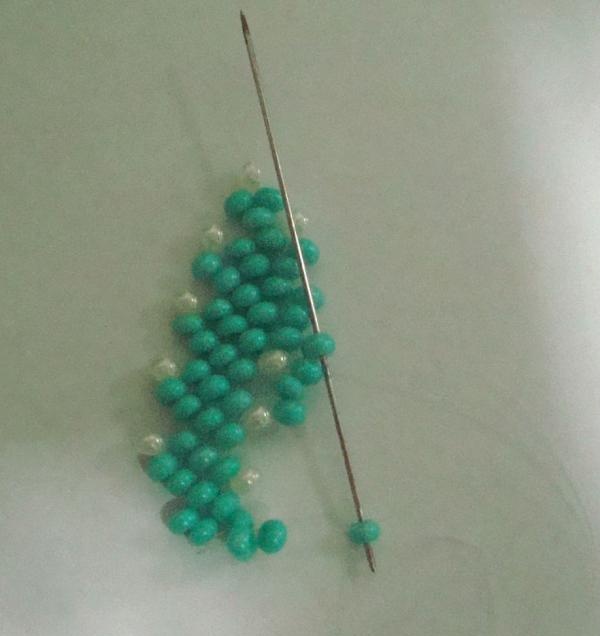
6. At the end of the row, a needle with a string of turquoise beads comes out of the last bead of the initial set.
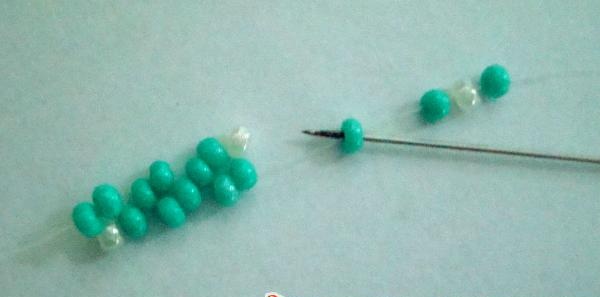
7. Weaving of the second “teeth” of the leaf begins. To do this, we collect two turquoise, one milk and one turquoise beads.
8. We close them into a ring, as shown in the figure.
9. We go down along the usual route.
10. The next row begins like the previous one.
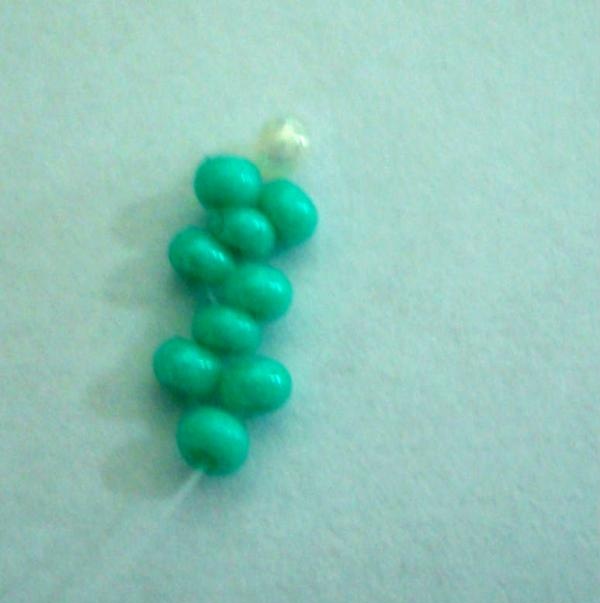
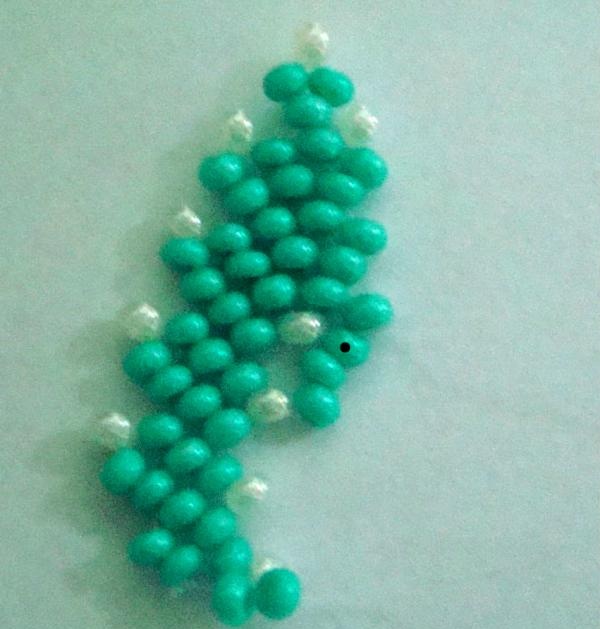
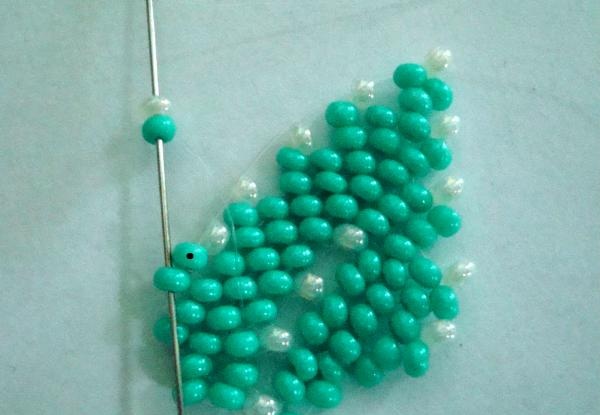
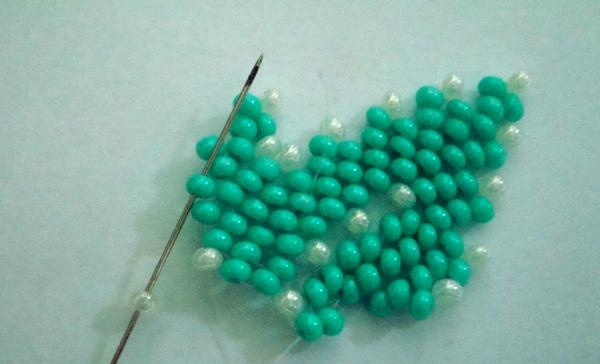
11. In this way we weave to the top of the leaf. Having reached the middle, the needle should come out of the milk bead.
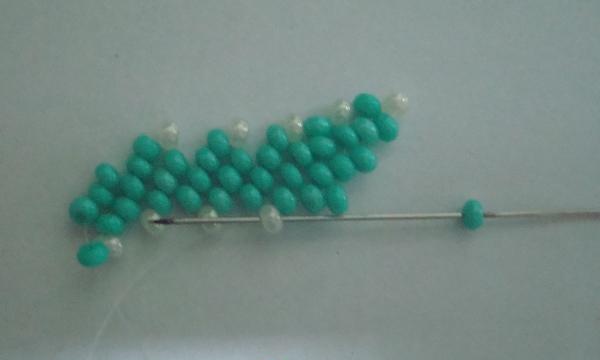
Half the leaf is finished.
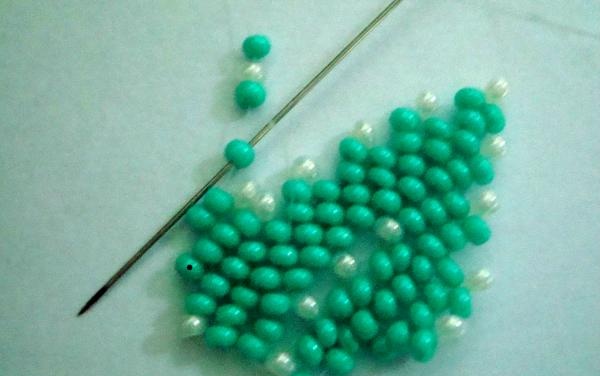
12. Now carefully watch in the photo how the second half of the leaf weaves. In some photos, the beads from which the fishing line should come out are indicated with a dot.
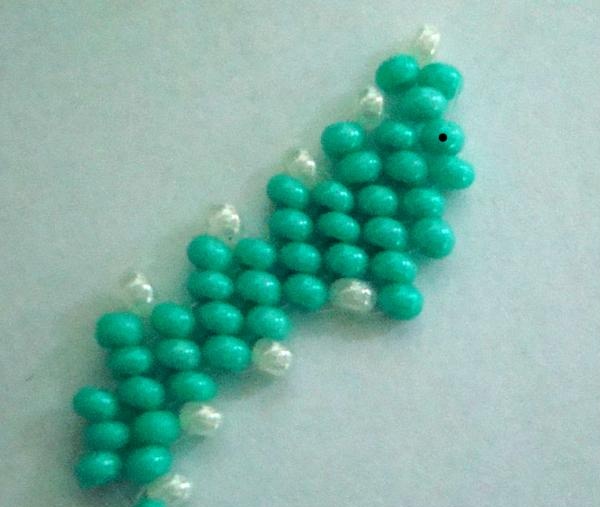

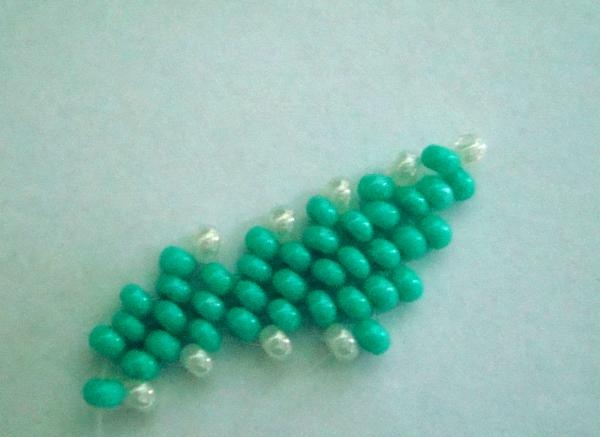
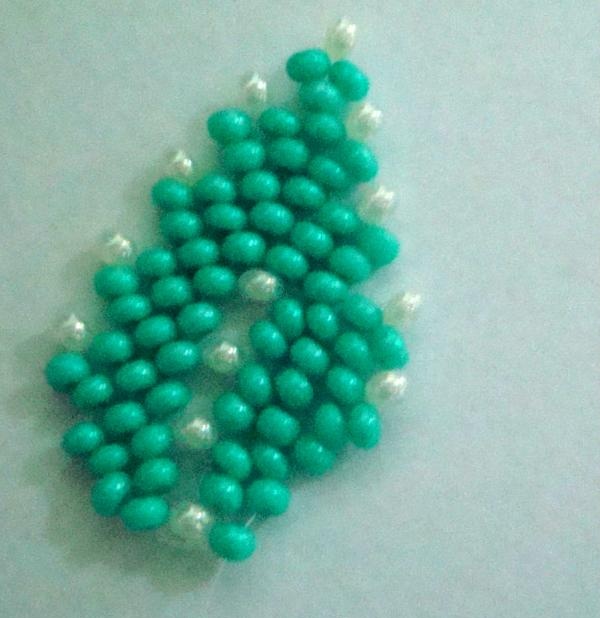
13. This is what your leaf will look like.
14. Next, we proceed to weaving the next leaf.
I think the principle of operation is clear.

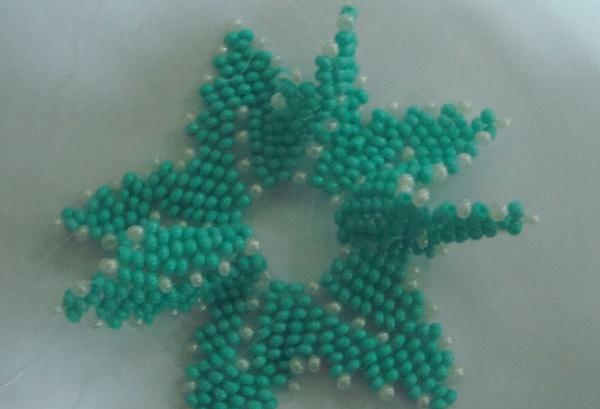
15. You need to weave 8 such leaves. It's okay if some appear to curl. Ultimately, they will still not be smooth.
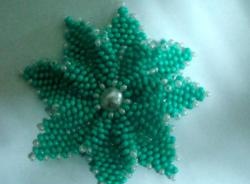
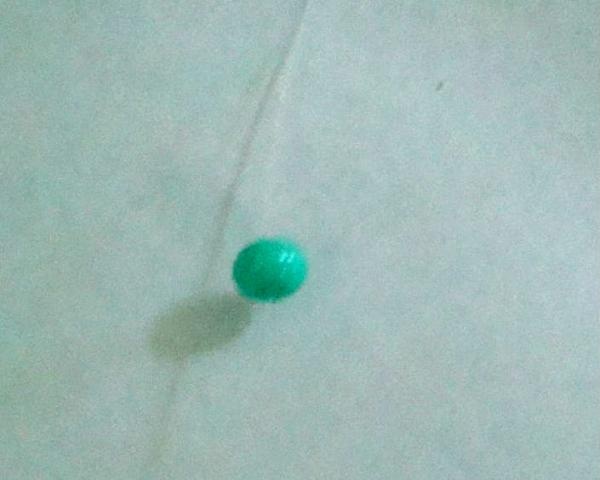
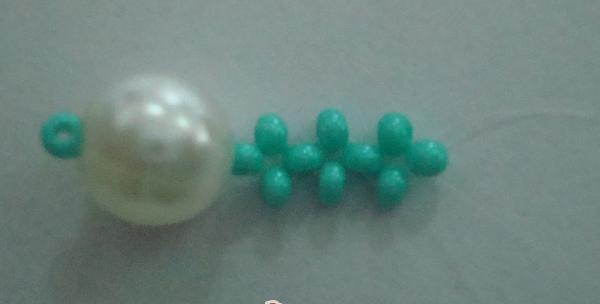
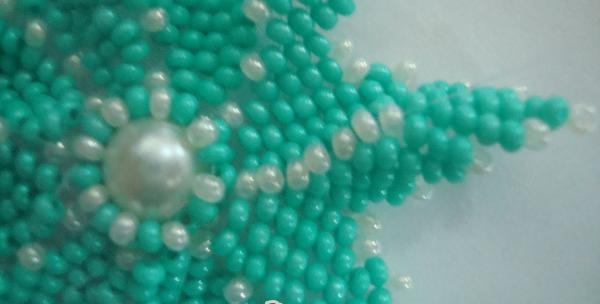
We braid the pearl.
We collect one turquoise bead in the middle of the fishing line. You may have already realized that we will weave with two lines.
Next, we thread the pearl through the two ends of the fishing line and turquoise beads as shown in the photo.
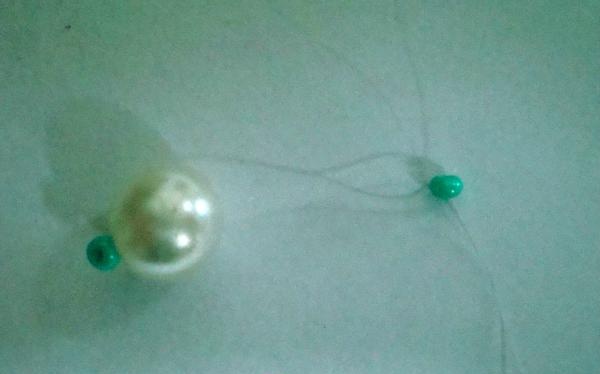
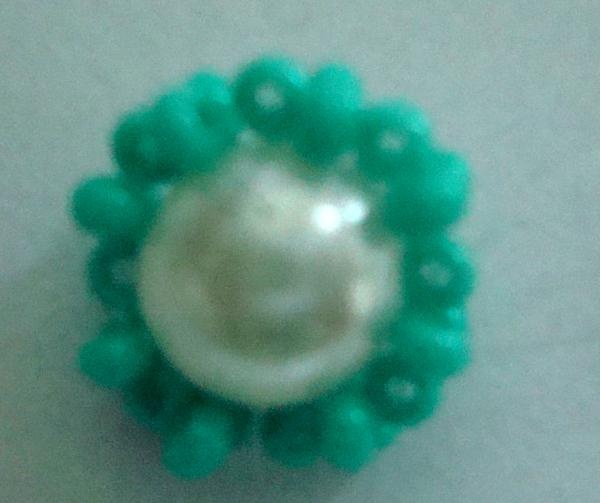
Now we weave in a cross stitch as much as necessary so that the pearl is well and tightly wrapped.
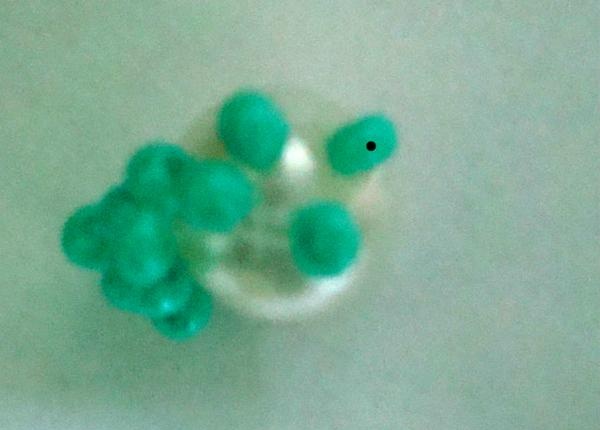
In the same way we weave the second half of the “crosses”. At the end, we tighten it tightly so that the pearl does not fall out of the middle, and secure it.
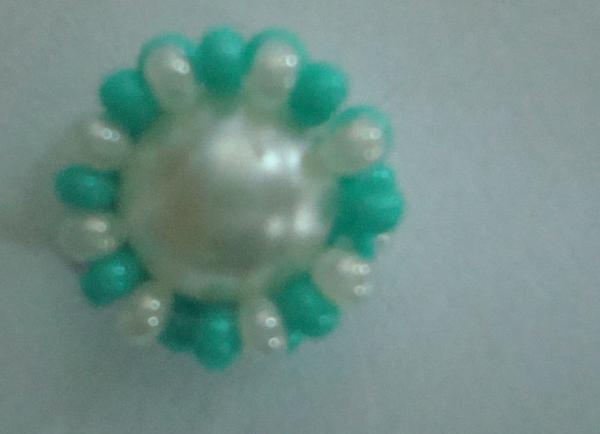
On one side of the crosses, alternating through one turquoise bead, we weave milky beads.
Compound.
Look at the photo to see how you need to secure our braided pearl in the middle of the flower.
This is the purl row. Please note that milk beads need to be added one at a time to the middle of the leaves.
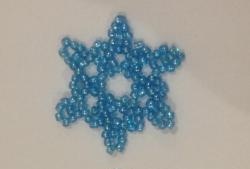
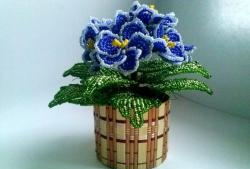
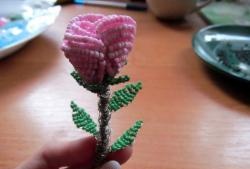
We lay out the petals in waves and that’s it, our flower is ready.
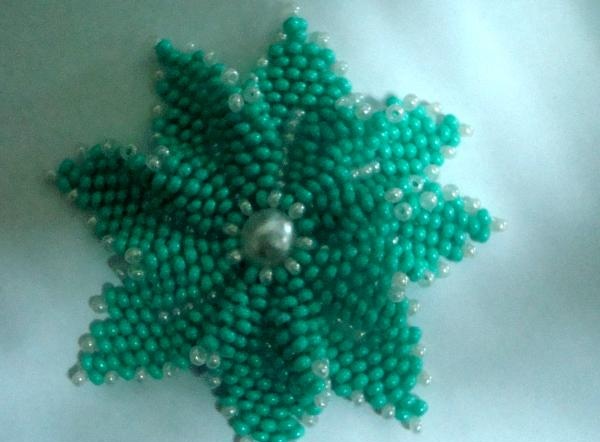
What to secure, a pin or an elastic band, is up to everyone to decide for themselves. Everything is at your discretion.