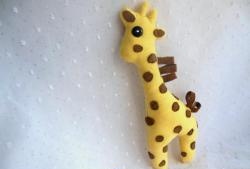
The article offers only a sample of such a toy, a master class on how to make it. An interesting option in a combination of two horses, but this is an individual decision; creativity does not recognize templates and limitations.
Materials:
1. Fabric, various textures and colors. Here is white cotton.
2. Yarn, woolen threads for the tail.
3. Sintepon.
4. Finishing materials: ribbons, brooches, suede.
Manufacturing process:
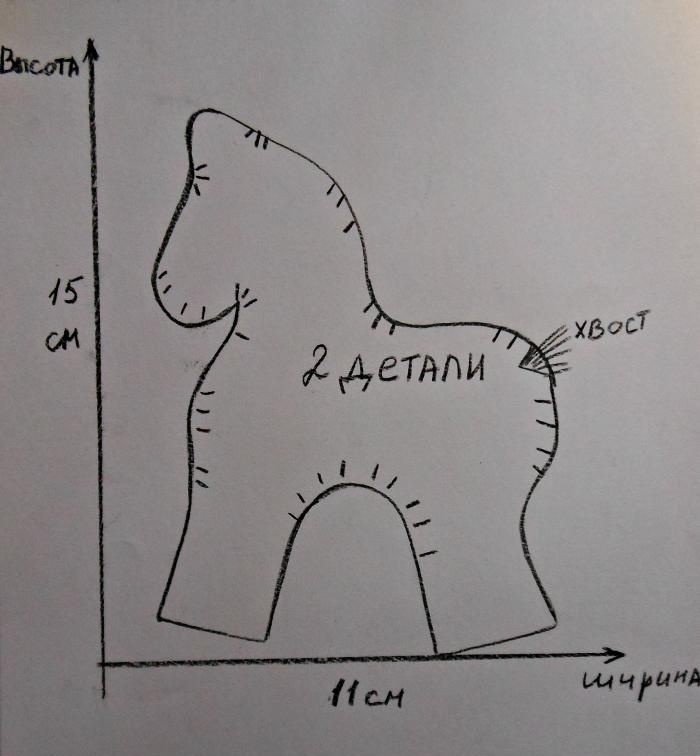
To begin with, take a horse pattern, height – 15 cm, width – 11 cm. The figure shows the notches necessary to prevent the fabric from puffing up, and the place for the tail.

We cut out 2 pieces of fabric; to do this, fold it in half with the front side inward. Pin the pattern, mark a 1cm seam allowance and cut it out.
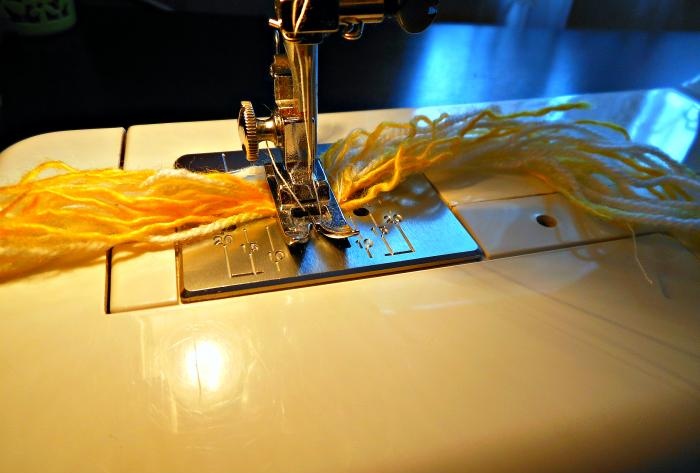
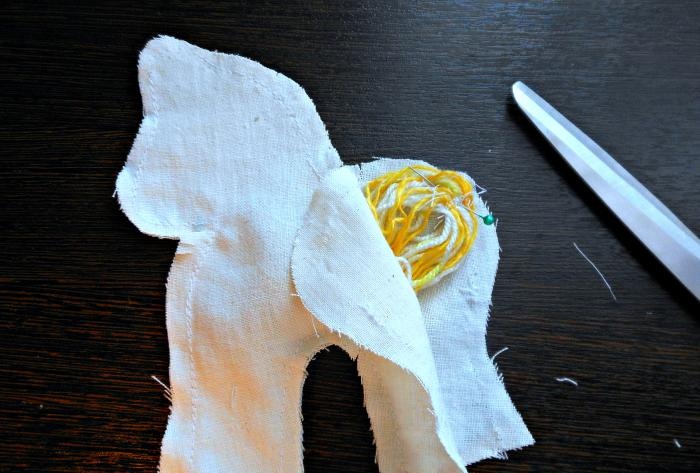
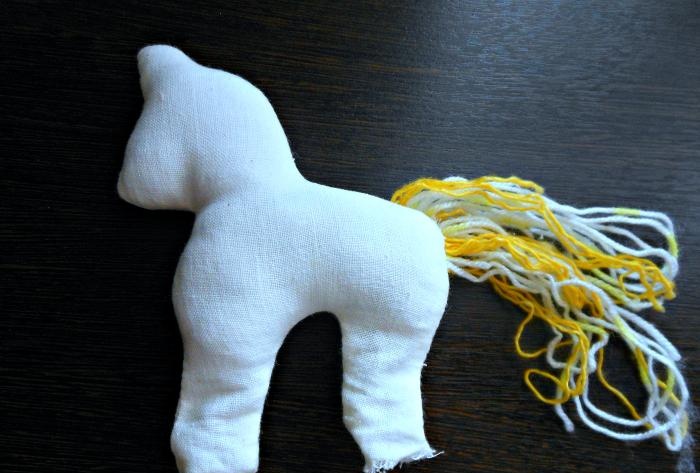
We put the threads for the tail together and stitch it in the middle to form a tail.
We fold the horse parts with the front side inward, pin the tail to one of them so that it is located inside, between the parts. Baste and stitch along the entire perimeter, except for the lower part of the legs. These areas must be open, through which the horse turns out and is stuffed with padding polyester.
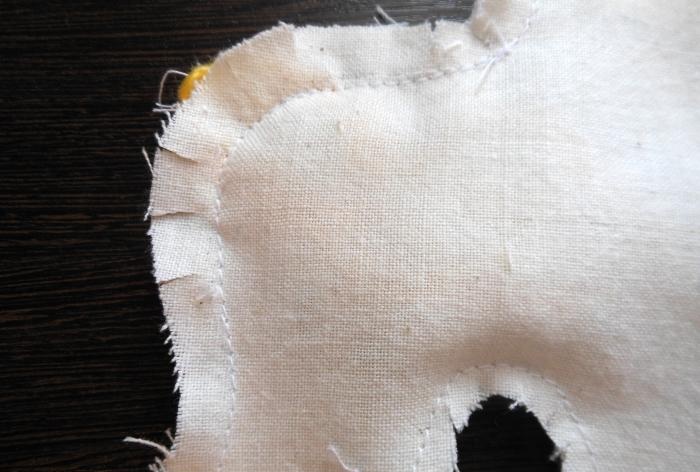
We make notches in the designated places, not reaching the seam. Turn it right side out. The corners can be straightened with a needle or scissor blade, the main thing is that they are all sharp and without creases.
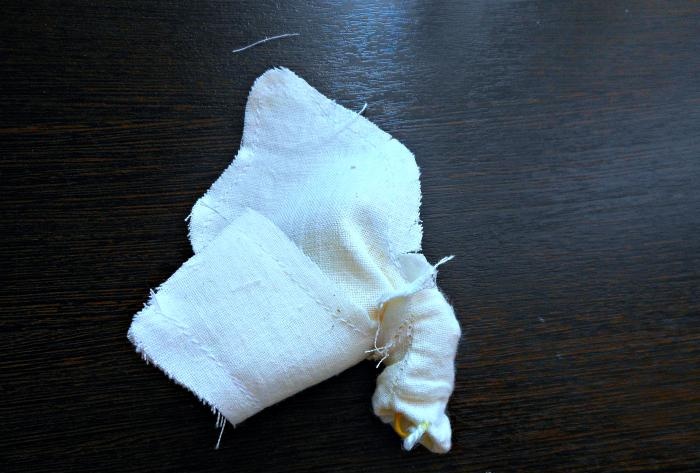
Let's start stuffing the toy. You can use long sticks to evenly distribute the padding in all parts of the horse. The main secret is that the toy must be tightly stuffed so that there is no sagging or looseness. Lumps should not be allowed to appear; the filler should be distributed evenly.
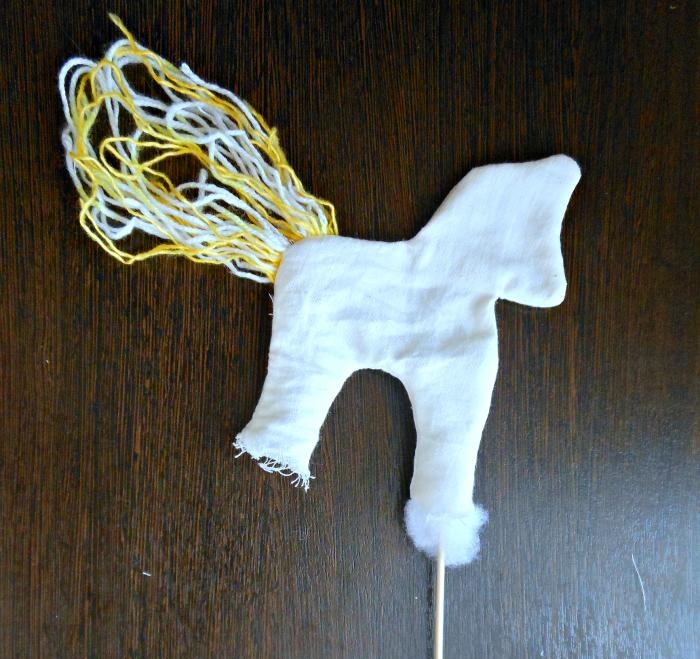
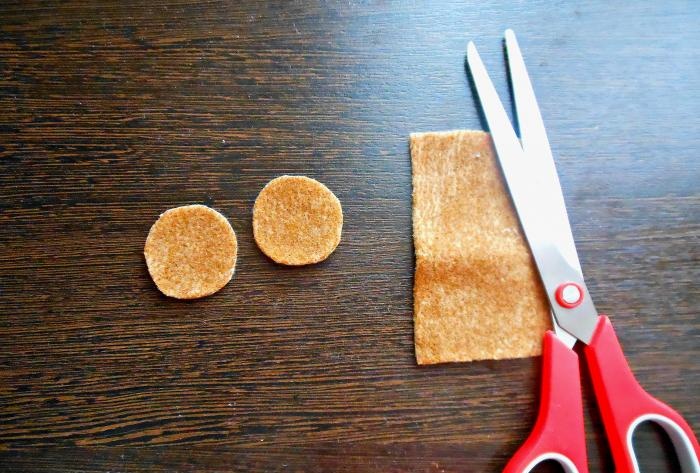
Let's start shaping the hooves, recommended fabrics: suede, leather, thick drape. Circles are cut to fit the bottom of the legs with a small allowance.
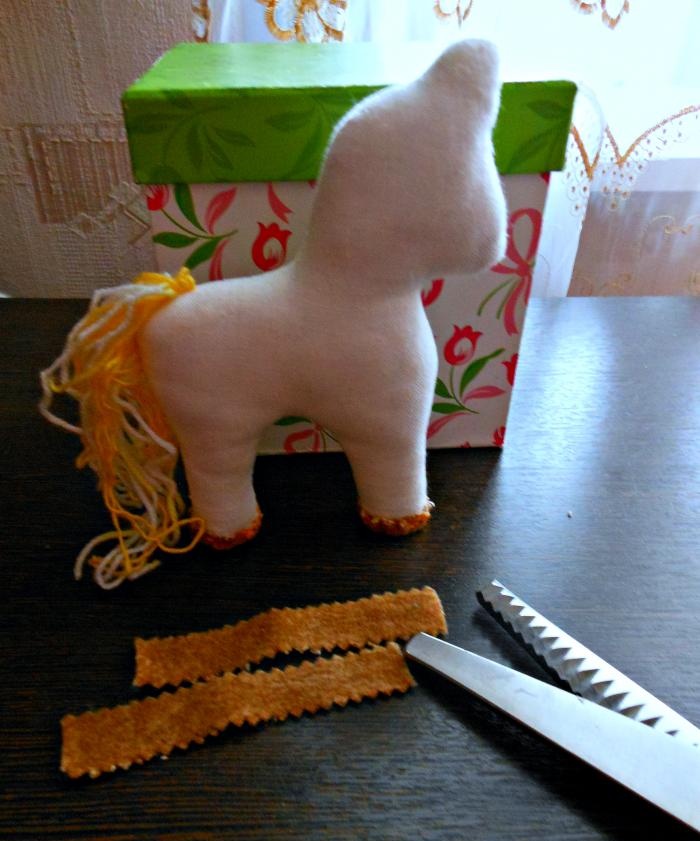
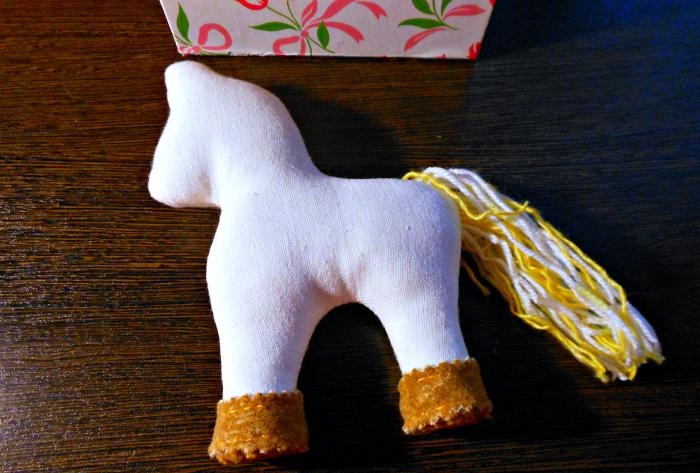
The parts are attached to the leg and sewn to the bottom according to the allowances of the hoof, figuratively speaking, the part envelops the bottom of the leg. In order for the horse to stand firmly on the surface, it is recommended to quilt the hooves. We connect the hoof tissue with stitches to the padding polyester inside the leg. The work requires patience and skill. All that remains is to cut strips from the same fabric. They will cover the stitching area of the leg and the allowances of the lower part, and will form the appearance of the hoof as a whole.It is advisable to use curly scissors; the parts will have a neat appearance.
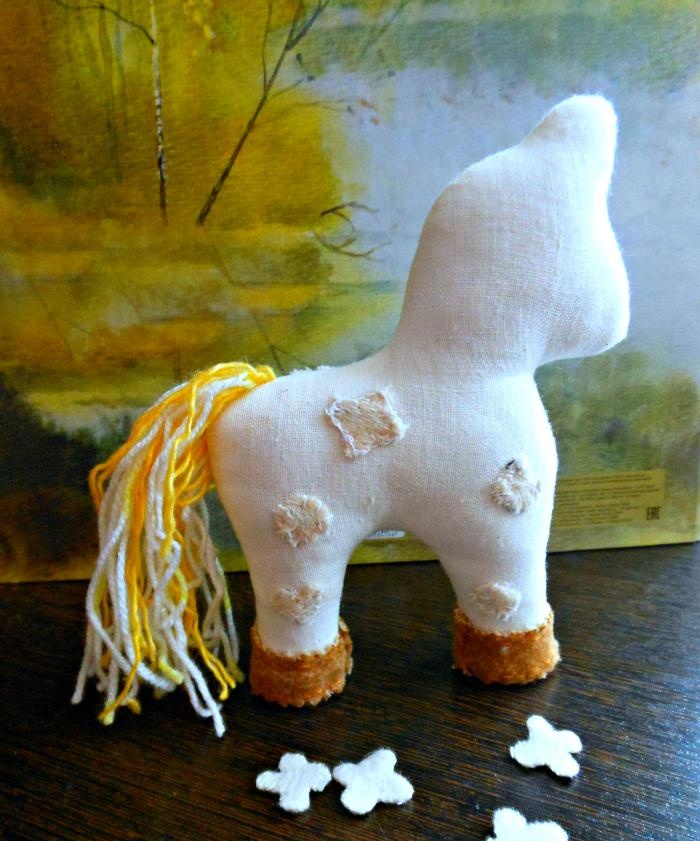
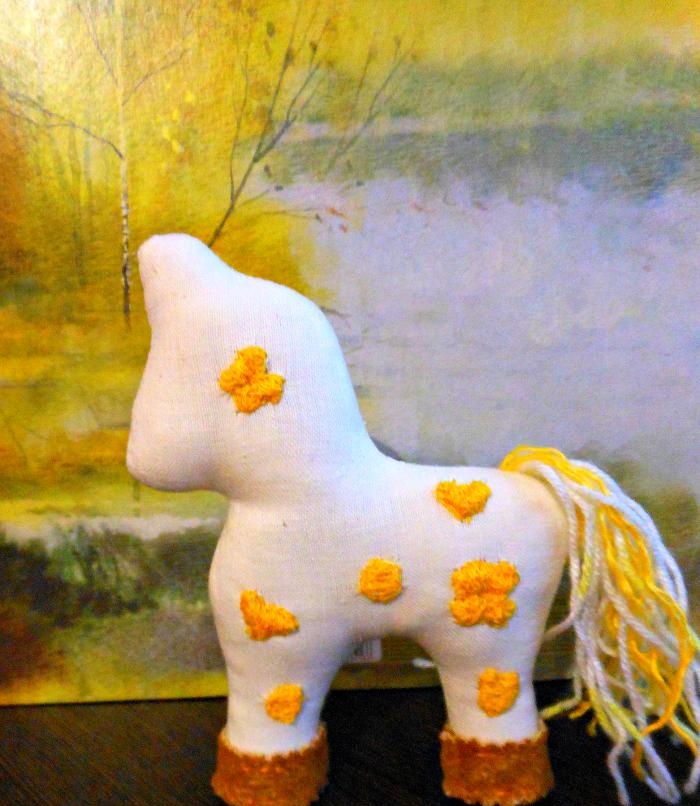
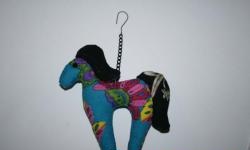
Let's start decorating the horse. If the horse is made of fabric with a pattern, then you can skip this point. In this case, it is decorated with embroidery. To do this, figures are cut out of thick fabric to suit every taste: flowers, hearts, apples. They are then sewn to the horse's body using a blanket stitch. We pass over the parts with embroidery threads or ordinary sewing threads. The figures are completely filled with stitches, resulting in the effect of volumetric embroidery.
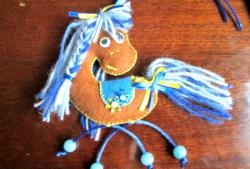
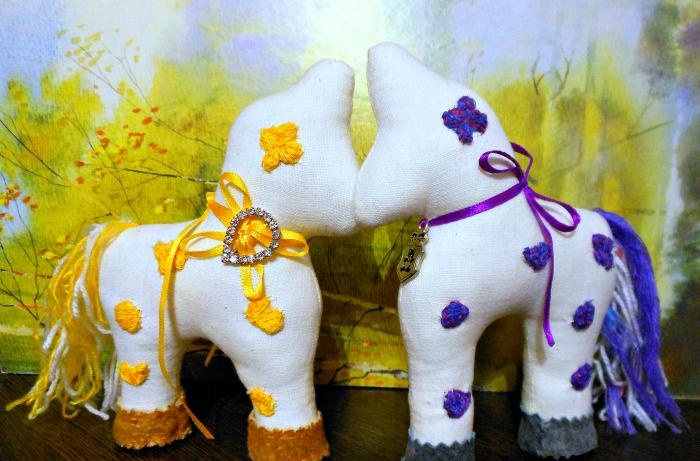
To complete the look of a cute horse friend, tie a ribbon decorated with a brooch around her neck. There are no limits to imagination here; you can decorate with flowers, bows, and beads.
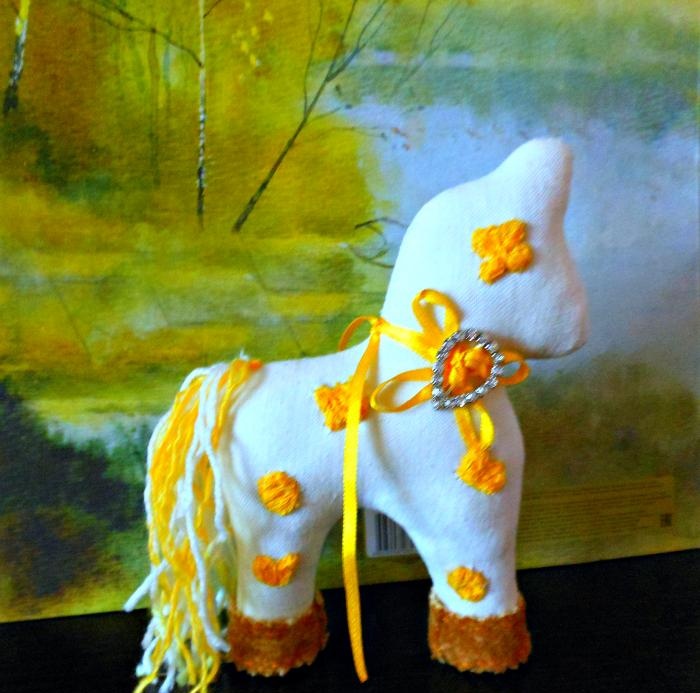
Flirty horse friend is ready for adventure!