To create such a bandage you will need:
- satin ribbon 50 mm wide, beige color.
- tweezers with inclined edges.
- scissors.
- beads with a diameter of 7 mm, silver color.
- lighter.
- narrow satin ribbon 12 mm wide.
- decorative decorations in the shape of flowers with a diameter of 20 mm.
- glue gun.
Creating decoration.
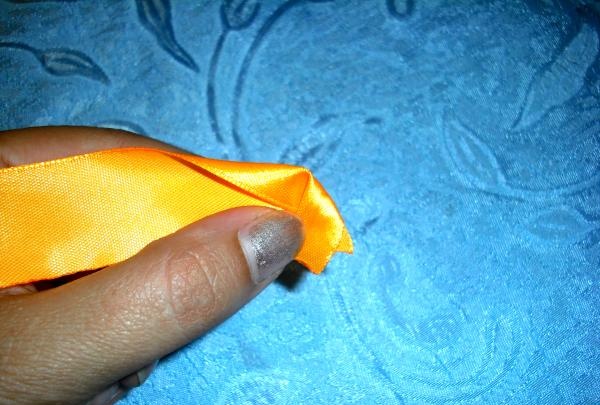
The narrow orange ribbon should be turned with the wrong side facing you. The edge must be straightened with scissors and scorched with fire. The finished edge should be bent at an angle, pointing downwards, so that a fold line is formed along the upper side of the edge.

In this position, it is better to secure the corner with glue so that it does not interfere with the further creation of the flower.
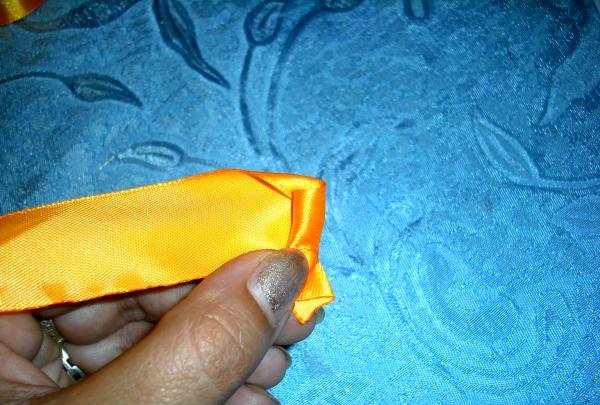
The resulting edge needs to be folded one more time, but now directing it along the length of the tape.
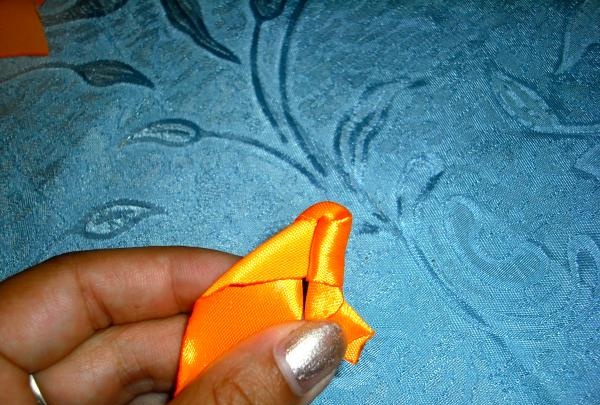
The result is a small triangle, which should be wrapped with tape, not reaching 1 cm from the edge of the fold strip.
At this point you need to fix the twisted tube, securing it with a drop of glue. Then the edge of the tape needs to be directed downwards, relative to the tube, creating twisting of the fabric.
The resulting fold also needs to be wrapped around the tube, but make sure that the fabric is not pulled together or pressed too hard towards the center.
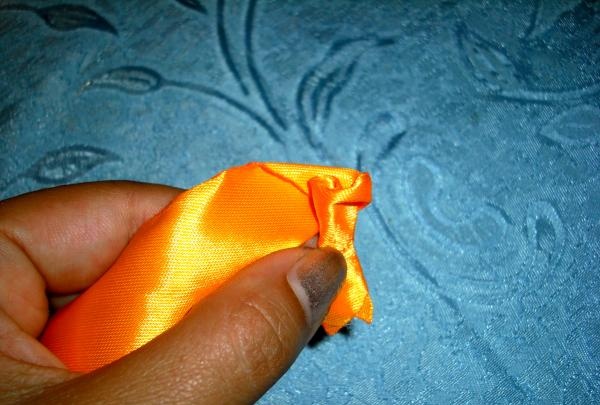
Next, you need to evenly twist the tape and wrap it around the central tube, regularly securing the actions with glue. With each revolution, the rose becomes larger and more beautiful.
When the circumference of the flower reaches 4.5 cm, you should stop and cut the ribbon and secure it to the wrong side of the product.
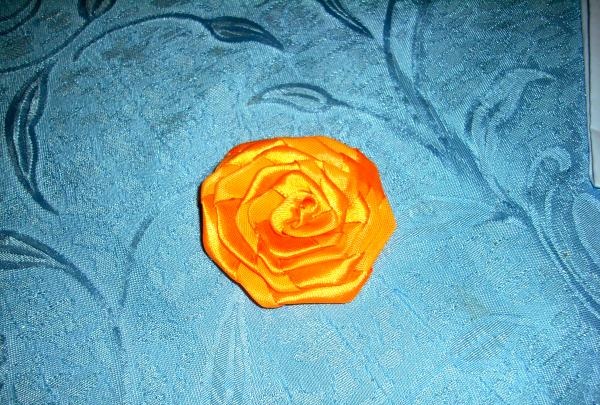
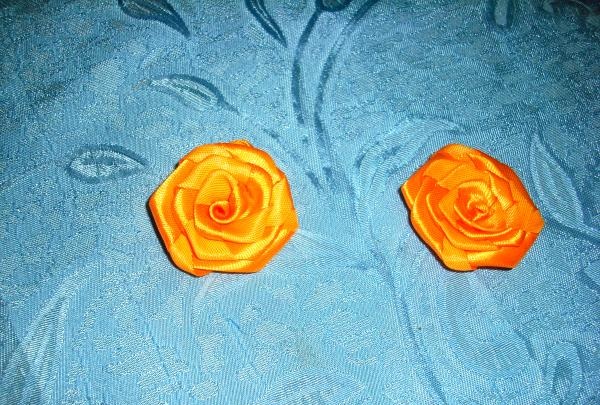
You will need one flower of this size, but with a smaller diameter, you should prepare two roses. Flowers should reach 3.5 cm in diameter.
Now you need to make the leaves. For this you need a beige wide ribbon. If the width is 5 cm, the tape should be cut into 4 cm pieces.
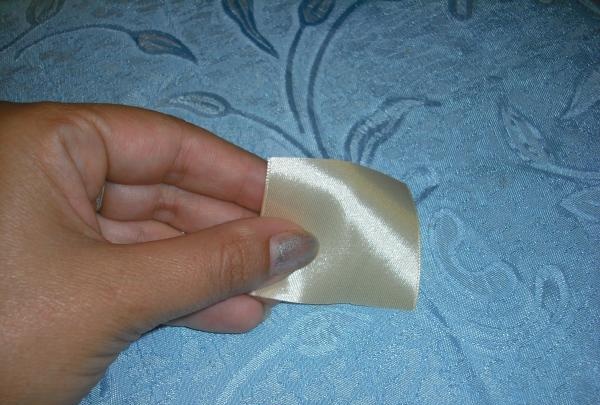
A total of 10 such segments need to be made.
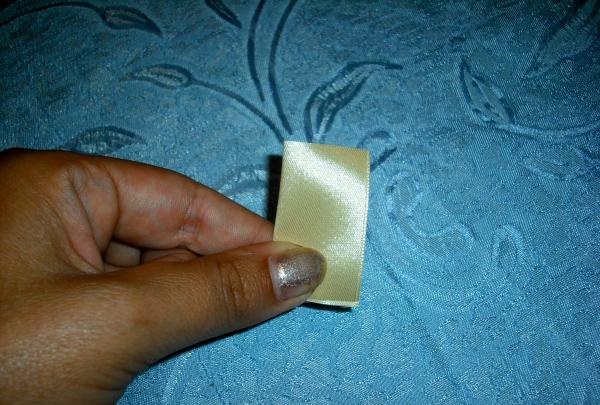
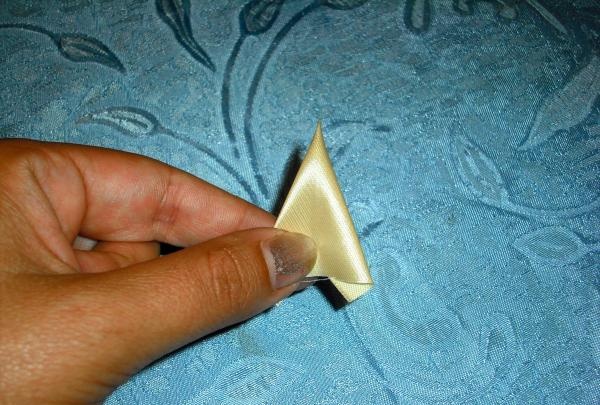
All leaves are created separately, so taking one piece in your hands, you need to fold it in half, matching the two edge lines on the tape.
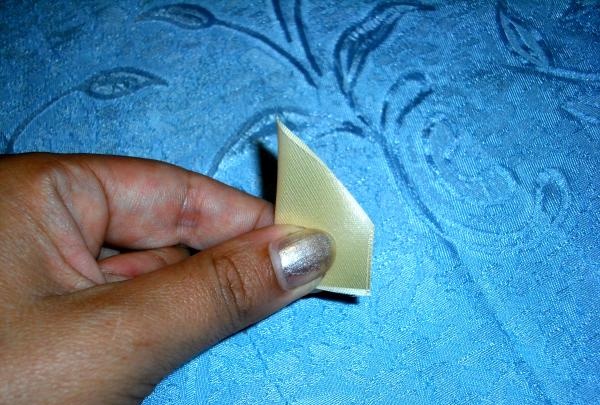
Stepping back 2 cm from the top cut, the edges should be cut off, removing the corner to the beginning of the fold strip.
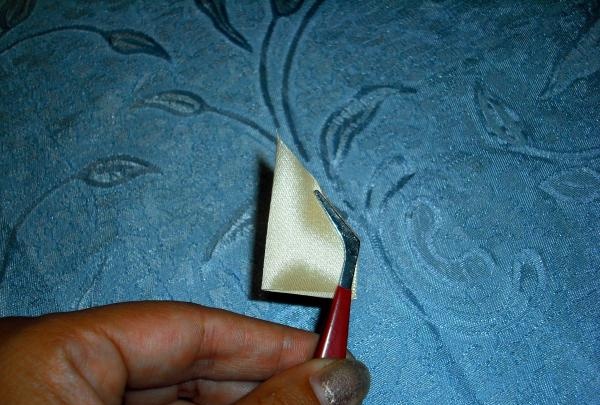
Clamping the inclined cut with tweezers, it should be carefully treated with fire in order to solder both layers of the tape.
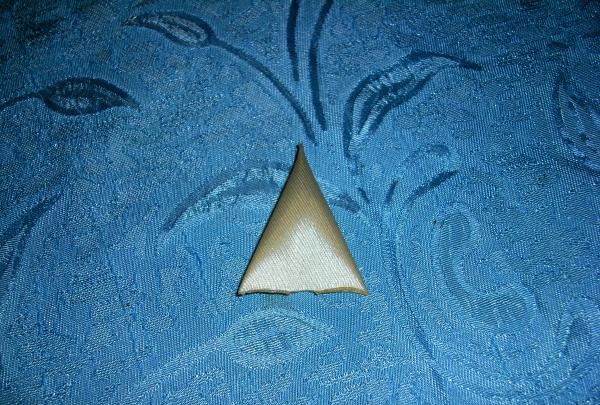
The resulting sheet must be straightened, directing the soldering line back.
The cut remaining at the bottom must be leveled with scissors, cutting off any irregularities and processed with a lighter.
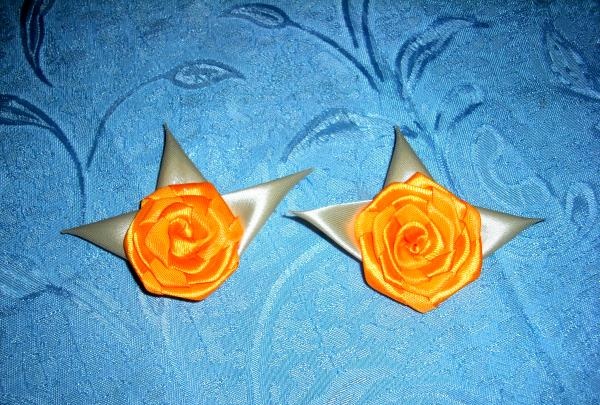
From the remaining segments it is necessary to prepare the same pointed leaves. After creating the leaves, you need to add them to all three flowers. Three leaves need to be attached to small roses.
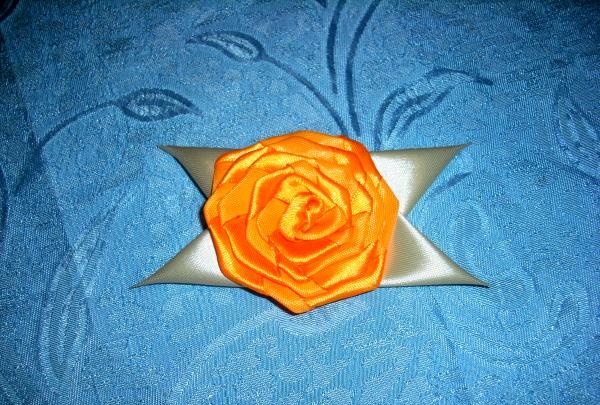
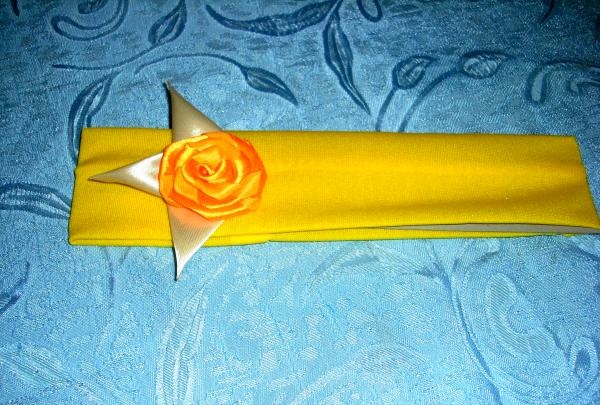
You need to glue the remaining 4 leaves to the large rose, but placing it as in the picture.
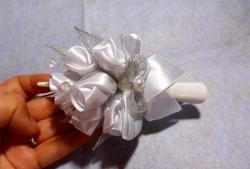
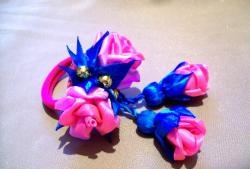
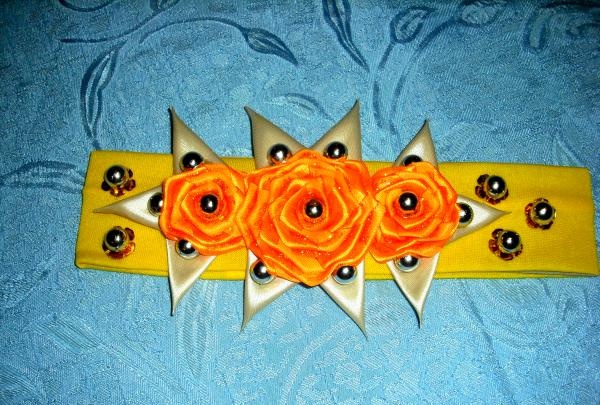
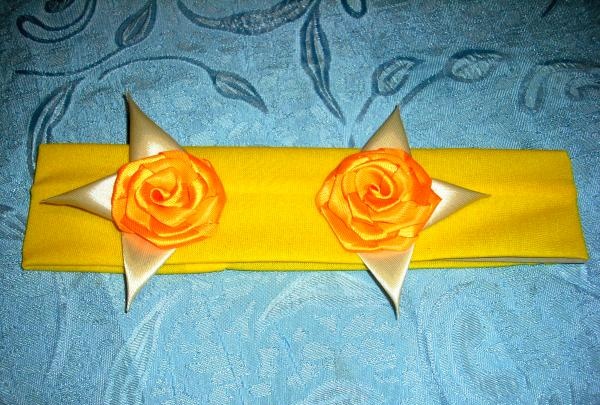
Now you can decorate the headband with flowers.First, you should secure the small flower, directing its leaves to the left.
Stepping 4 cm away from it, you need to attach a second small rose, turning the leaves to the right.
The remaining void should be covered with a large rose, directing its leaves up and down relative to the bandage.
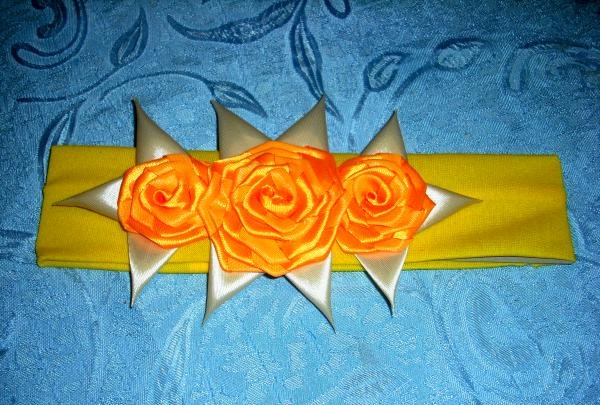
Next, the bandage must be decorated with large beads, attaching them along the base of the leaves and in the centers of the roses. Decorative small flowers should be distributed over the loose fabric of the headband, supplemented with beads.
The bandage is ready!