- ready-made headband made of blue jersey.
- scissors.
- needle and thread for sewing.
- glue gun with replaceable refills.
- large beads of silver color.
- decorative decorations in the form of lilac flowers, 1 cm in diameter.
- round blue beads.
- lighter.
- satin ribbon in blue and white shades.
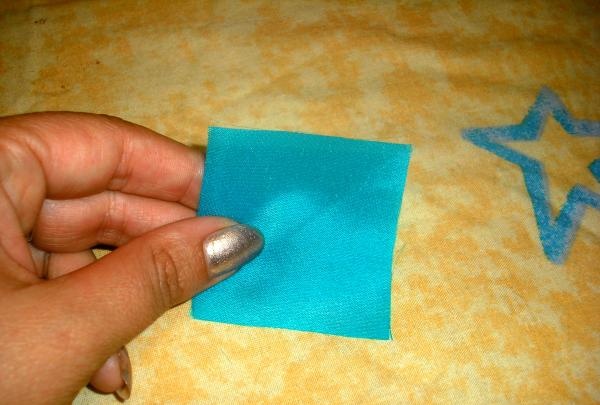
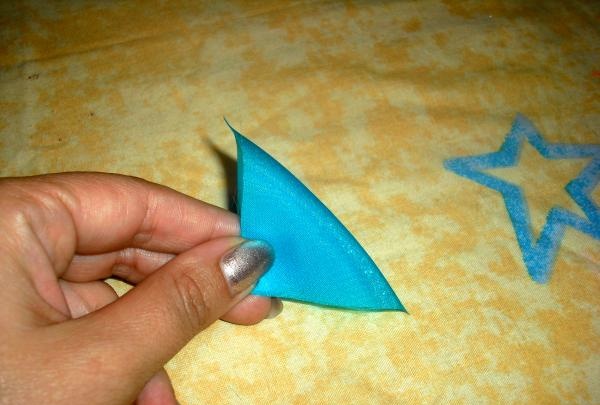
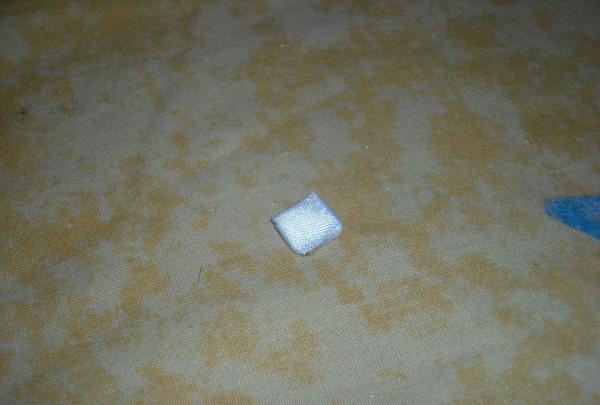
Sequence of making a bandage. From two types of ribbons, blue and white, we cut out sections equal to their width, so that the resulting parts are 5x5 cm.
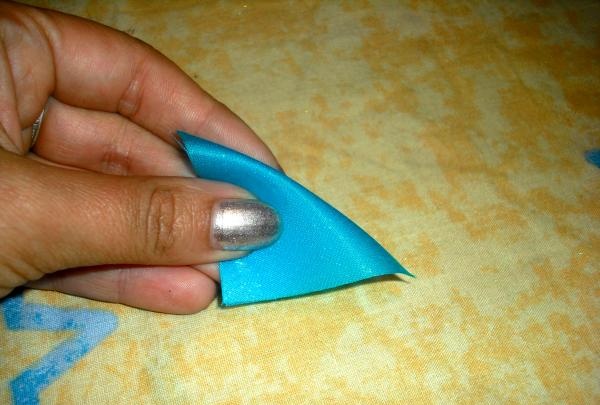
Then we fold the upper right corner and apply it to the lower left, aligning the edges. As a result, the part was folded in half and given the appearance of a triangle.
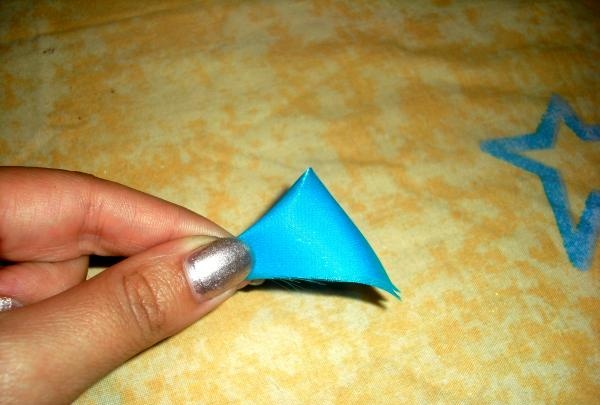
Then we repeat the addition of the part.
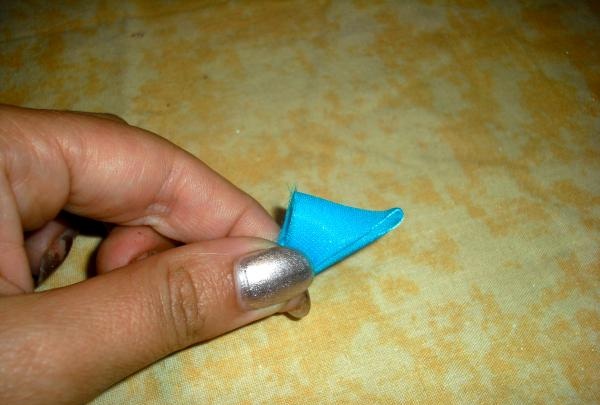
Now we put the thread into the eye of the needle and tie a knot at the end of the segment. We place the part in front of us, lowering the side with the cuts down. We retreat 3 mm from the cuts and sew a line, evenly making stitches with a needle.
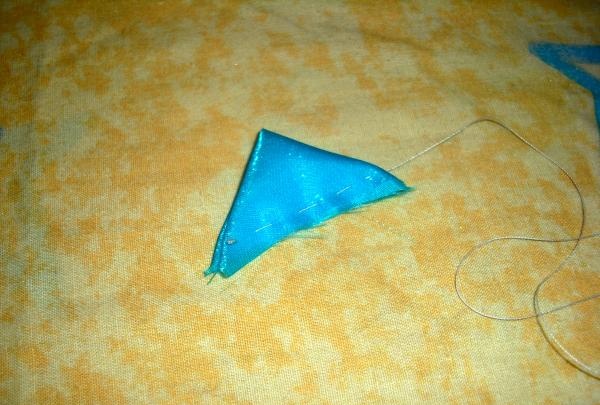
Without cutting the thread, we pull the fabric tightly and secure it in this state with several stitches.
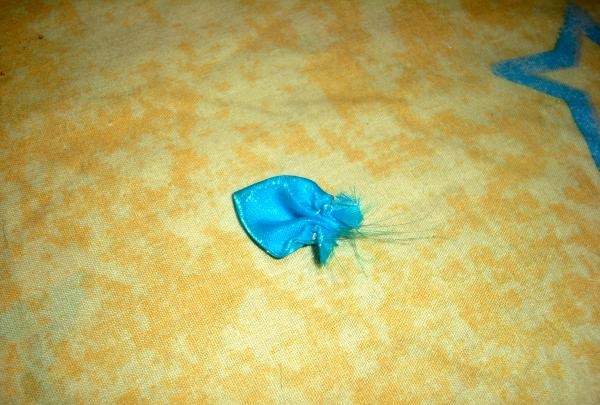
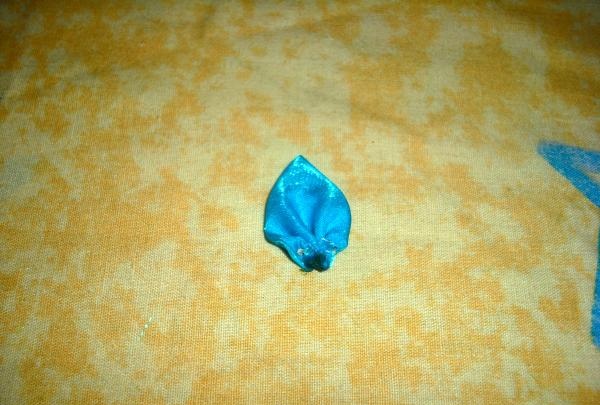
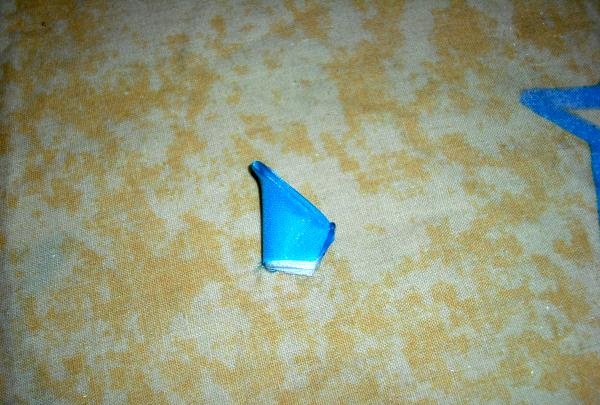
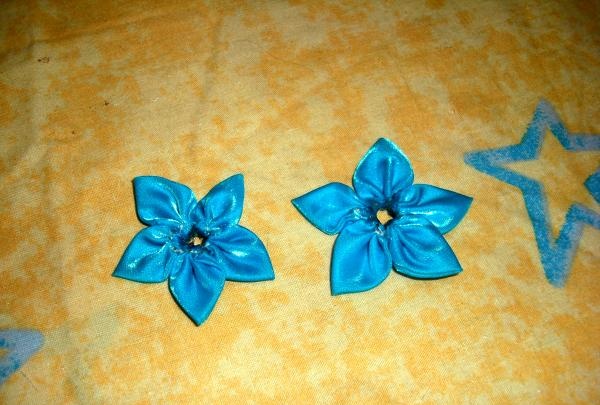
Now we cut off the edge of the thread and singe the sections of the tape.We straighten the part, evenly distributing the folds on the tape, and get a petal with a pointed upper edge.
Following this sequence, we create 9 more such petals for the main flower of the headband. Having made them, we put them aside and proceed to creating the remaining parts. Next we make milk petals from white and blue ribbon. We cut both shades of tape into pieces with sides 5x5 cm. Then we make triangles out of them, folding them in the center.
Then fold it in half twice more.
Then we repeat each action with a white square. We put the resulting workpiece into a blue triangle, completely matching their edges.
Now we cut off the thin corners, carefully singe the new cut, gluing each fold of the ribbon together.
Measure 1 cm along the fold lines and cut off the entire excess length of the tape. Then we carefully burn the sections, protecting the fabric from shedding.

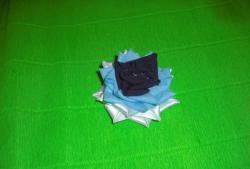
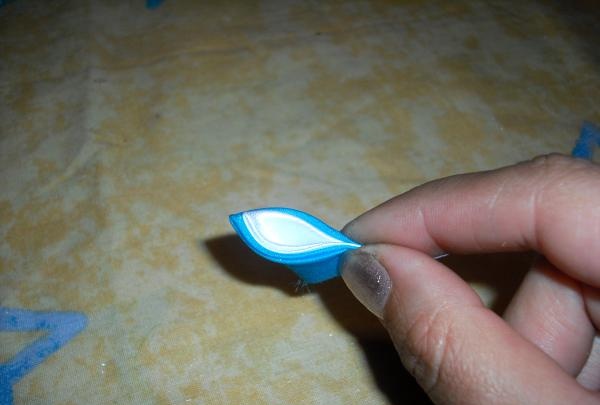
We unfold the part and get such a petal.

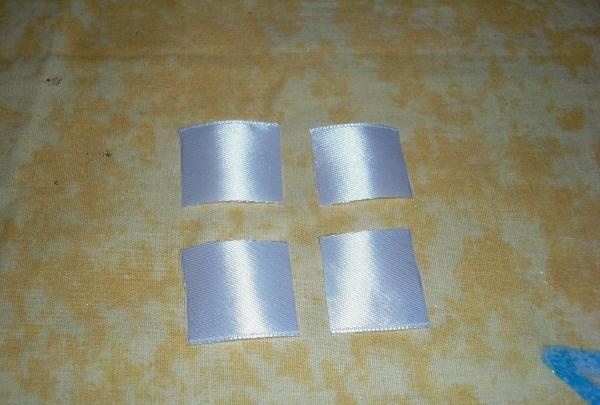
For this headband we create only 6 such parts. Now let's start preparing the petals for the center of the flower. We will make it from a white ribbon, cutting a square with sides of 5 cm into 4 identical parts.
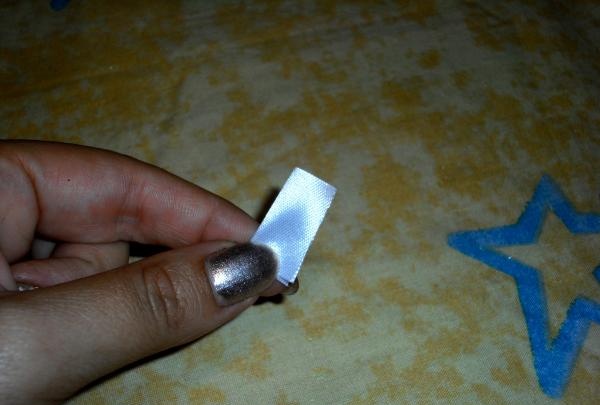
We fold each such blank in half.
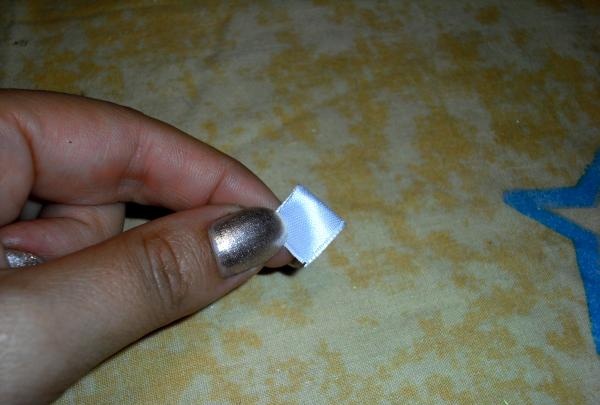
Then fold it in half again.
We take a lighter and carefully singe all the existing sections, while simultaneously soldering the folds of the ribbons together.
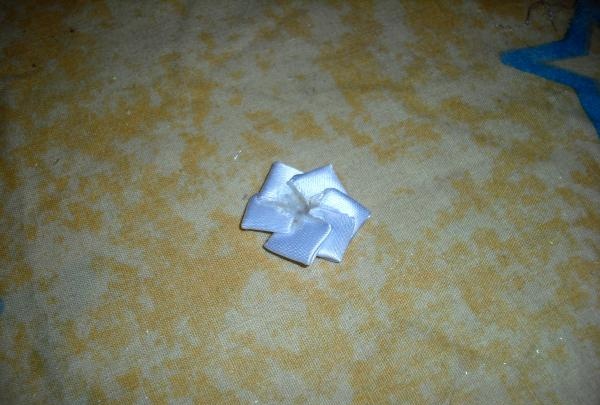
We create only 6 such squares. Then we combine them into a ring, slightly overlapping one part on top of the other, putting them together with hot glue.
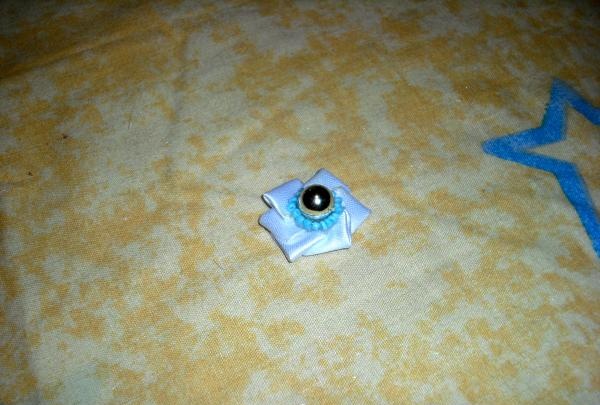
Then we attach a large silver bead to the center of this ring, and around it we place one row of blue beads.
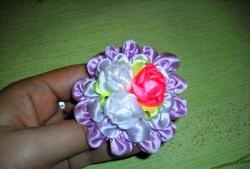
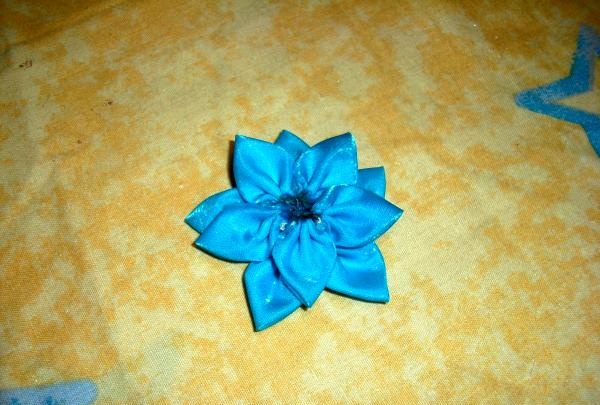
Let's start connecting the decoration. Glue the blue petals with a pointed top into two separate circles. We use 5 parts for each ring.
Now we glue them one on top of the other, forming a flower.
We attach the prepared center of white squares to the center of the resulting flower.

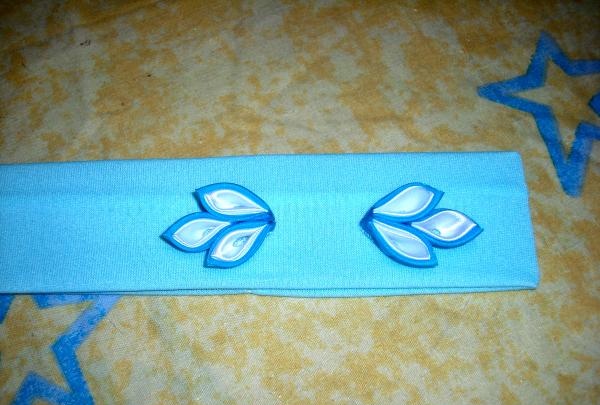
We collect small branches from the double parts, combining them in three pieces together.

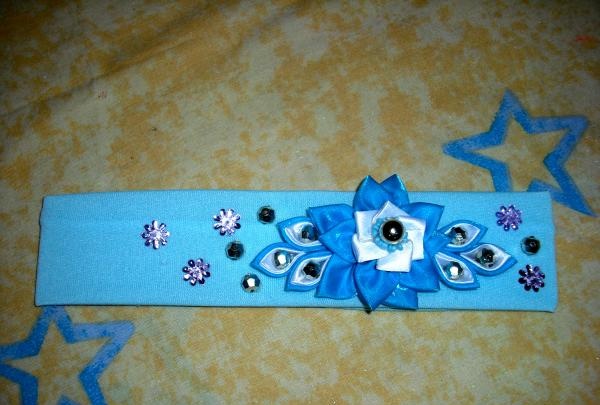
Now we place the created branches on a knitted bandage, leaving a distance of 5 cm between them.
We close the remaining void with a blue flower.
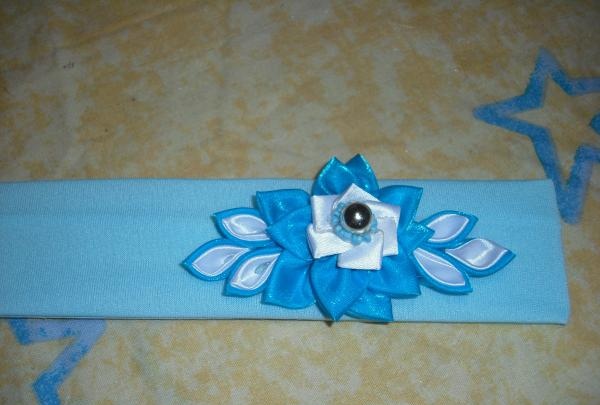
All that remains is to further decorate the headband with beads and decorative flowers.
The “Lisa” bandage is ready!