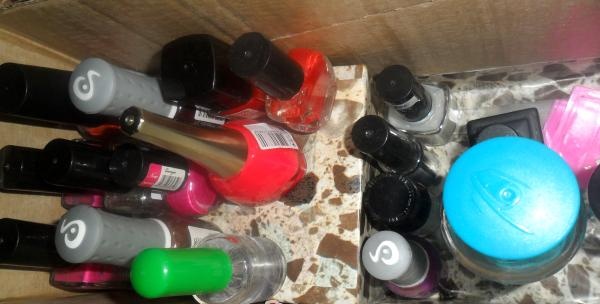
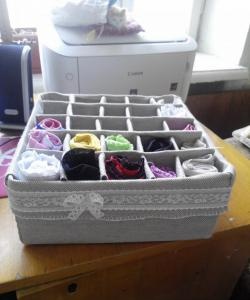
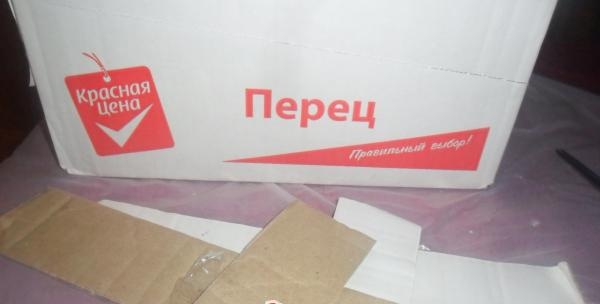
But I started to get tired of the appearance of the box, so I decided to decorate it with the help of tubes. In addition, it was inconvenient to take out nail polishes, because the height of the sides of the box is much higher. So I came up with the idea of making a small shelf out of an empty milk carton.
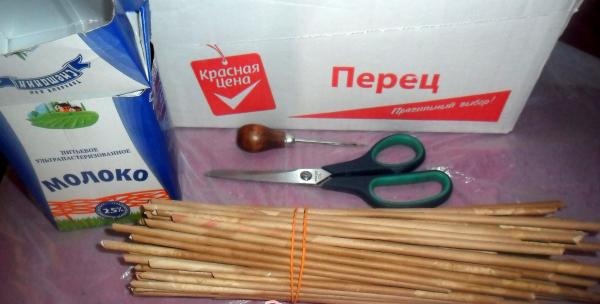
List of required materials:
1.Carton box.
2. A milk carton (or another smaller cardboard box).
3.Tubes (painted).
4. Scissors.
5. Shilo.
6.Fabric or self-adhesive film for finishing.
Also, when using paper straws, it is useful to have PVA glue on hand. Sometimes it is necessary to glue the edges, or glue the tubes together.
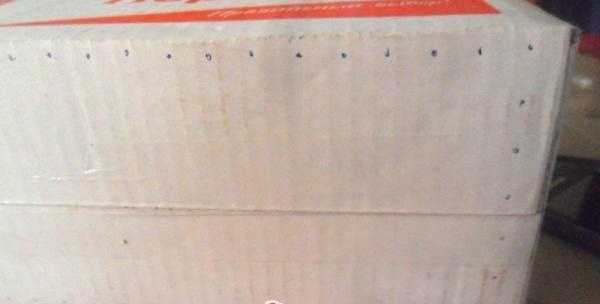
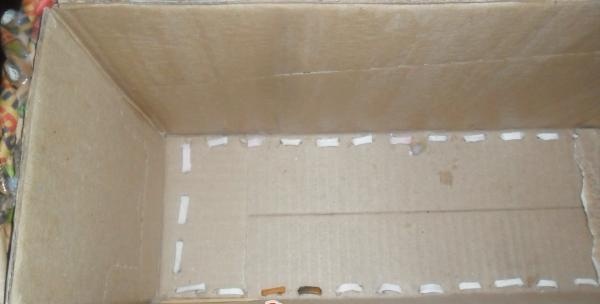
First I cut off the top of the box; I didn’t need it to close.
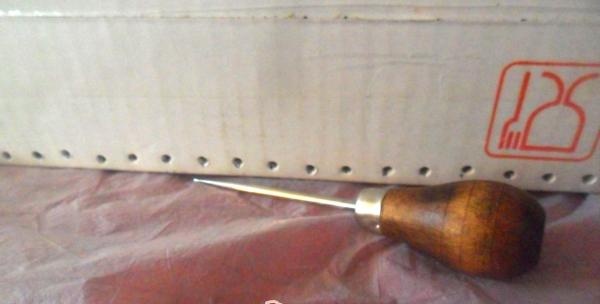
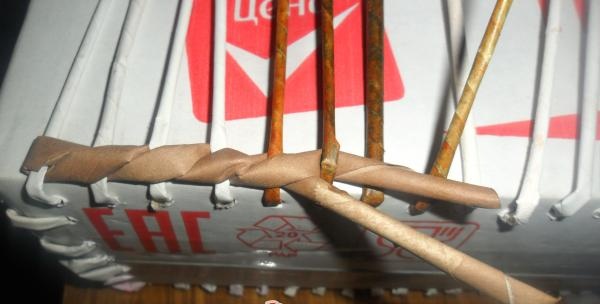
At the bottom I made markings with a pen; this is where the racks will be.
The holes are made using a small awl purchased from a craft store.
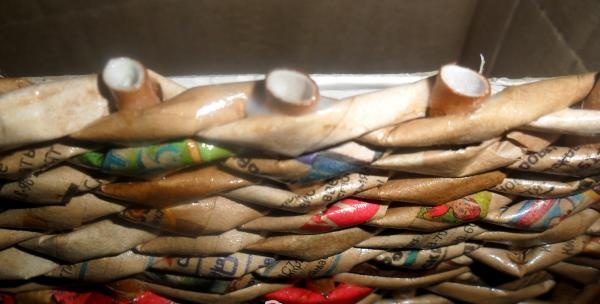
In order not to glue the racks, I took long tubes and brought them from the inside to the outside, each end passing into adjacent holes.
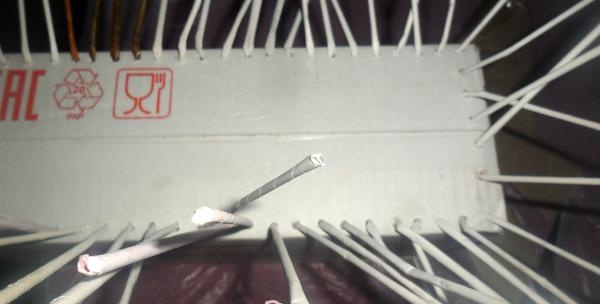
I started weaving from a corner with a tube folded in half, adding others to it as needed.
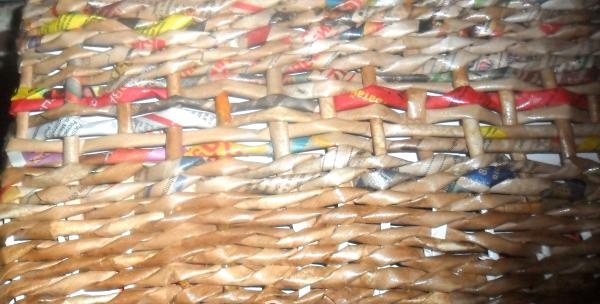
The work went quickly, the box was small. At the top I tried a different type of weaving, then returned to the standard one.
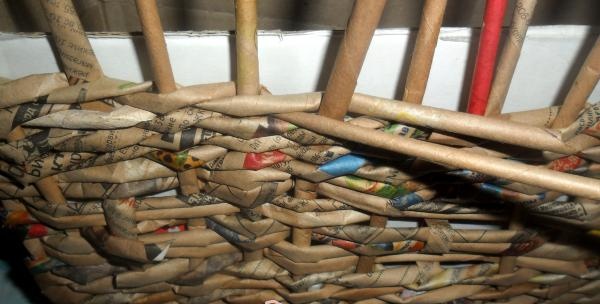
The bases of the racks are visible from the inside, but it doesn’t matter, I’ll cover them later.
In order not to spend extra time on bending (it takes a lot of tubes to make beautiful options), I simply cut off the posts. Be sure to go over them with glue or varnish.
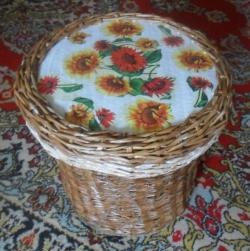
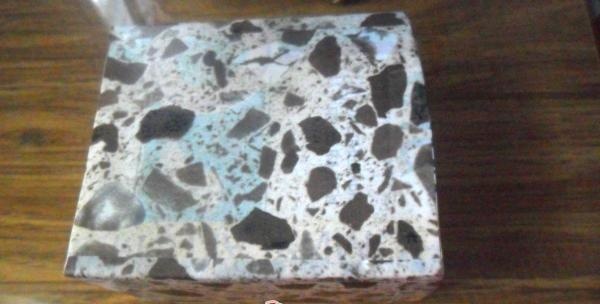
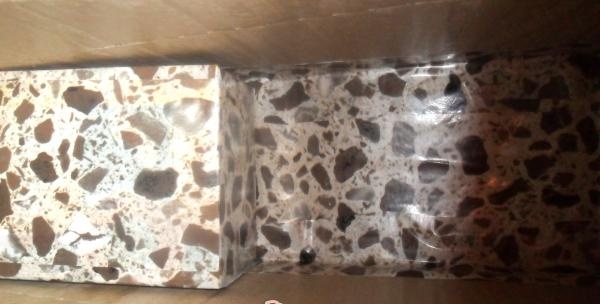
At the final stage, many use crumpled wallpaper and fabric. The trim is glued to the bottom (if there is enough material and to the sides) and the basket looks complete. I also had a small roll of film.
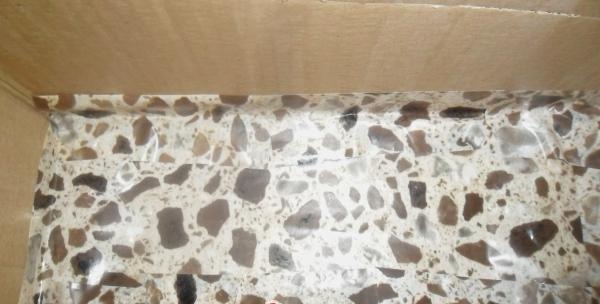
The drawing allows you to avoid making precise calculations to fit the pieces to each other. The milk carton was also taped over. At the bottom I placed a nail polish remover, a stamping pad, etc.
Now you can see which varnish or product is which. It has become convenient to get the necessary things, the box looks much prettier.