- 2 types of fabric (main with a bright floral pattern) and finishing (bright red), the fiber composition of the fabric can be any,
- synthetic winterizer (density no more than 150 g/sq. m),
- threads,
- zipper 35 cm long,
- zipper 18 cm long,
- a small piece of thick transparent film,
- red grosgrain ribbon (width about 1 cm, length 50 cm),
- white lace of two types (in the form of braid and in the form of flowers),
- pieces of felt in yellow and bright pink colors,
- duct tape,
- scissors,
- chalk or soap for cutting,
- sewing machine,
- iron.
The process of making an organizer bag consists of 3 main stages:
1. Preparing the lining.
2. Preparation of the top.
3. Installation of the product.
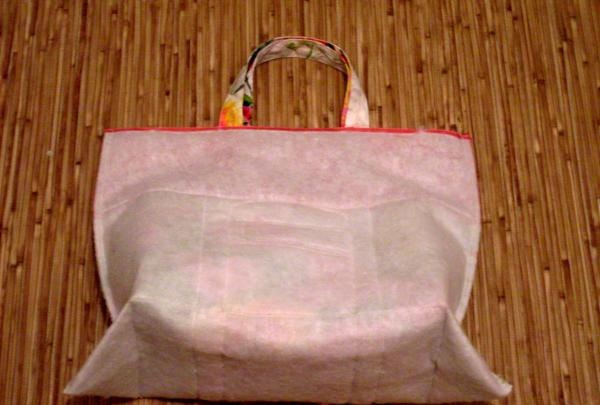
Preparing the lining.
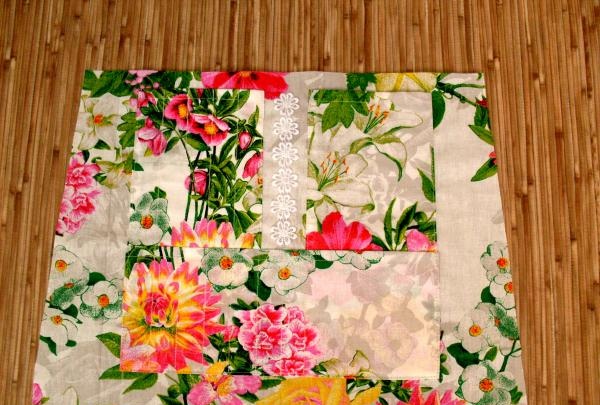
For a bag measuring 30*30 cm and 15 cm thick, you should cut out a lining measuring 77*47 cm. From all corners, the width of the lining should be cut by 3 cm, starting from the end cut and ending at 30 cm.
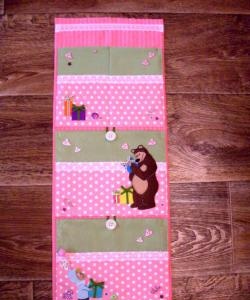
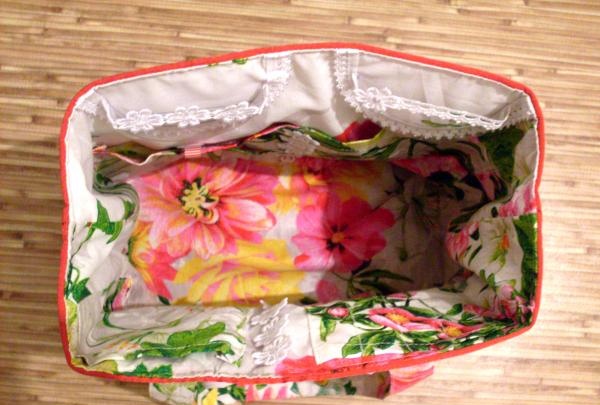
Numerous and varied pockets must be processed on the lining of the bag to suit the customer's requirements.For example, if a needlewoman is fond of knitting, it is advisable to make pockets for hooks and knitting needles, for various small things (stitch counter, measuring tape, pins). Some pockets can be closed with snaps, others with adhesive tape or a loop with a button - it all depends on what will be stored in them. If desired, some pockets can be decorated with decorative braid in the form of flowers - the product should look aesthetically pleasing both outside and inside. In addition to fabric pockets, you can also make pockets from thick transparent plastic. Its source could be, for example, packaging from some small items for handicrafts. The main thing to remember is that the more varied the pockets are, and the more of them there are in the bag, the more convenient it will be for the needlewoman to use it, and the process of needlework itself, organized in the best possible way, will bring her sincere joy and pleasure.
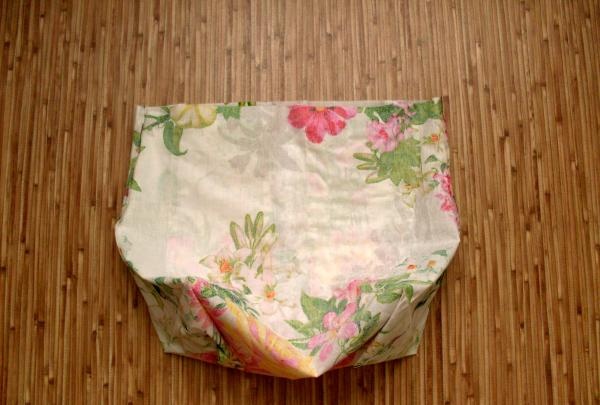
The prepared lining must be sewn along the sides, and then the corners must be stitched so that the width of the bottom of the bag is 15 cm.
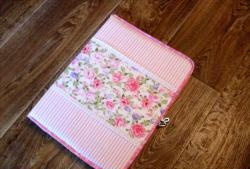
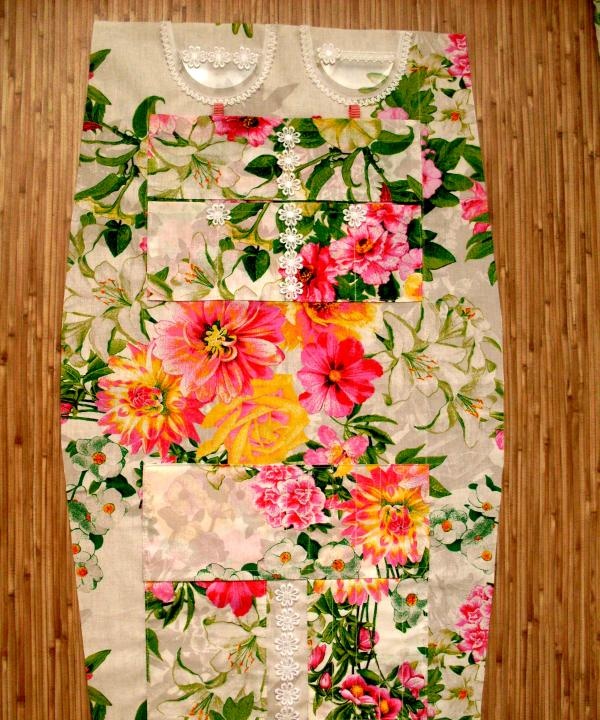
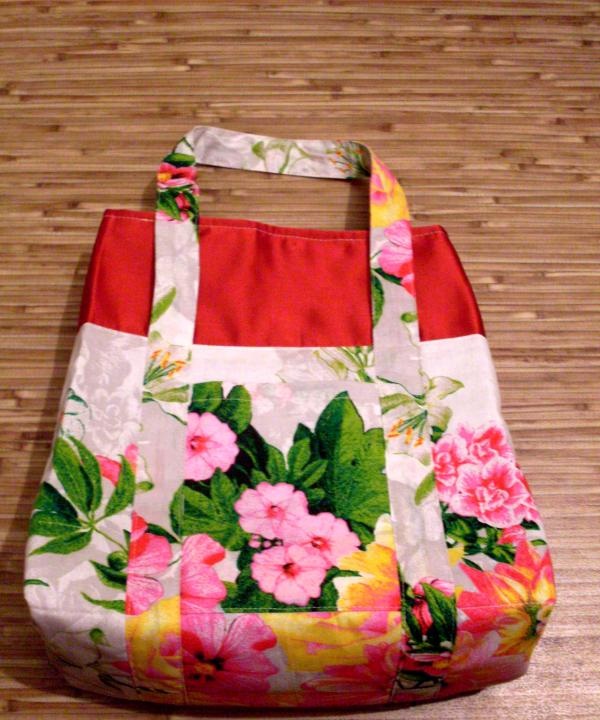
Preparation of the top.
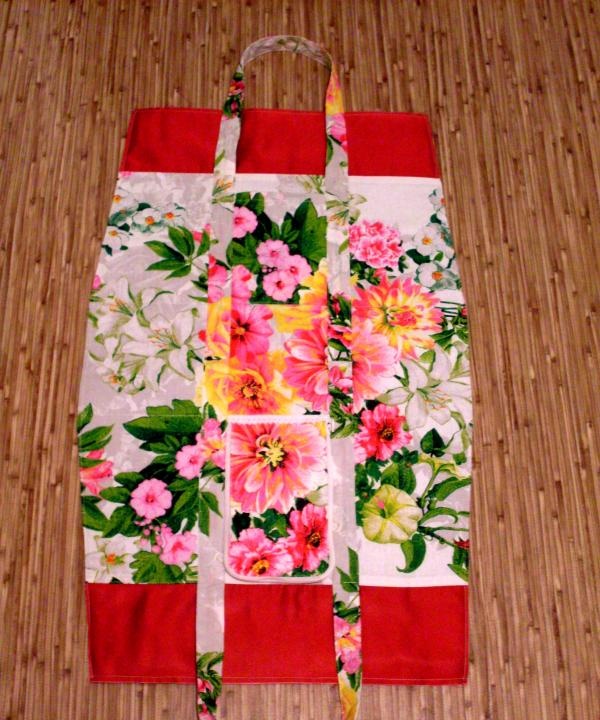
The top of the bag will consist of 3 parts - the main part and 2 finishing strips. The latter are cut out of finishing fabric, their width in the cut is 12 cm.
The size of the base of the bag should be equal in size to the lining. The prepared base of the bag should be stitched onto padding polyester. It must first be ironed on both sides through cotton fabric at the maximum temperature of the iron. Heat treatment will promote compression and compaction of the padding polyester. It will become stiffer and more elastic, losing its softness and airiness. But this is exactly what is needed - inserted into the bag, this material will give it dimensional stability. Next, you should cut out the handles of the bag, as well as a folding pocket with a zipper.The handle of the bag in the cut will be a rectangle with dimensions 8 * 108 cm (2 pcs.), the pocket detail will be a rectangle 17 * 20 cm (2 pcs.).
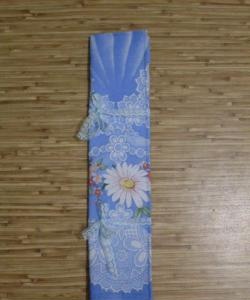
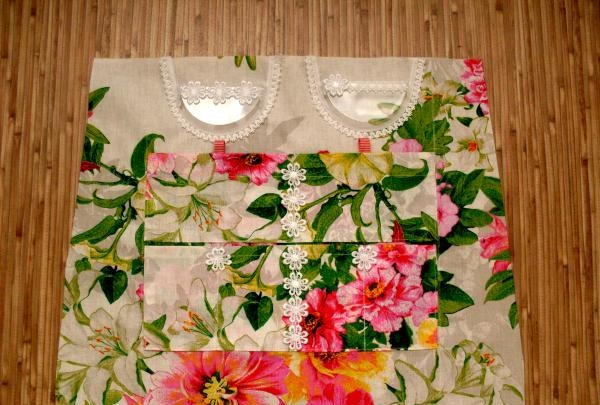
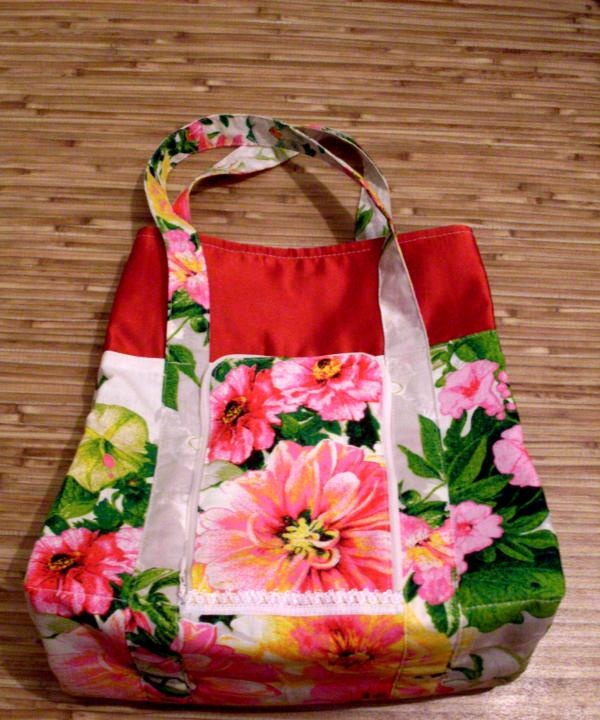
The parts of the handles should be folded lengthwise with their faces inward and stitched 1 cm from the cuts, turned inside out and ironed. The prepared handles need to be sewn together with the end cuts.
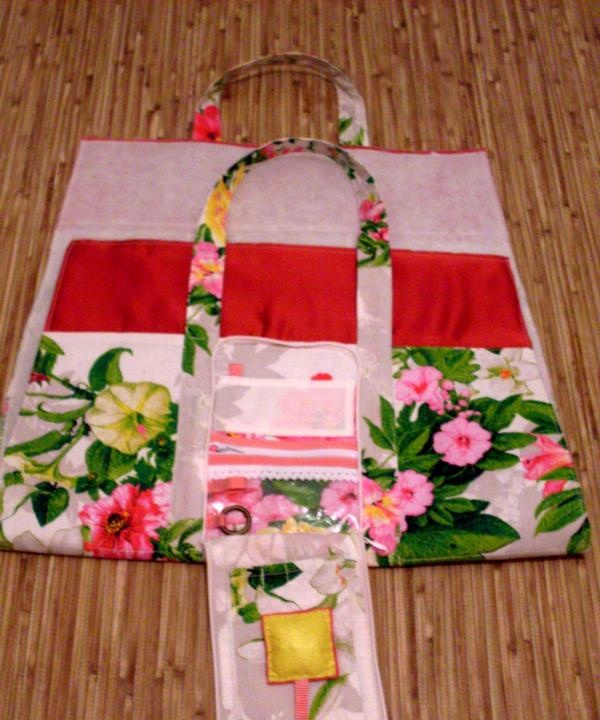
The details of the zipper pocket need to be cut with corners rounded on one side. They must be folded facing each other, inserting a zipper along two longitudinal and one transverse sections and stitched with a seam 7 mm wide. Then the pocket part must be turned out, ironed, and a finishing stitch must be placed along the edge.
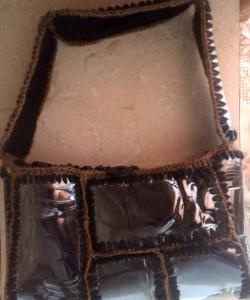
After all the parts are prepared, you need to process the internal pockets in the zippered pocket. They can be made of fabric, as well as thick film, so that their contents are visible. Here you can also sew a felt pincushion made in the shape of a pillow, and make several loops from ribbon for hanging small items.
Then you need to process the zipper pocket at the same time as the shoulder straps of the bag.

The prepared top of the bag should be sewn along the sides in the same way as the lining and stitched in the corners.
Product installation.
Installation of the product consists of connecting the lining of the bag with its top. To do this, the lining should be placed in the upper part face to face and sewn along the upper edge. You need to leave a section in one place for turning inside out; there is no need to sew it up. After this, you need to turn the bag inside out and sew up the hole. Then a finishing stitch should be placed along the top of the bag. If desired, the edges of the bag can be ironed. The temperature of the iron should be low so as not to damage the film and plastic pockets in the bag.
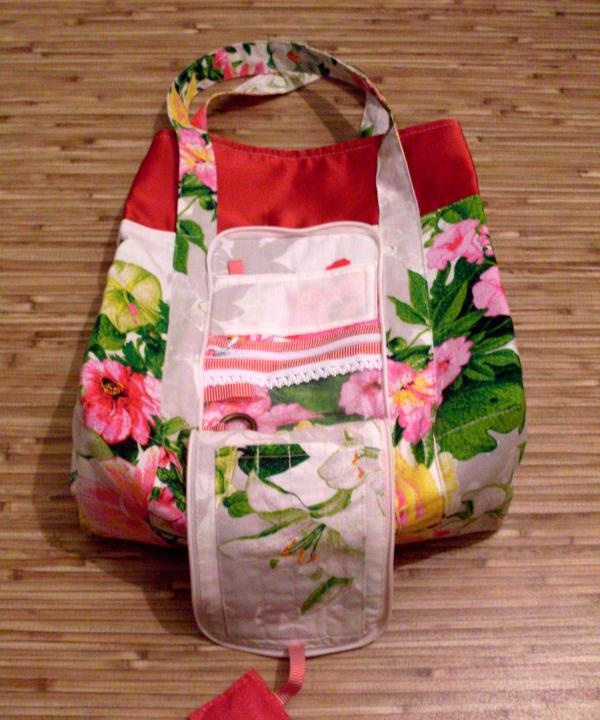
The product is ready. You can fill it with tools and get to work.