Do it yourself
Life hacks, master classes, useful tips, recipes.
home » Games and toys » Stuffed Toys » DIY soft toys » A wonderful red toy bird with its
Good afternoon, dear readers. In this article we will tell you how to make a beautiful toy bird from unnecessary fabric or old clothes. This bird would make a great gift because it looks like it came from a store. To work with it we needed: an old red hat, scissors, thread and a needle, yellow and purple nail polish, as well as filler (cotton wool), white plastic sheets, white paper for making a sample, a pencil, reliable glue and red rhinestones colors.
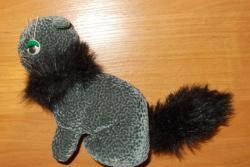
It took us one week to make this toy.

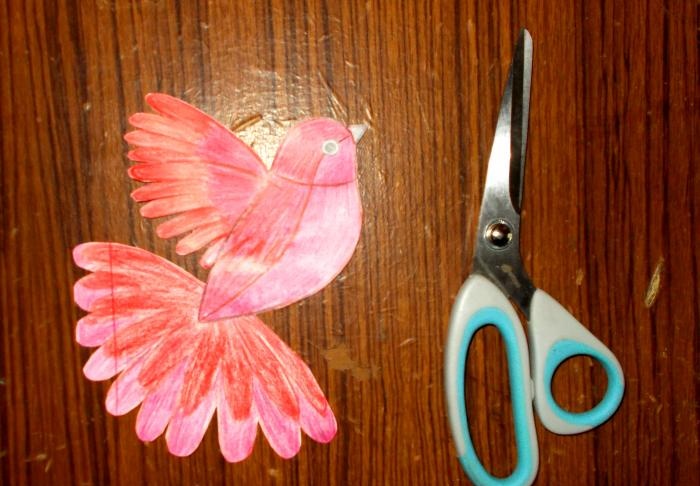
We begin work by drawing up a paper sample of the future toy, which we need to cut out:

A wonderful red toy bird with its


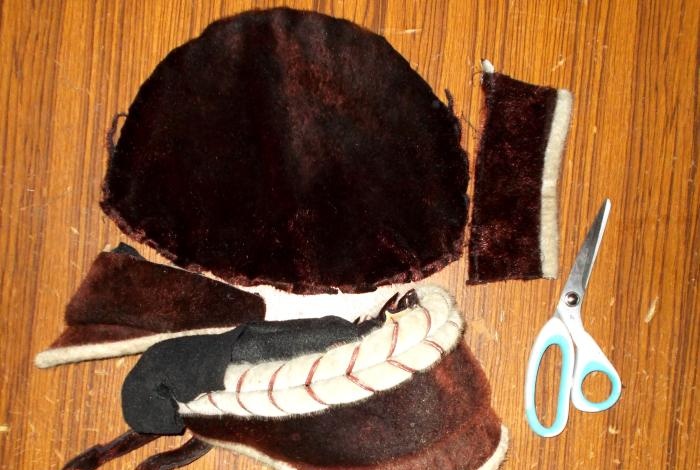
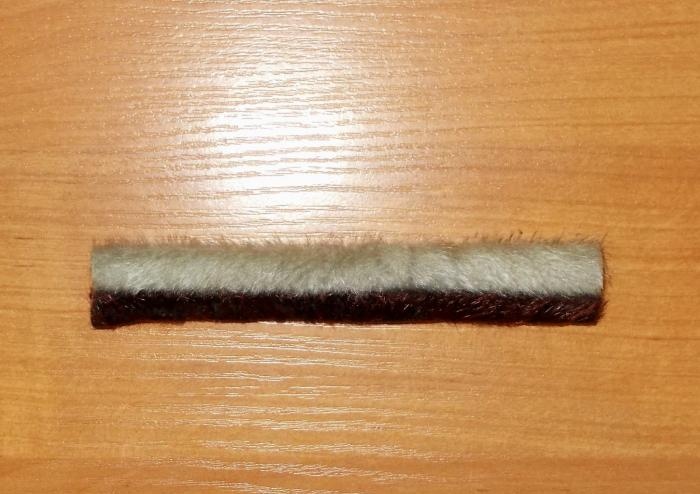
We divide the old hat taken for work into four large parts. We will not use the black inner bedding, so it can be removed:

A wonderful red toy bird with its


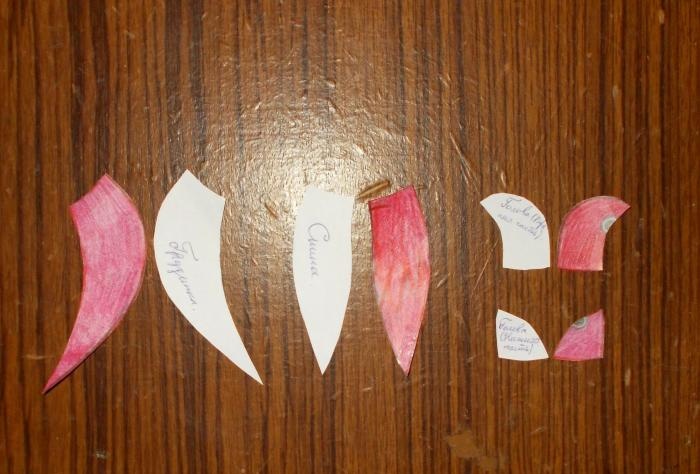
Next, we cut the paper sample into four parts - two parts of the head and two parts of the body (upper and lower). And then from another sheet of paper we use these samples to make the same number of parts to make the second side:

A wonderful red toy bird with its


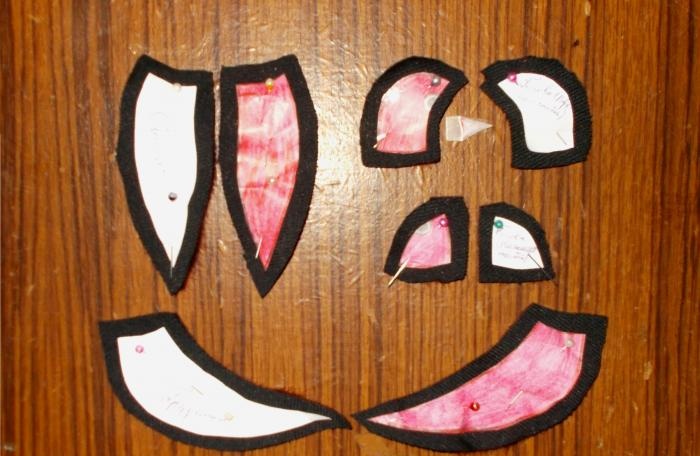
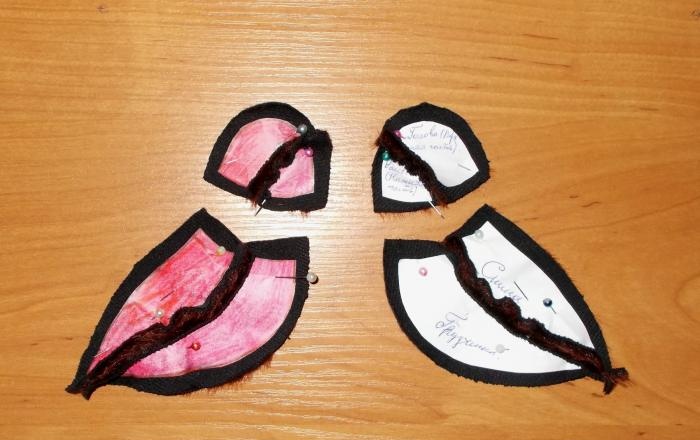
Now we pin our pieces to the fabric.
If the fabric is covered with fur, then it is important that the fur on the finished toy is directed from head to tail. And each piece needs to be cut out of fabric with a small indentation (allowance):

A wonderful red toy bird with its


Next, we need to sew the parts of the body and head in pairs, connecting the parts of the sides:

A wonderful red toy bird with its


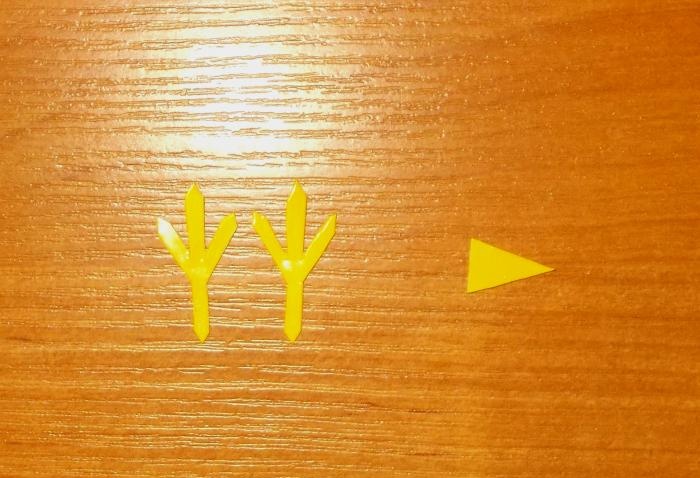
After that, we take white plastic or cardboard and cut out the details of the beak and paws from it, after which we paint them with yellow nail polish:

A wonderful red toy bird with its


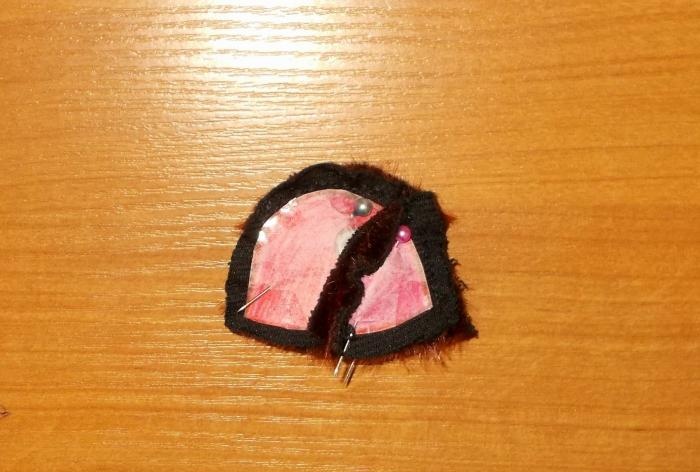
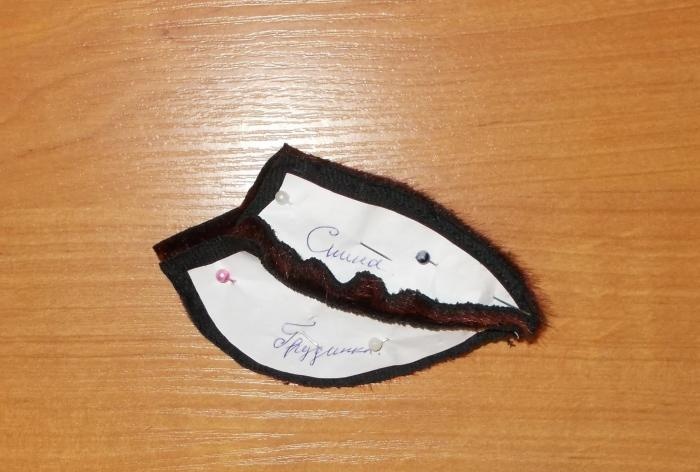
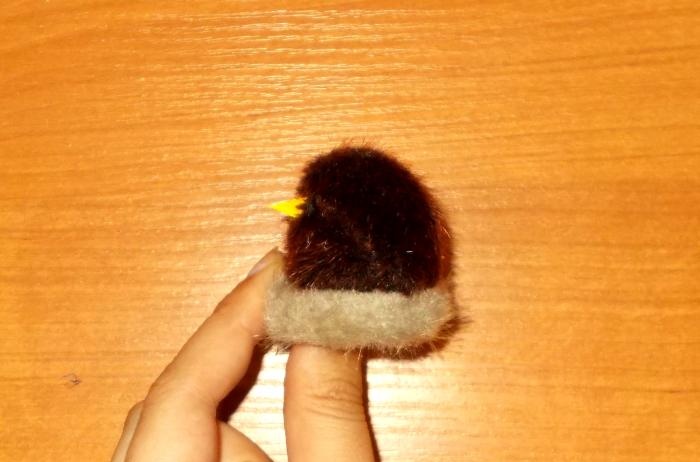
When the varnish has dried, we need to sew together the details of the sides of the head and body. And inside, between the parts of the head, you need to place a plastic beak:

A wonderful red toy bird with its

A wonderful red toy bird with its


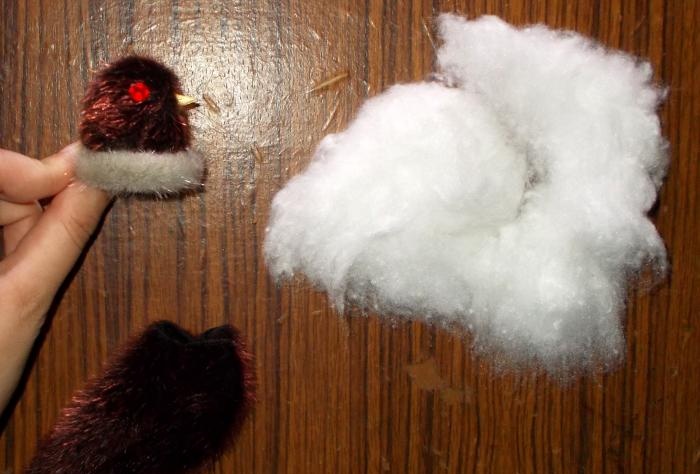
Now we need to turn the sewn parts inside out and fill them with cotton wool. You can glue rhinestones to the head of the future toy, which will serve as its eyes, and from the white fabric of an old hat you can make an additional decoration for the neck of the toy bird:

A wonderful red toy bird with its

A wonderful red toy bird with its


We turn the body of the future toy inside out:

A wonderful red toy bird with its


We fill both parts turned inside out with cotton wool:

A wonderful red toy bird with its


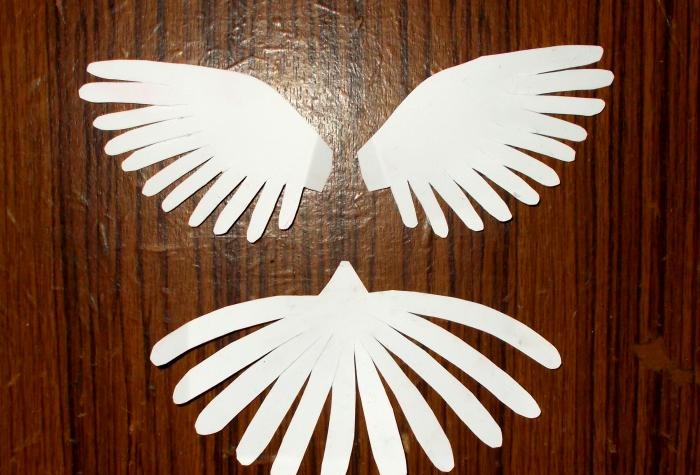
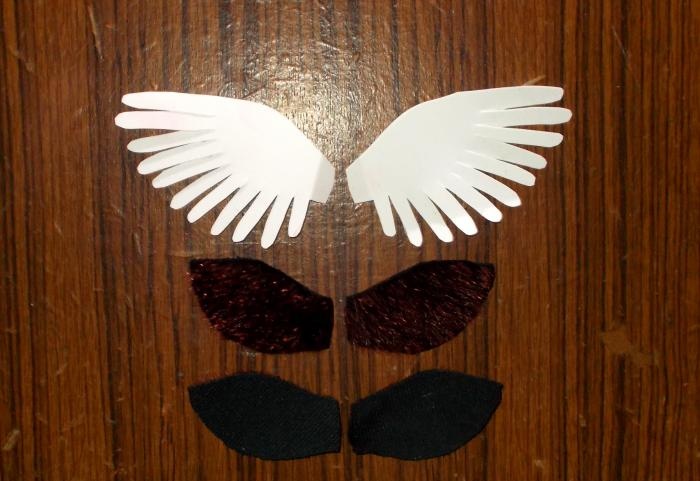
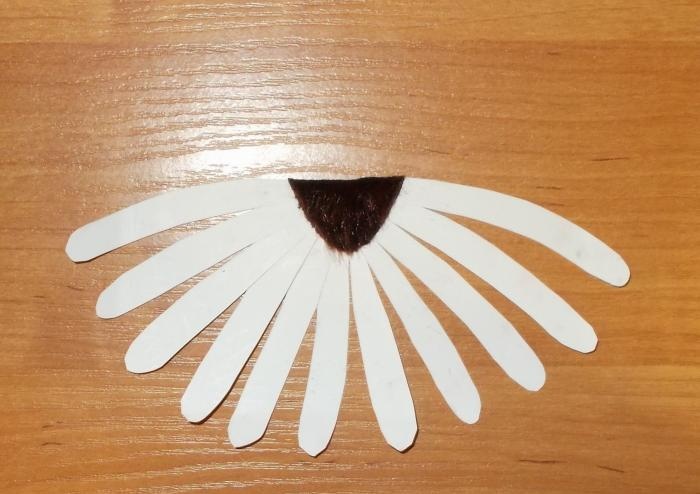
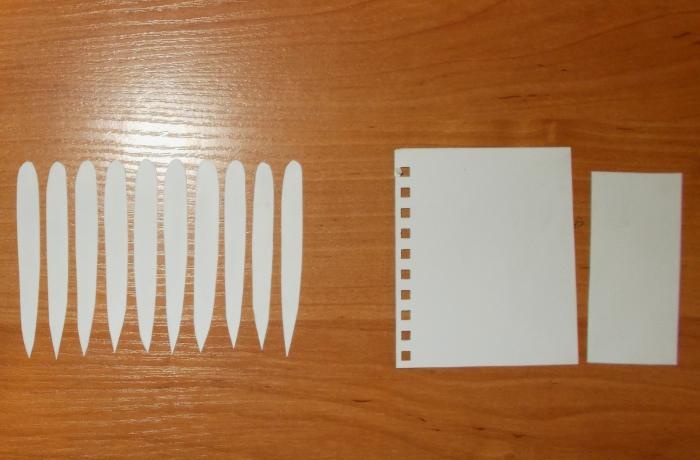
After this, we cut out two wing parts and one tail part from white plastic:

A wonderful red toy bird with its


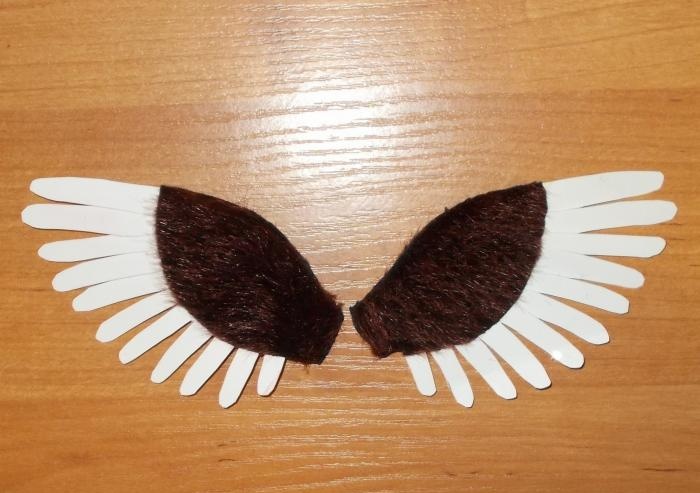
For the wings we need to cut out four pieces of fabric for the upper sides:

A wonderful red toy bird with its


We need to glue the resulting fabric parts to the wings using reliable glue:

A wonderful red toy bird with its


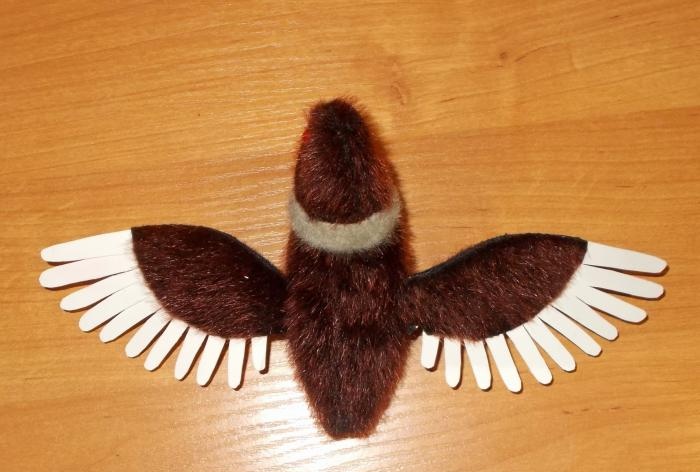
After waiting for the glue to dry, we sew the resulting wings to the craft:

A wonderful red toy bird with its

A wonderful red toy bird with its


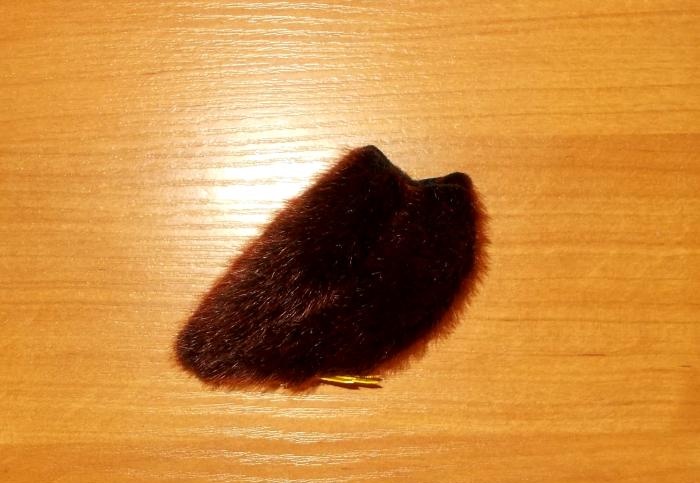
For the plastic tail piece, we cut out a triangular piece from fabric, shaped like the top of the tail piece (but slightly larger). We need to trim the upper part of the tail part:

A wonderful red toy bird with its


Next, the piece cut out of the fabric needs to be glued to the white plastic part of the tail:

A wonderful red toy bird with its


After the glue has dried, the resulting tail will need to be sewn or glued to the back of the craft from the top so that the part matches the size of the body:

A wonderful red toy bird with its


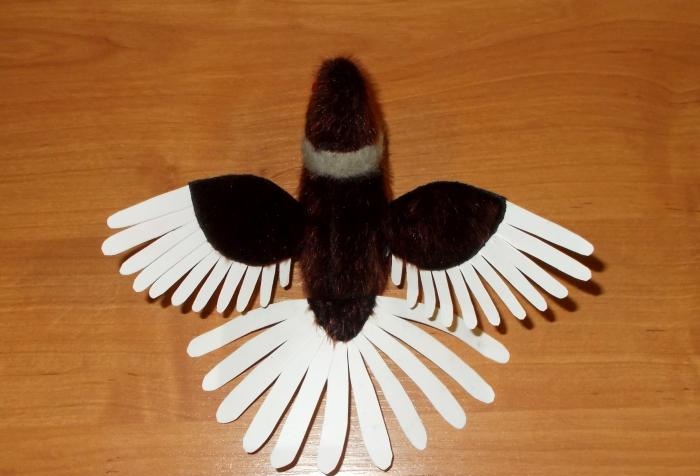
Now we are left with the last step: coloring the feathers on the wings and tail of the toy bird.For this job you can use nail polish:

A wonderful red toy bird with its


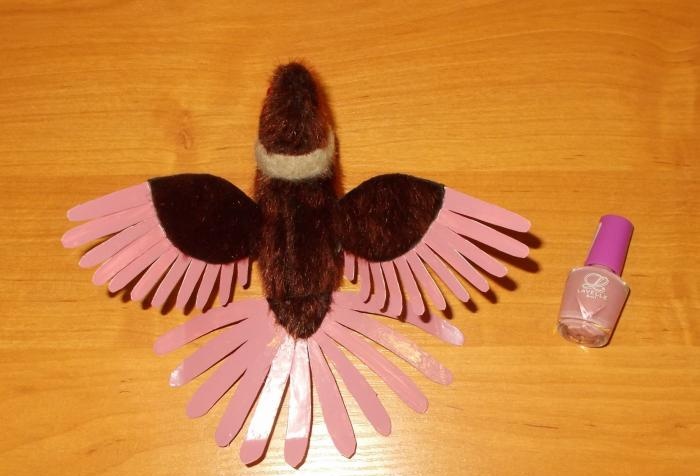
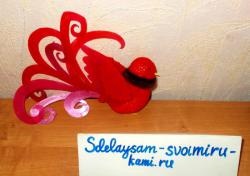
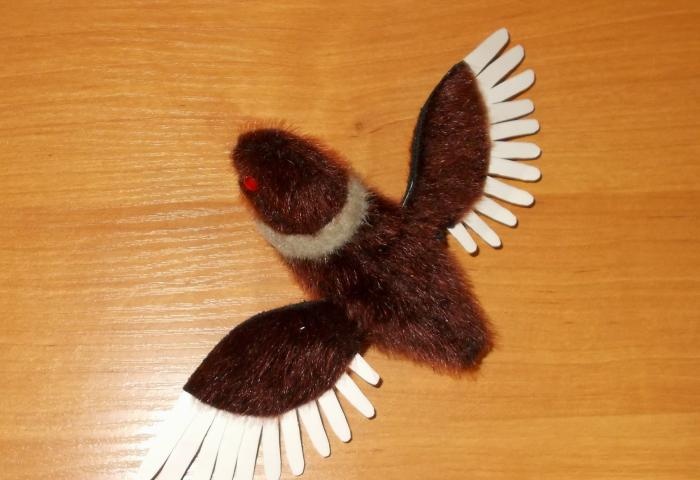
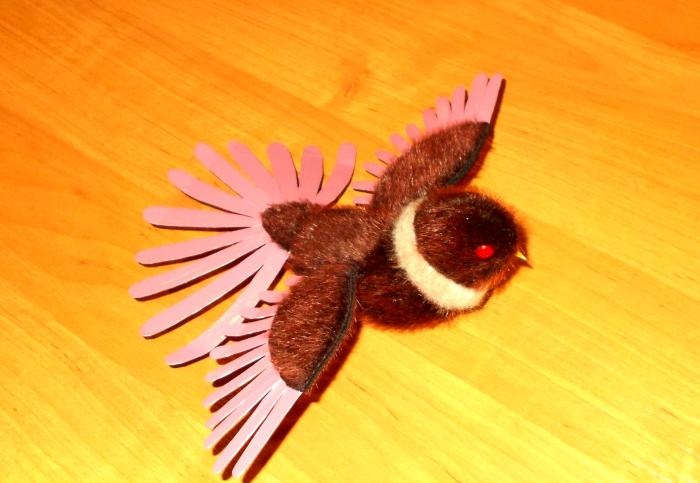
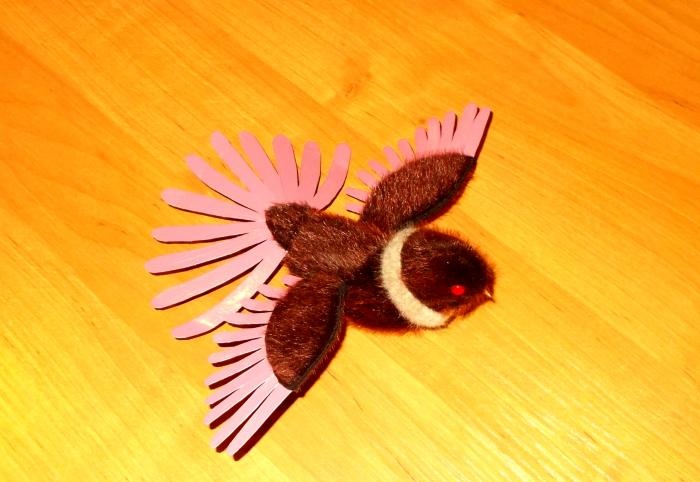
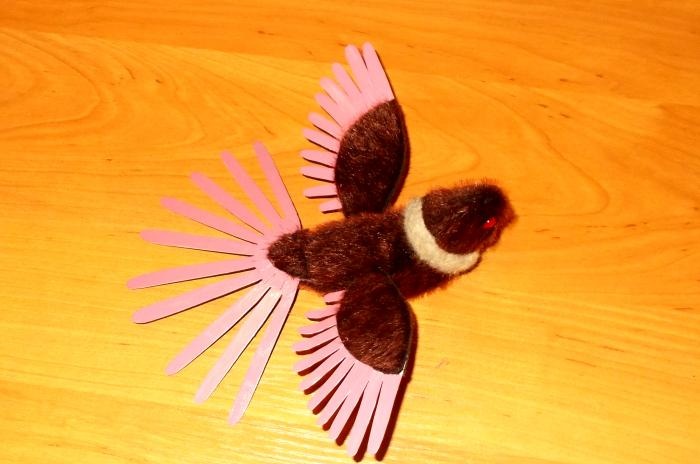
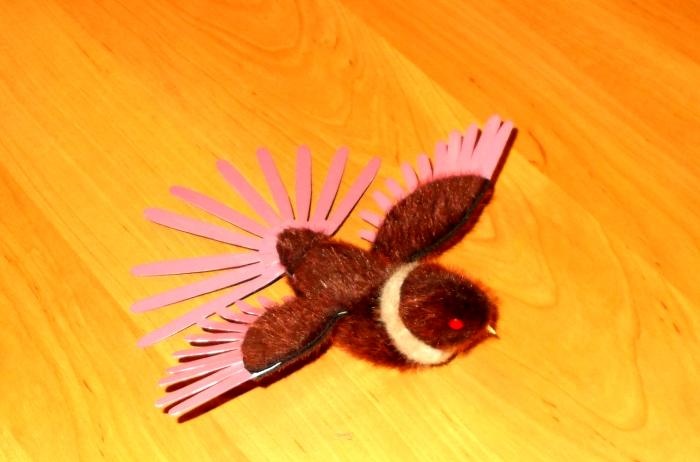
After painting, our toy can be considered ready:

A wonderful red toy bird with its


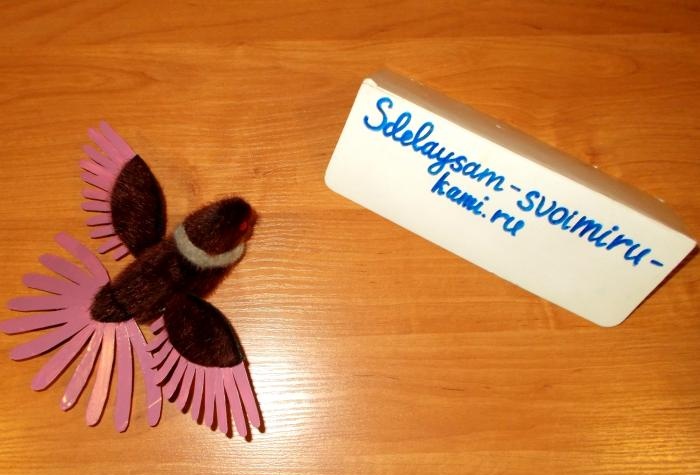
It looks like a real toy bought in a store:

A wonderful red toy bird with its

A wonderful red toy bird with its


If you wish, you can make new feathers for the toy's tail by cutting them out of cardboard:

A wonderful red toy bird with its


New feathers can be glued to the tail from the underside and painted with varnish, and the old ones can be cut short:

A wonderful red toy bird with its


After this, our toy will be ready.

A wonderful red toy bird with its


Sincerely, Vorobyova Dinara.
come back
Comment
  • bowtiesmilelaughingblushsmileyrelaxed relaxedsmirk
    heart_eyeskissing_heartkissing_closed_eyesflushedrelievedsatisfiedgrin
    winkstuck_out_tongue_winking_eyestuck_out_tongue_closed_eyesgrinningkissingstuck_out_tonguesleeping
    worriedfrowninganguishedopen_mouthgrimacingconfusedhushed
    expressionlessunamusedsweat_smilesweatdisappointed_relievedwearypassive
    disappointedconfoundedfearfulcold_sweatperseverecrysob
    joyastonishedscreamtired_faceangryragetriumph
    sleepyyummasksunglassesdizzy_faceimpsmiling_imp
    neutral_faceno_mouthinnocent
3+three=
Comments (0)

Two-tier flowerbed | Do it yourself

11 really useful DIY tips for your home and workshop

How to cook chicken legs on a wire rack in the oven with potatoes

The easiest way to solder aluminum wires without special fluxes

«Do it yourself - with your own hands» - a site of interesting homemade products made from scrap materials and items at home. Step-by-step master classes with photos and descriptions, technologies, life hacks - everything a real master or just a craftsman needs for needlework. Crafts of any complexity, a large selection of directions and ideas for creativity.

We recommend reading

Washing machine error codes