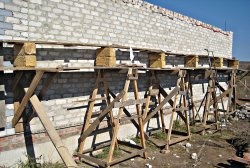
The process of assembling scaffolding, which is also called “goat”, “goat”, “table”, can be divided into three stages:
1. procurement of materials,
2. preparing parts for assembly,
3. assembly.
Preparing the necessary materials
Sometimes a good desk for work can be assembled literally from the rubbish that is lying under your feet. However, forests must meet at least some minimum requirements:
- The height of the table should be such that you do not have to reach for the ceiling or hit your head against it;
- the length and width of the “goat” should be such that there is no need to constantly move it, but the table should fit through doors and turns without problems;
- the most important factor is its reliability, but the mass of the scaffolding should not exceed the capabilities of one person, so that you do not have to constantly ask someone for help when moving.
For a competent selection of materials, it is necessary to clearly understand the structure of scaffolding, which includes:
- table top,
- legs,
- jumpers.
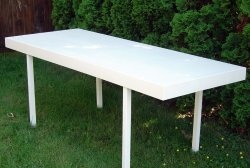
The tabletop is the most important element of any table. It is its dimensions and strength that affect the comfort of work, and it is its weight that makes up the majority of the weight of the entire structure.
Often, premises being renovated have old doors removed from their hinges. As a rule, such a tabletop fully meets all requirements. If anything, cutting off the excess from it takes ten minutes of work.
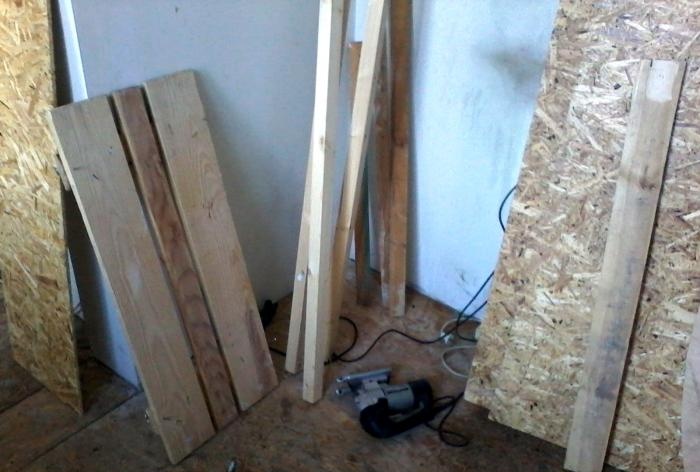
If there are no suitable doors, the tabletop will have to be assembled from something. Pieces of plywood, chipboard or just boards are well suited for these purposes. However, you need to understand that various cracks and protrusions will greatly interfere with further work, so they are extremely undesirable.
Having selected boards or sheets, you need to select bars for the tabletop frame. By the way, door jambs and additional elements are well suited for this. Of course, this frame should be strong enough, but light.
Table legs are no less important for its reliability and comfort. It is advisable that the length of the legs be suitable so that you do not have to lengthen them, because this may affect the strength. If suitable bars or boards are not available, then it makes sense to spend a little money and purchase two or three bars. Bar 40x40 mm. Perfect as legs, as well as for assembling a table top.
Well, if you really want to save money, you can take a regular picket fence. Its length is usually 130 cm, so you may not even have to cut the picket fence. It is also well suited for various jumpers. By the way, almost any trash can be used as jumpers - boards, bars, pieces of plinth, paneling, etc.As long as the wood does not crack when driving a nail or screwing in a screw.
The choice between nails and self-tapping screws is made based on two factors: what is available, and what tool will be used to hammer or tighten the fastener. For example, if you don’t have a drill or screwdriver, you shouldn’t bother with screws, because a screwdriver won’t help. However, self-tapping screws are preferable, of course. The likelihood that they will come out is practically zero, unlike nails. By the way, you don’t need too long self-tapping screws, because they can be screwed in obliquely. In this case, even short self-tapping screws will be suitable.
Preparation of blanks
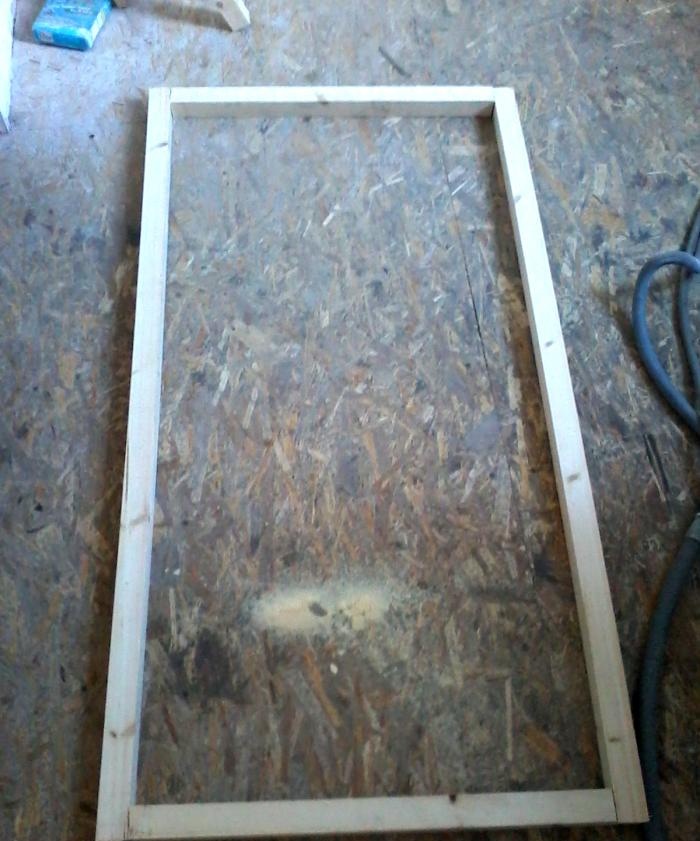
This process must begin with assembling the tabletop, since its dimensions will determine the size of the scaffolding. In addition, all other elements will be attached to the tabletop.
If a door leaf is used as a tabletop, it is advisable to remove all protruding parts from its working surface - handles, hinges, etc. If necessary, the door can be cut with a simple hacksaw or jigsaw. If the “goats” are needed very small, then from one door you will get as many as two tabletops.
If there is no door leaf, you will have to install a frame for the tabletop. Moreover, this will be the first step in assembling scaffolding. But it’s more convenient to sheathe this frame at the very end of the whole process.
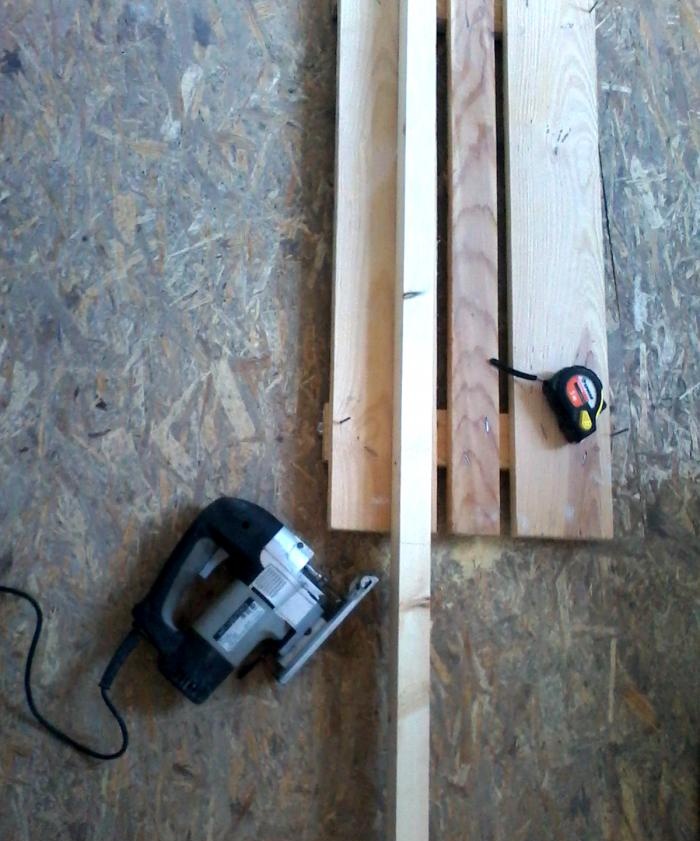
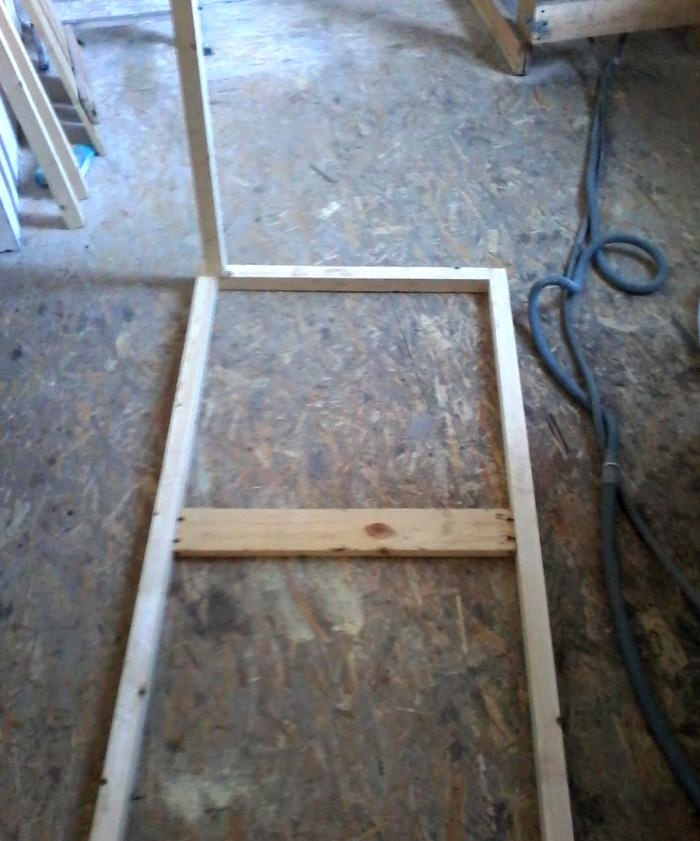
Having sawed off one leg of a suitable length, the rest need to be measured and marked exactly according to it so that their length is exactly the same. After this, the legs are screwed to the tabletop frame, placing it on the floor. By the way, if the floors are completely flat, then it is very convenient to level the inclination of the legs using a building level or a plumb line. It is advisable that the legs stand strictly vertical.
There is no need to prepare diagonal and horizontal jumpers; it is much easier to saw off the excess after installation.
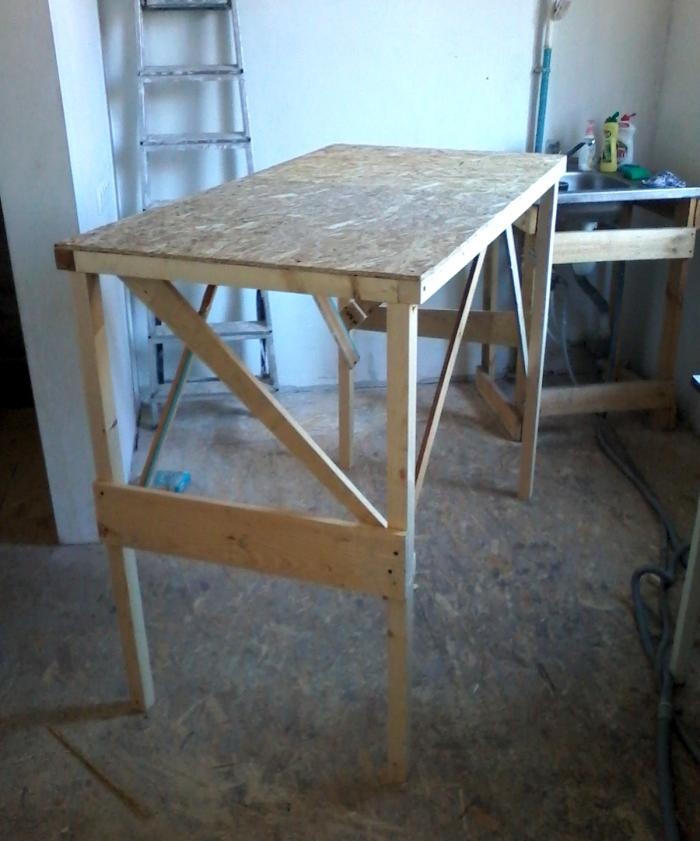
Table assembly
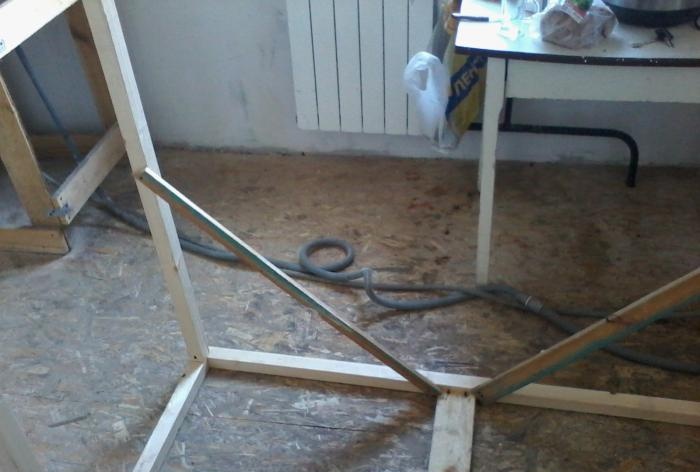
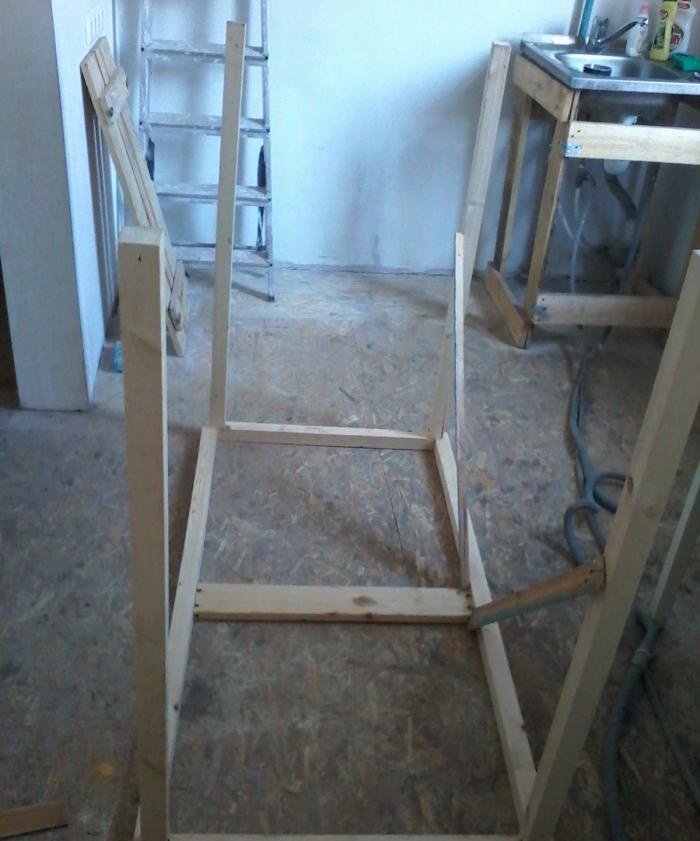
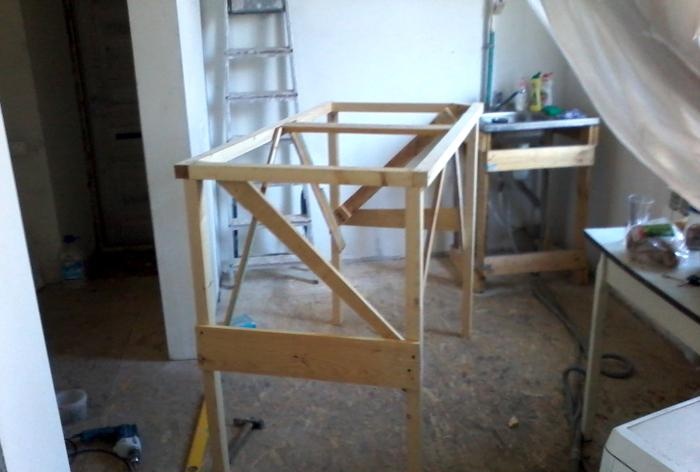
Having secured the legs, you can work on the jumpers. Each leg must be reinforced with two diagonal jumpers attached to the tabletop frame on both sides. Moreover, the installation of these elements must be done from the inside of the frame so that nothing sticks out from the outside. For information, the car axle is attached to its body with the same “jibs”, called reaction rods, so the reliability of this method has long been tested.
At the ends of the table it is necessary to mount two additional horizontal jumpers, which will become steps. Therefore, these elements must be well fixed and have appropriate strength, because they will have to easily withstand the weight of a person.
When the frame of the entire structure is ready, you can put it on its feet and, after making sure that the table is stable, mount the working surface of the tabletop. If there is insufficient stability, you just need to twist the required diagonals, moving them slightly. With such actions you can achieve the complete absence of any “swings”.
It should also be noted that any sharp corners, ends, protruding nails and other dangerous things are completely unacceptable, since someone will definitely get caught on them and get injured.
Reliable scaffolding is the key to success in many types of finishing work, and saving time and money on assembling a good “goat” will certainly come back to haunt you!