Sewing such a headdress is a pleasure - it requires a minimum of fabric and equipment, and only a couple of hours of time. And therefore, even a mother who is very busy with everyday worries can afford to sit down in the evening and sew it, as they say, for her own pleasure.
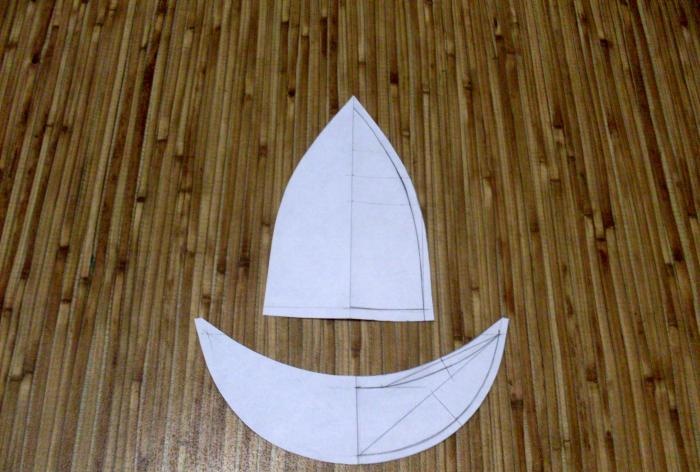
Before starting work, you need to stock up on a 6-blade cap pattern. You can download it from one of the sewing sites on the Internet, or you can build it yourself, but it will take a little more time. In any case, it is necessary to select a pattern taking into account the circumference of the baby’s head.
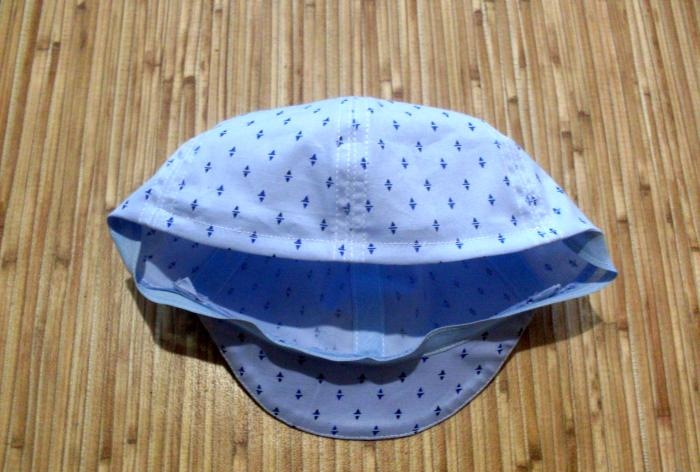
In general, a classic cap includes only 2 main parts: the wedge itself, as well as the visor.
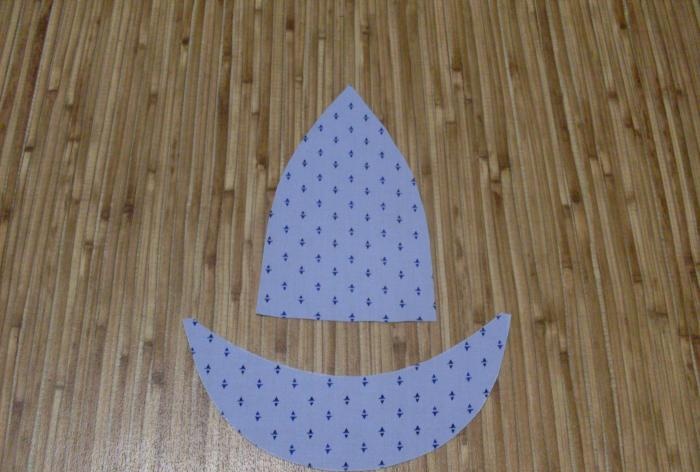
From pre-ironed cotton fabric, cut out 6 wedge parts, as well as 2 visor parts.
Seam allowances for all cuts should be no more than 7 mm.
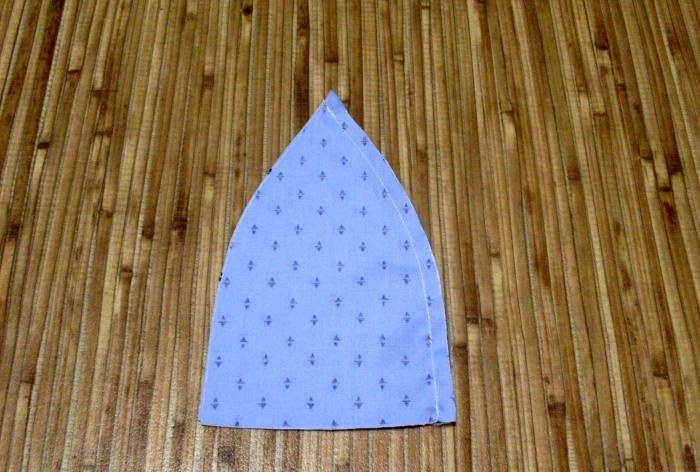
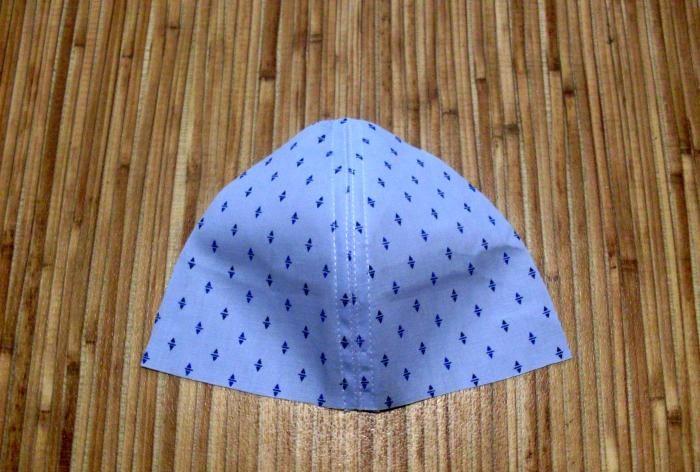
The 2 parts of the cap should be sewn together along the side sections with a seam 7 mm wide.The details are superimposed on one another face to face.
At the beginning and at the end of the line it is necessary to put bartacks.
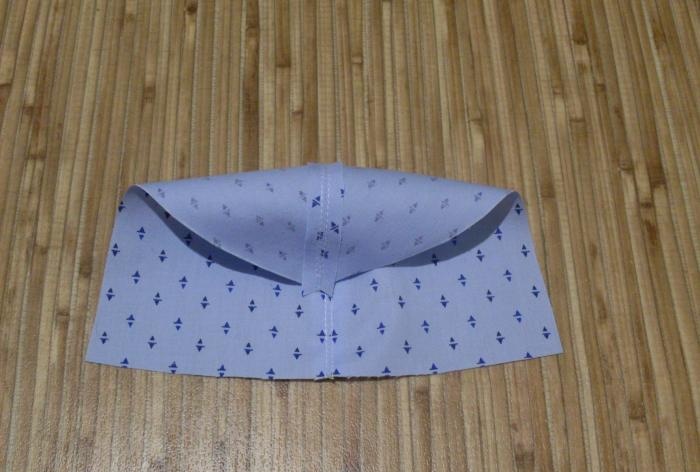
The seam allowances for sewing the cap parts need to be ironed and stitched close to the line, as shown in the photo.
After laying the finishing stitch, the seam allowances must be cut to a width of 3 mm.
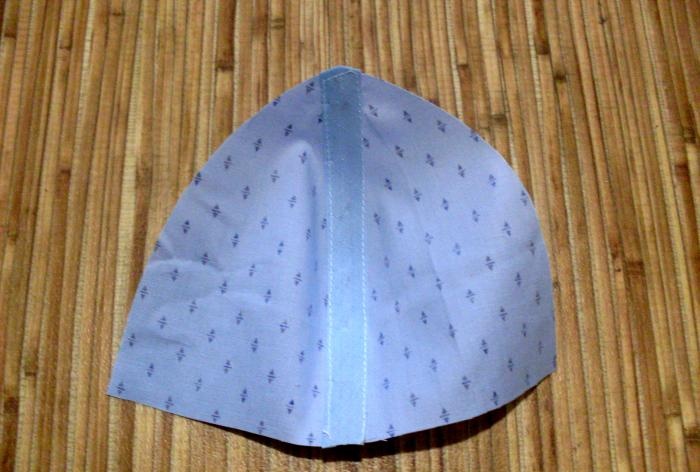
On the reverse side, the stitching seam of the cap parts will be covered with bias tape. This way the product will look neat, keep its shape and last a very, very long time without losing its appearance.
Cotton bias tape, matched to the color of the base material, should be pinned or basted on the wrong side, covering the seam allowances for stitching the cap parts.
Then along the front side you need to lay two finishing lines, each of which will secure the flying edge of the binding. These lines should be placed at a distance of 7 mm from the seam of the cap parts.
After laying the stitches, the pins or basting must be removed, and the knot itself must be carefully ironed from the inside out.
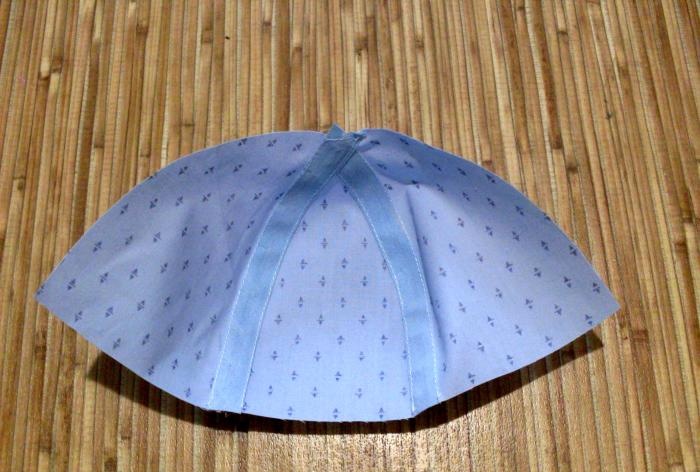
The third wedge of the cap should be sewn in the same way.
Then, in the same way, you need to prepare the second part of the cap, also consisting of three wedges.
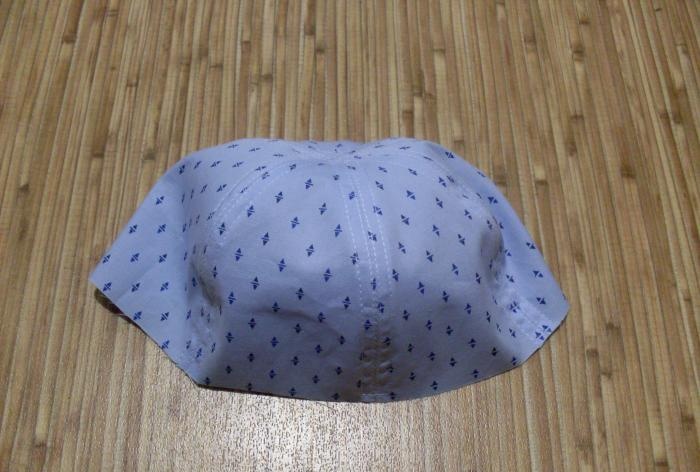
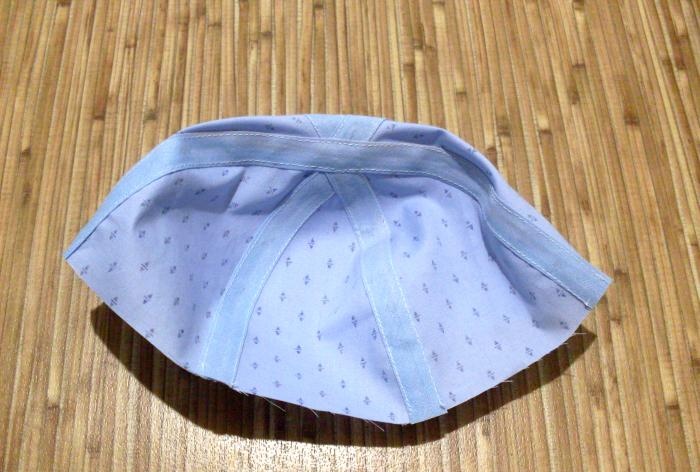
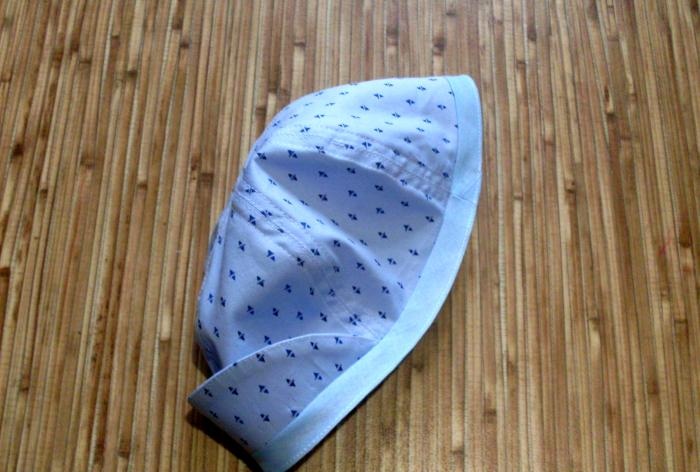
Then the halves of the cap need to be sewn together. The stitching seam allowances on the wrong side are covered with bias tape in the same way as the stitching seams of its parts.
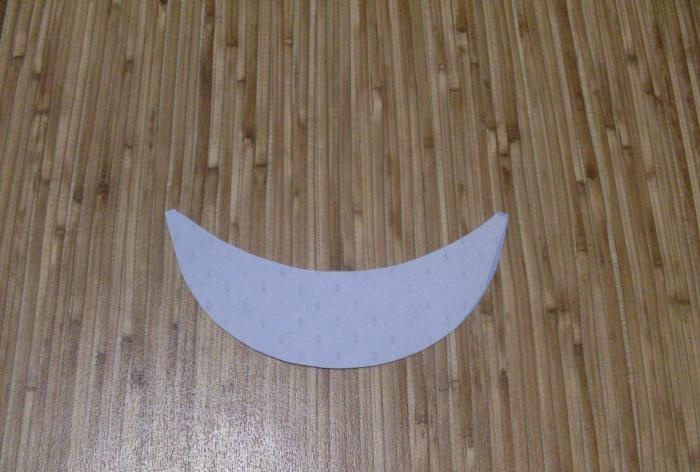
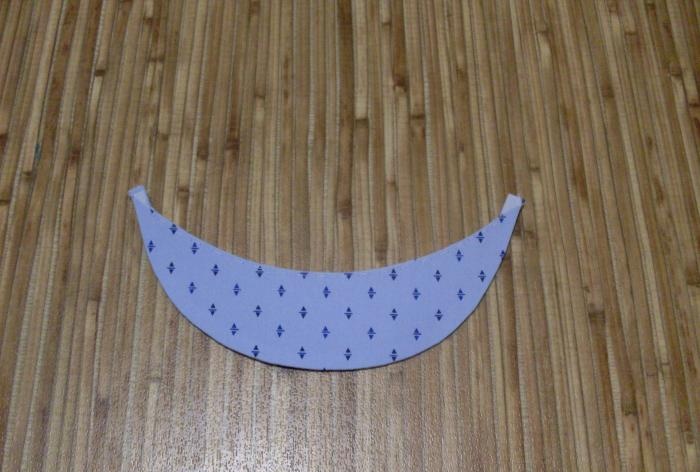
One of the parts of the visor should be duplicated with proclamelin or non-woven fabric. This way it will keep its shape.
Both parts of the visor must be folded facing each other and stitched along the outer edge with a seam 7 mm wide.
For convenience and to avoid the parts moving relative to each other, they can be pinned with pins, which must be removed after turning.
The turning seam allowance must be cut with scissors, slightly short of the stitching.
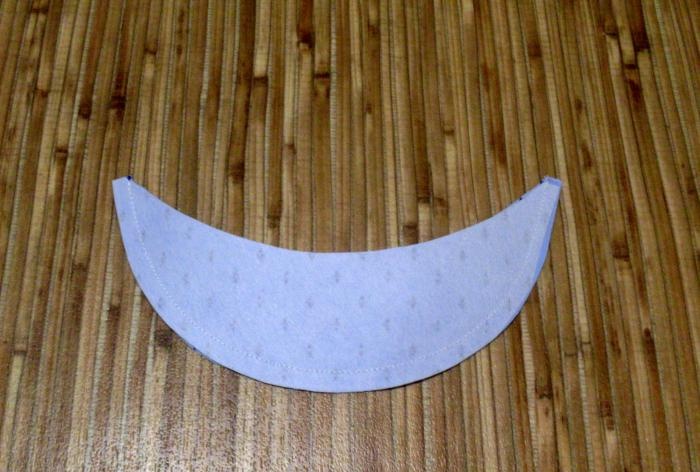
Then the seam allowance for turning the visor must be stitched onto the lower (non-duplicated) part of it. The stitching should be 1 mm from the seam itself. This operation (the so-called fluffing) will help the visor keep its shape well.
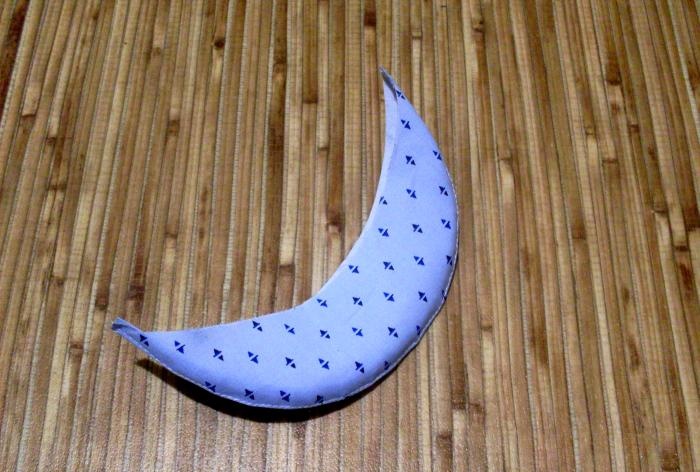
After this, the visor must be ironed from the inside out. Both layers of fabric along the edges of the stitching to the cap must be basted together along the edge.
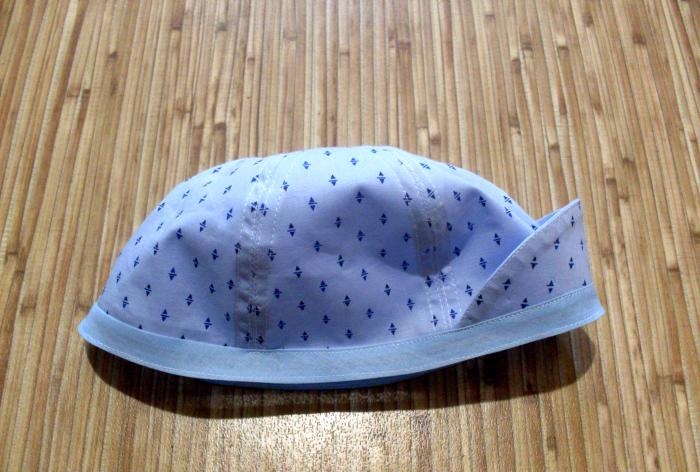
The finished visor must be pinned or basted to the cap, positioning it symmetrically relative to the middle (last stitched) seam.
Then you need to sew bias tape around the entire perimeter of the cap. To do this, it must be placed on the cap face to face and sewn “into the groove” (the ironed fold of the tape).
The ends of the binding must be carefully stitched together.
After stitching the trim, the pins securing the visor must be removed.
The allowance for the flying edge of the binding (exactly ironed towards the wrong side) needs to be stitched with a seam 1-2 mm wide, as shown in the photo.
The seam allowance for attaching the binding to the cap must be stitched onto the binding. Seam – 1-2 mm.
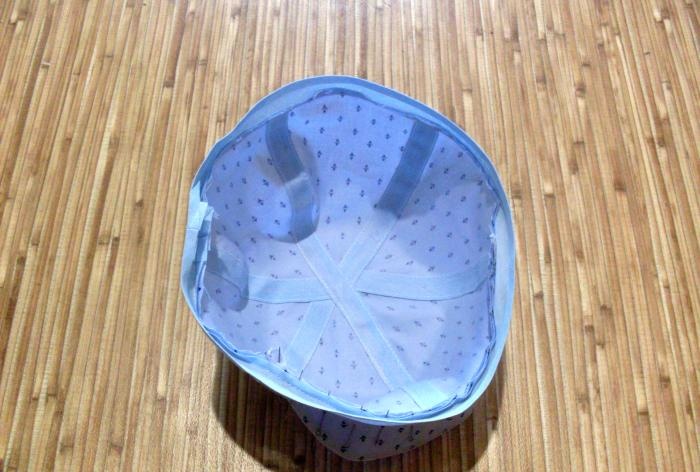
In the back of the cap, the bias tape should be swept to the wrong side and secured with a finishing stitch running at a distance of 1-1.2 cm from the stitching seam. This will be a drawstring with an elastic band, thanks to which the cap will fit well on the baby’s head.
After completing the operation, the manual auxiliary stitching must be removed.
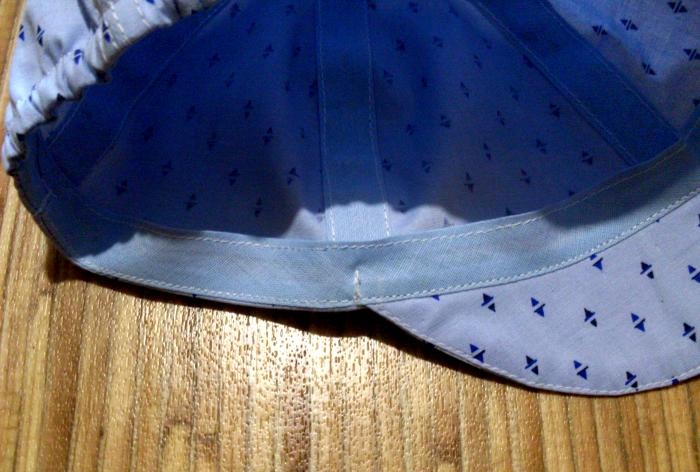
The bias tape needs to be ironed onto the wrong side of the product. Then it needs to be secured with short machine stitches along all the seams of the cap parts, as shown in the photo.
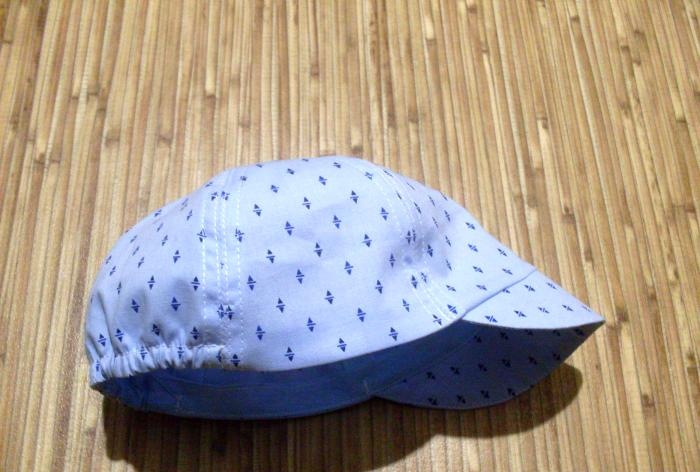
Then you need to insert a narrow elastic band into the drawstring. Its end sides must be secured with machine stitches.
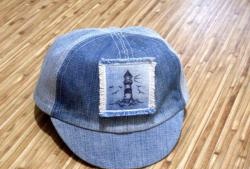
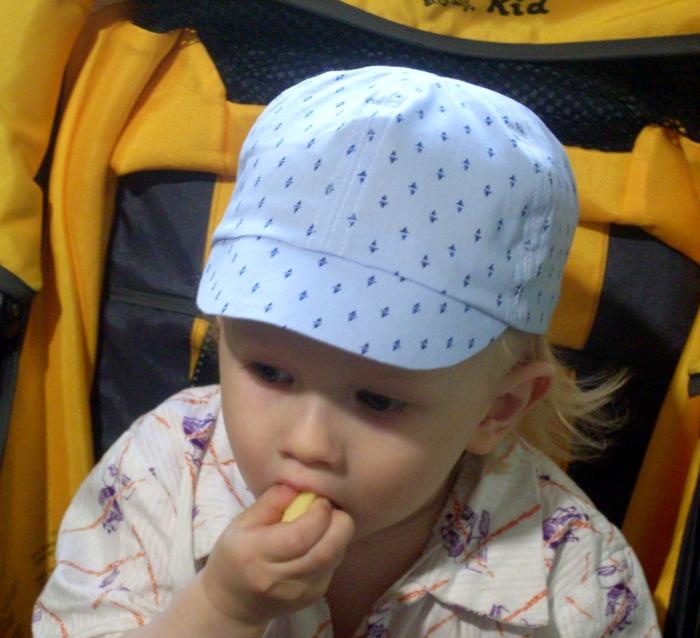
The summer cap for the baby is completely ready! It's time to get ready for a walk!