What is a water bath?
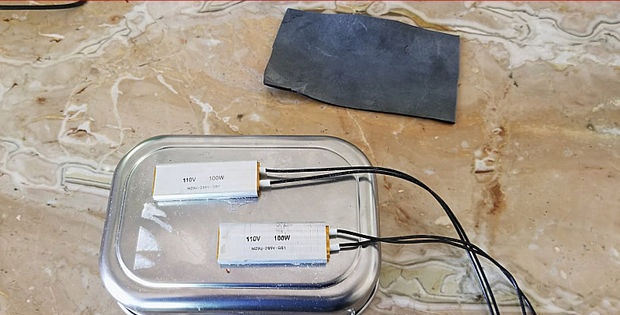
A laboratory water bath is a container with a heater controlled by a thermostat. An electronic thermostat allows you to maintain the set temperature in the container with great accuracy. The bath is equipped with two heating elements, each with a power of 100 W.
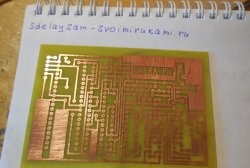
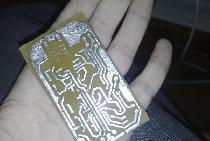
What do I use the bath for?
I often have to make printed circuit boards. The PCB manufacturing process requires operations such as etching and tinning. These are exactly the processes I carry out using this bath. Of course, etching can be carried out at normal temperatures, but in a heated bath it goes much faster. As for tinning, you can’t do without heating. I fill the bath with glycerin (or water with citric acid), set the maintenance temperature to 110 degrees and calmly puddle the boards.
With chemical reactions, everything is clear: heating by ten degrees speeds up the chemical reaction by about two.Which reduces the time it takes to complete, thereby saving your time.
The laboratory bath can have other uses. For example, it can be used as a dryer for bulk materials, only in this case the thermostat sensor must be tightly attached to the heating element, and the heating elements must be connected in parallel.
And so let's get started! Let's start with the fact that I will offer you two options for making a bath: for a voltage of 12 V and 220 V. I used 110 V elements, since in our country the voltage in the network is 110 volts.
Components to be purchased. I will immediately give you links to the store.
12 volt option (safer option):
- Thermostat – digital temperature controller 12 V.
- Heating element – 2 pcs. 12 V. (Or 1 heating element 12V).
220 volt option:
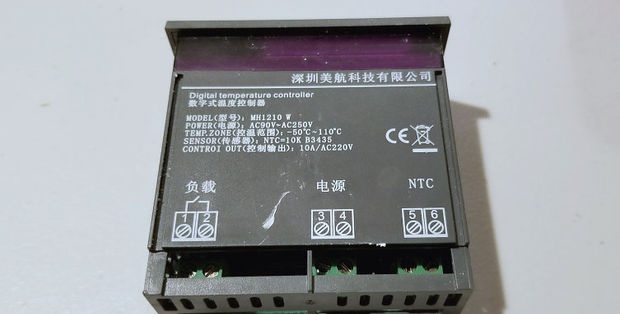
- Thermostat – digital temperature controller 220 V.
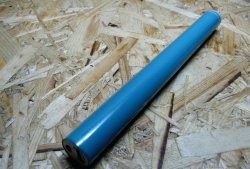
- Heating element – 2 pcs. per 100 W. (Or 1 heating element – 200 W).
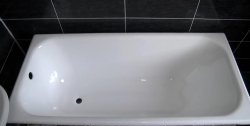
- Bath (pan) made of stainless steel or surgical steel. (Any store with kitchenware)
- Wooden plywood sheets for the body - either ODSP, chipboard, or OSB. That's your business. I recommend using moisture resistant plywood.
Heaters and thermostats can be different, look how many there are - heaters, thermostats. You may be able to find a cheaper option or a different shape.
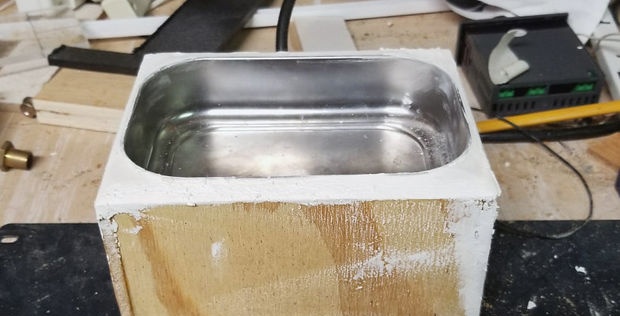
Laboratory bath design.
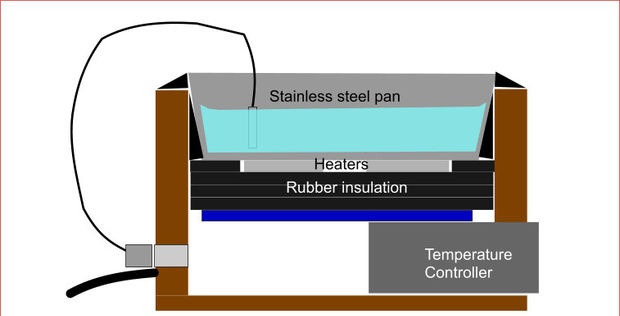
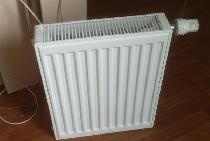
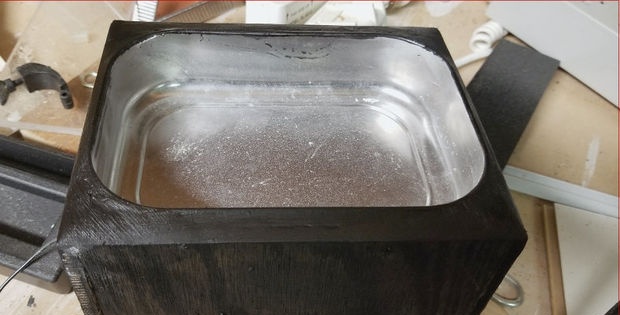
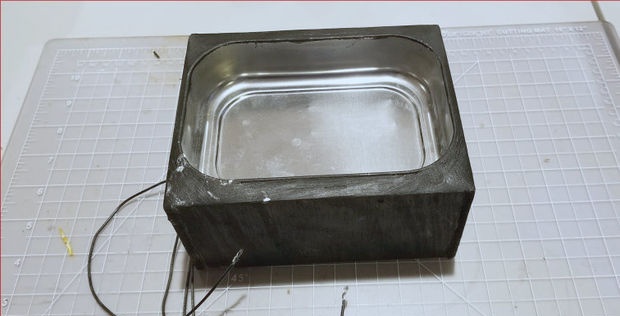
The sequence is as follows: the bath itself with liquid and a temperature sensor immersed in it. Heating elements are glued to the bathtub. Then there is an insulating layer separating the bath from the thermostat. Everything is clad in a wooden body.
Construction of a laboratory bath
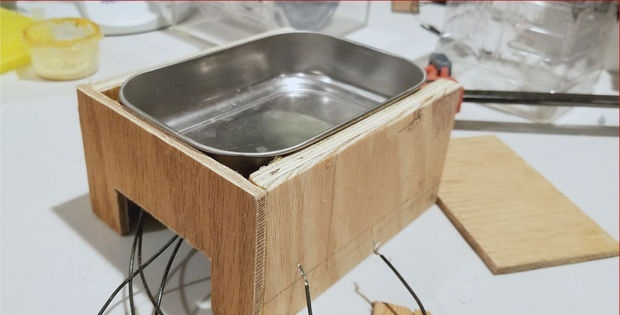
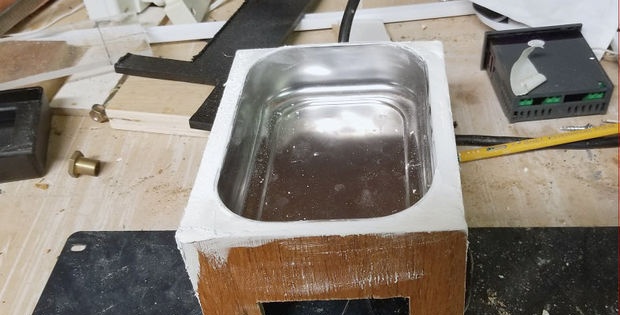
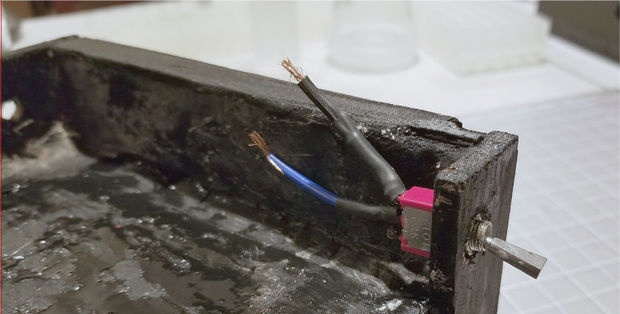
The first thing you need to do is cut out and assemble the body for the bathtub. Make cutouts for the thermostat, wire, fuse.
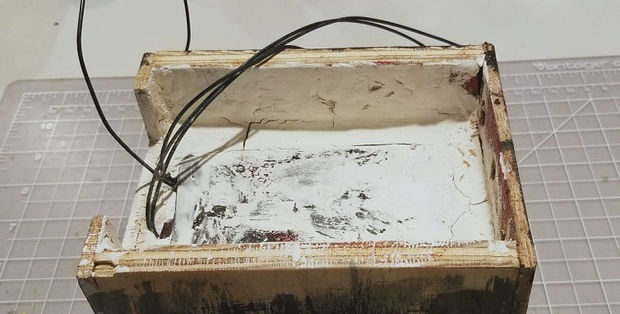
Now we need to glue our heating elements. More precisely, it is advisable to coat the surface of the element with thermal paste (you can buy it at a store that sells computers) for good heat transfer. And seal it all with several layers of thermal insulating material (buy at a hardware store).
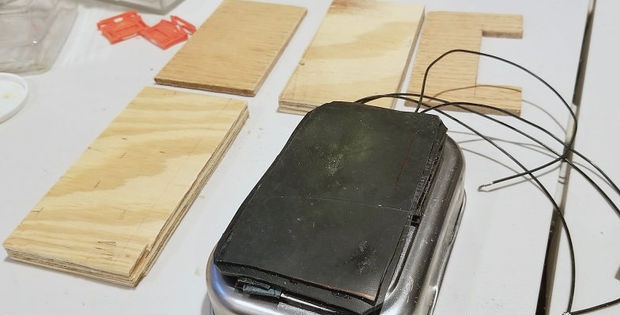
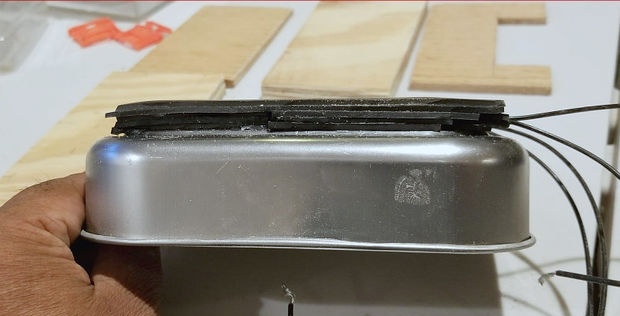
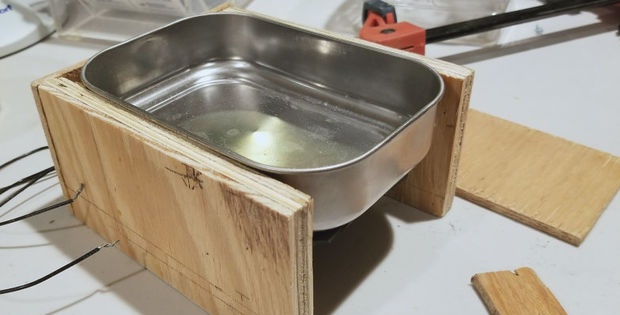
We insert everything into the body.
After assembling the structure, we cover large gaps with filler, forming smooth edges. The filler can be automotive sealant or epoxy resin. I used acrylic filler.
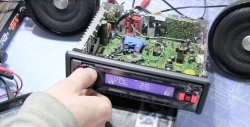
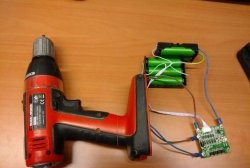
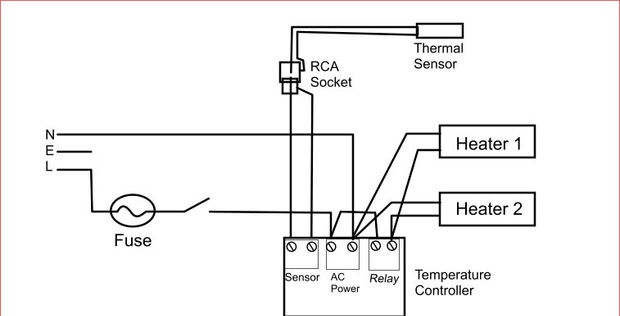
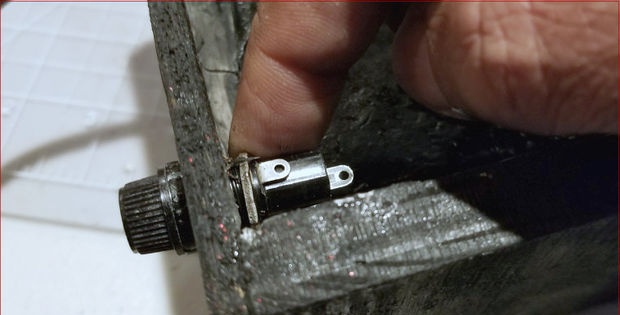
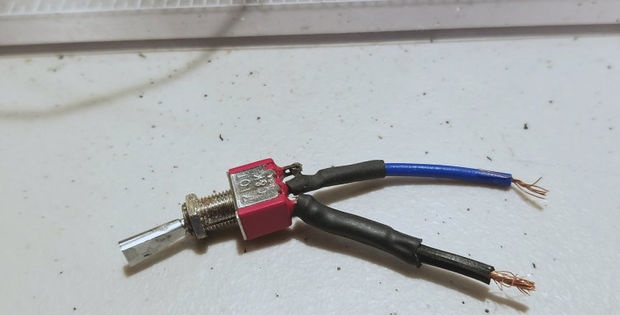
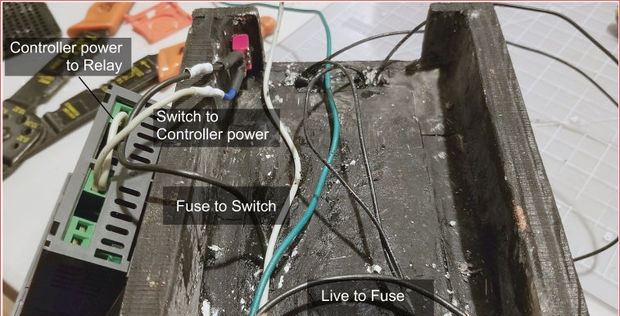
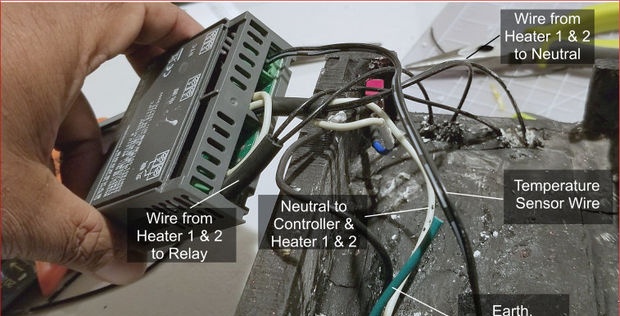
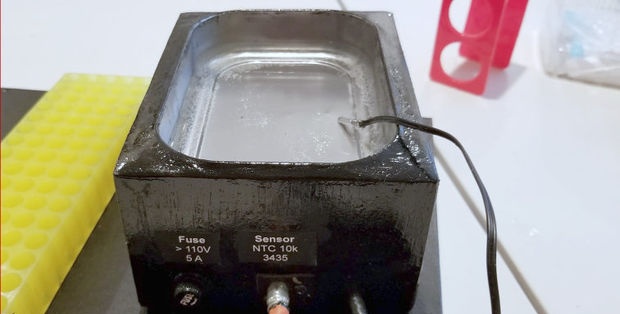
We connect all electronics. The heaters are connected in parallel to the thermostat. The sensor from the thermostat comes out through a connector, but you can do without it, in the sense of without a connector, and not without a sensor. The power switch is in series with the fuse and thermostat.
We install all the elements and assemble the circuit.

Close the bath with the bottom lid.
Painting.
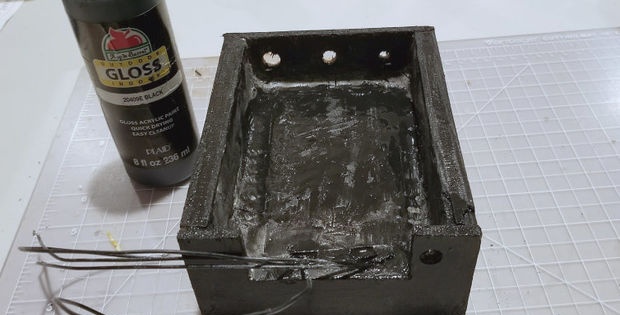
I painted it with two coats of quick drying black extra enamel.
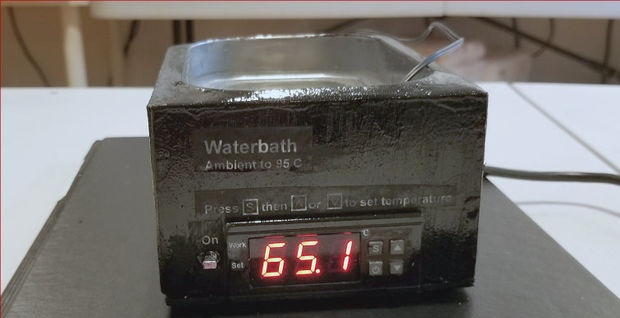
Let's check.
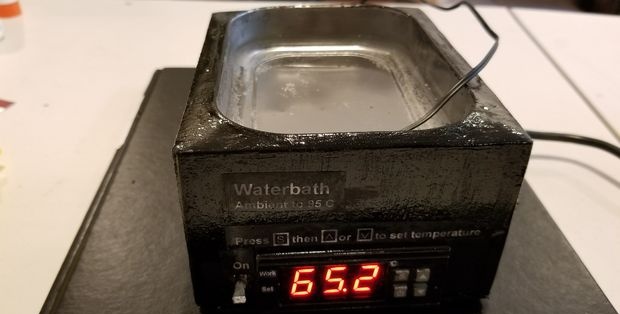
Pour water. We connect the network. We connect the sensor and lower it into the water. Set the temperature and wait for the water to heat up. When the water reaches the set temperature, the thermostat should turn off the elements. This will be visible - the thermostat will go out Light-emitting diode.
That's it: this means our laboratory bath is operational.
Device Upgrade:
The bath can be supplemented with a timer so that, for example, drying of bulk substances lasts a certain time.
Happy crafting to you! Thank you for your attention.
Original article in English