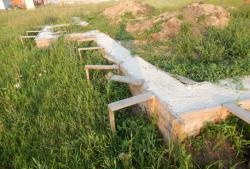
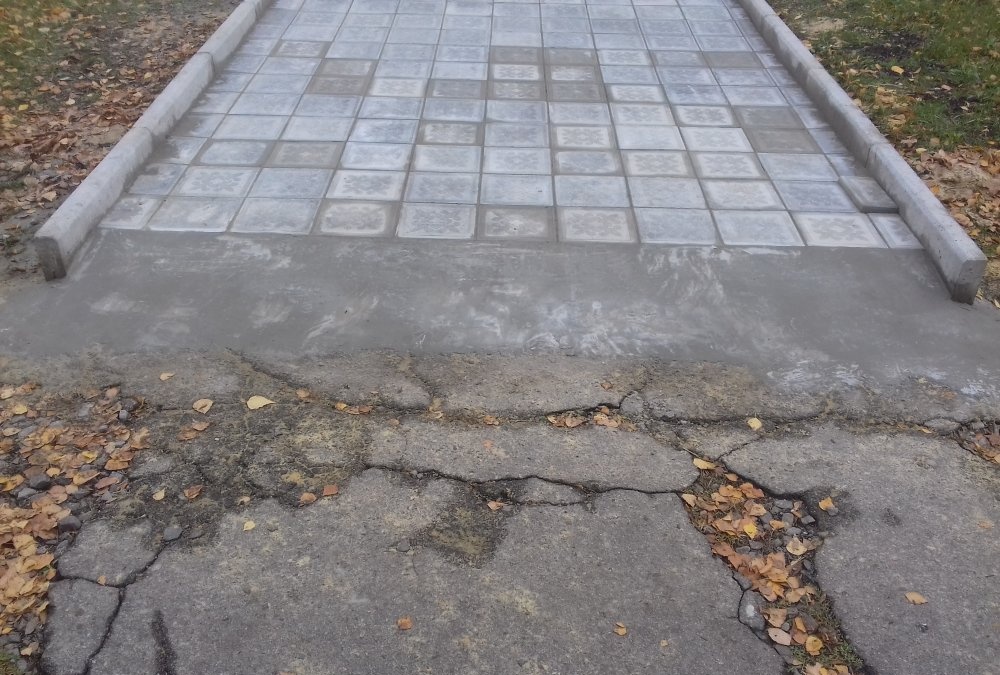
Preparing the base
1. First you need to carefully prepare the base. To carry out such work correctly, you need to take into account the service life and appearance that you are counting on. You need to start with a trench, the bottom of which needs to be leveled. Most often this is done using a roller, but a specialized machine is ideal. If no other solution is suitable, you can take a vibrating plate, which will cope with the task. Manual compaction is too labor-intensive and ineffective. The depth of the trench depends on the purpose of the paved area and, accordingly, on the thickness of the sidewalk, as well as on the layers laid under the slabs. In addition, it is necessary that the compacted bottom of the trench accurately reproduces the angle of inclination we need.
Bookmarking base layers
2. The next stage is laying the base layers. Under floor tiles for surfaces on which traffic occurs (approaches to houses, parking lots or roads), a layer of crushed stone is most often laid. It is thoroughly compacted using a vibrating plate.If the load is expected not only in the form of passenger cars, but also in the form of heavy equipment, this layer should be even thicker.
Landing zone markings
3. Next, you need to mark the landing zone, if it is planned. Bollards are best suited for concrete. It is necessary to highlight sidewalks and flower beds that will pass through the land plot.
Surface sealing
4. After laying the curbs, compact the surface. The base layers under the slabs are compacted three times, each time separately.
Substrate preparation
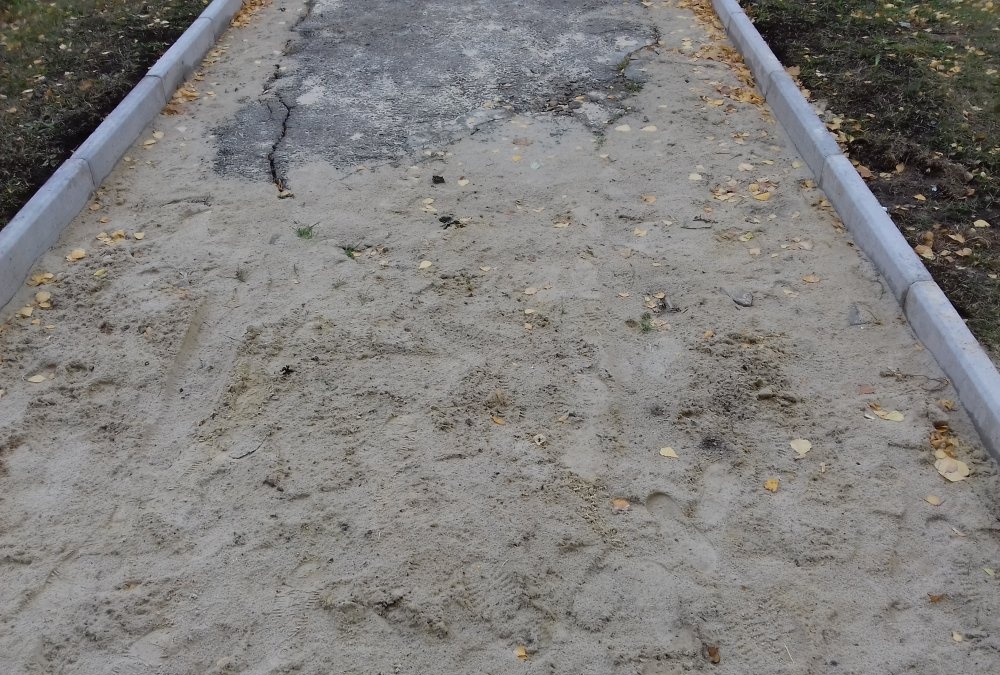
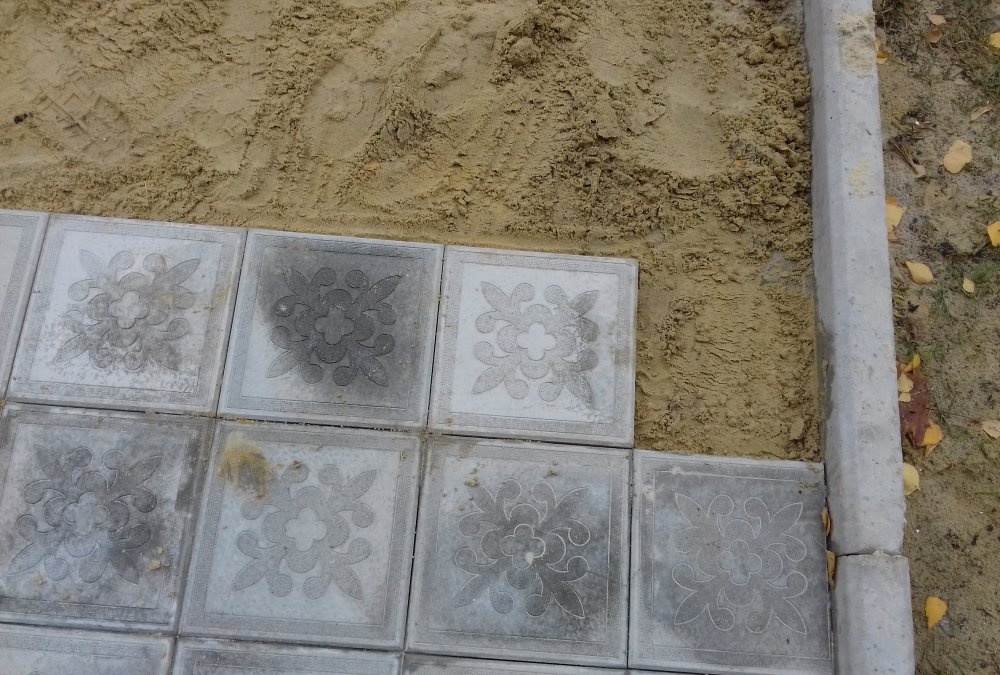
5. Finally, the top layer under the soil is prepared with very fine material, almost sand. This layer does not mix with concrete, which makes it easier to disassemble the structure in case of additional need for disassembly. In addition, without this measure, the tiles could crack in the cold in winter, as concrete expands in the cold. This thin layer must be smoothed, maintaining an even distribution of material. Of the first five stages of paving installation, the most labor-intensive is the process of preparing the substrate. Laying a sidewalk is child's play in comparison. The only case in which this stage is different is when laying natural stone.
Sidewalk installation
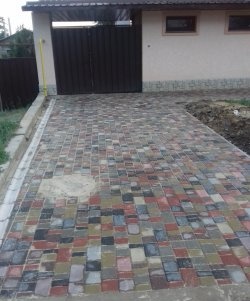
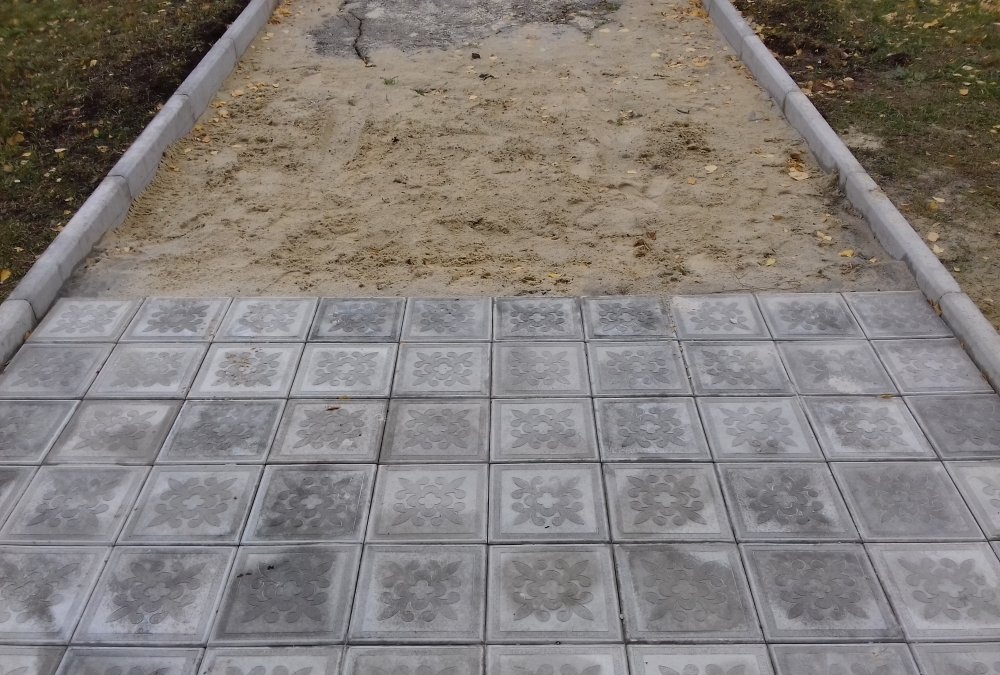
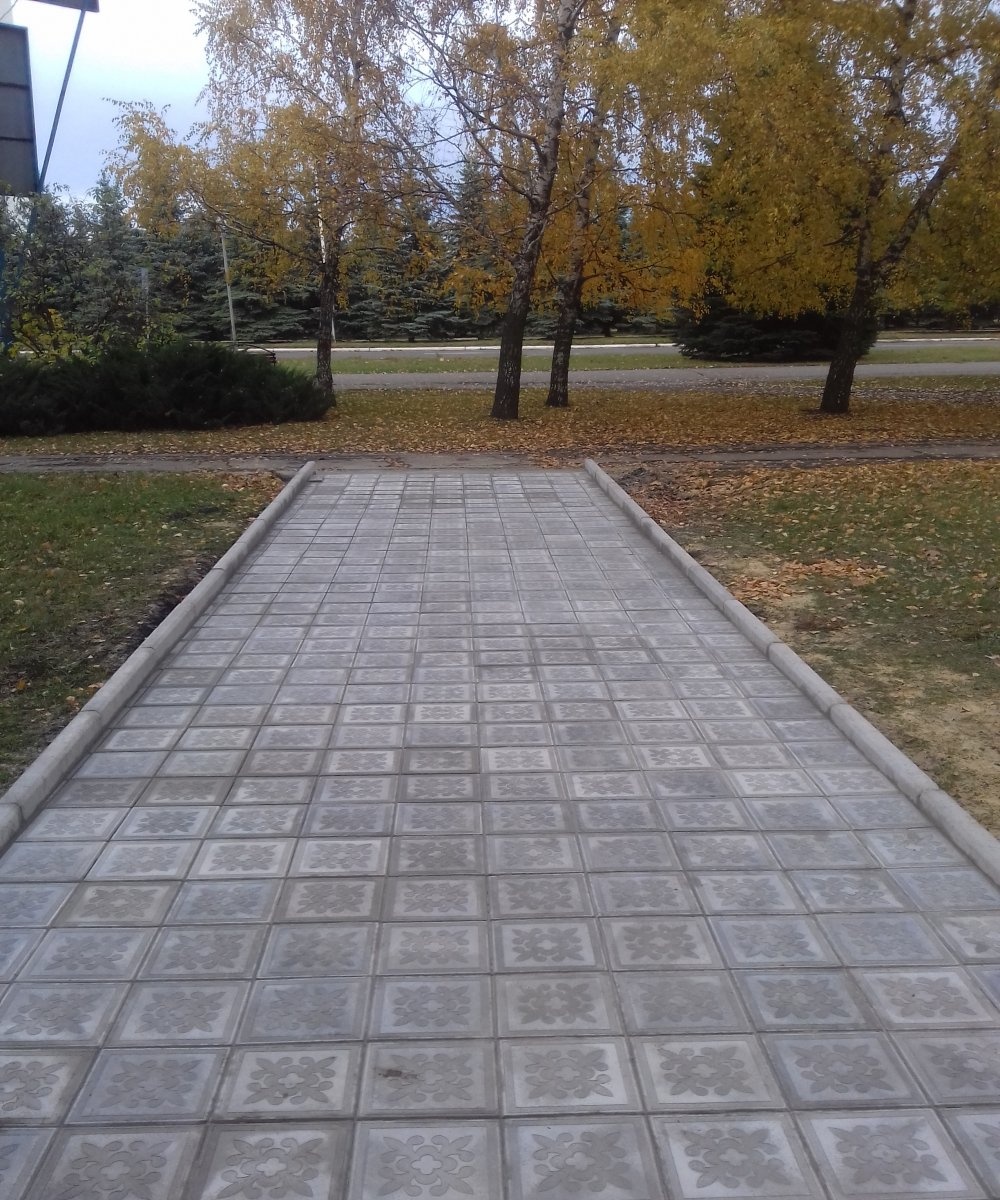
6. Installation of the sidewalk begins from the lowest point of the laid surface. This is where the upward movement occurs. Standard tiles can be easily assembled into any design. Only in case of atypical dimensions can deformation of the sidewalk be resorted to. You should only do this yourself if you have experience.

General recommendations
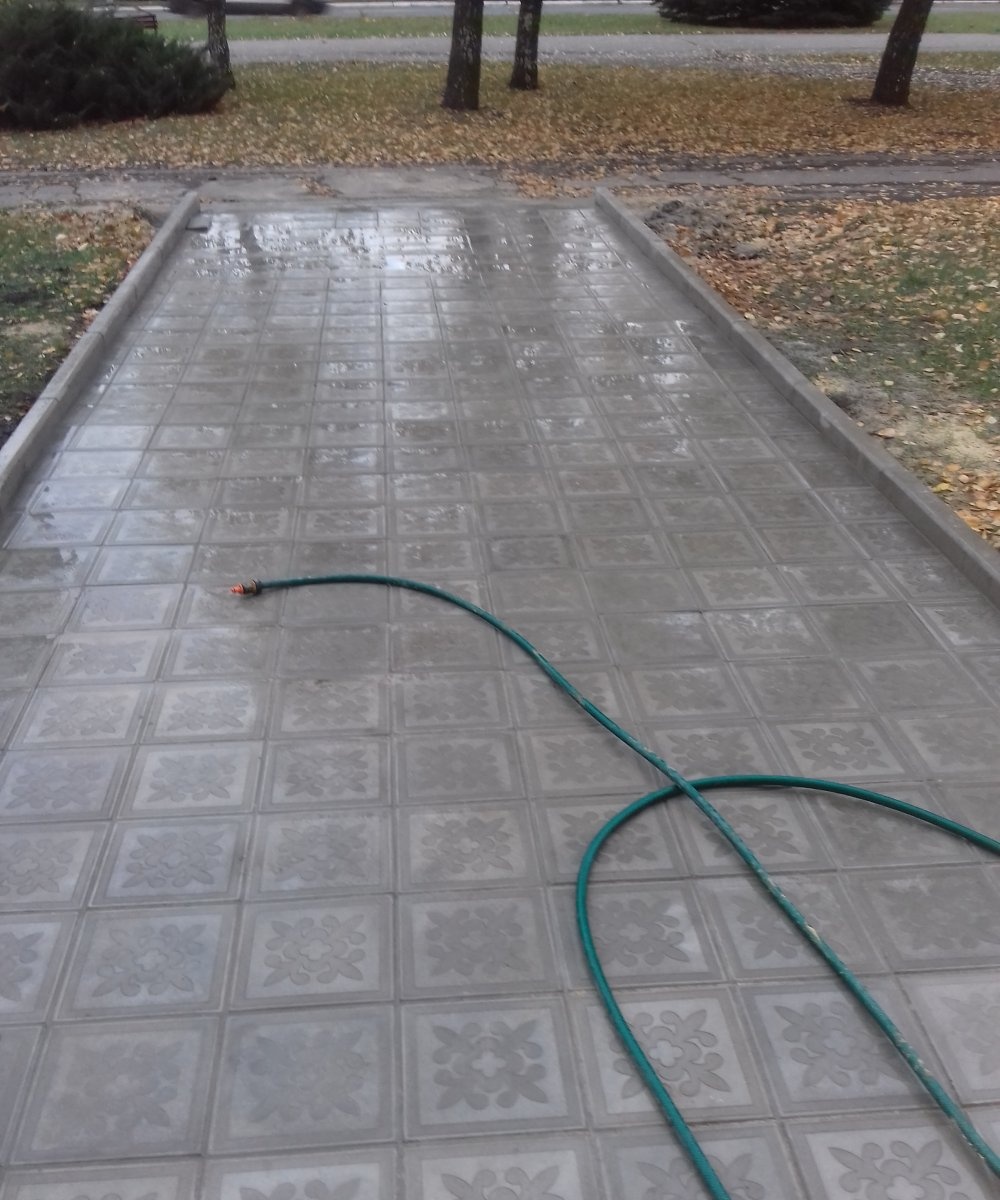
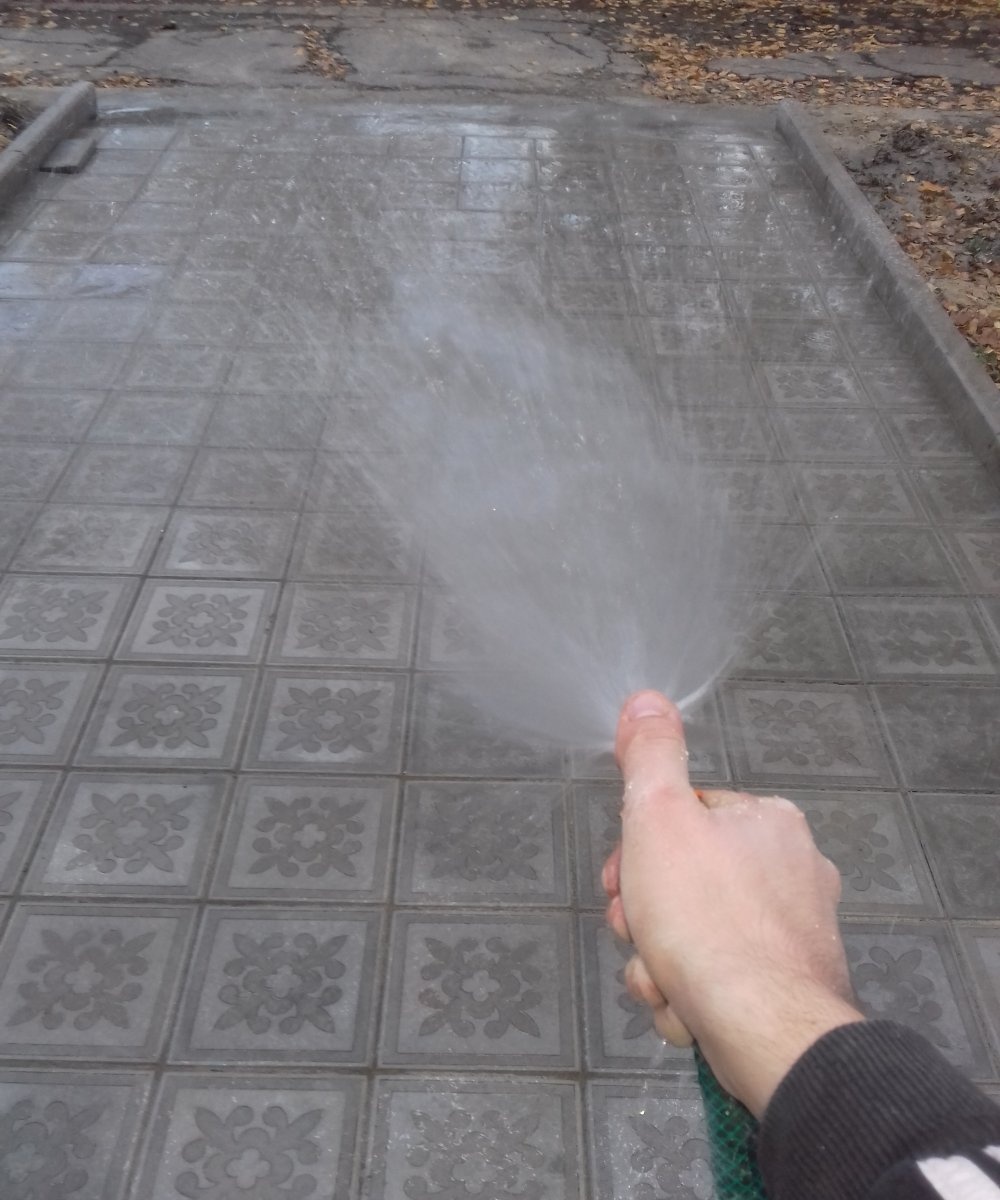
7. If the sidewalk has already been laid, it becomes covered with dust, especially the seams at the joints between the tiles. To bring this area in order, it is enough to periodically use a broom.During installation, all tiles must be clean and always dry, so no work is carried out after rain.
Final stage
8. The last step is compaction over the entire surface using a vibrating plate. When finishing the plate, you need to put a protective sleeve on it so as not to damage the pavement.