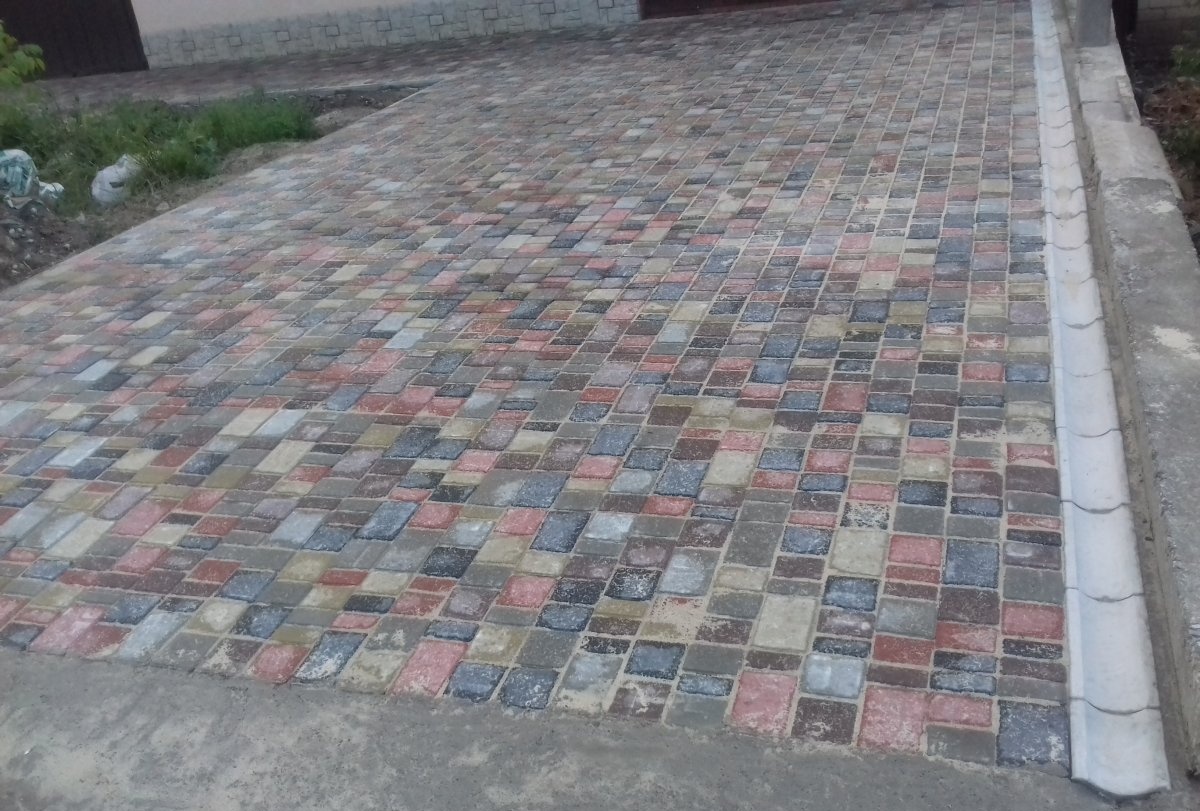
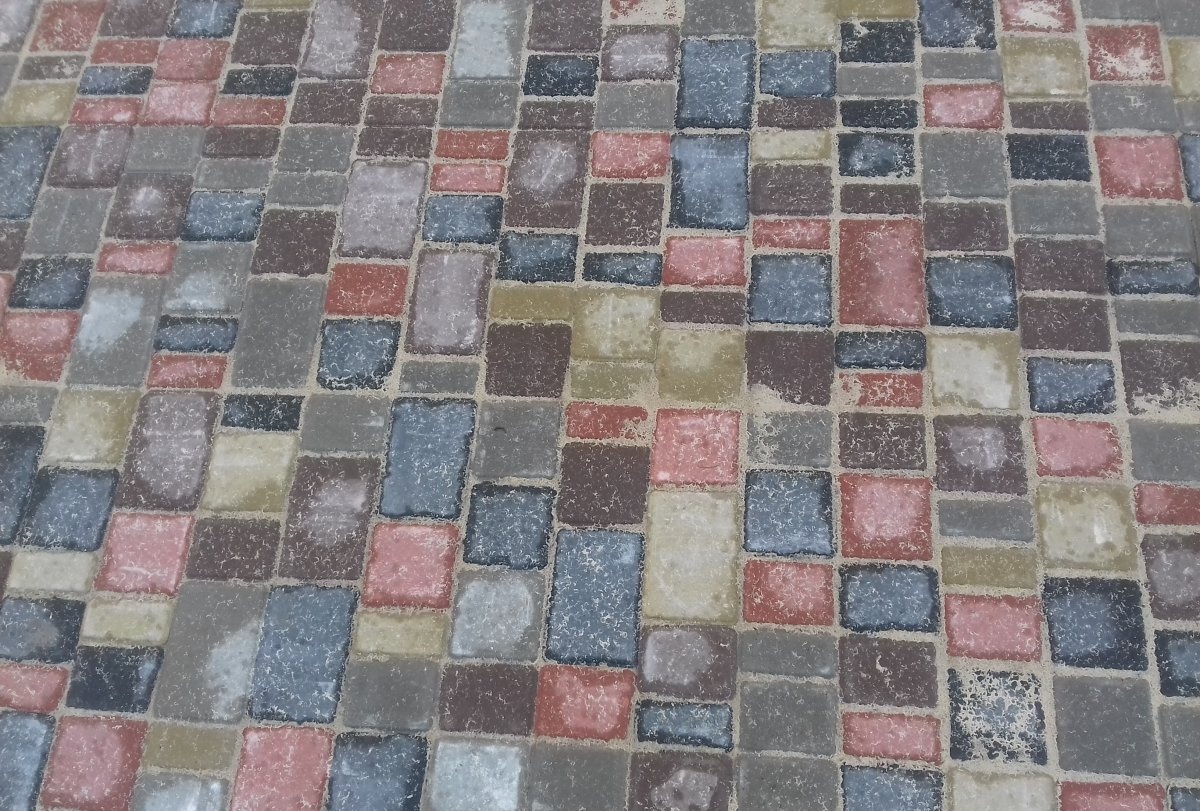
Landscaping the surrounding area of a private home has become commonplace today. Each owner tries to design the entrance to his home as best and as reliably as possible, as a result of which there is a need to choose a suitable coating that must meet certain characteristics. The coating must have a beautiful appearance, be resistant to temperature changes, changes in weather conditions, and also withstand heavy loads. An approach to the house made of paving slabs will be the most optimal solution to this issue.
Will need
To complete the work you will need the following tools:
- - rubber hammer for paving slabs;
- - hydraulic level;
- - laser level or long rule;
- - manual sand press;
- - spatula or trowel,
And materials:
- - sand;
- - paving slabs;
- - curbs;
- - concrete drainage systems;
- - cement (preferably grade 500).
The process of laying tiles
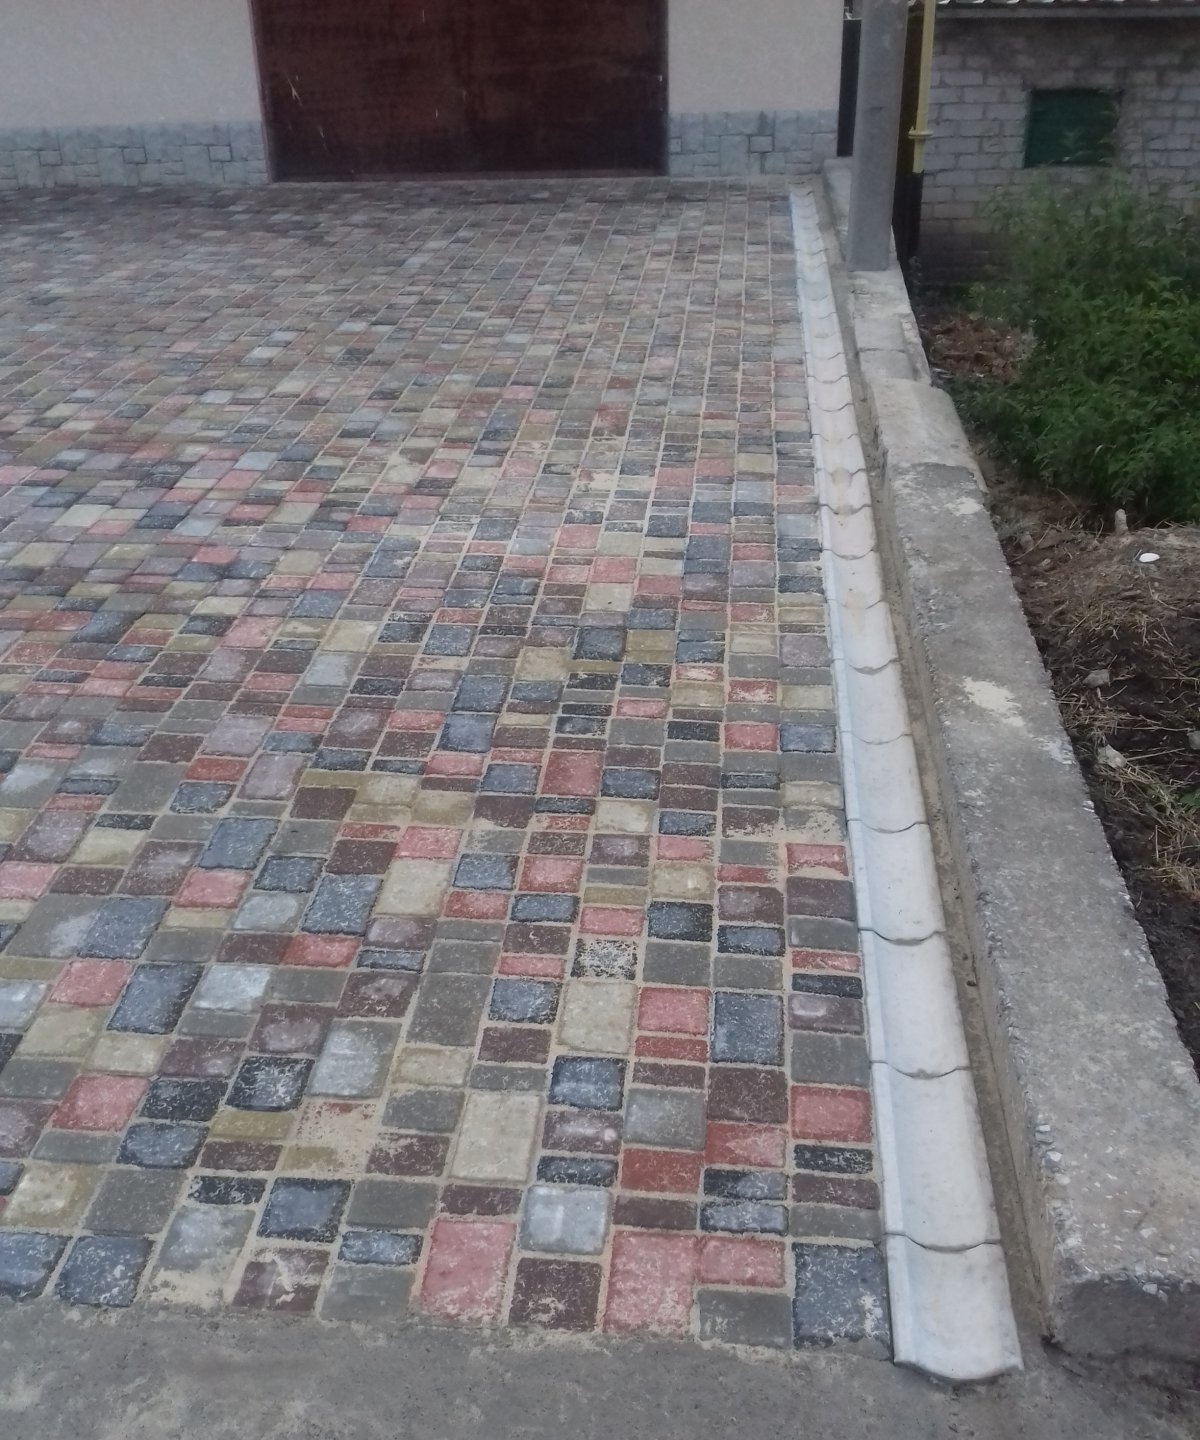
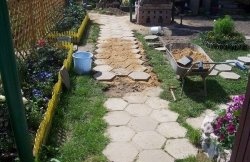
If you prepare everything you need, you can make a paving slab driveway to your house in a matter of days. First of all, you need to mark off the perimeter of the site on which the tiles will be laid.This can be done using a hydraulic level, hammering pegs around the perimeter and stretching the rope so that it serves as the upper contour for future borders. Then you need to dig a small trench so that the curbs can be sunk into the ground. Immediately measure the height of the trench with a tape measure so as not to dig too deep. Curbs should be installed with a slight slope from the house to the street; in the future, this will facilitate the drainage of rain and melt water. After installing the curb, they need to be secured together with a solution with a ratio of 500 grade cement to sand 1:2.5. After this, leave the borders for one day so that the solution hardens and the borders are secured to each other. The next day, fill the trenches in which the curbs are installed with earth and compact them flush with the base of the site.
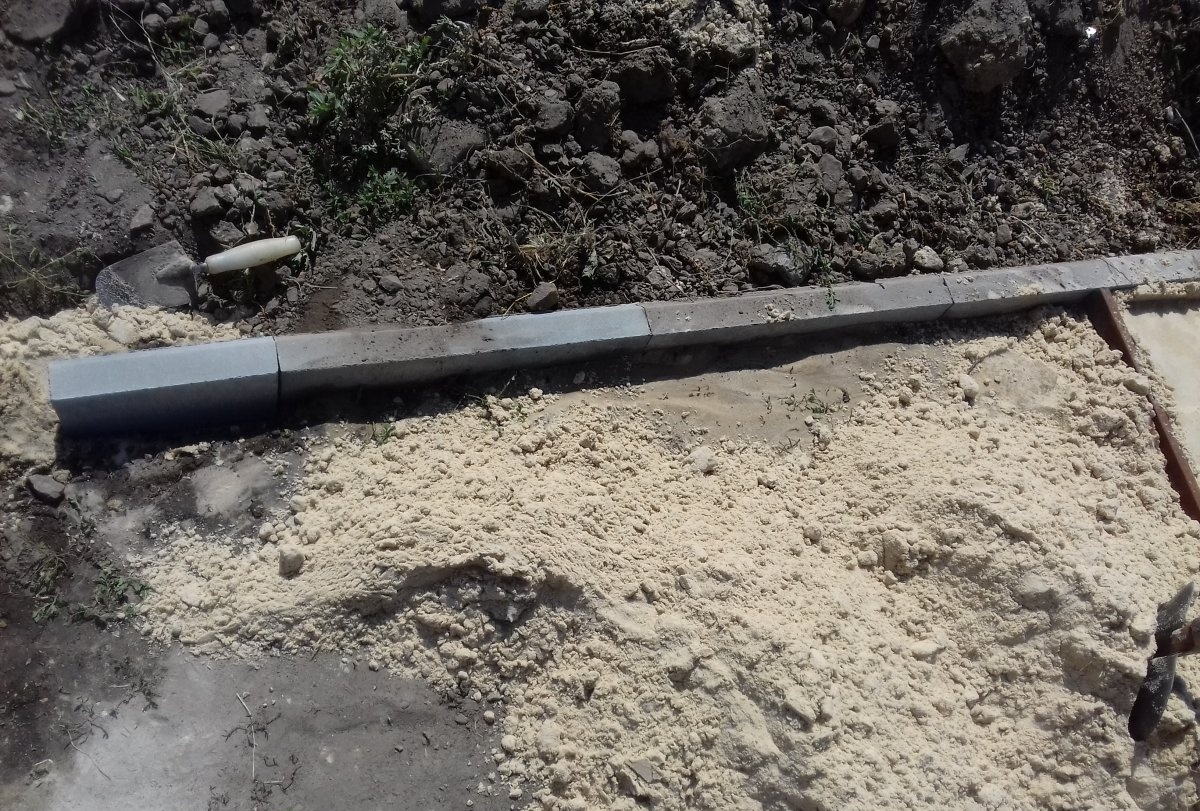
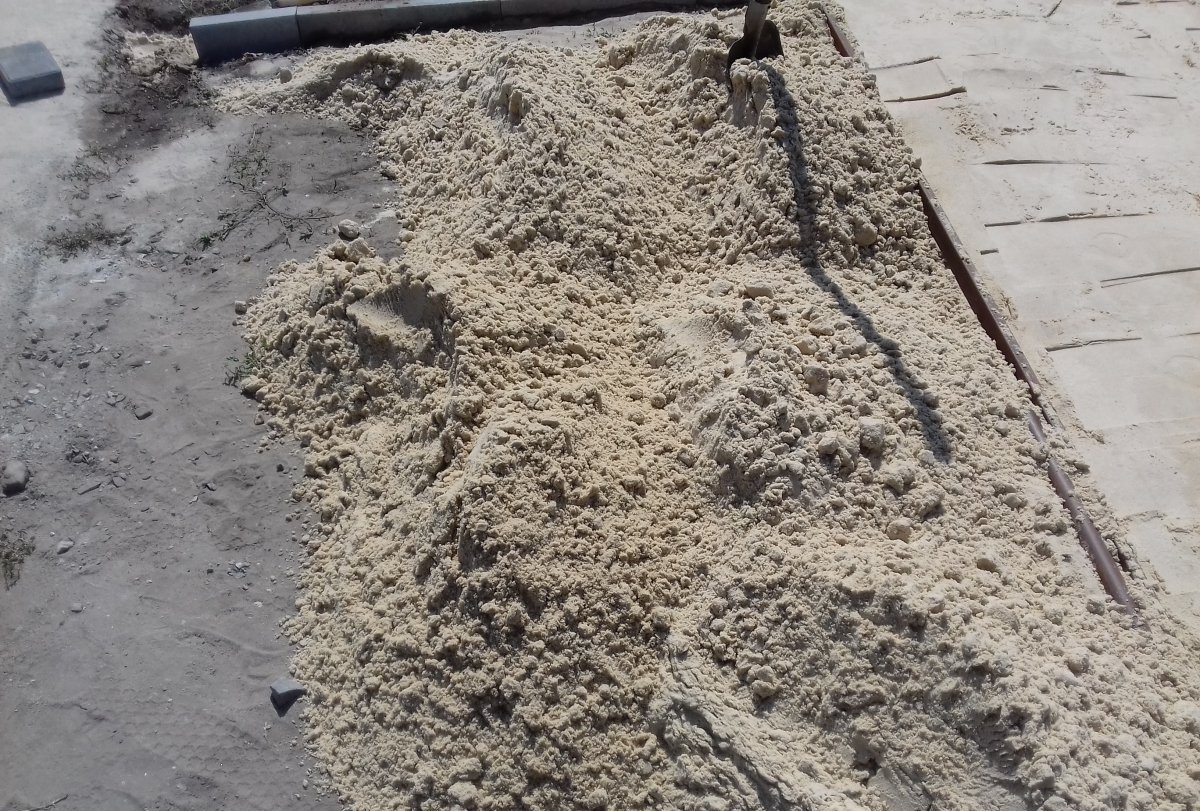
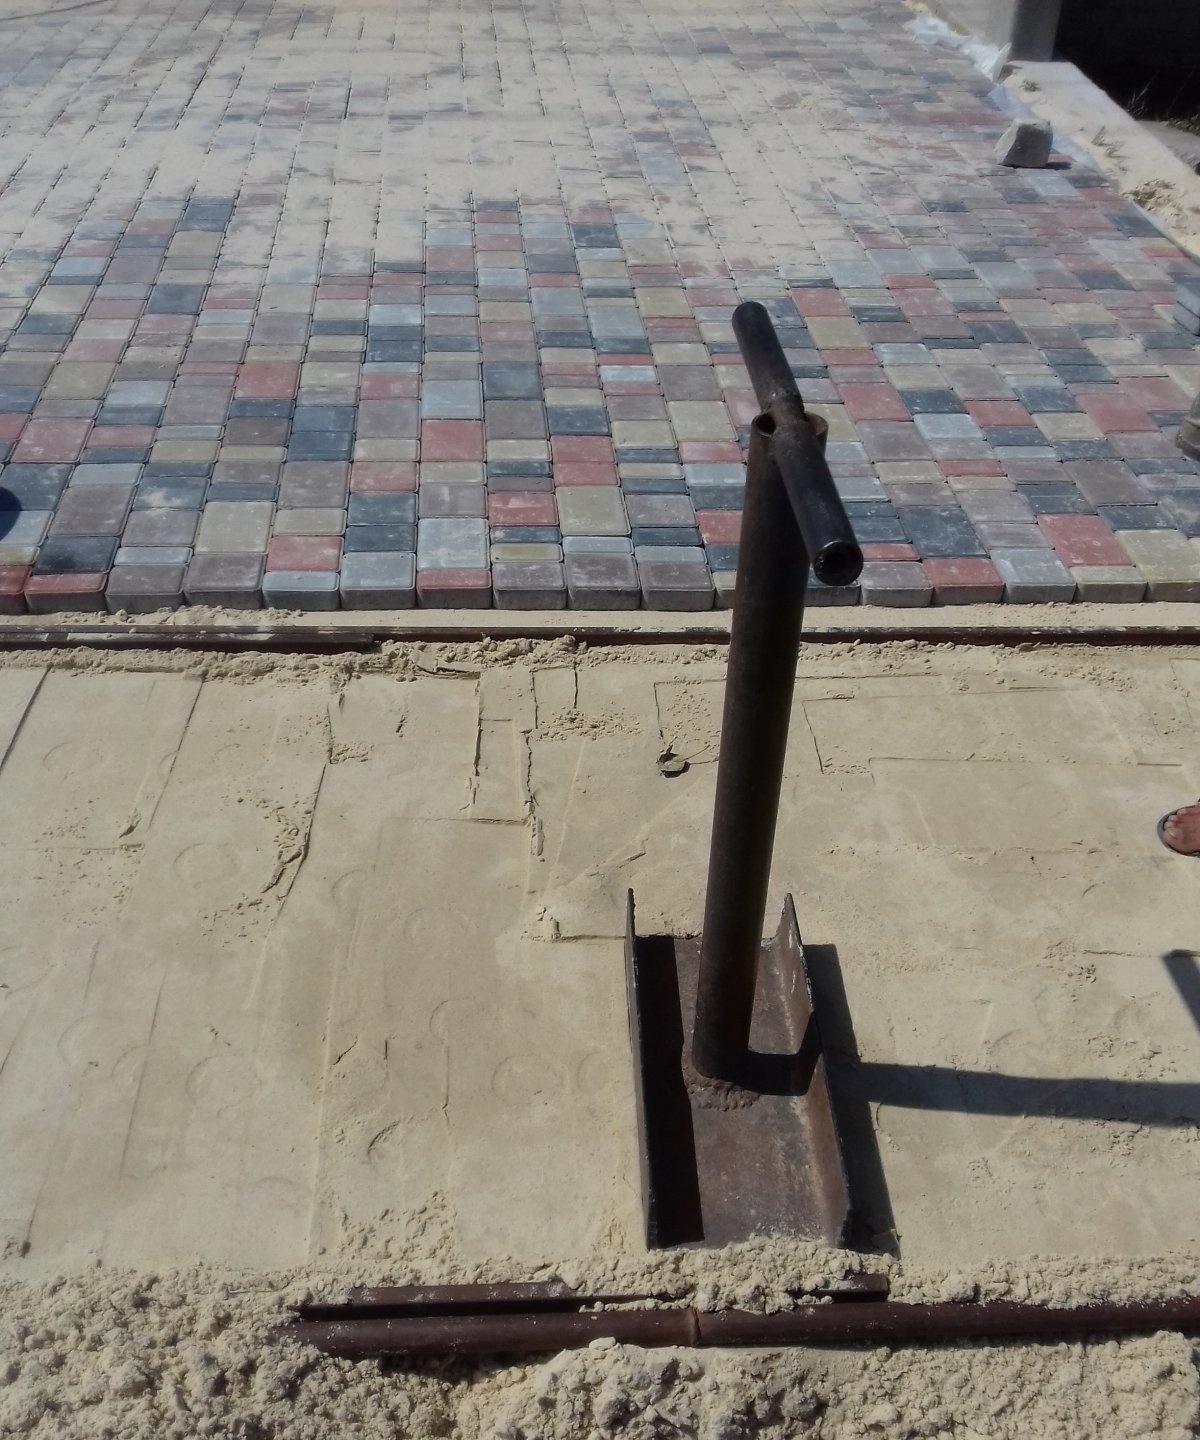

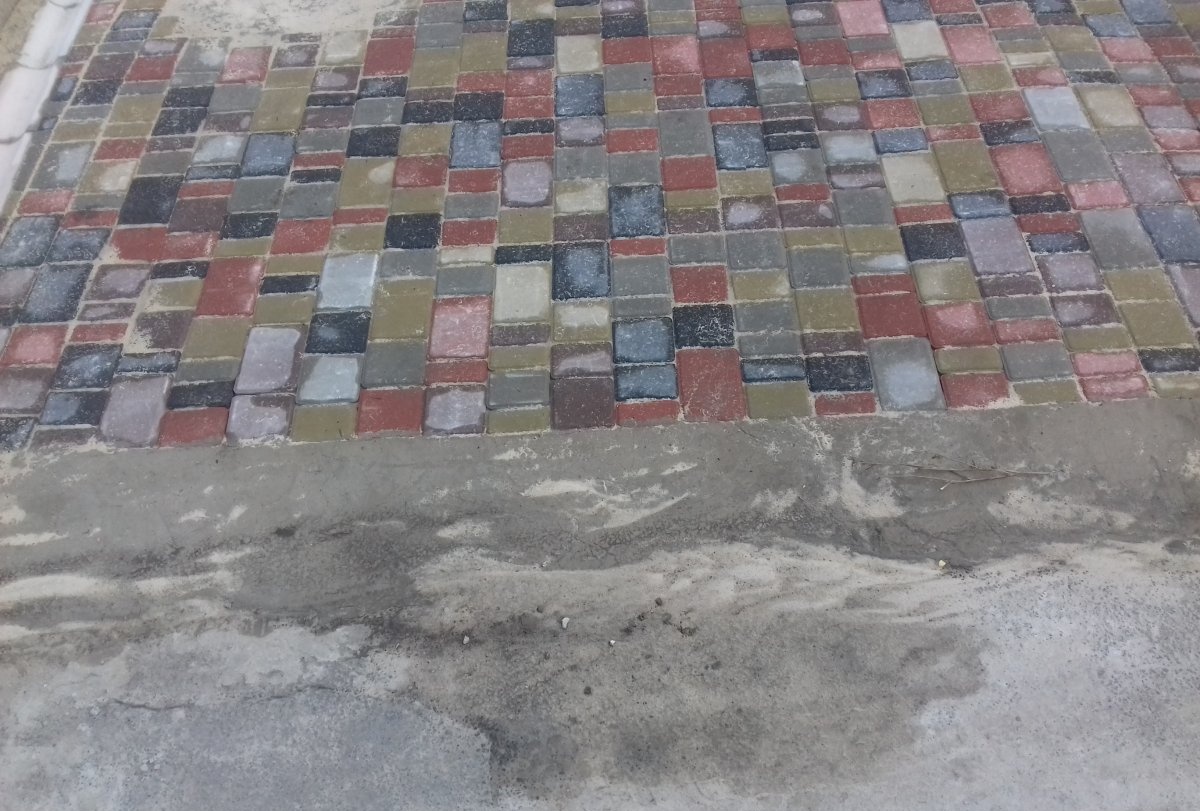
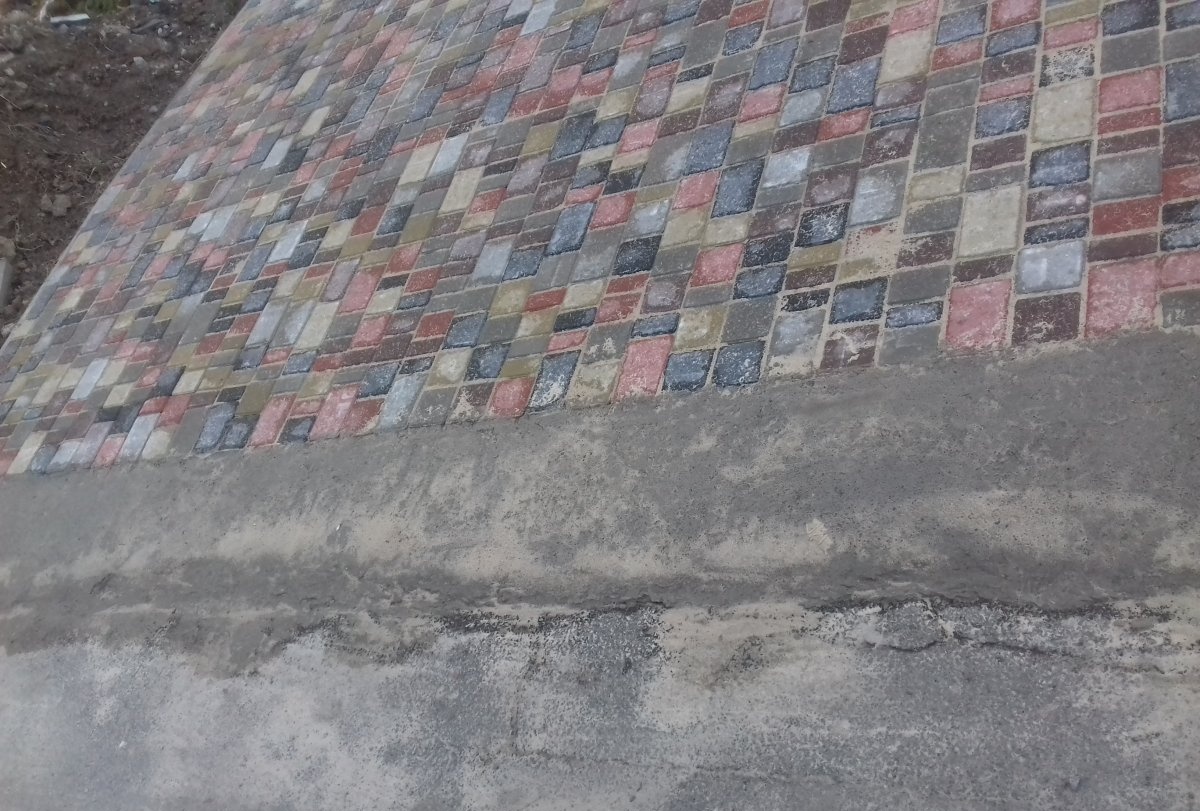
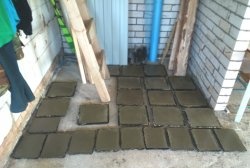
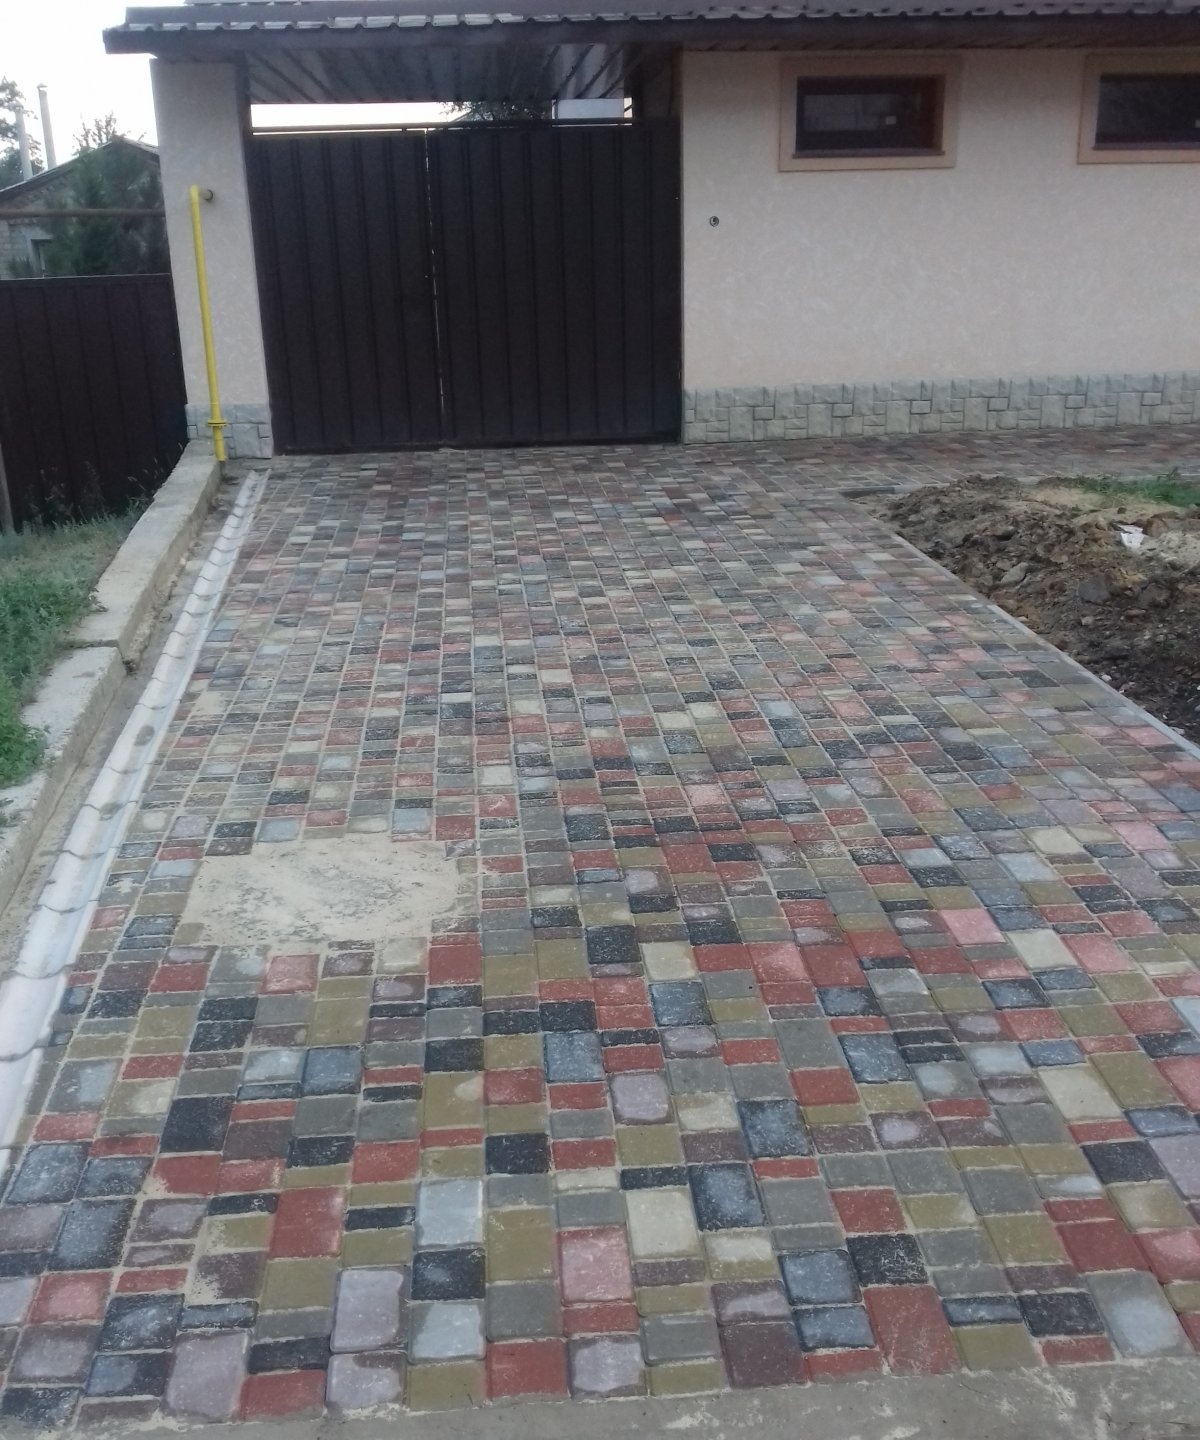
The next stage is laying paving slabs. The entire site must be covered with sand flush with the curbs. Moisten the sand a little with water and compact it with a hand press. This procedure must be repeated until the difference between the edge of the curb and the sand is equal to the thickness of the tile. This is necessary to ensure that the driveway to the house made of paving slabs is free of depressions and differences. When the entire site is covered with sand and compacted, you can begin laying paving slabs. First of all, you need to lay concrete drainage pipes near the curb, and then start laying tiles from there. The first row of tiles needs to be given utmost attention. The tiles must be laid strictly level, this will determine how smooth the driveway to the house made from paving slabs will be. The tiles need to be laid out in a row one by one, using a long rule or a laser level to correct the evenness of the entire row.Then secure each tile in place by compacting it into the sand with a rubber hammer. If the tiles stick out higher than the curb, there is too much sand underneath. Excess sand must be carefully removed with a spatula or trowel so as not to destroy the compacted layer. And, conversely, if the tiles fall below the level of the curb, you need to additionally add sand under the tiles and tamp the tiles with a rubber hammer. In this way, the first and all subsequent rows of paving slabs are laid and the evenness of the entire site as a whole is adjusted. Also, when laying paving slabs, you need to leave minimal gaps between the tiles, but under no circumstances should you lay the tiles close to each other. After all, this can lead to destruction of the tile when pressing it with a rubber hammer or during future use.
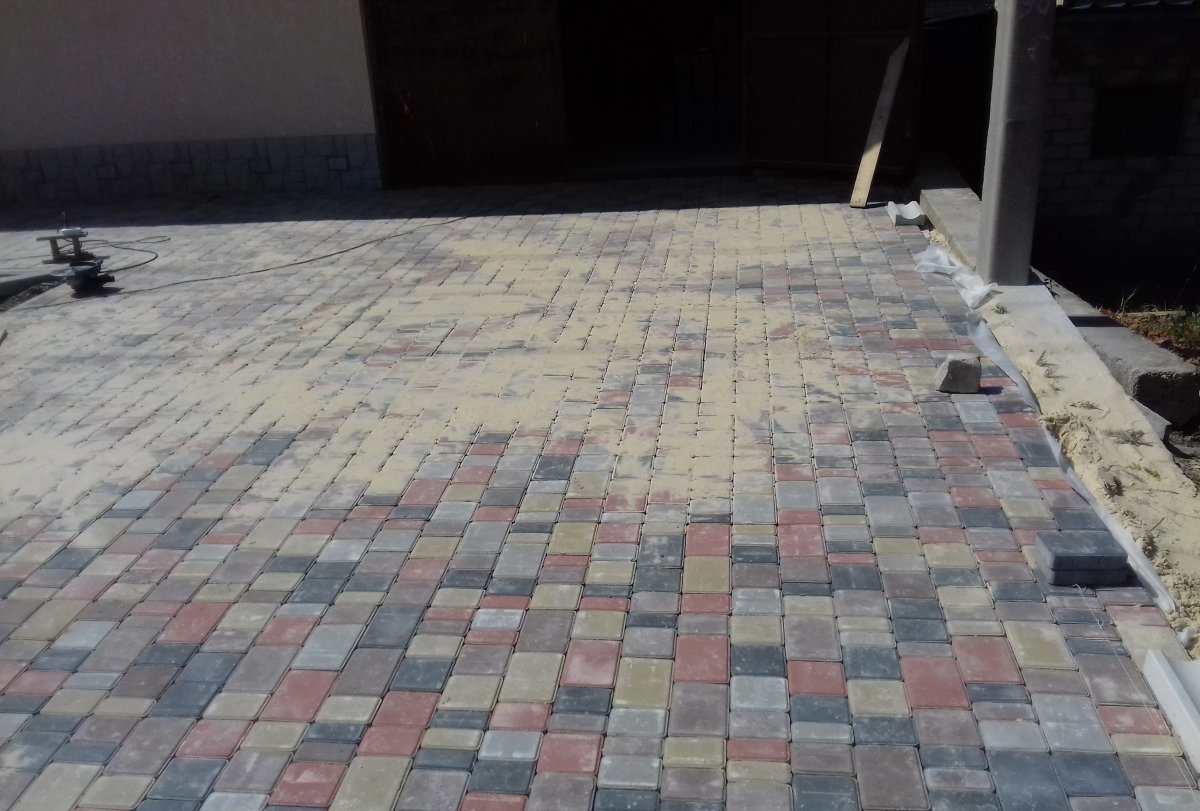
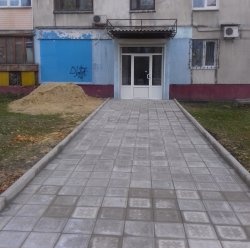
After laying the paving slabs, you can proceed to the final stage. At this stage, you need to connect the paving slab driveway to the house with the roadway. For this you can use a concrete screed. Between the edge of the paving slabs and the road surface, you need to dig a small trench (10-15 cm deep) and fill it with concrete. Also at the final stage you need to fill the seams between the tiles with a special mixture. To prepare this mixture, you need to sift dry sand through a fine construction sieve and mix it with grade 500 cement in a 1:1 ratio. This mixture is prepared in dry form. Without exception, all seams between tiles, curbs and concrete drains must be covered with this mixture. Then use a broom to sweep away all the remaining construction debris from the paving slabs and water the entire area with water from a garden watering can or using a special sprayer on a hose.Under no circumstances should you water the tiles with a direct stream, because... the pressure of water can wash all the mixture from the seams. After this, leave the site for 2-3 days so that the concrete at the junction of the tiles and the road hardens, and the mixture with which the seams are filled secures the tiles together. At this stage, the laying of paving slabs is completed. If all the steps are completed correctly, then the driveway to the house made of paving slabs will last a very long time.