In order to install a plastic ceiling, you need to prepare the following tools and materials:
- - wooden beam 30x30 mm. or a special metal profile for mounting plastic panels - footage depending on the perimeter of the ceiling + lintels;
- - plastic panels - clearly measure the area of the ceiling to be hemmed;
- - starting strip (preferably in the color of the plastic panels) - along the perimeter of the ceiling;
- - screws for wood or metal (depending on the material of the jumpers);
- - hammer drill with 6-bit drill, plastic wads;
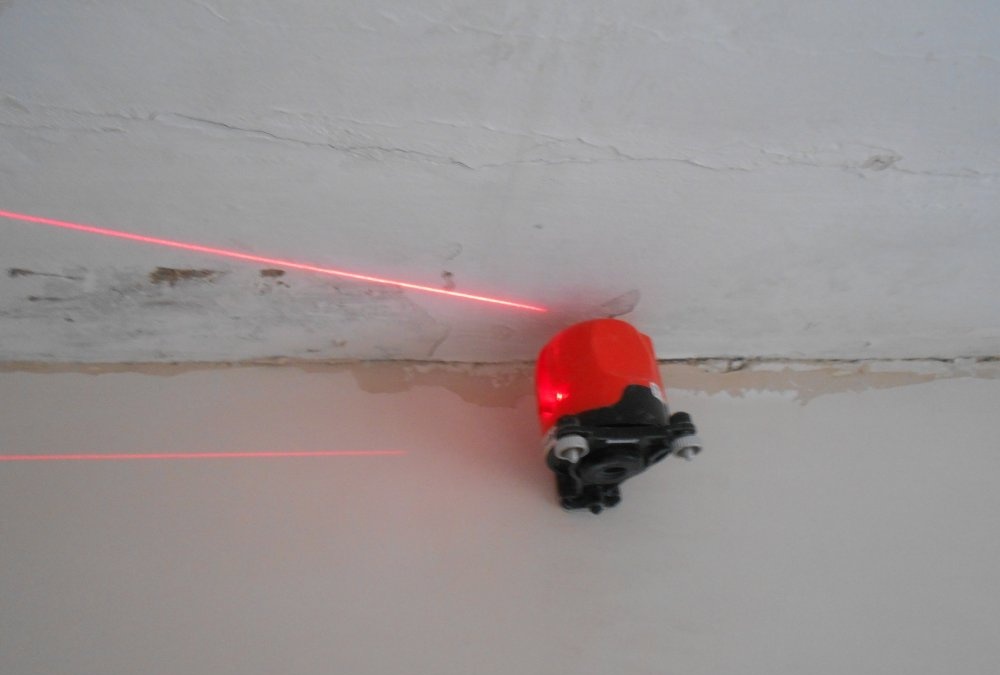
- - laser level;
- - screwdriver;
- - a construction stapler with staples or self-tapping screws (depending on the material of the jumpers);
- - marker or simple pencil;
- - wiring and room lighting elements (chandelier or spotlights).
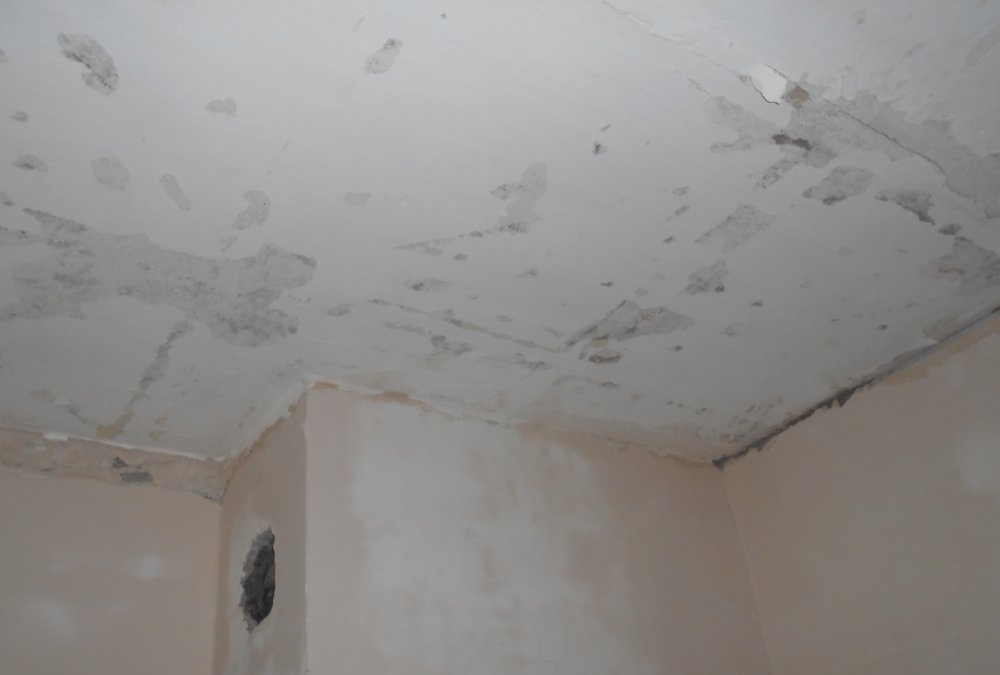
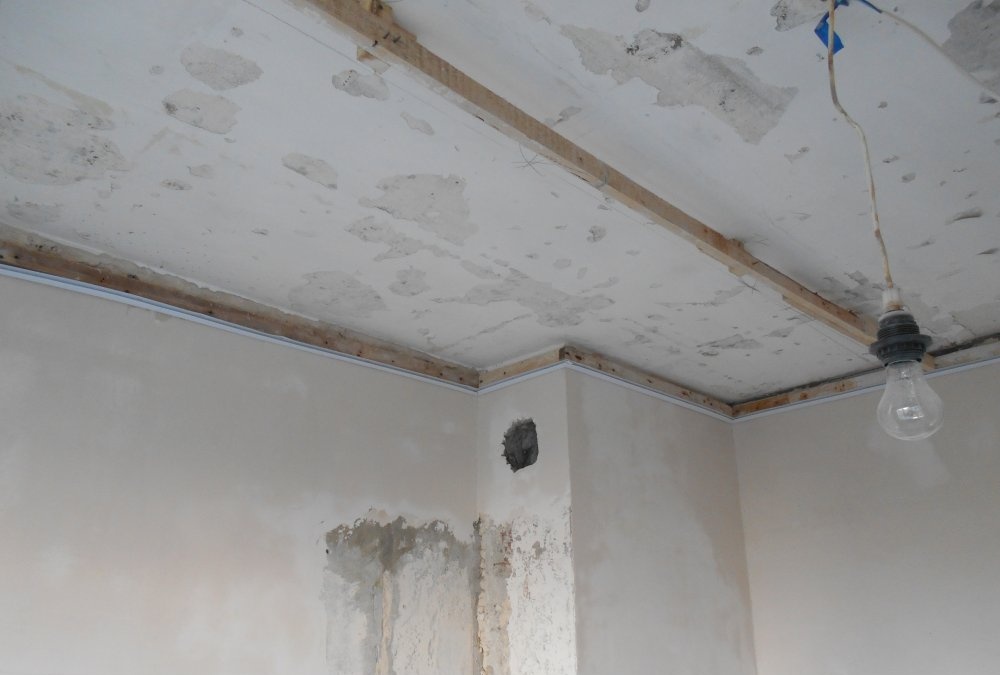
When all of the above is prepared, you can install the plastic ceiling. Using a laser level around the perimeter of the room, you need to mark off the lower border of the future ceiling.
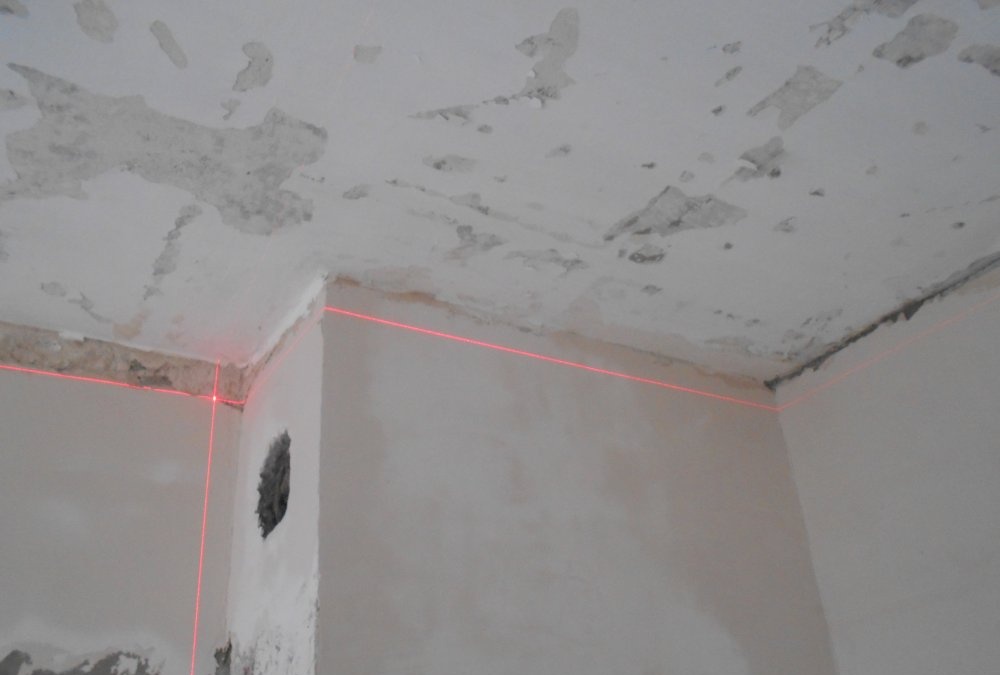
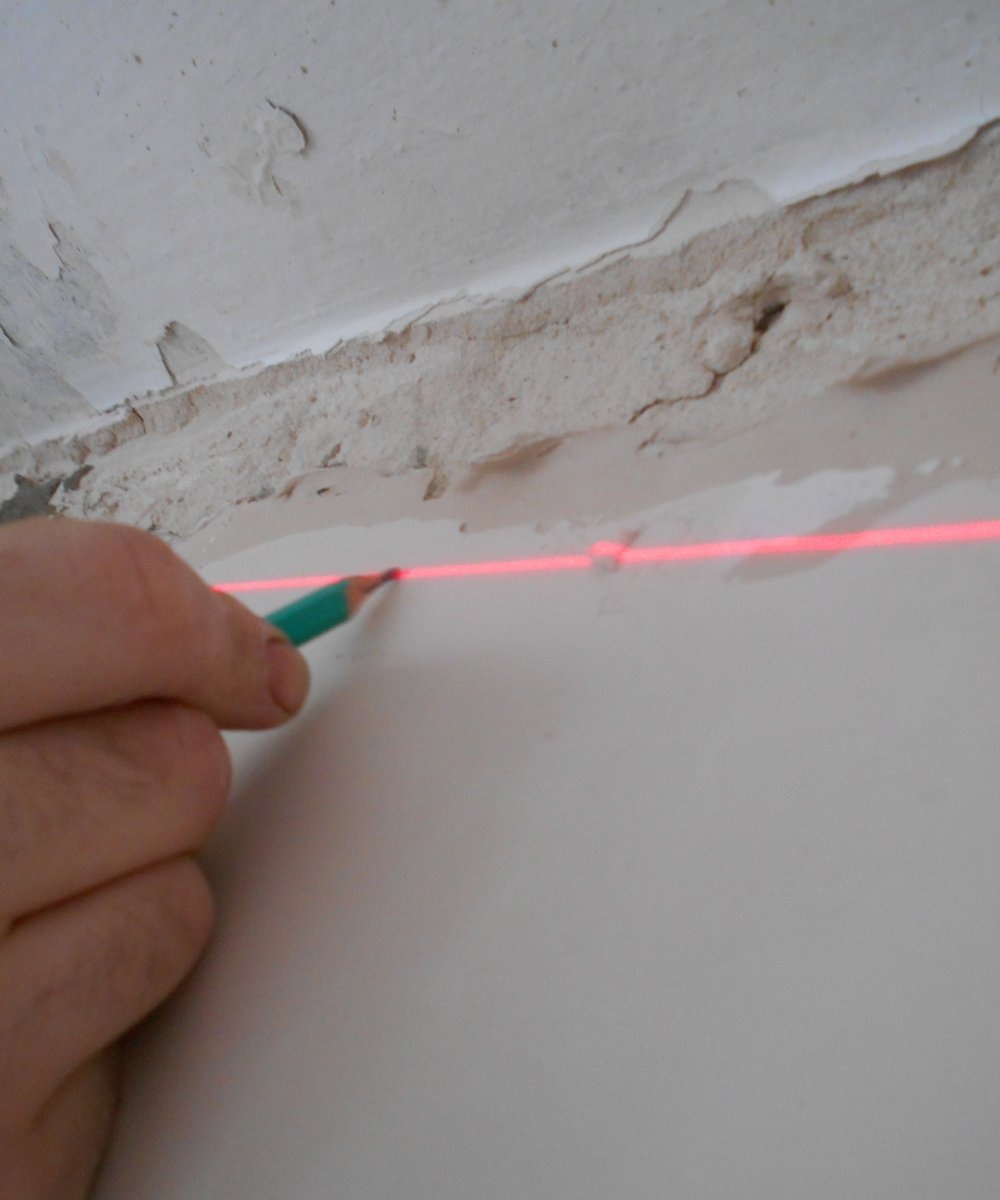
Using a simple pencil or marker, redraw the lines on the walls strictly according to the level.
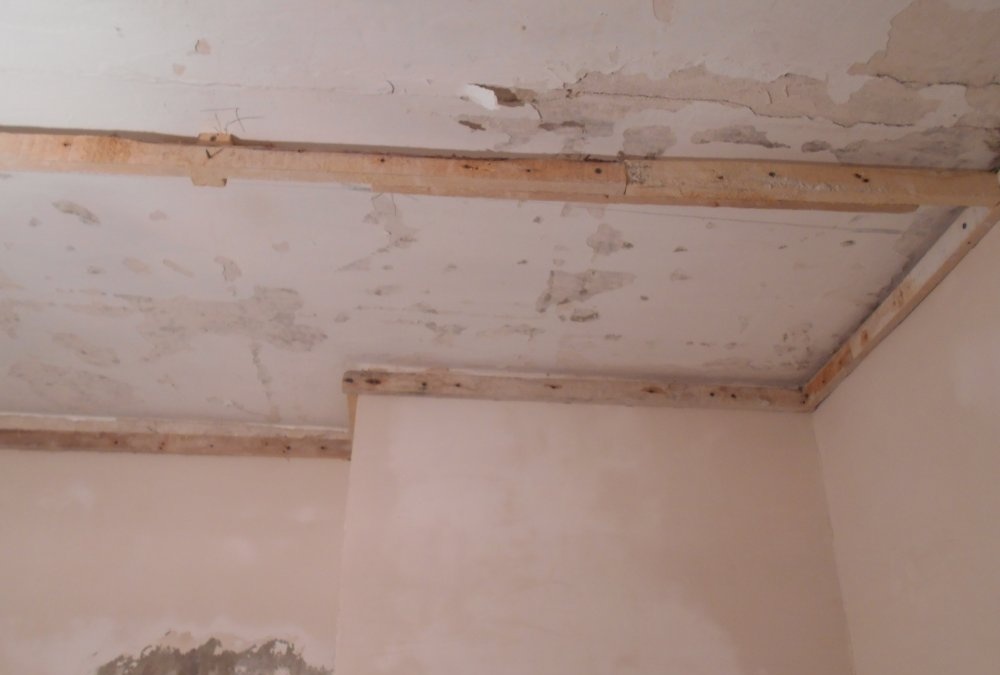
Then attach a beam or profile to the wall.
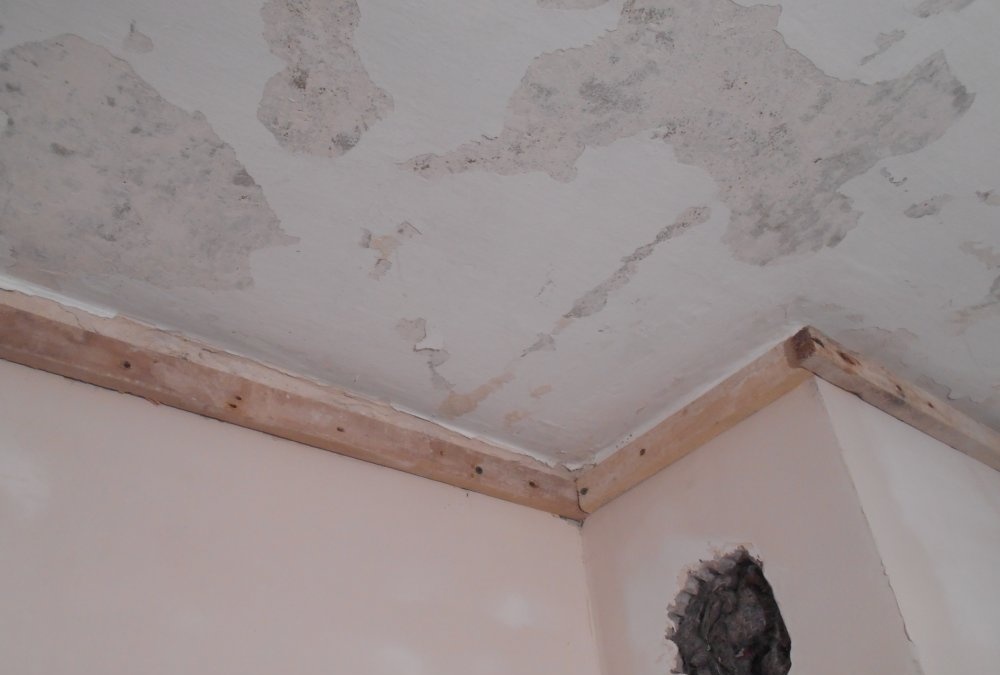
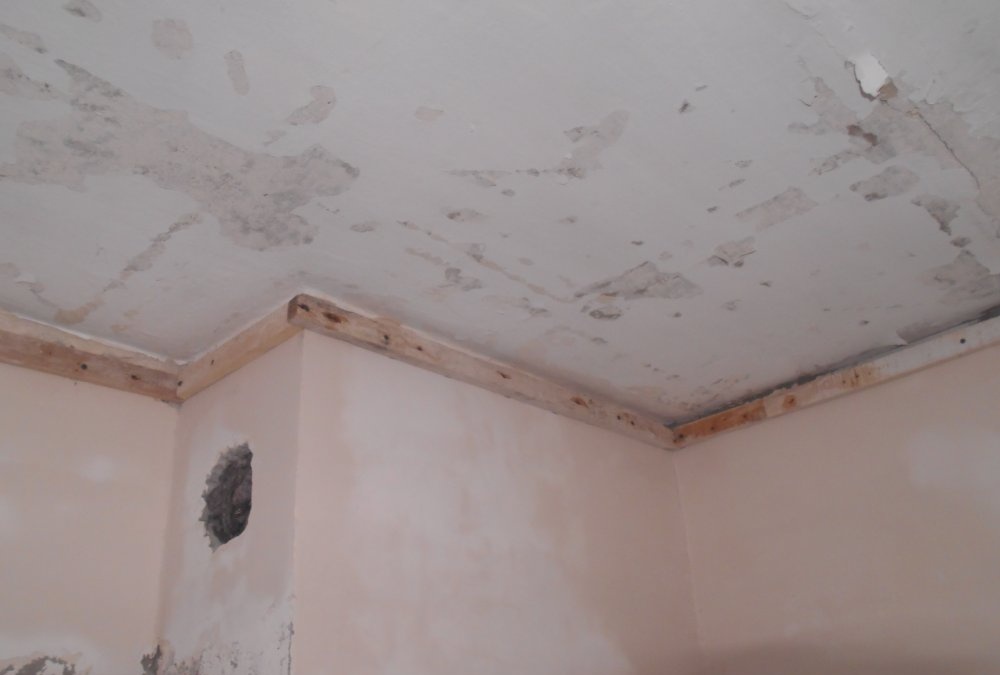
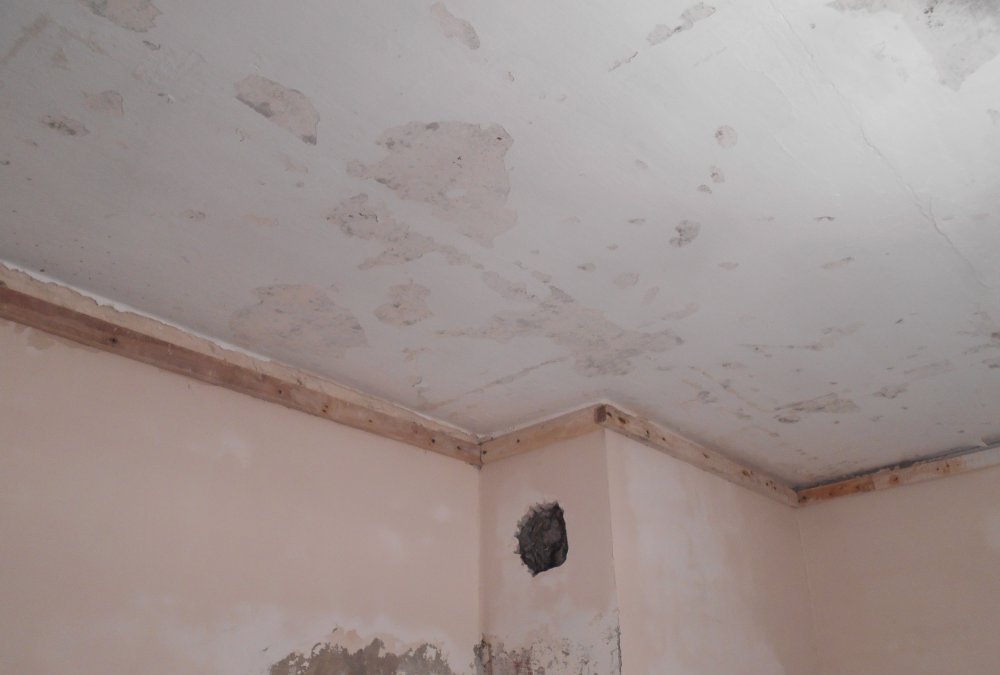
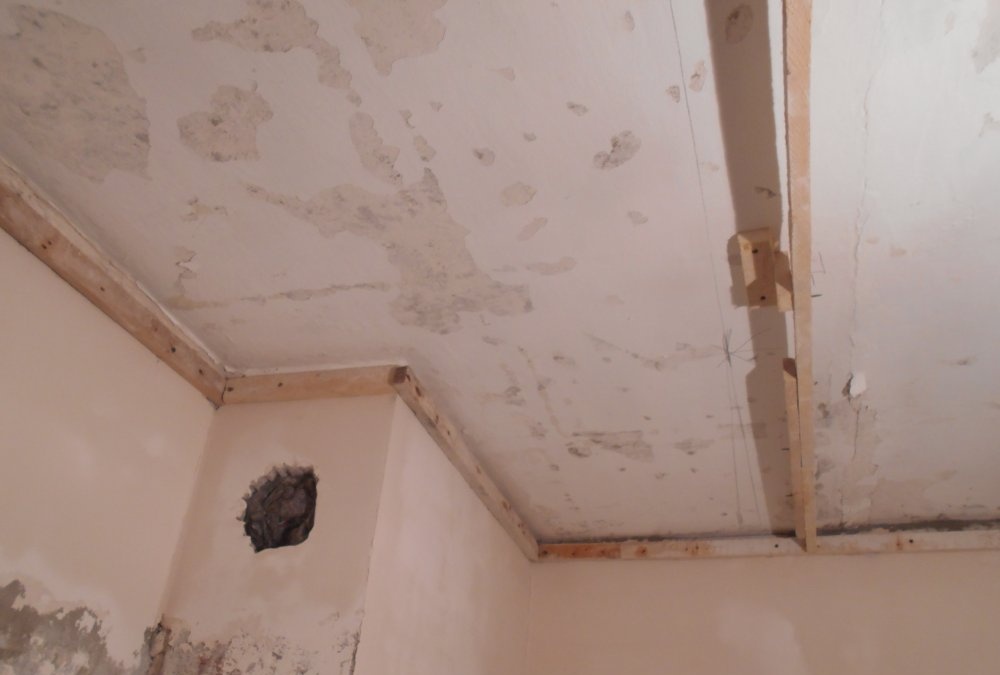
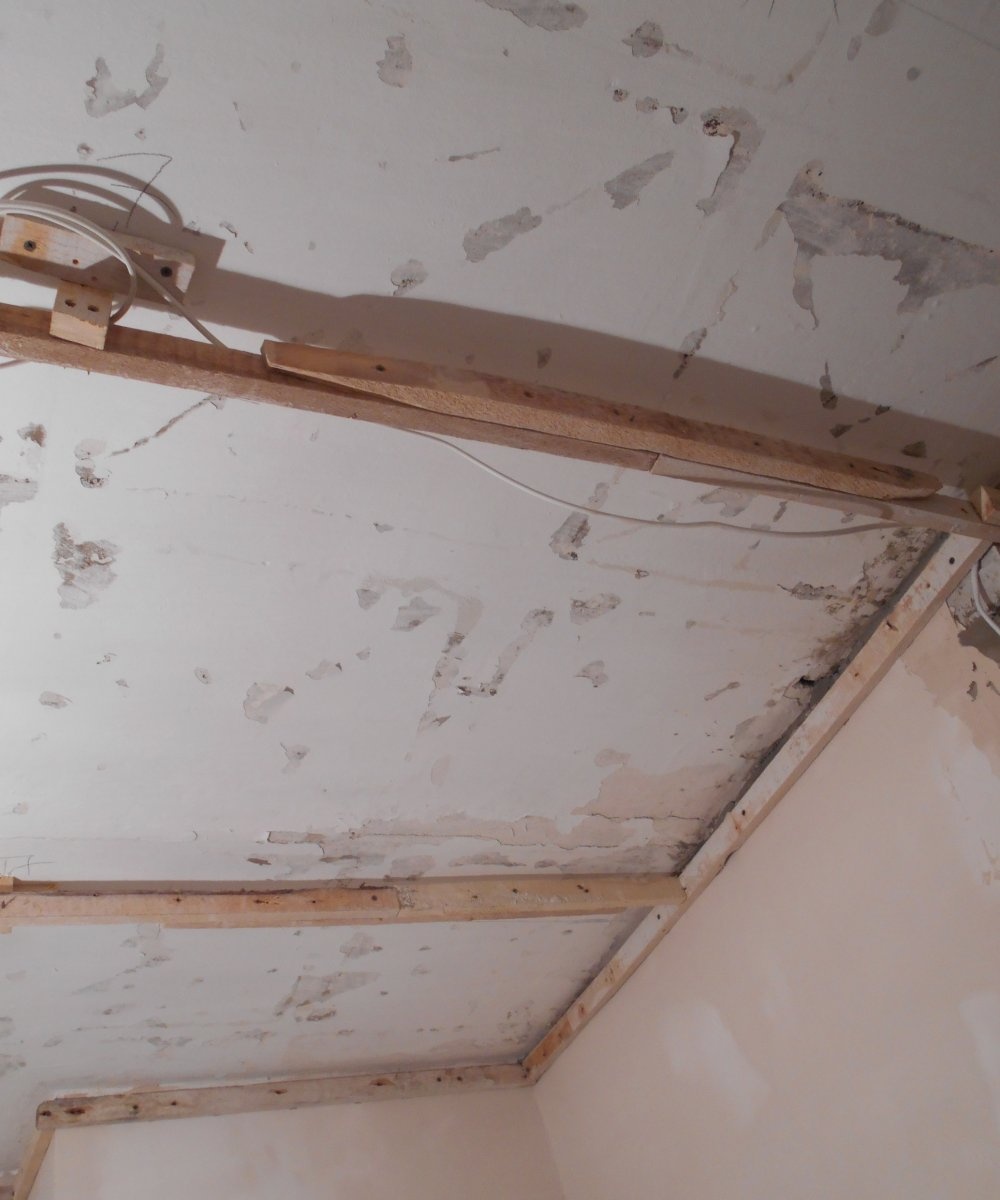
To do this, drill holes in the wall using a hammer drill, insert plastic wads and attach a beam or profile strictly along the line. After this, install parallel jumpers. The number of jumpers depends on the size of the ceiling.

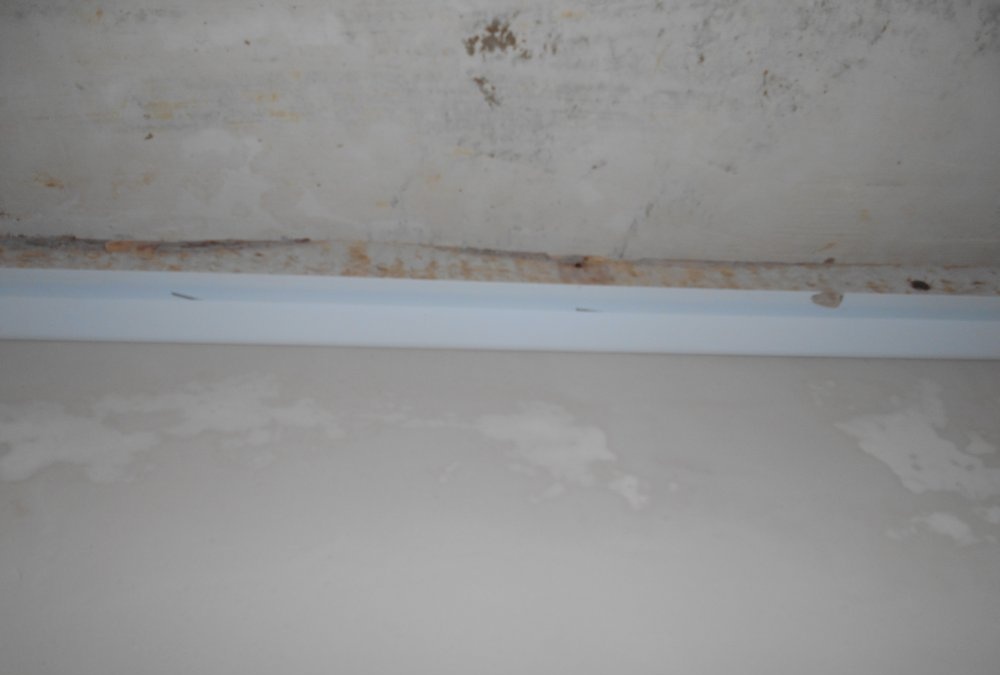
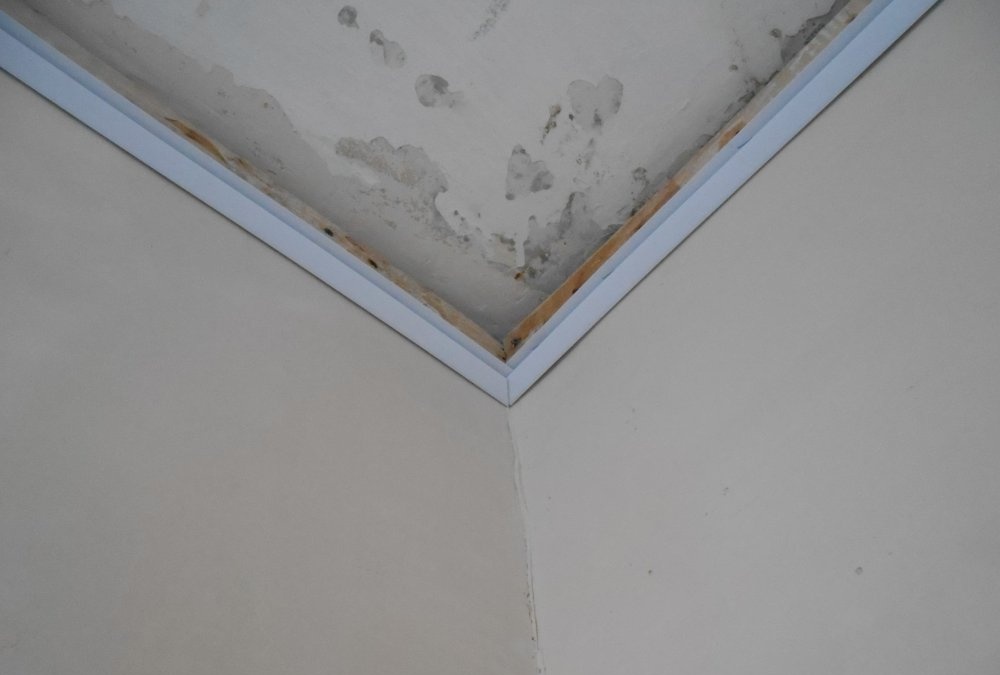
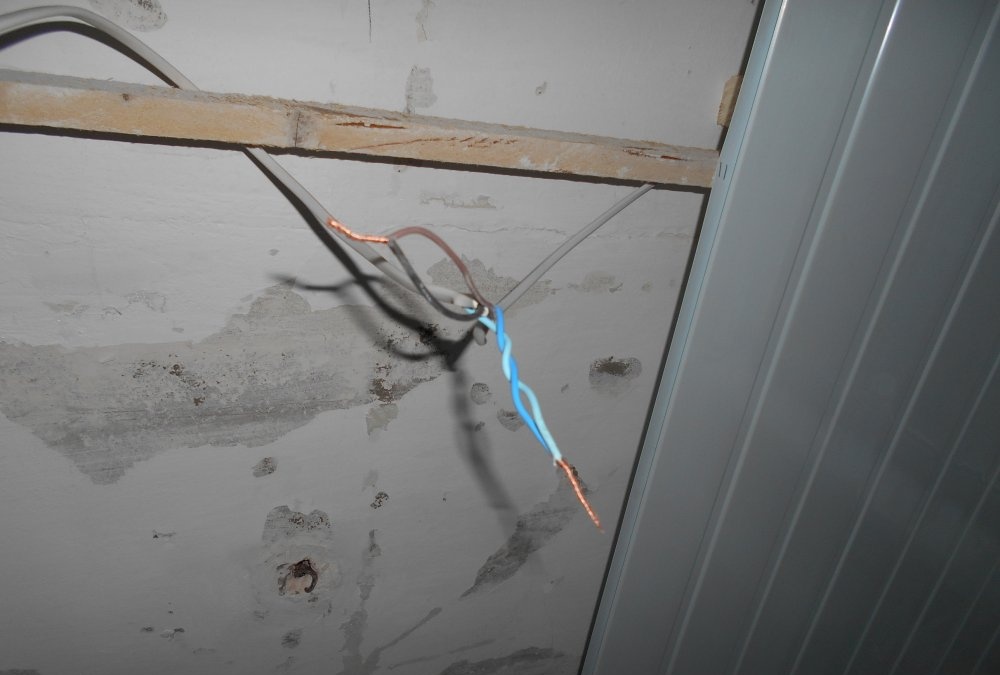
They are installed no more than 1 meter from each other. Then you need to attach the starting strip to the beam or profile along the wall with staples or self-tapping screws. It is advisable to cut the corners of the starting strip at an angle of 45 degrees. This way they will look more aesthetically pleasing and beautiful. The next step is to lay the wiring for future lighting.
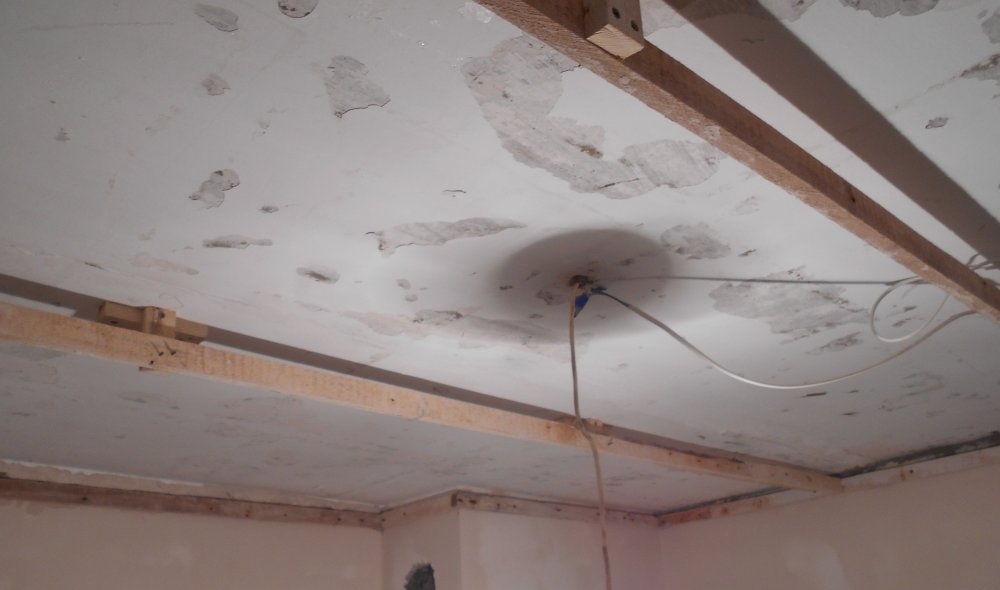
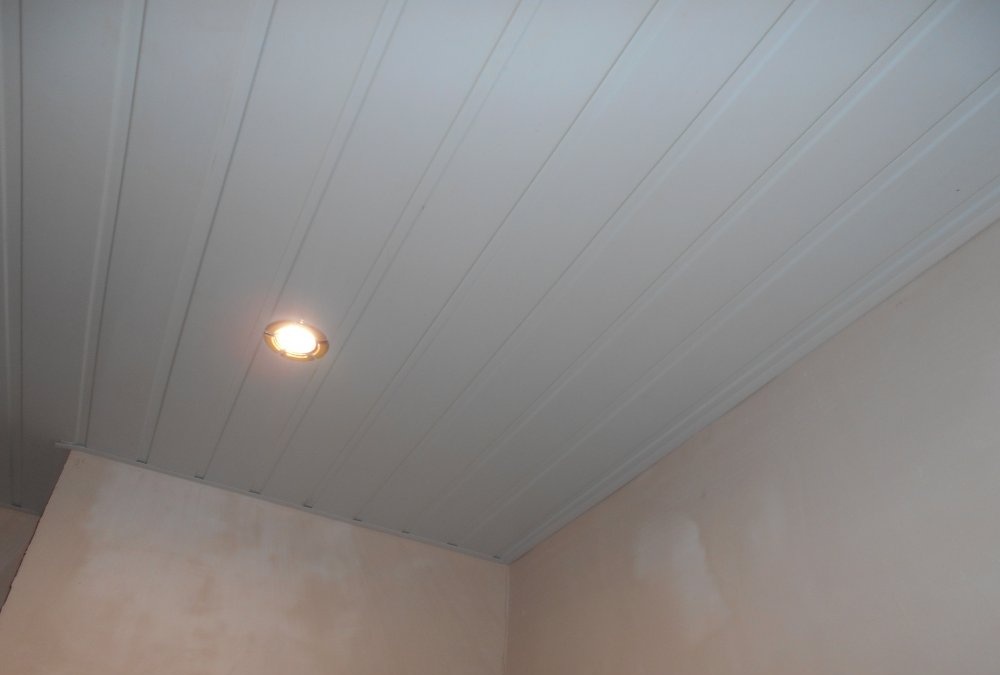
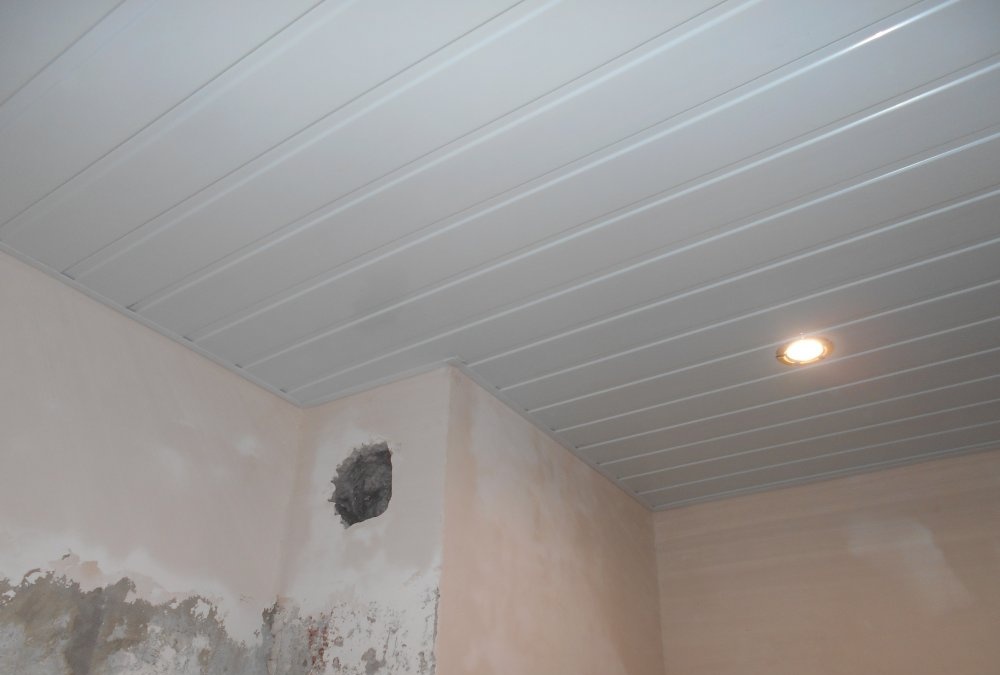
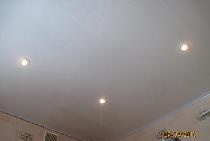
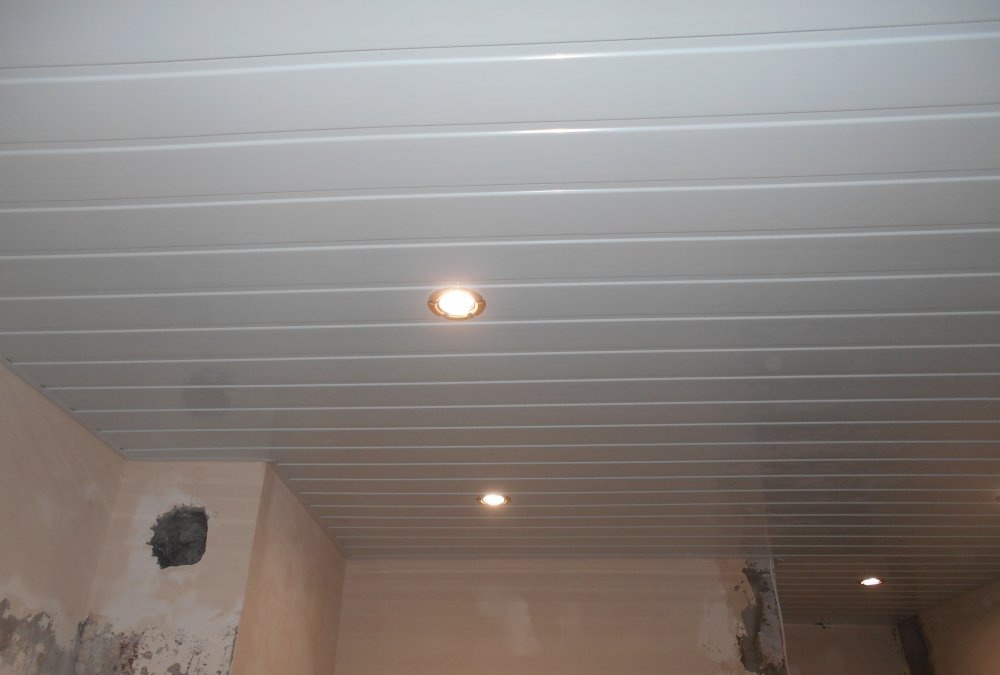
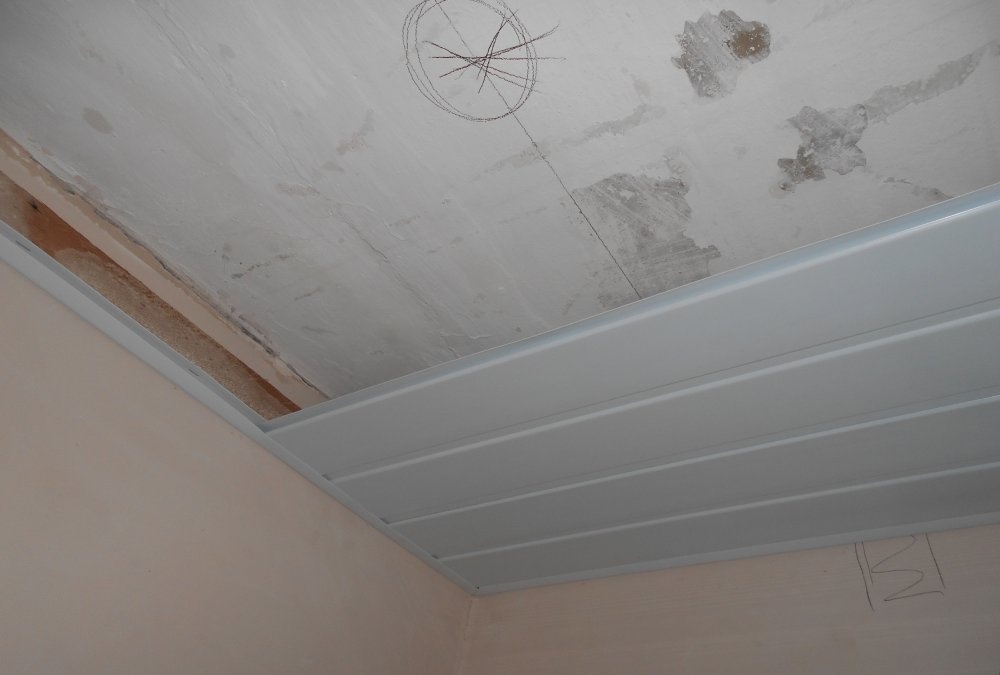
If it is one chandelier, run the wiring to the center of the ceiling. And if there is spot lighting, calculate the number of flashlights and route the wiring symmetrically to their location. After this, you can begin installing plastic panels on the ceiling. Cut a strip of plastic to the required size and insert it into the starting strip.
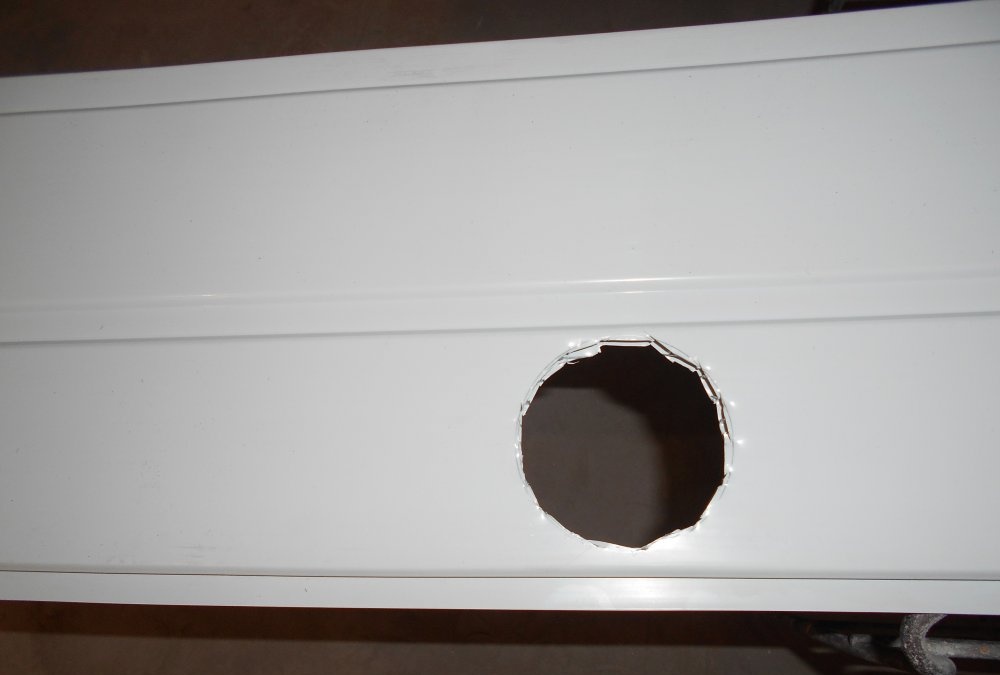
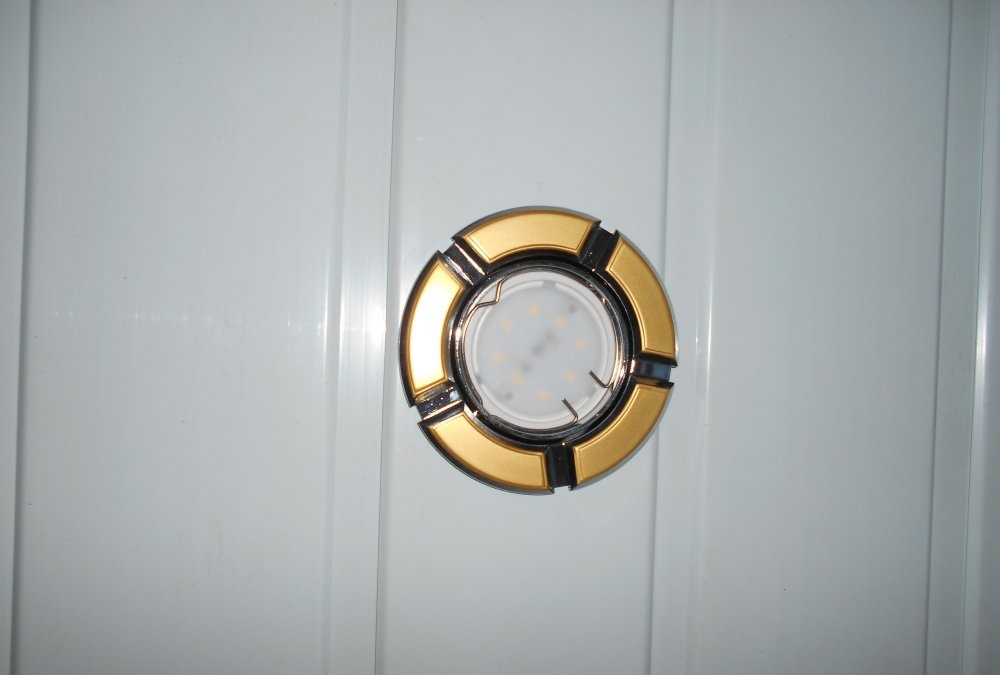
Secure the edge of the plastic to the jumper with staples or self-tapping screws. Then cut off the next strip of plastic panel, insert it into the lock of the already installed strip, press well so that it snaps into place. Thus, it is necessary to attach the plastic panels one by one. As work progresses, in the places where lighting will be installed, immediately make holes and install lighting elements (spot lights or a chandelier).
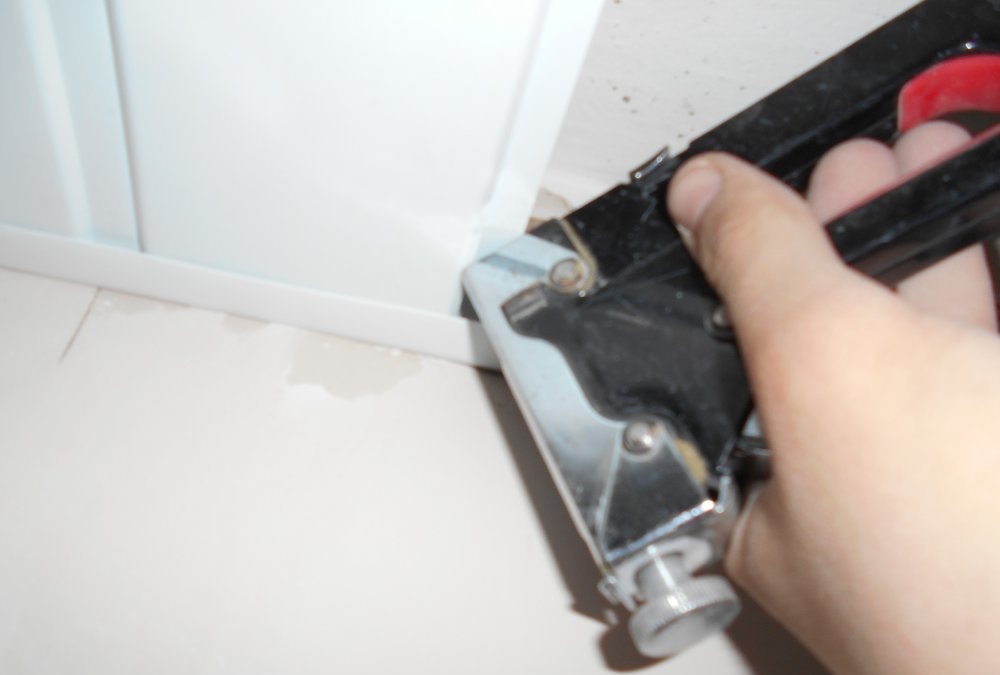
And also install the remaining plastic panels to the last one yourself.And to insert the last plastic strip you will need a wide spatula. Use it to lower the edge of the starting strip and insert the plastic into place. The main thing is not to overdo it so that the starting line does not burst. After all the work has been completed, the plastic ceiling is considered installed and is ready for use.