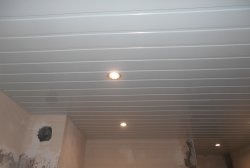
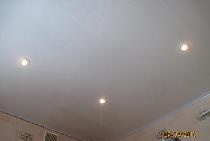
A plasterboard ceiling can not only successfully highlight the design of a room. It is very economical and very easy to use. Unfortunately, in order to make your dream come true and become the proud owner of such a ceiling, quite often you have to pay quite a decent amount of money to repair companies.
For those who want to save money, there is a great option - making the ceiling yourself. At first glance, this seems like an impossible task, but in reality everything is easy and simple, you just need to try.
We will need:
- - guide profile;
- - ceiling profile;
- - dowels;
- - screws;
- - single-level connector;
- - direct suspension;
- - sheets of plasterboard;
- - roulette;
- - level;
- - painting cord;
- - pencil;
- - hacksaw;
- - hammer drill;
- - scissors;
- - screwdriver;
- - ceiling lamps.
Installing a plasterboard ceiling
Before you start purchasing material, you need to calculate everything by first taking measurements.
Next we move on to preparing the room. All furniture must be taken out of the room or covered with film. It is recommended to clean the ceiling from dust and old coating.
Ceiling markings
The next step will be marking the ceiling; the entire outcome of your work will depend on it.
To correctly determine the ceiling level, first make marks on the walls. Using a level, mark the walls at the required height. Then, using painter's cord, connect the strokes into one line. Next, using a tape measure, measure the distance from the marked line to the base surface, thereby determining the lowest point of the ceiling. Do not forget about the future lighting of the room; for this, take care of the lamps and connectors for them in advance.
We mount the frame
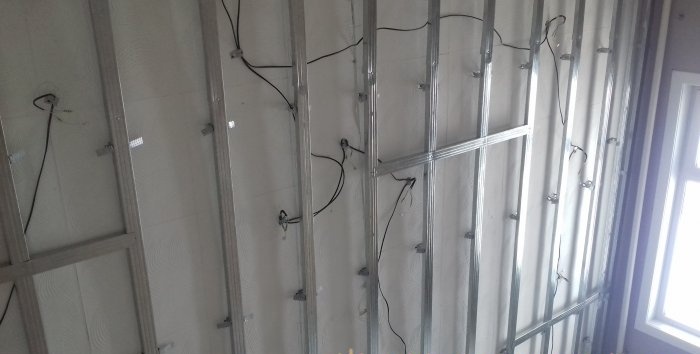
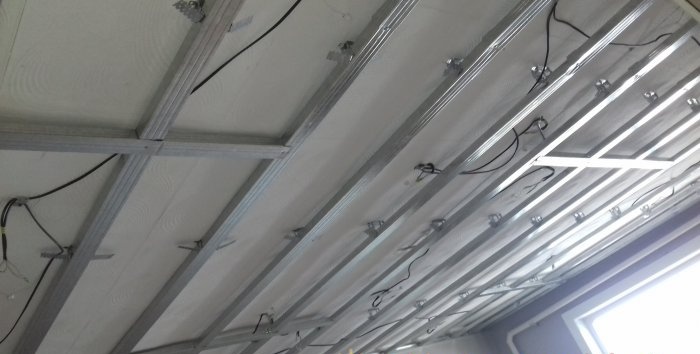
We install the guide profile around the perimeter of the room so that the drawn horizontal line coincides with the bottom end. Next, measure the required length of the profile and cut it using special metal scissors. We fix it with dowels.
We draw lines on the ceiling parallel to the window opening, measuring a distance of 40 centimeters. We install hangers. We place the fasteners for the profile on the first line at a distance of 25 centimeters, the subsequent ones at a distance of 50 centimeters. Screw in screws at the junction of the guide profile and the ceiling.
Sheathing the frame
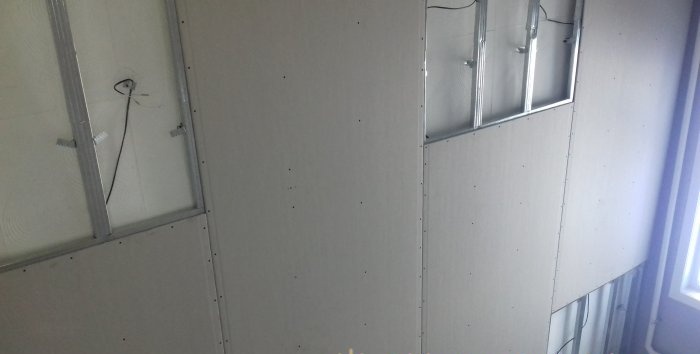
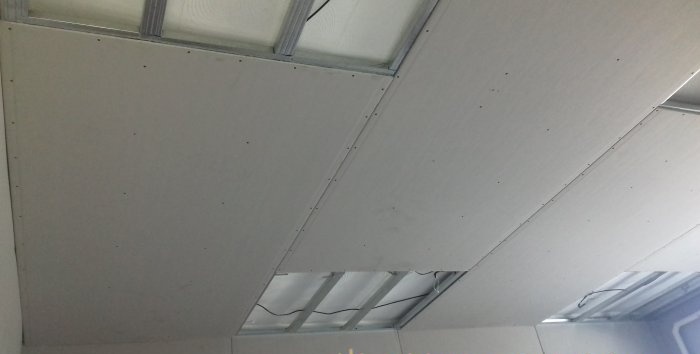
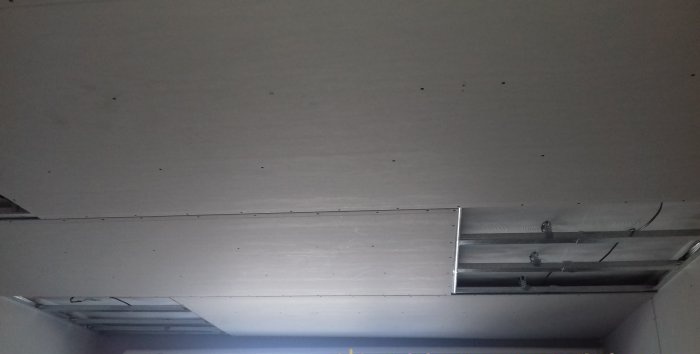
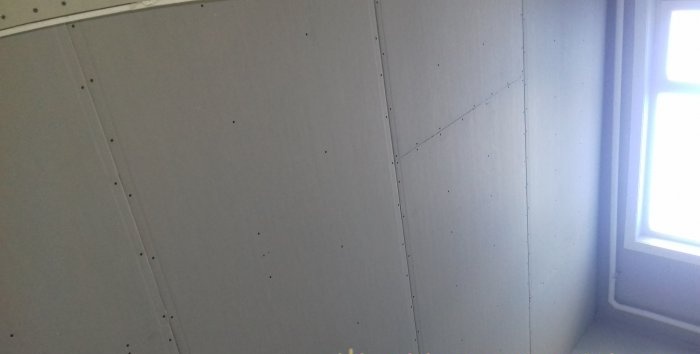
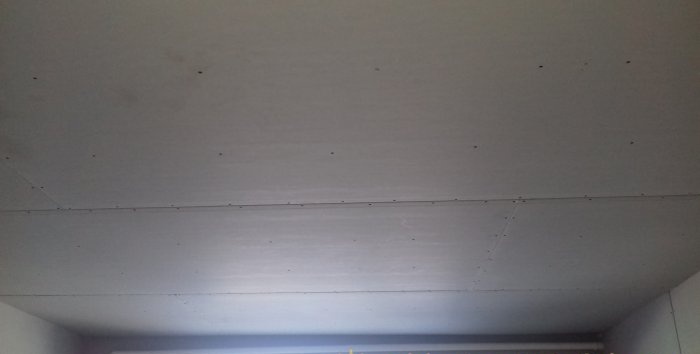
Attaching sheets of drywall to the profile is quite easy. Once the drywall is attached, you need to cut holes for the lights.
Surface finishing
A day after finishing the work, you can begin finishing the ceiling surface. A primer can be used for this purpose. After you have thoroughly covered the ceiling with it, you will need to seal all joints with putty. It is recommended to strengthen the seams with reinforcing tape.
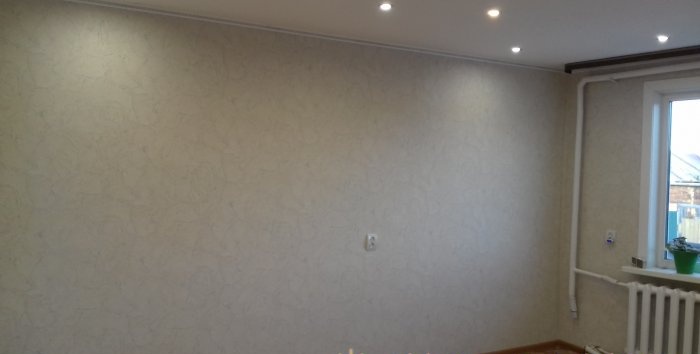
Then we screw in the lamps and the ceiling is ready!
