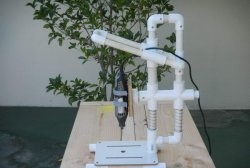
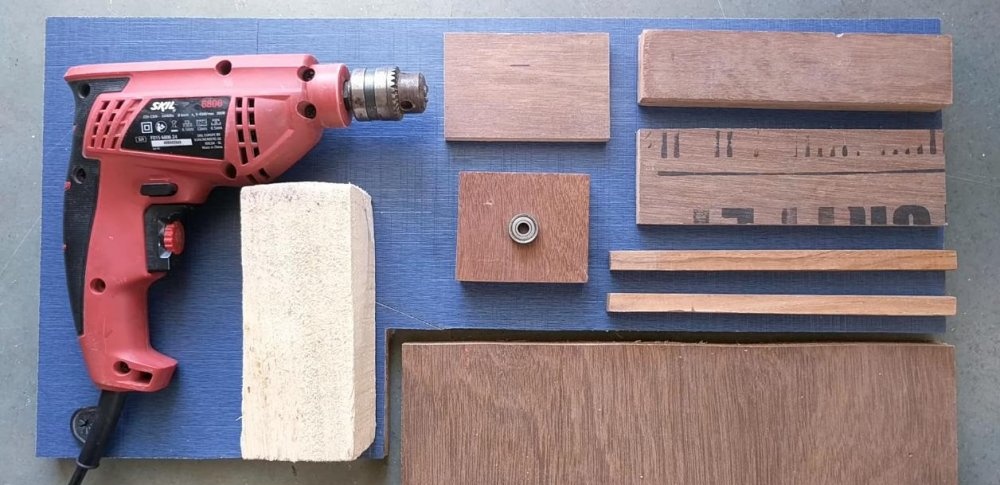
Anyone can make such a simple lathe at home with their own hands, if they have a regular drill. All parts of the machine are homemade and made of wood, except for the bearing and screws. Almost nothing unnecessary, just everything you need.
So, what do you need for a lathe:
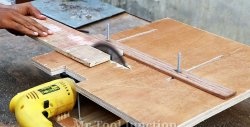
First you need to decide on the size of the machine table top. These are the sizes I took, yours may be different.
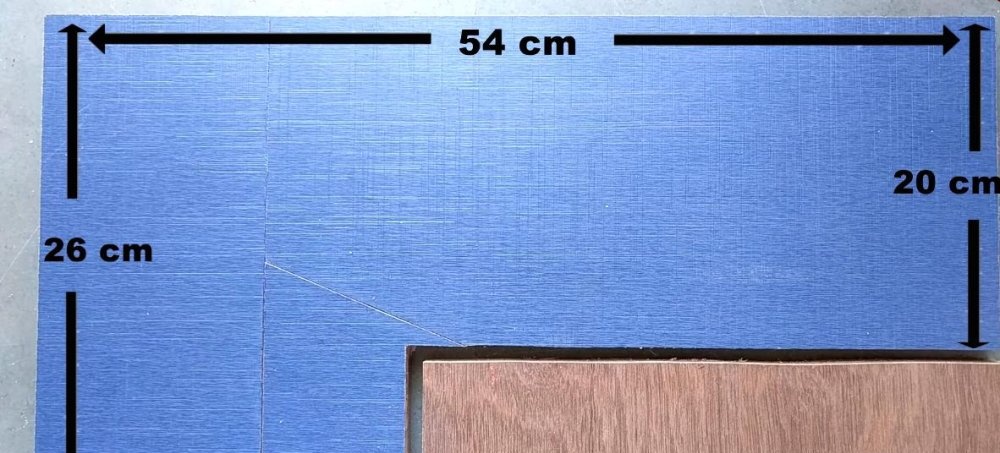
The dimensions of the tabletop are determined by the size of your drill and the dimensions of the workpieces that you will need to process in the future.
The first thing to do after you have decided on the dimensions is to find the center of the drill. To do this, place it on the tabletop and measure the distance from the center of the cartridge to the tabletop.
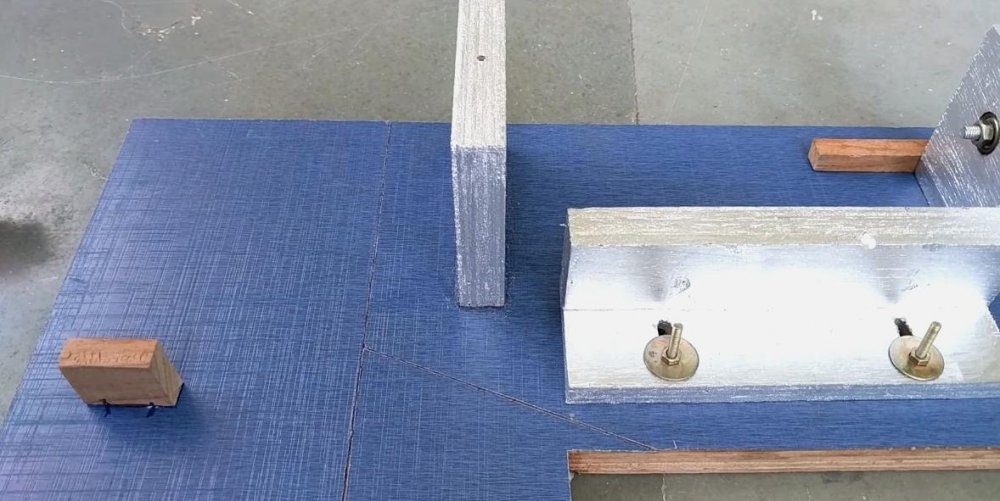
Then we take a square piece of wood and drill a hole in it for the neck of the drill. The center for the hole is the distance we just measured. This is necessary in order to fix the drill evenly.
We saw off the excess and for now put this mount to the side.
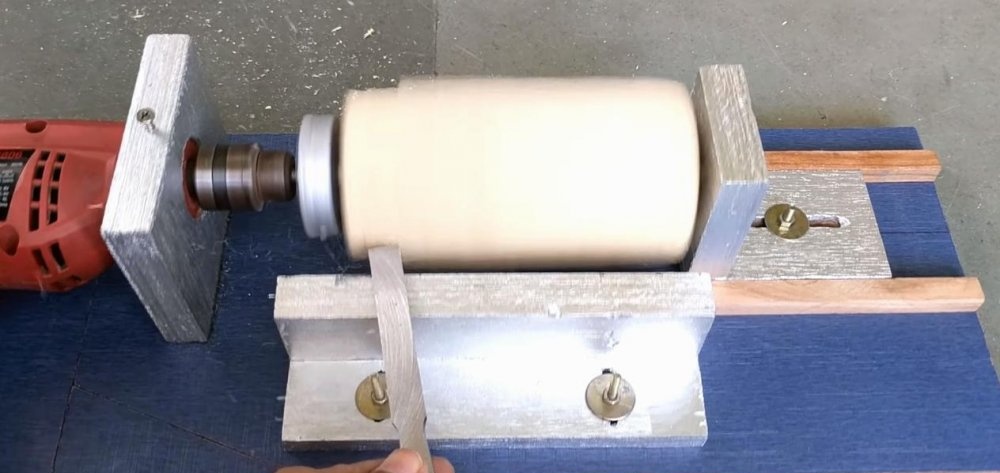
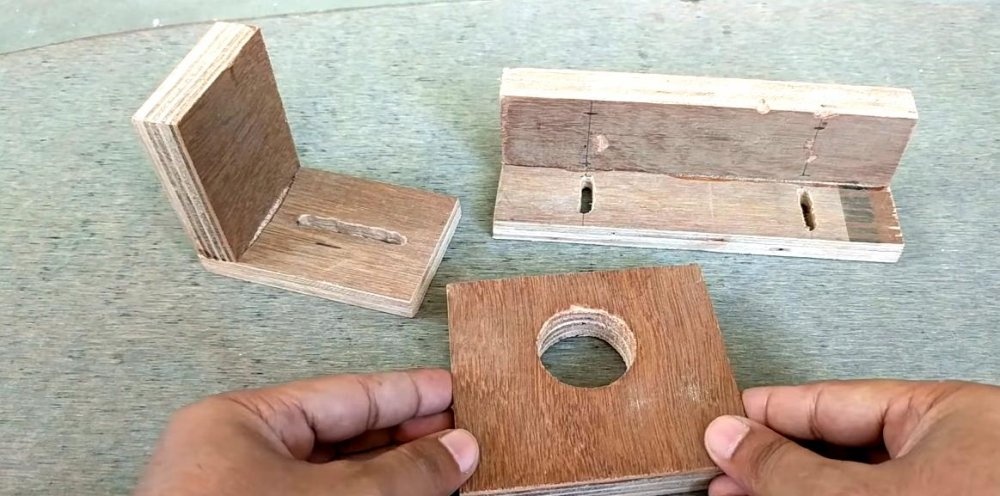
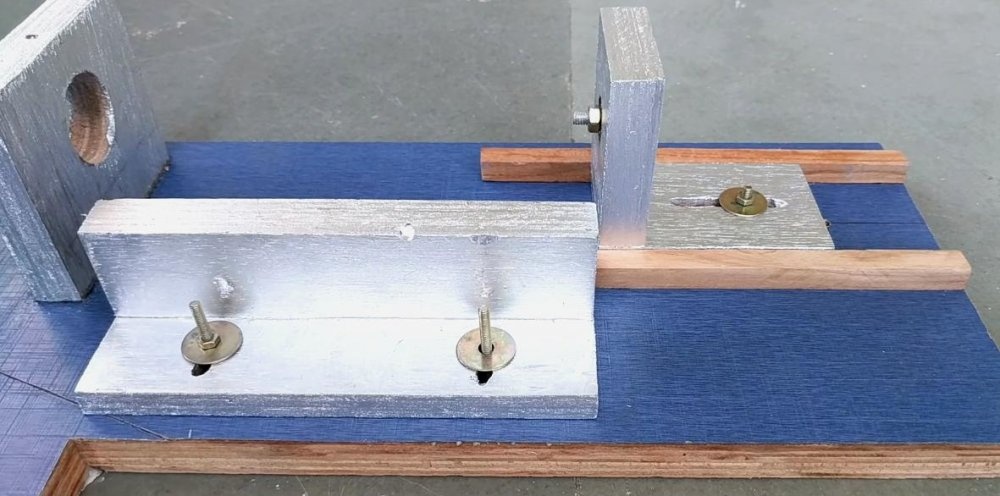
Now we assemble two corner parts. These are two rectangular pieces of wood glued together.

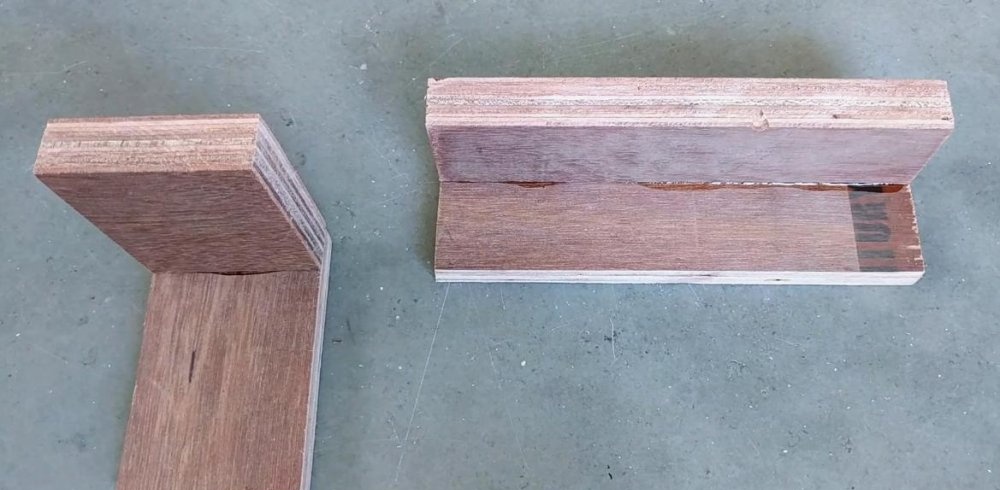
The smaller part is the machine head, which will hold the rotating workpiece on the other side. And the wider part is the bed on which the woodworking tool will rest. The height of this bed should be approximately equal to the size from the center of the drill to the table top. And the height of the headstock is more than one and a half times, so that the bearing can be secured in the centers.
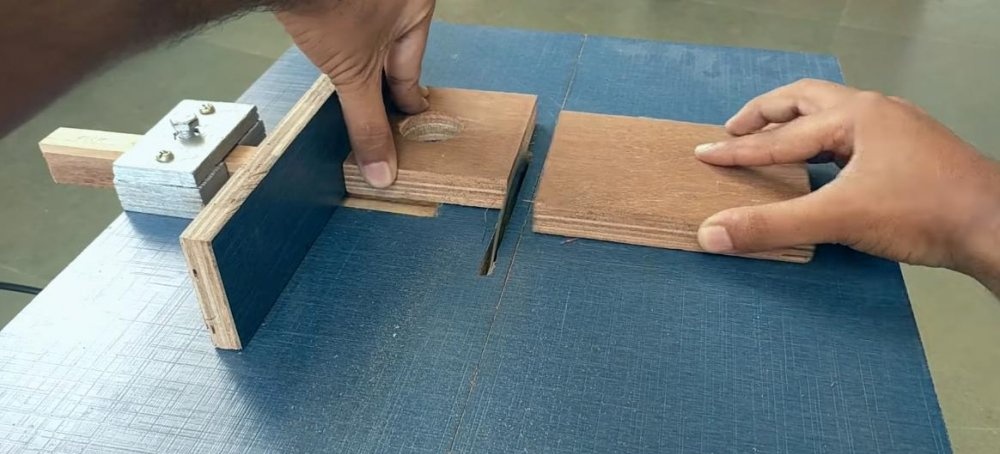
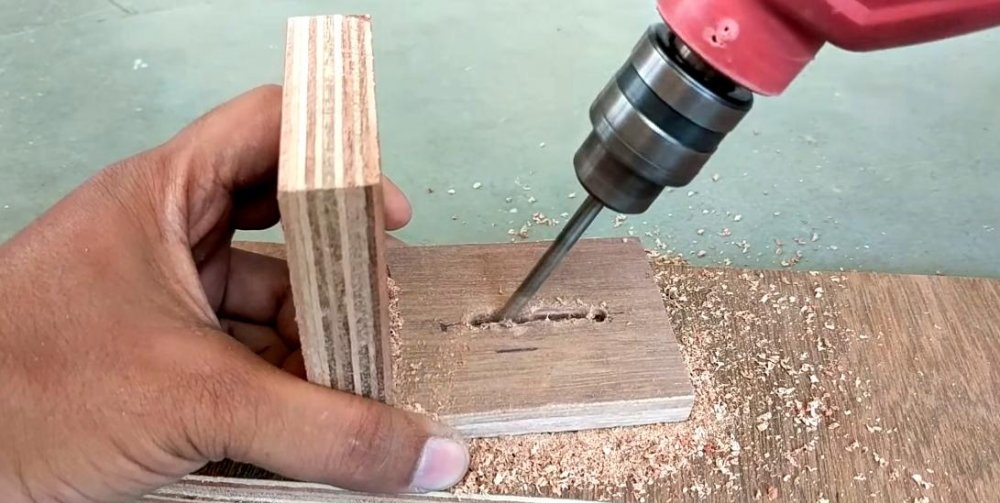
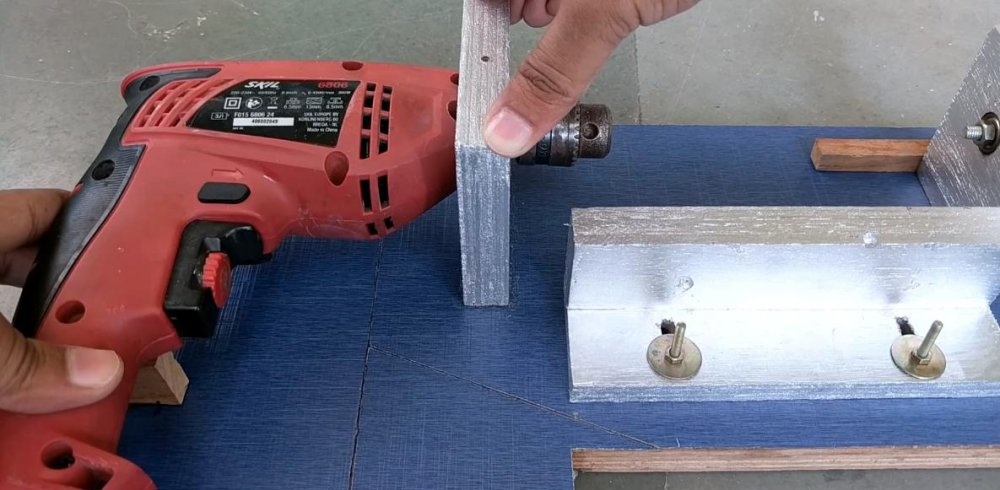
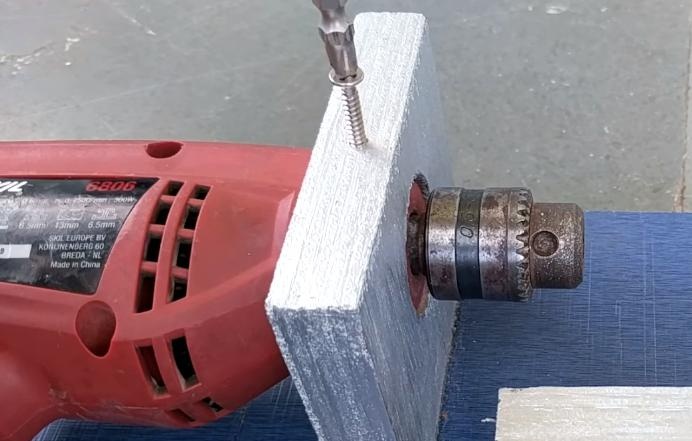
Using a drill and a drill, we make guides at the headstock and bed. To do this, we make holes along the line and then connect them at an angle.

All three important parts are ready. You can spray paint them if you wish.
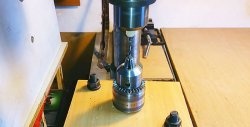
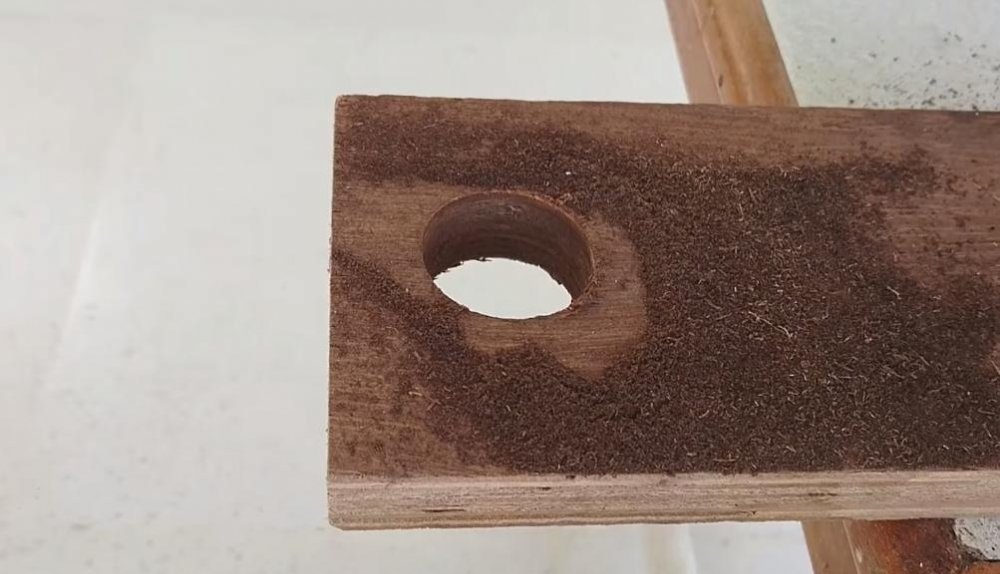
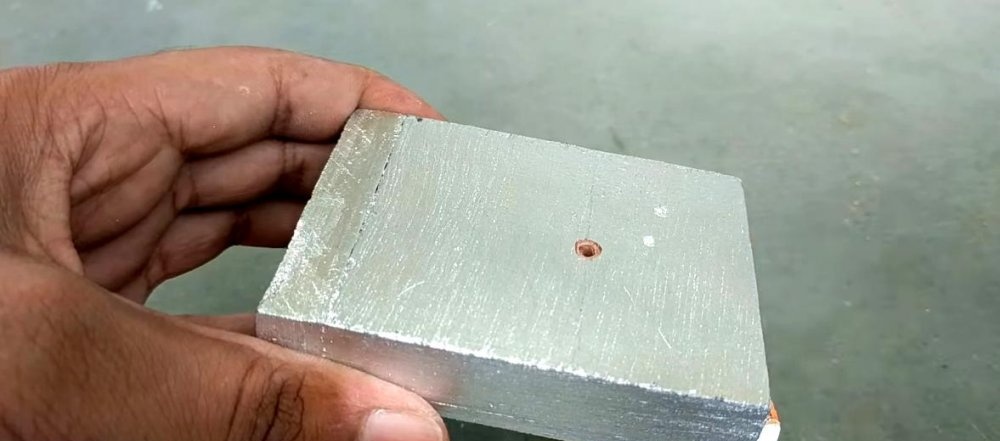
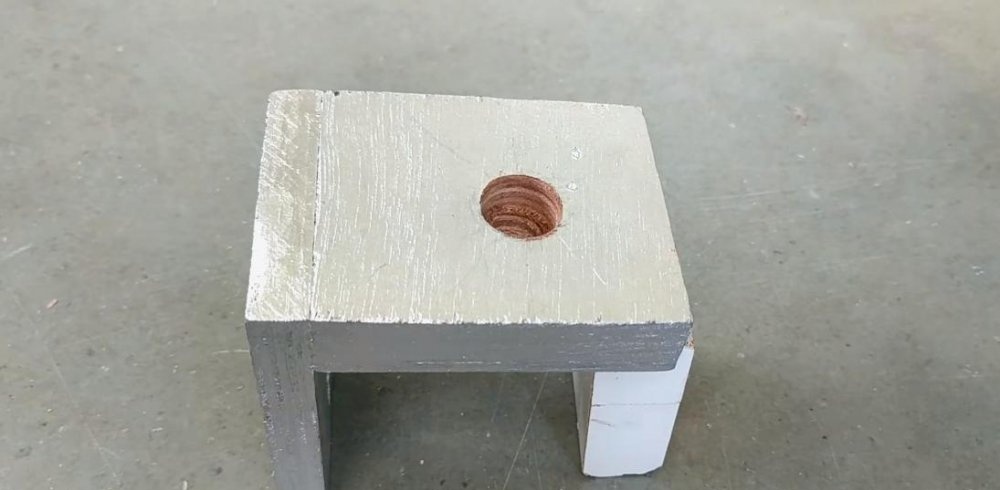
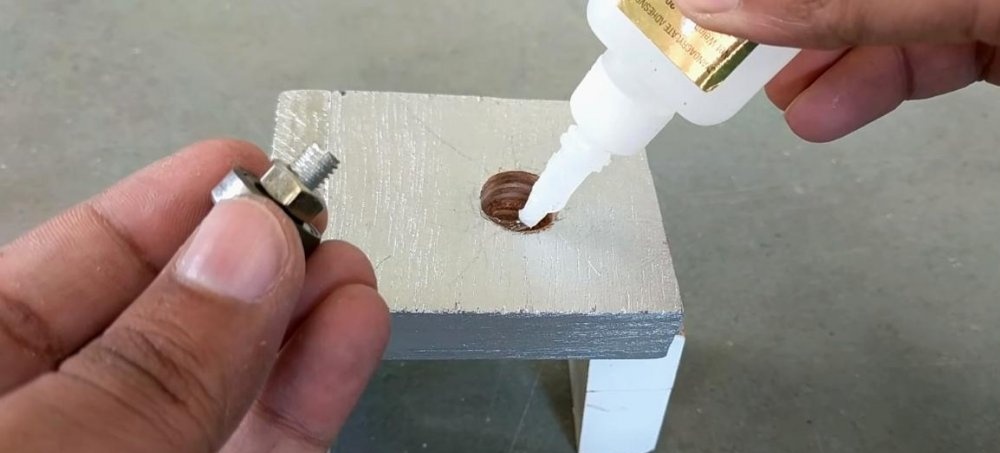
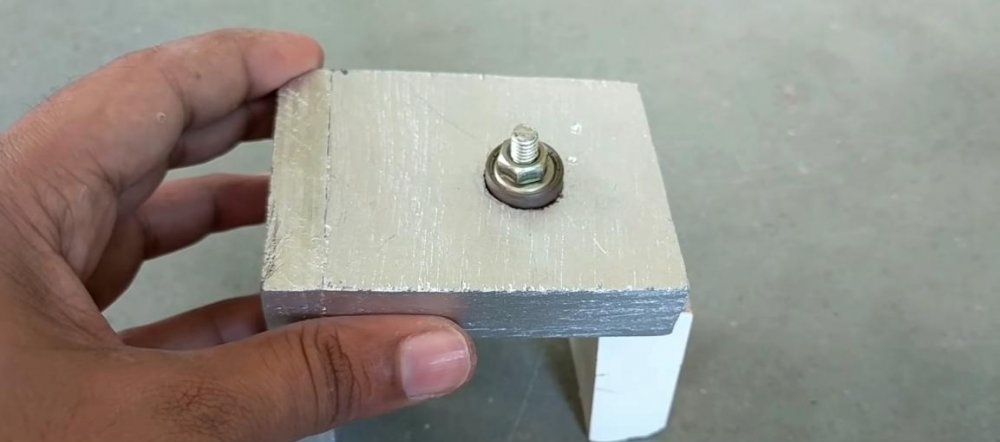
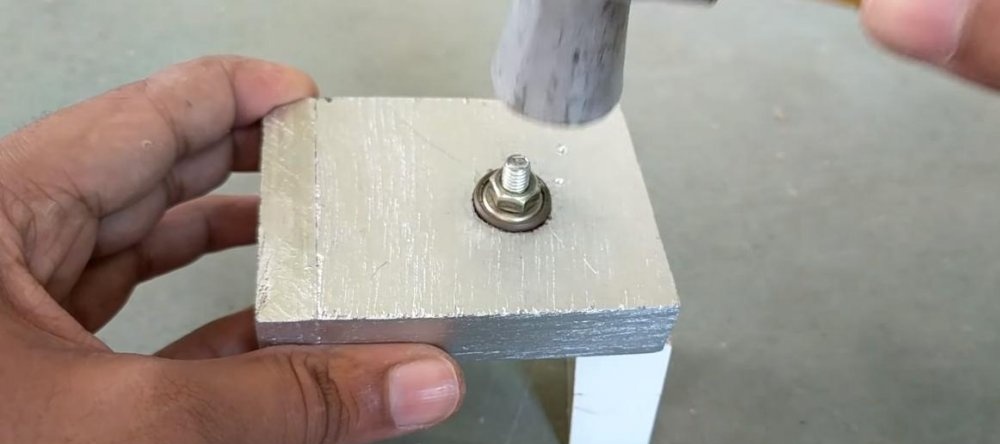
We make a non-through hole in the headstock for the bearing. We insert a bolt into the bearing and tighten it with a nut. Lubricate the seat with glue and install the bearing, with the nut facing out.
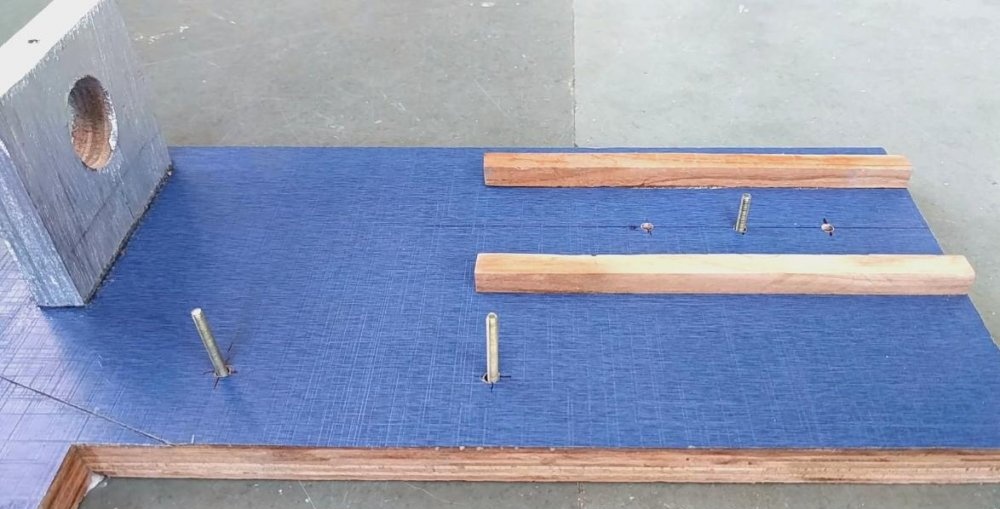
In the tabletop we attach guides for the headstock from ordinary slats. We drill holes for long bolts, you need three pieces. We also attach the mount for the drill with self-tapping screws. Plus a small wooden rectangle for the drill handle. We screw on the details.
We insert the drill and fix it with self-tapping screws so that it sits rigidly and does not rotate.
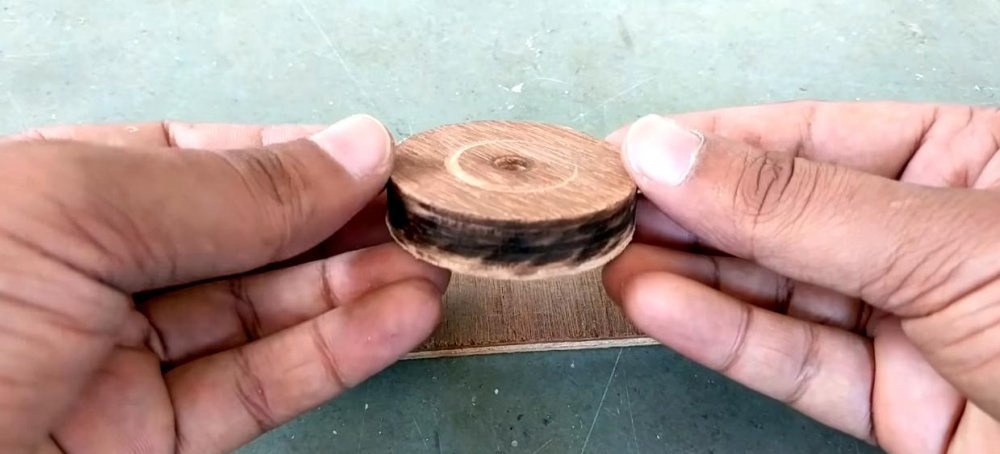
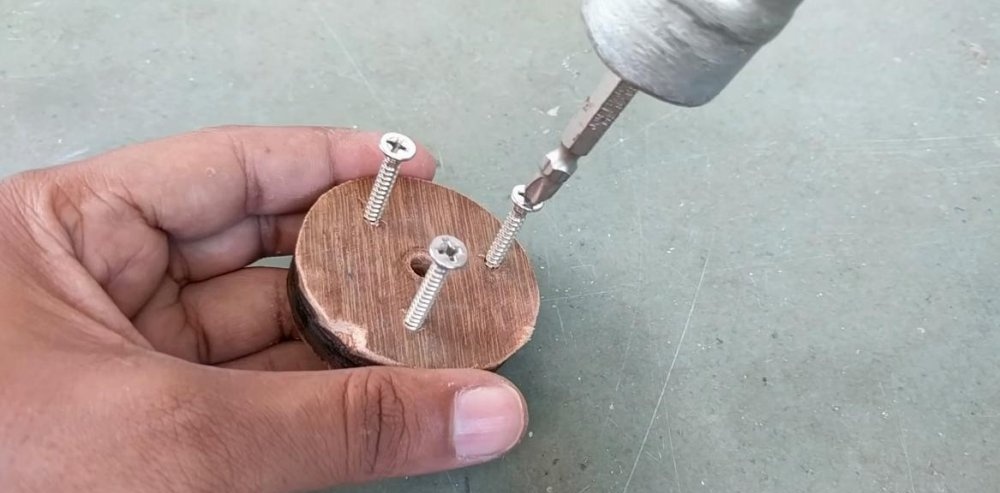
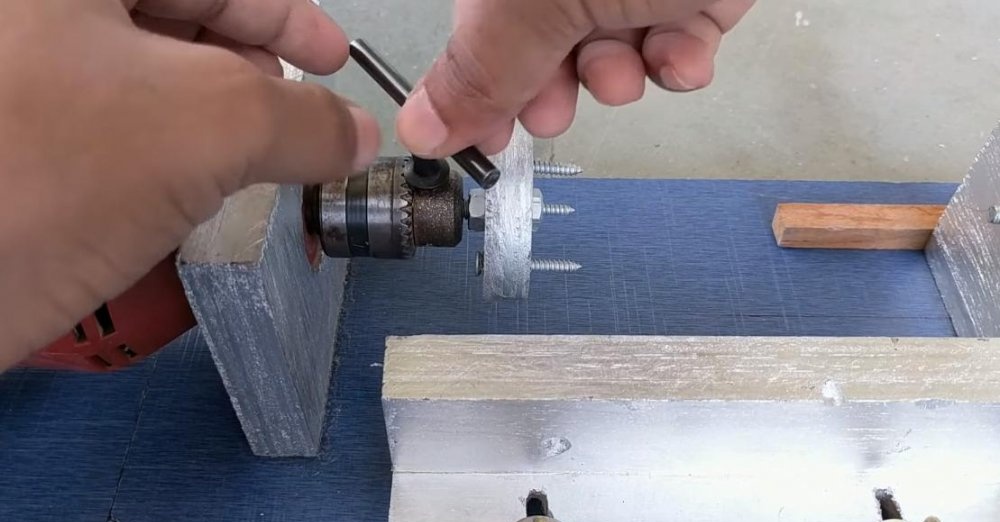
The wood lathe is almost ready, all that remains is to make a clamp that will hold the workpiece. To do this, cut out a round piece, screw screws and a bolt with a nut into it.
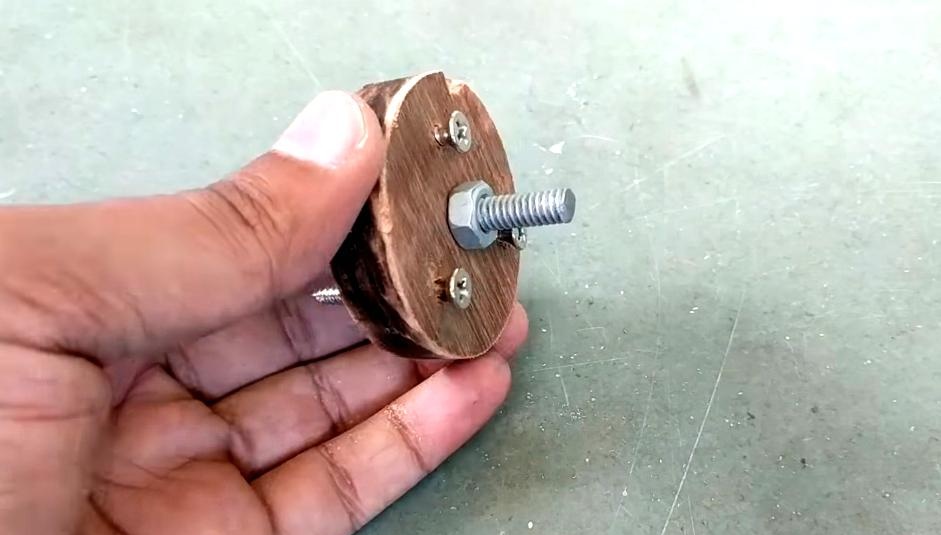
We fix it in the drill chuck.
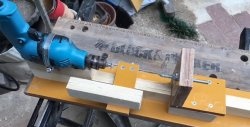
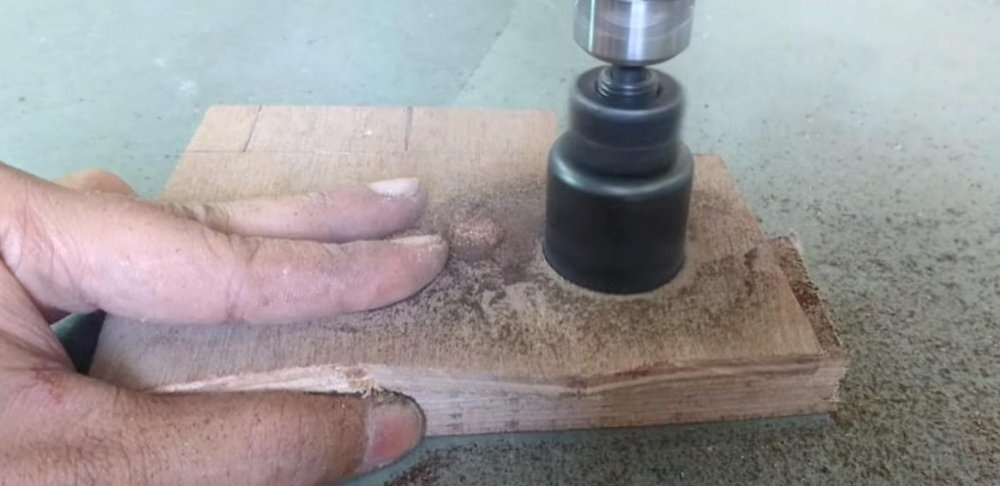
We secure the workpiece and clamp it with the tailstock, pre-drill holes for fastenings in the workpiece. Turn on the drill and hold the latch on the handle so as not to hold the button.
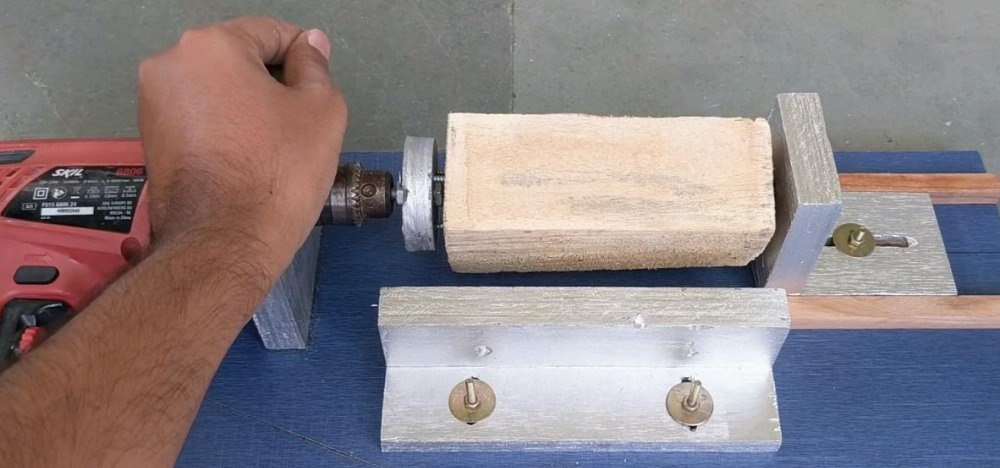
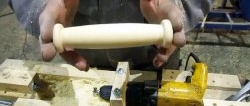
Let's try to process the workpiece. Everything is fine. Now you can make various pens, glasses, rolling pins, etc.