Materials and tools I used
So, to make the machine I needed the following materials:
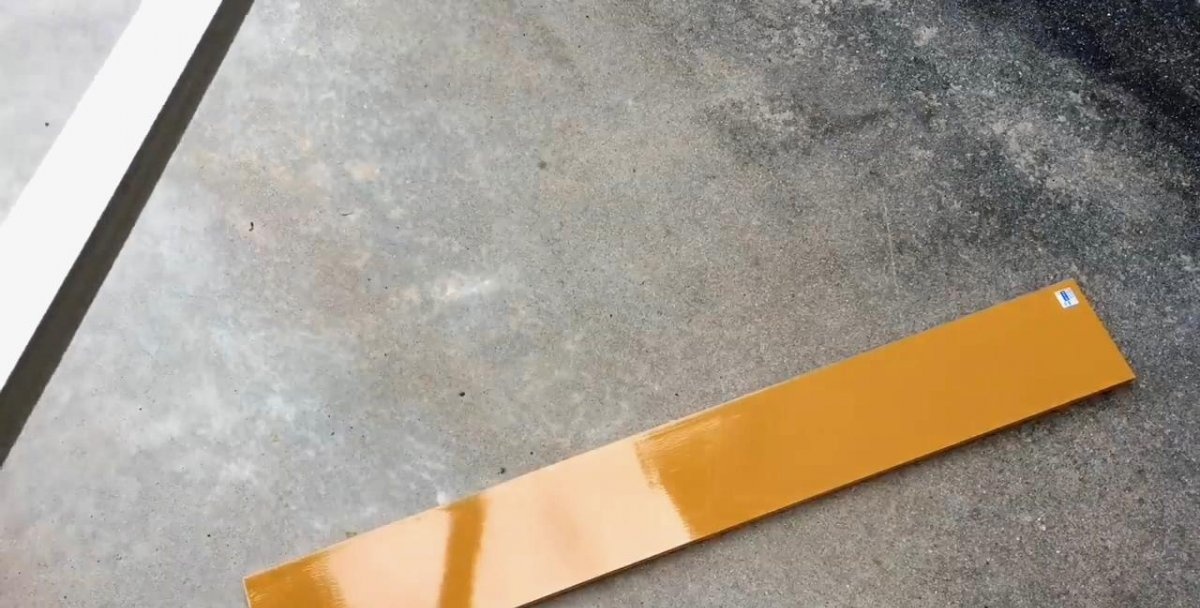
- a board made of multilayer plywood, about 10 mm thick;
- a wooden block with a rectangular cross-section 35x50 mm or 40x60 mm, about 1 meter long;
- furniture driven nut – 4 pieces (thread size is the same as that of studs);
- two threaded rods M6 - M10 plus three ordinary nuts for them and two bolts;
- a screw clamp, its length should be sufficient to clasp a hand-held electric drill with a margin;
- wood glue, self-tapping screws.
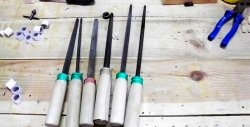
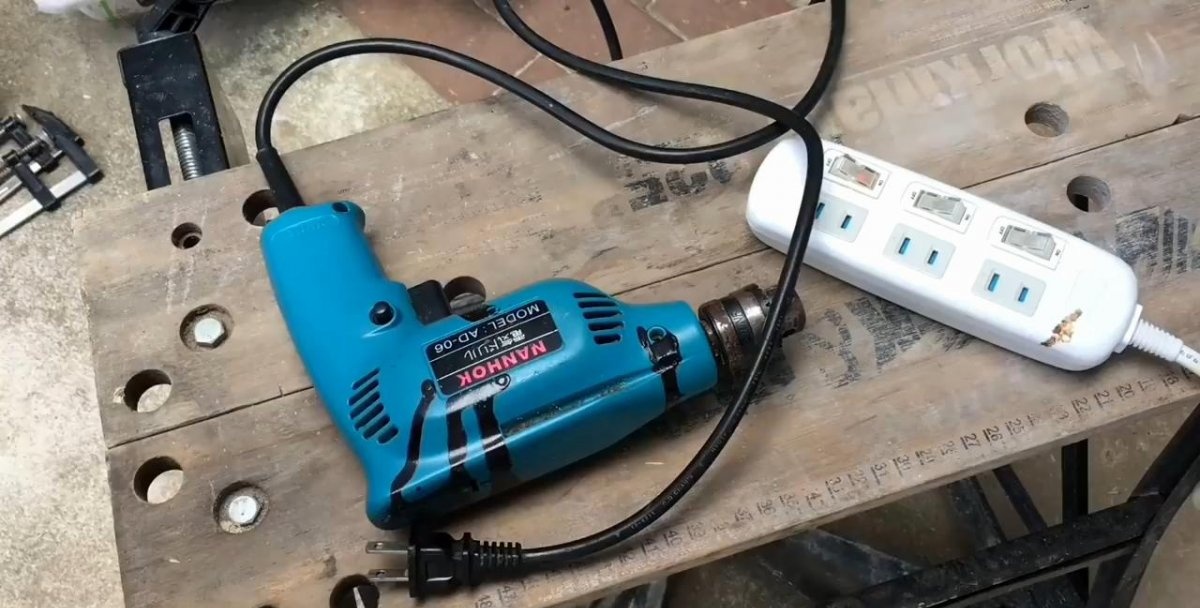
From the tools I used an electric drill, clamps, a crown or cutter with a diameter of about 10 mm, thin drills for drilling holes for self-tapping screws. You will also need a small sanding machine.
Making a lathe from a hand-held electric drill
We begin work by making the machine frame. To do this, I cut a board from multi-layer plywood 60 centimeters long and 11 - 12 cm wide. I’ll immediately make a reservation about the dimensions. Variations are possible here. But you shouldn’t make the frame too long, since the machine will be quite light, and working with long parts will not be easy.
An important point is the ratio of the width of the plywood frame and the dimensions of the block. It will be good if the width of the plywood board can accommodate three bars with the smaller side of the cross section (you will understand why this is so later). So, if the block, like mine, is 35x50 mm, then the width of the frame should be about 11 cm or a little more. If you take a 40x60 mm block, then the frame is made 12 cm wide.
So, I cut out the base of the frame 11 cm wide and 60 cm long. After that, I sawed off a block along the length of the base, that is, also 60 cm. I cut the second block along the length of the drill body in such a way that it would not reach the chuck and subsequently not prevented him from rotating.
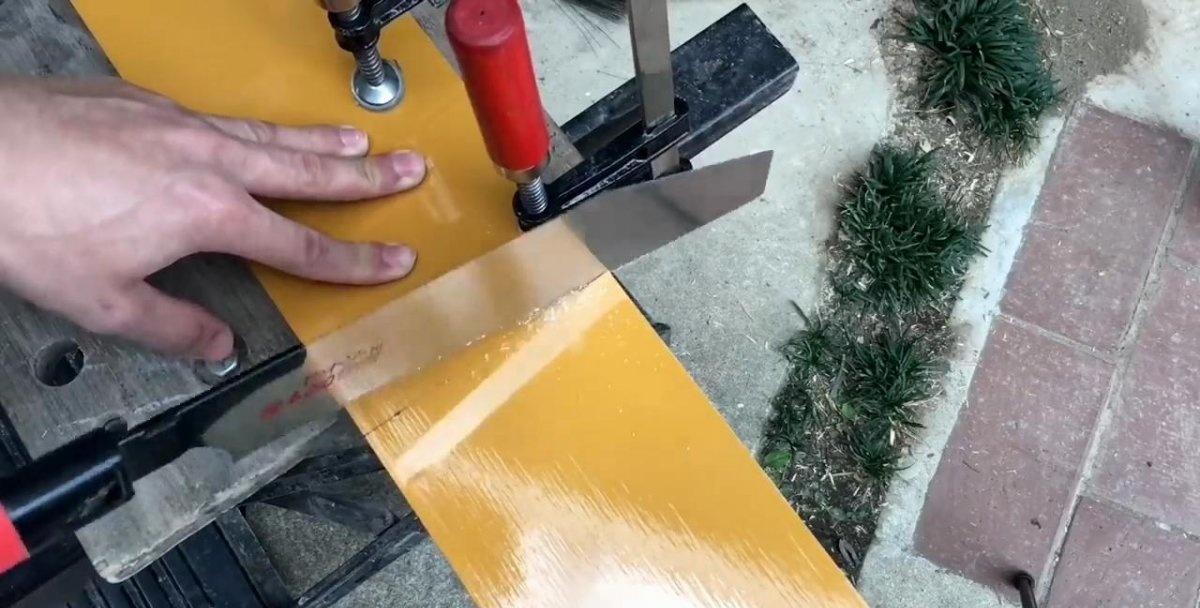
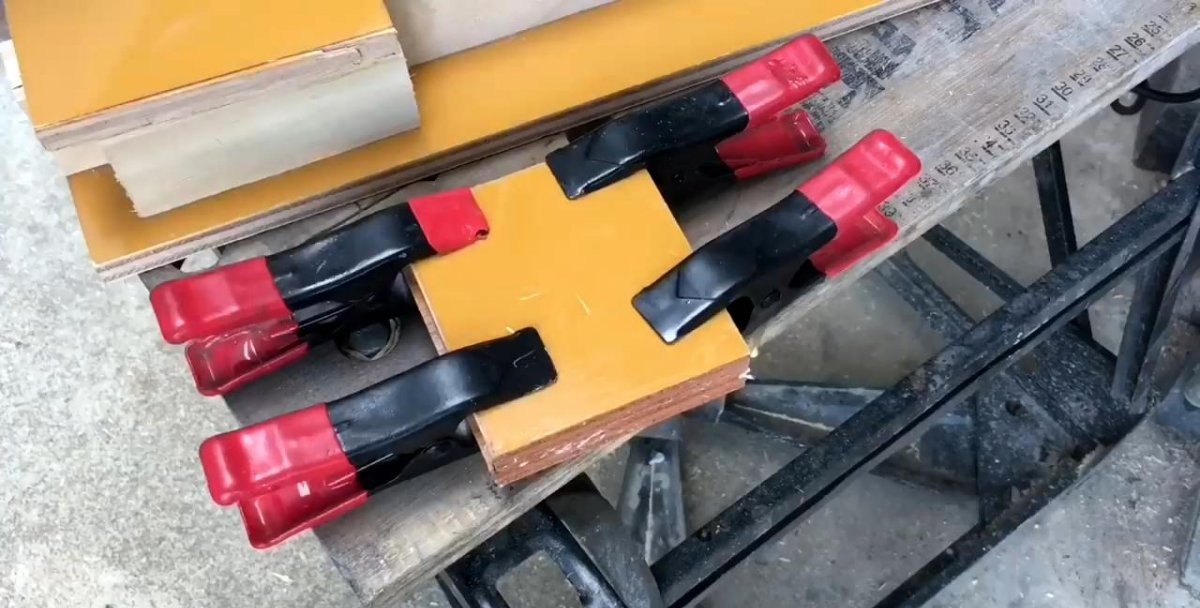
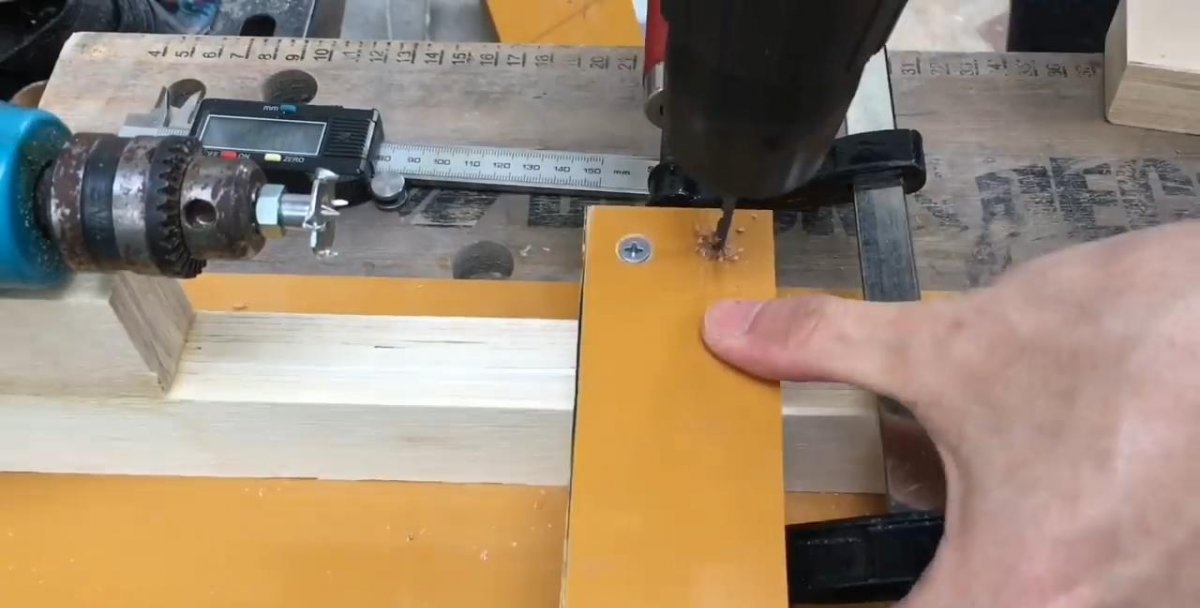
Using wood glue, I connect the bars with their smaller cross-sectional sides so that their ends are on the same line. I clamp the parts to be glued with clamps and let the glue harden. Our electric drive will be attached to this part of the frame, so, placing the drill on a short block, I mark the place for the hole for the clamp. I drill a hole into which the existing clamp can fit. In my case the diameter is about 10 mm.
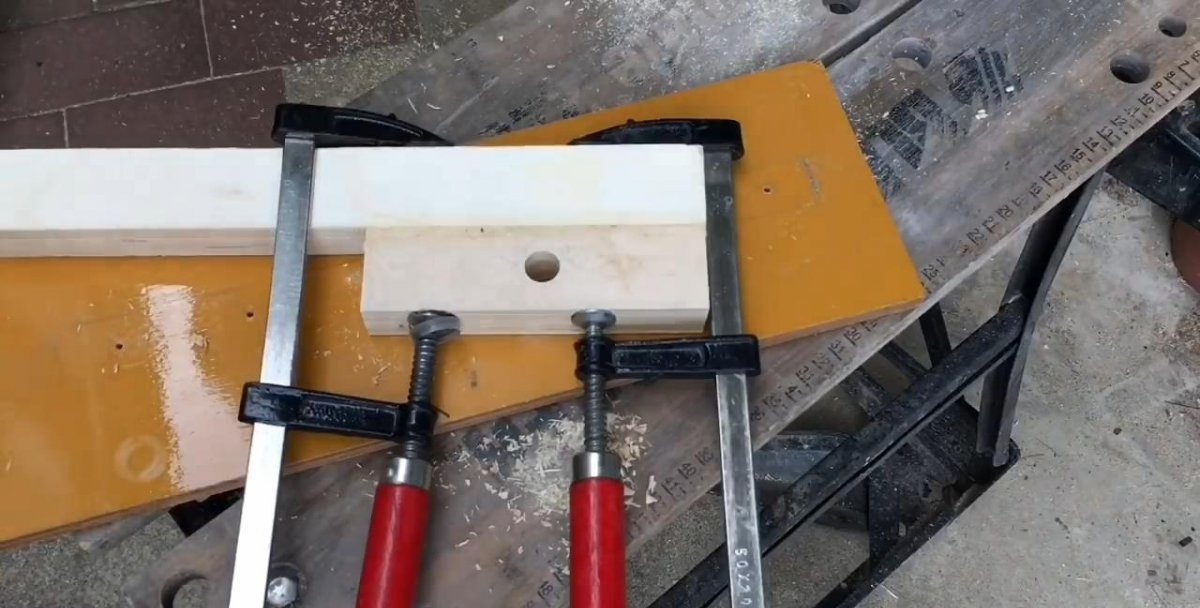
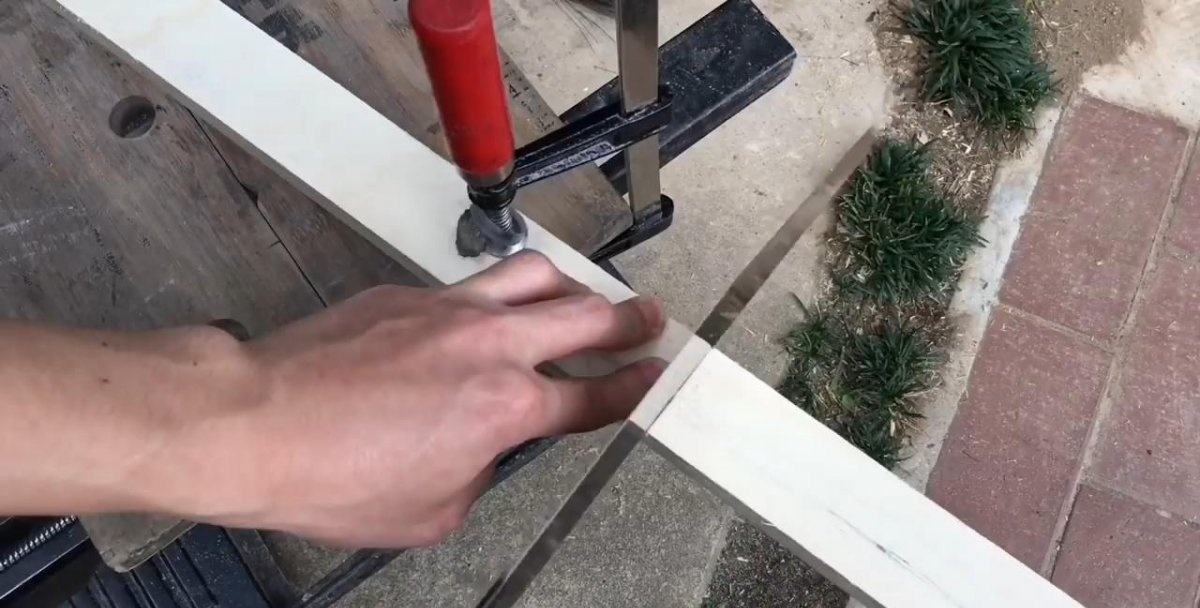
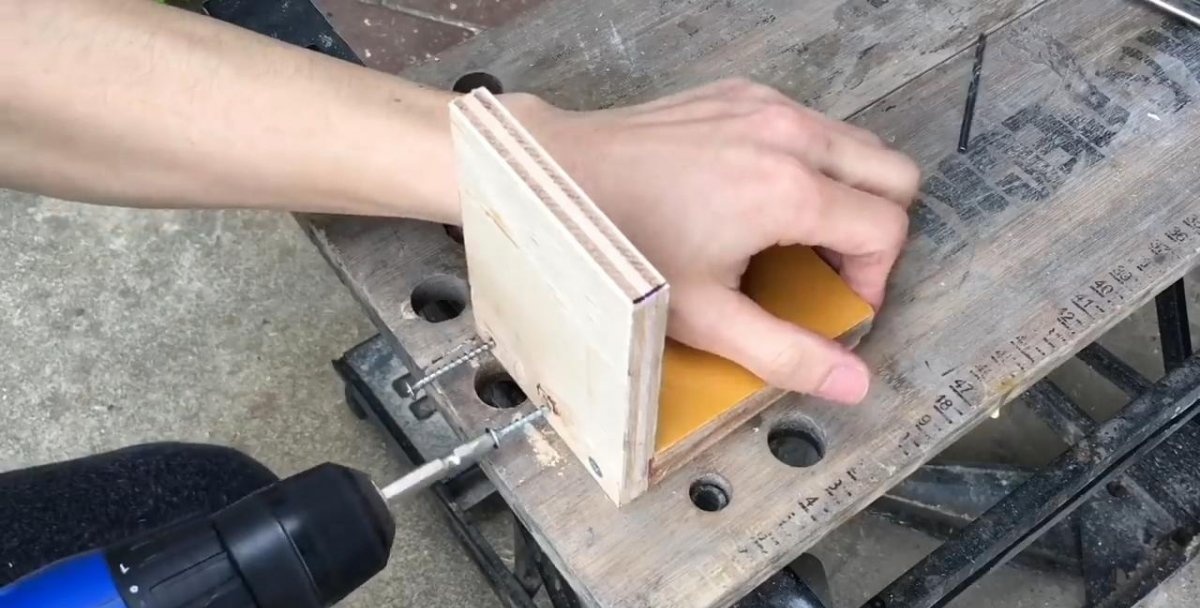
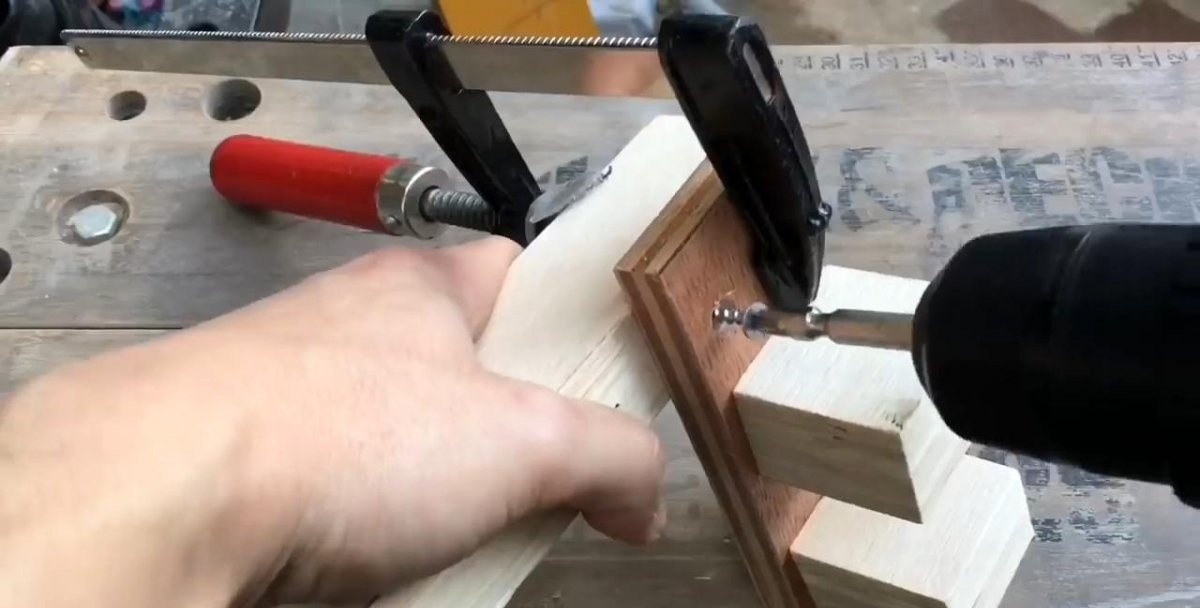
Next, I mark a plywood board to place in the middle of its width a structure of two glued bars - long and short. Along the middle line of the board, I drill 7 - 8 holes for self-tapping screws evenly along the entire length.
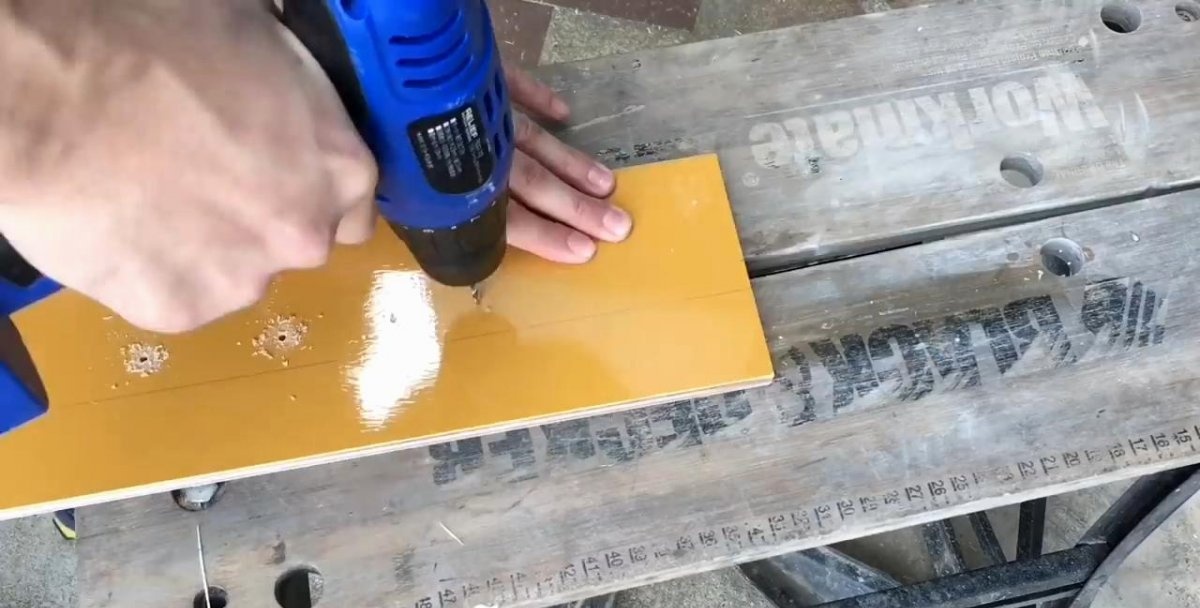
Having attached the glued bars with clamps to the plywood base, I deepen the holes by drilling the block. Now I insert the screws and tighten them. The machine frame is ready.

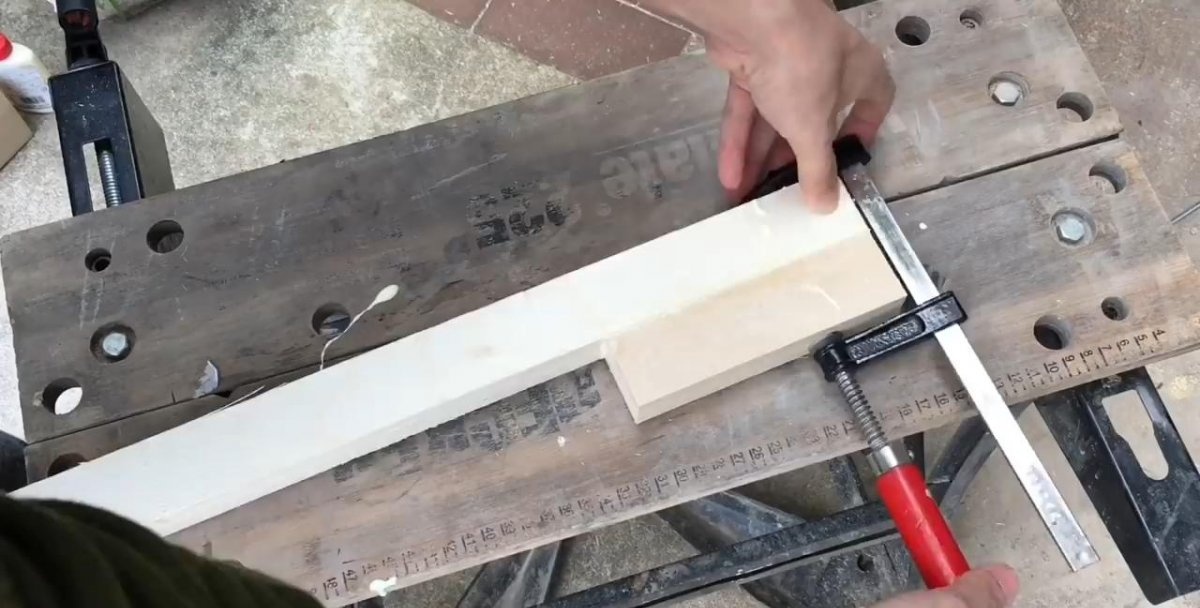
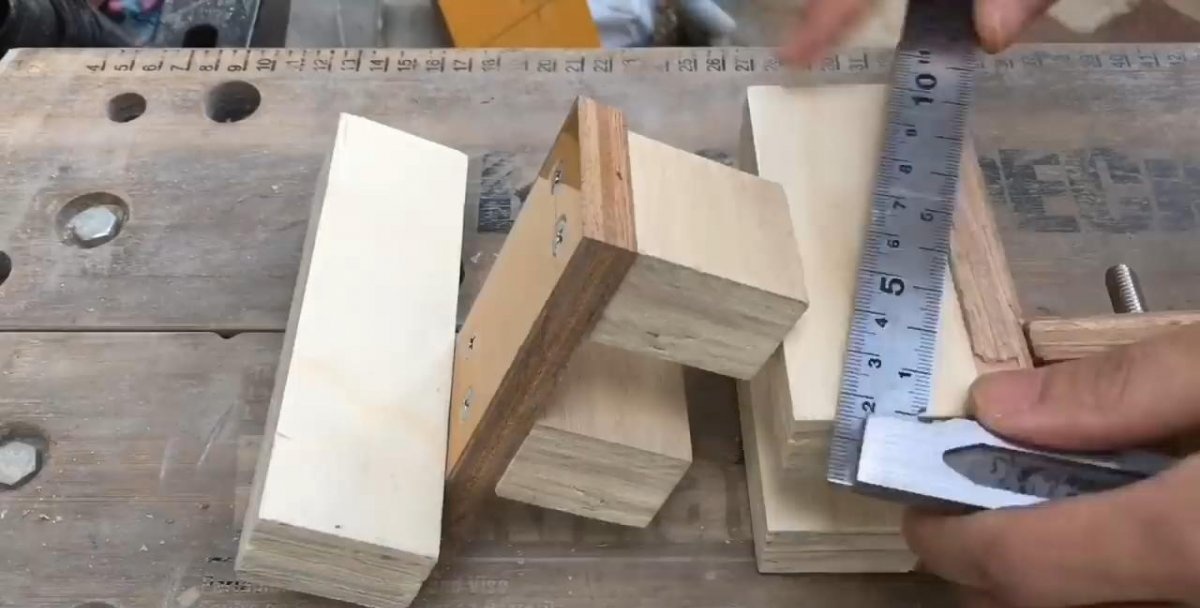
After this, we proceed to the manufacture of the tailstock of the machine and the movable stop for the cutter. The headstock will hold the rotating part on the side opposite to the drive. It must move along the frame and be fixed in the desired position depending on the length of the clamped part. The cutter stop must also move freely along the workpiece. To make them, I used scraps of the same plywood and timber.
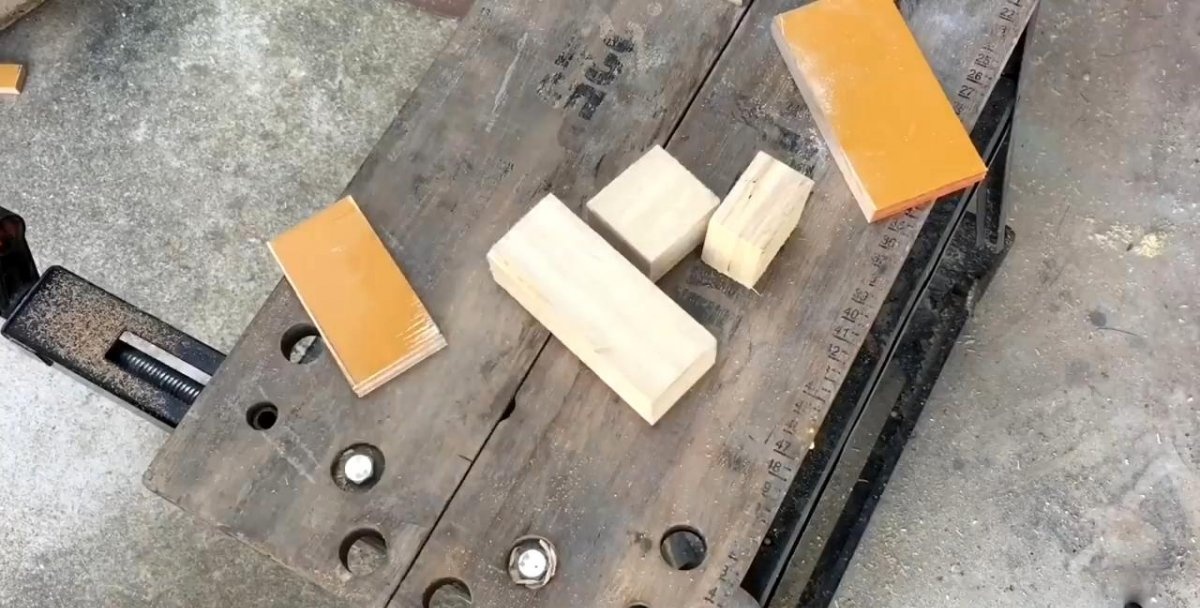
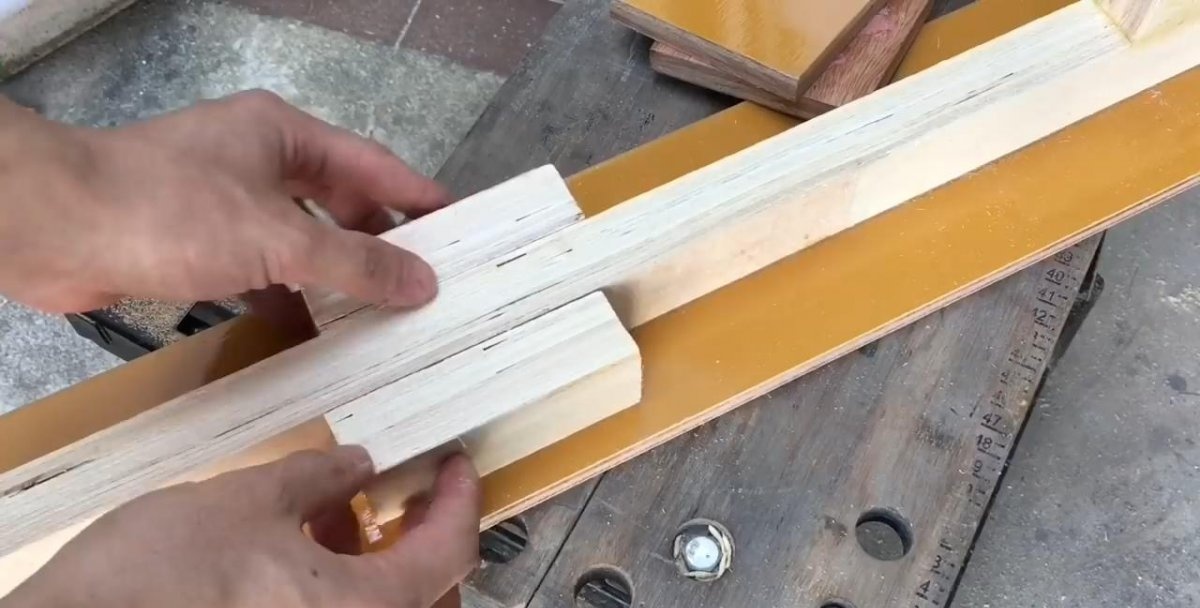
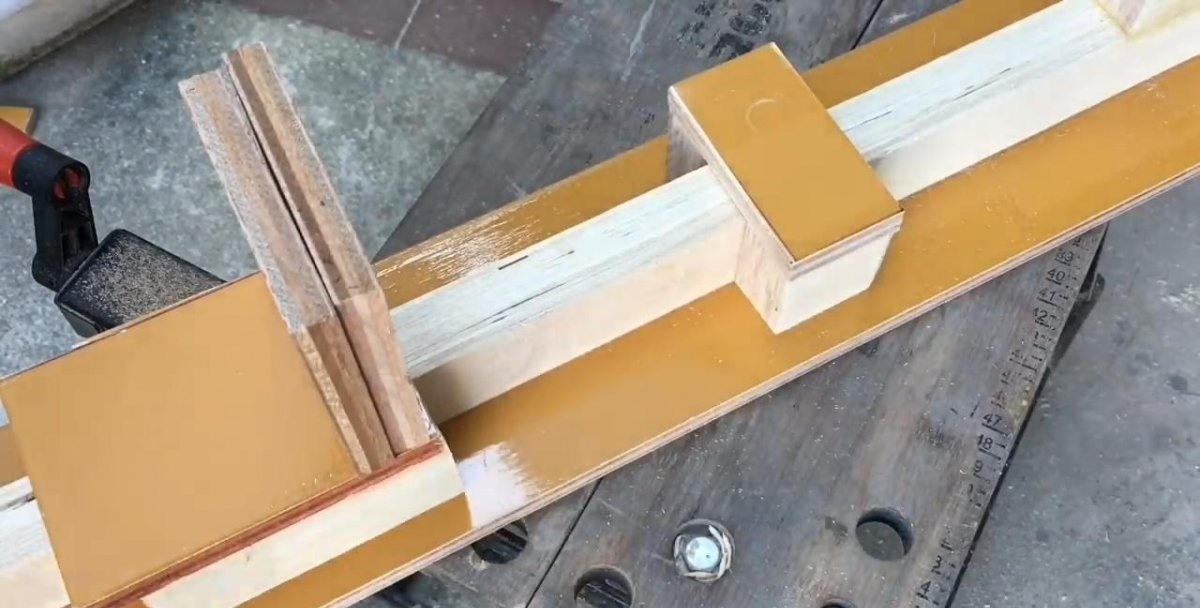
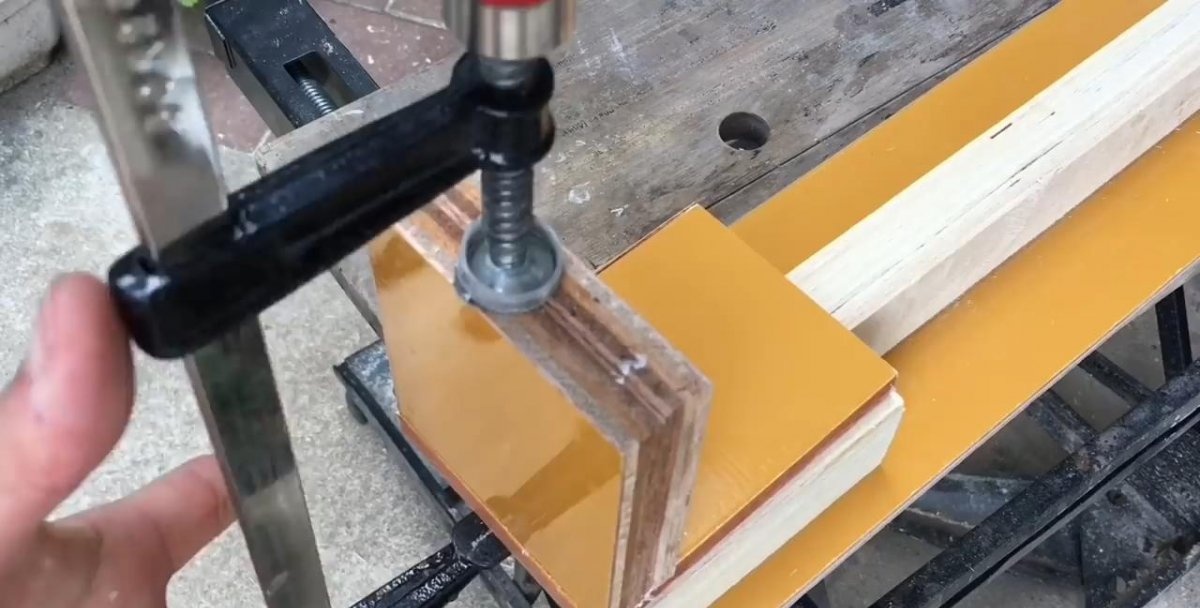
The movable base of the tailstock is a U-shaped structure made of two bars and a plywood rectangle. To the surface of the plywood base of the headstock, using self-tapping screws, we attach a plywood square of double thickness, obtained by gluing two square pieces of plywood. A centering bolt for clamping the workpiece will be secured in this square. I attached a single plywood rectangle with screws and glue to the bars. The result should be a structure that moves freely along the frame guide bar.
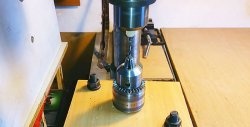
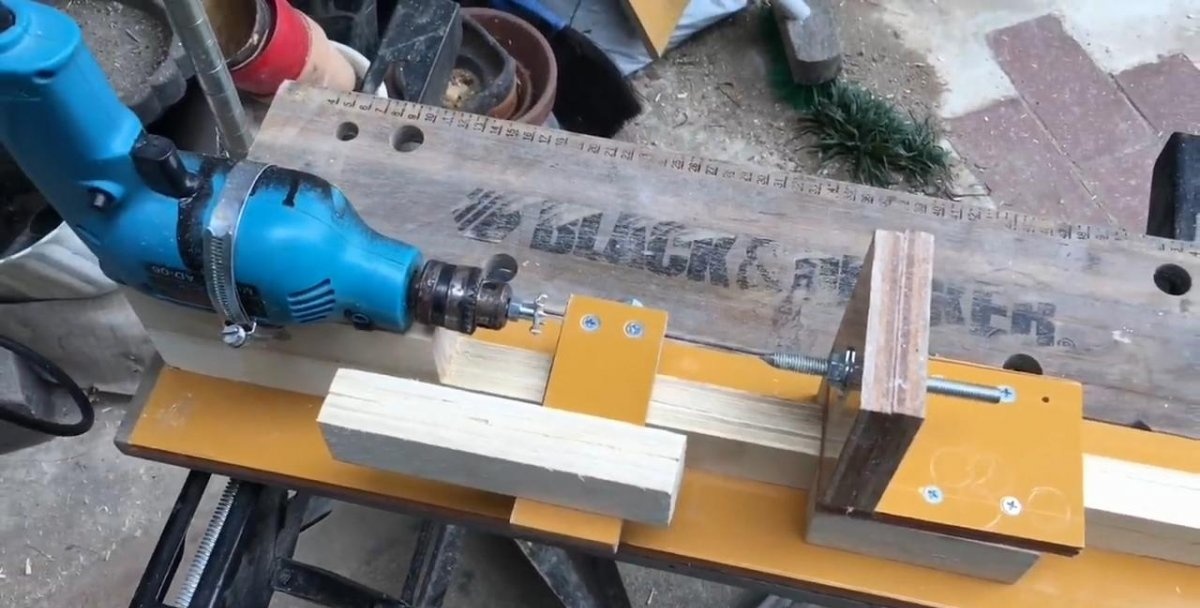
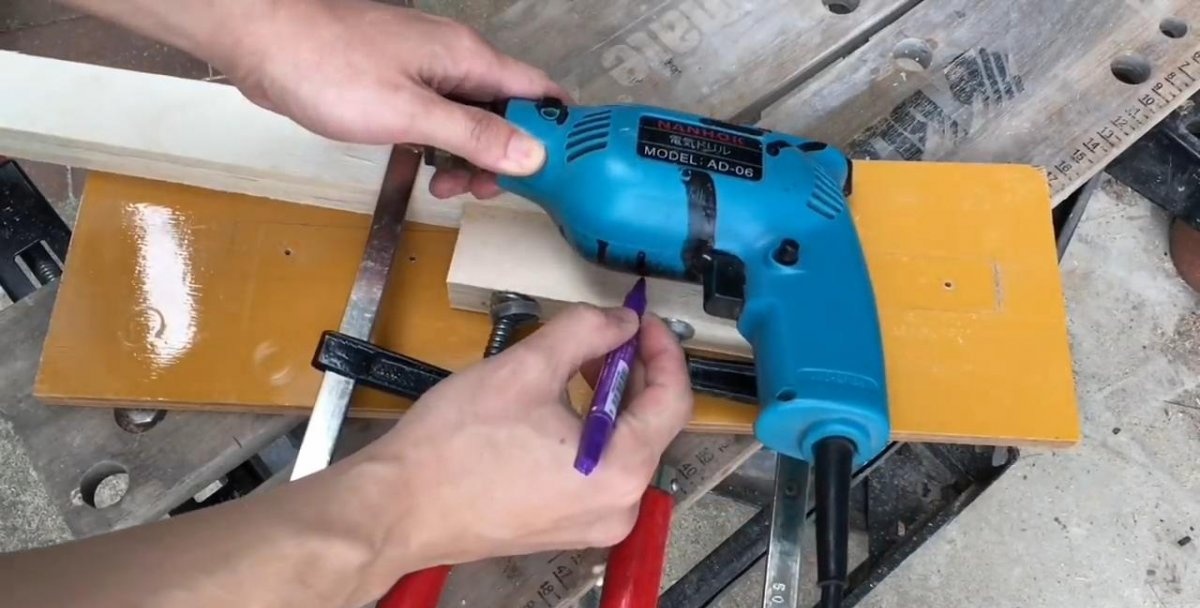
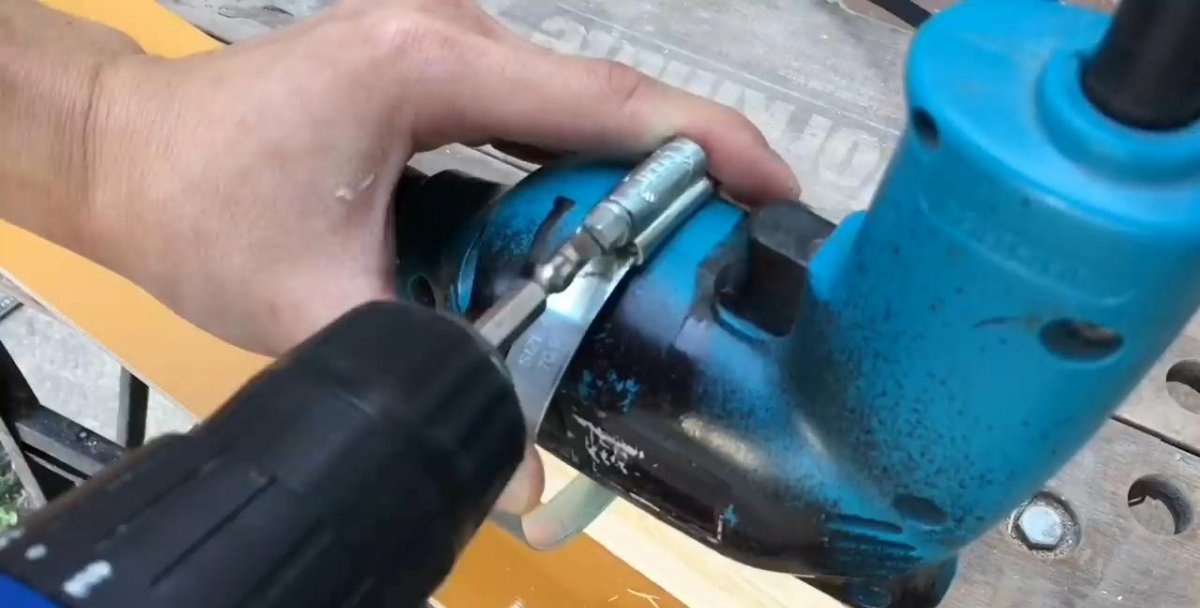
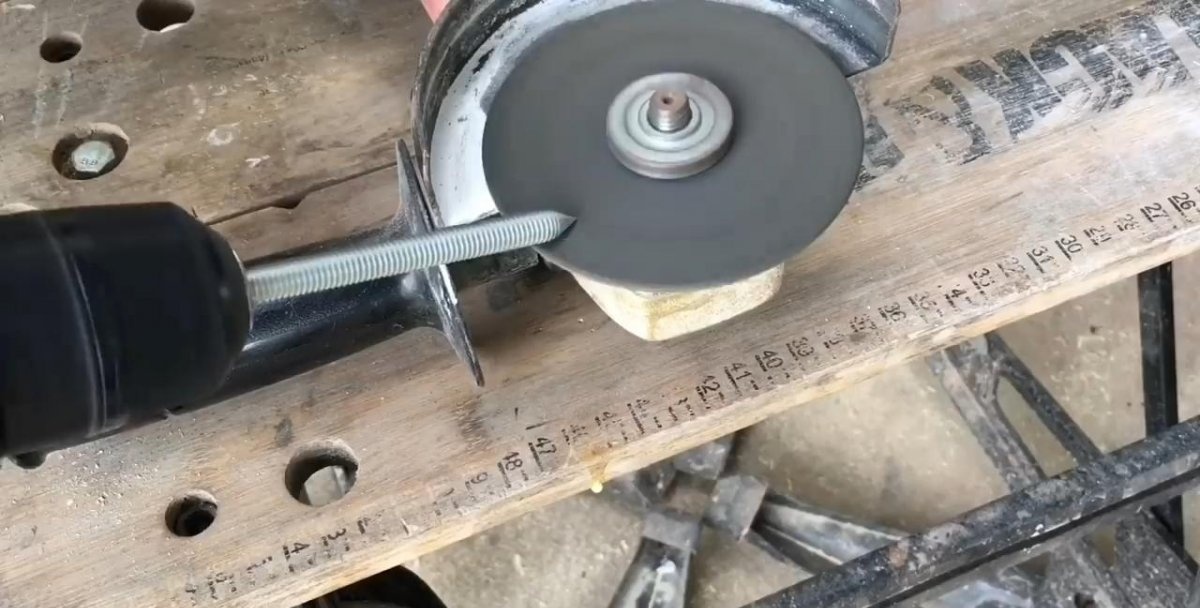
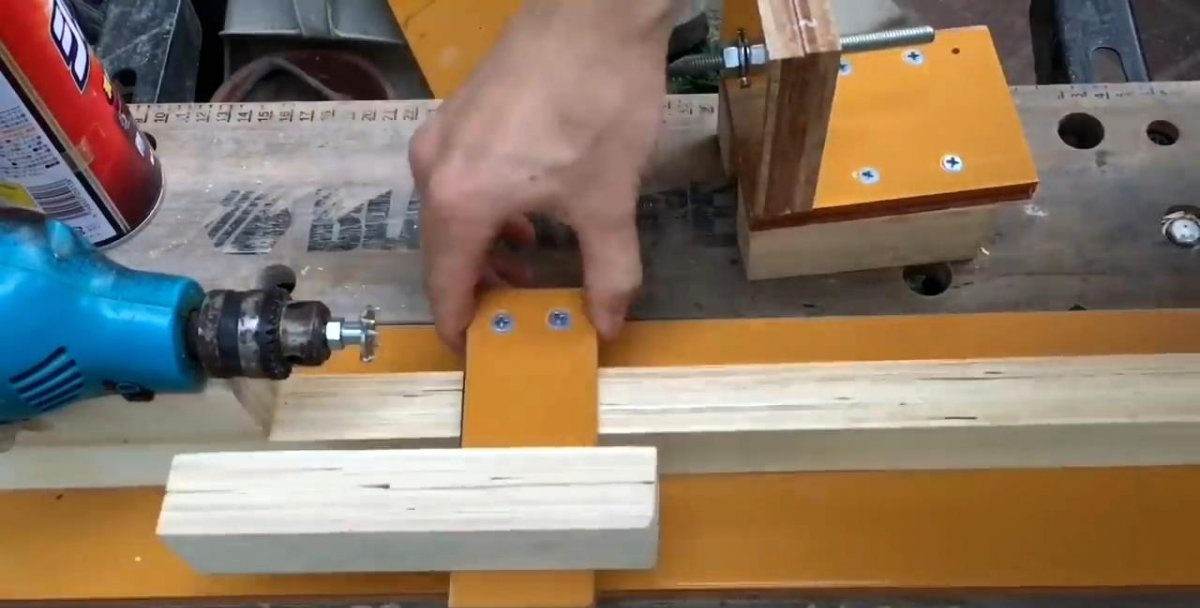
Let's move on to the electric drive side. We fix the electric drill using a screw clamp on the frame block. To clamp the workpiece we need a threaded rod and nuts, regular and furniture driven. Holding the pin in the drill chuck, mark the required length (4 - 5 cm) and cut it off.
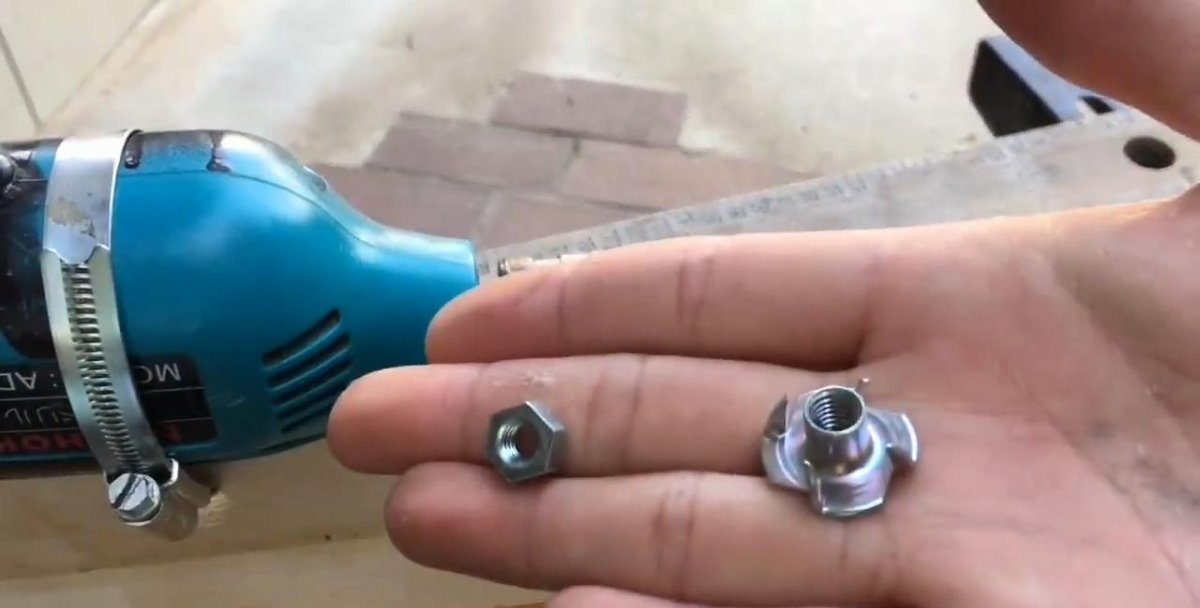
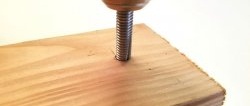
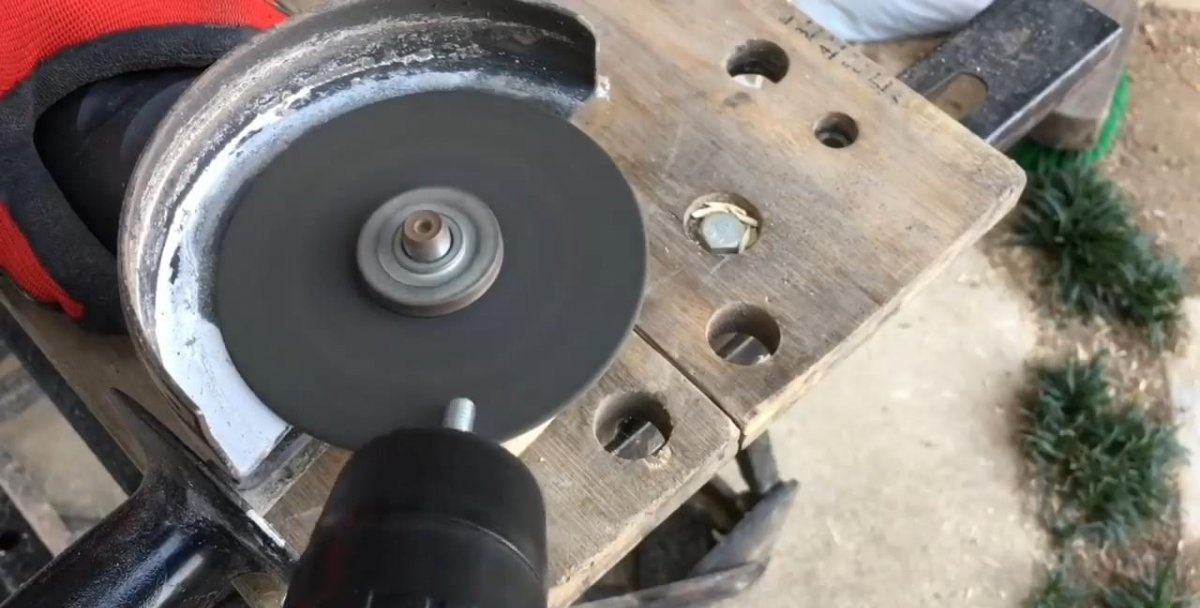
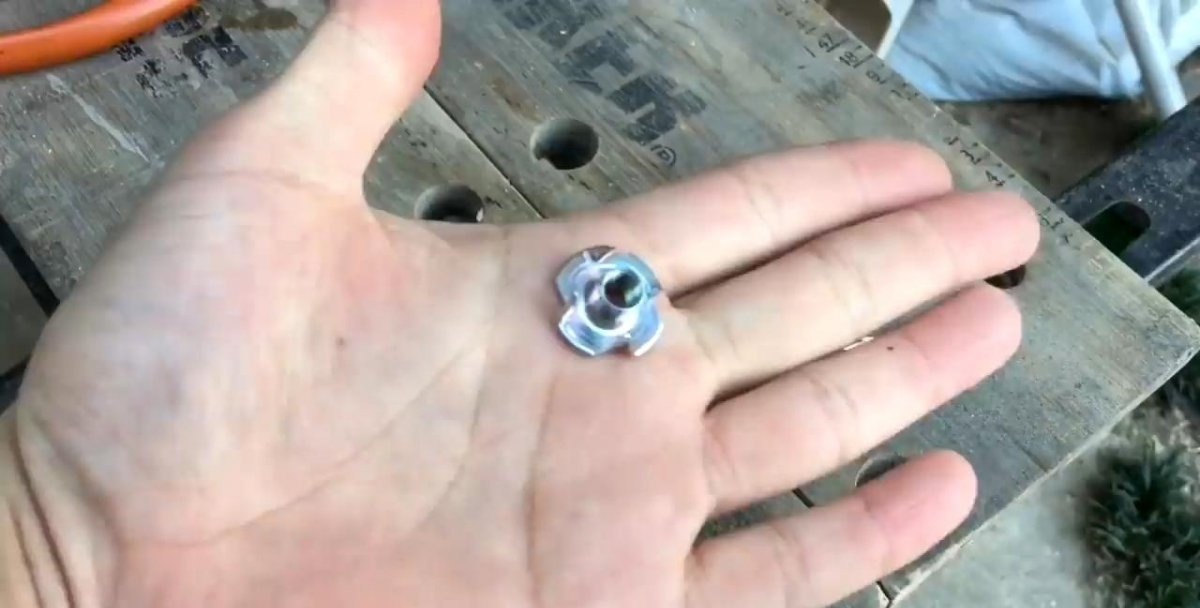
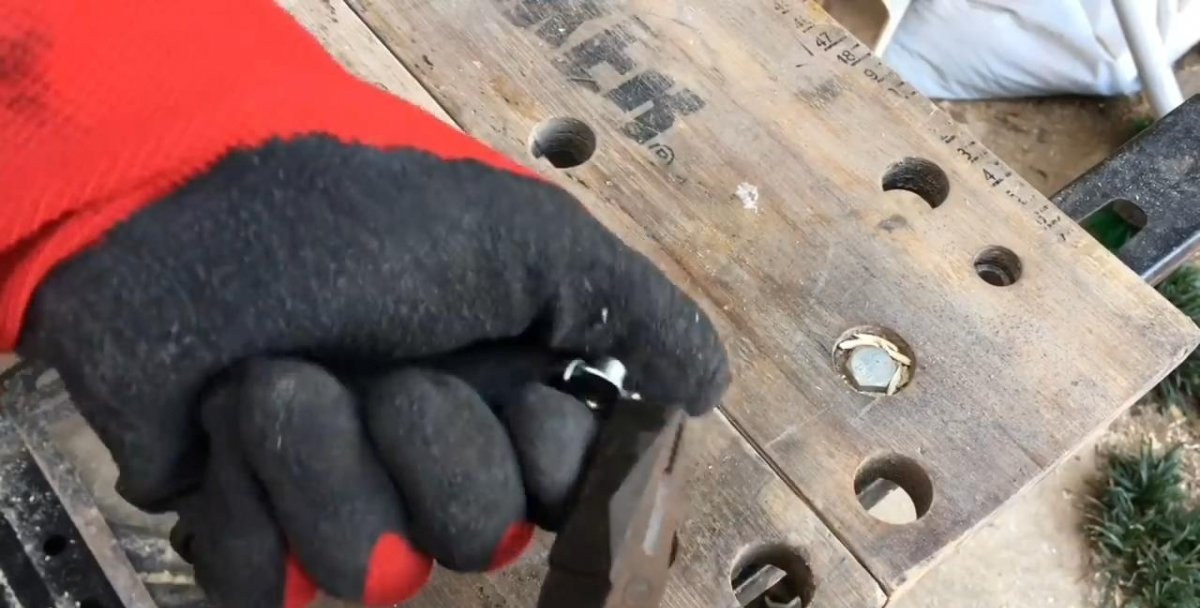
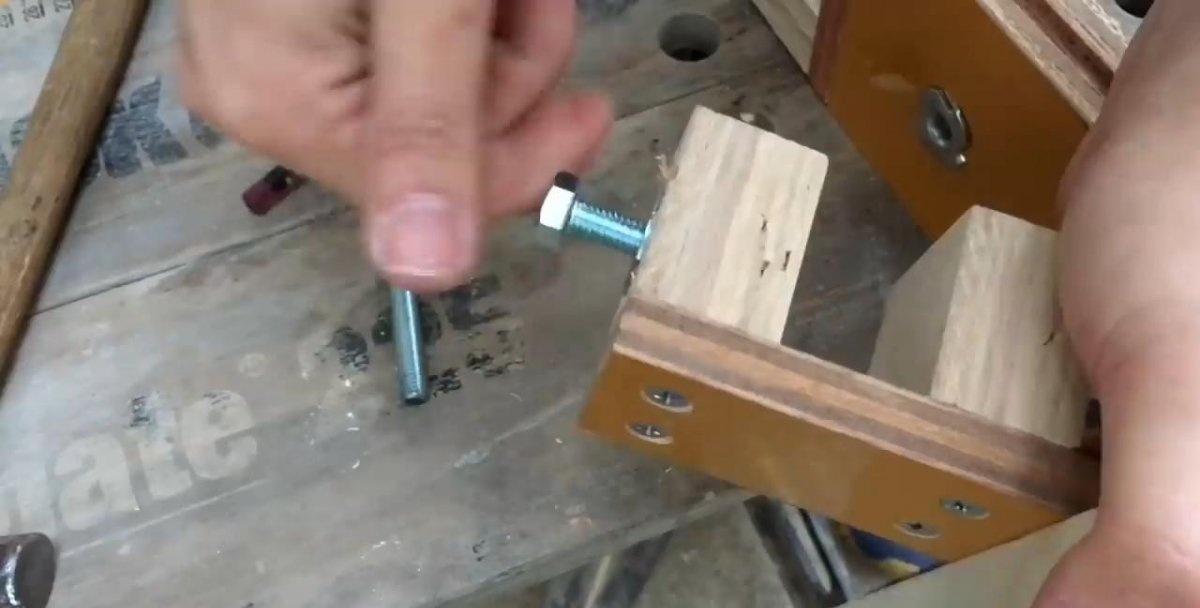
We sharpen the end of the hairpin using sandpaper and a drill together, clamping a piece of the hairpin into the chuck.The end of the pin must be very sharp, as it will have to fit into the piece of wood, centering it. Next, we modify the furniture nut by turning its pointed clamps 180 degrees with pliers. This part will be used to clamp the part and transmit torque from the electric drill to it.
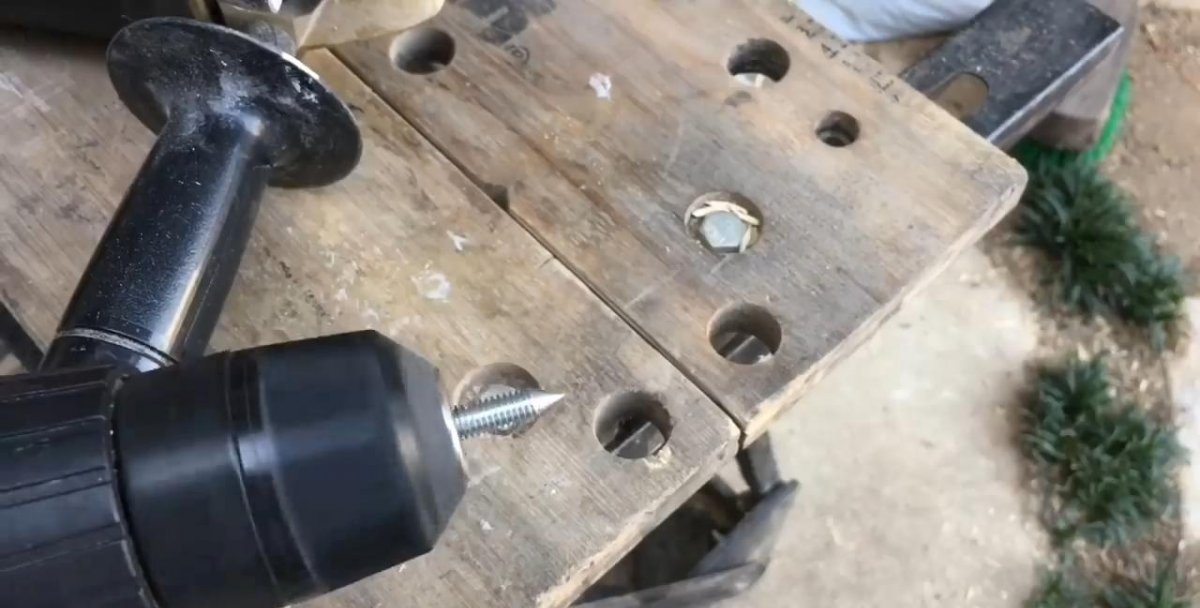
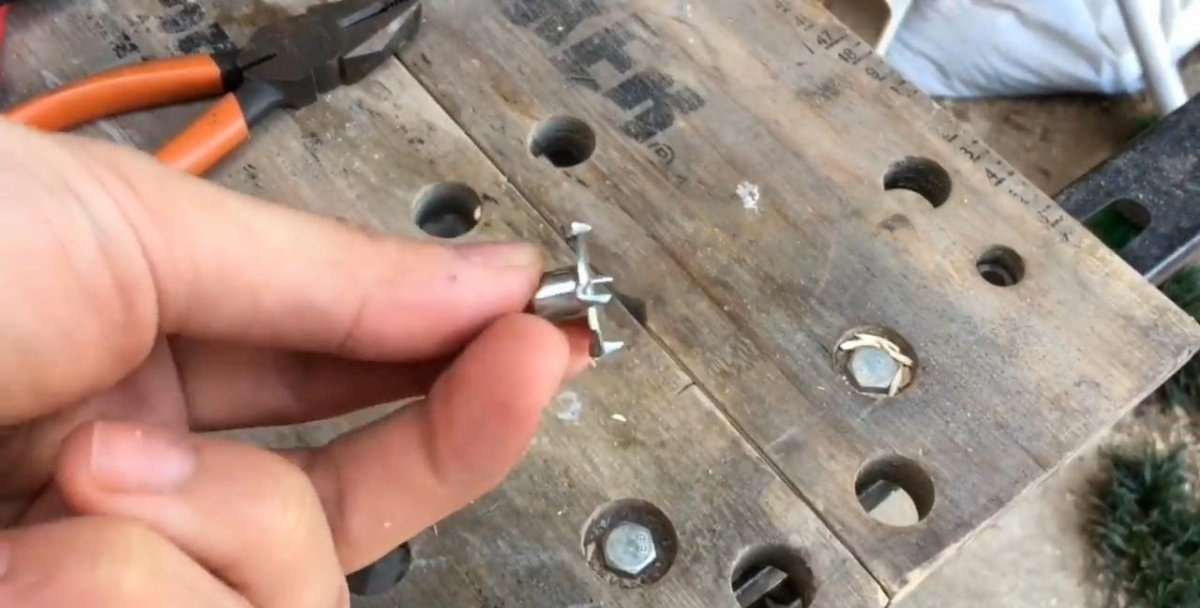
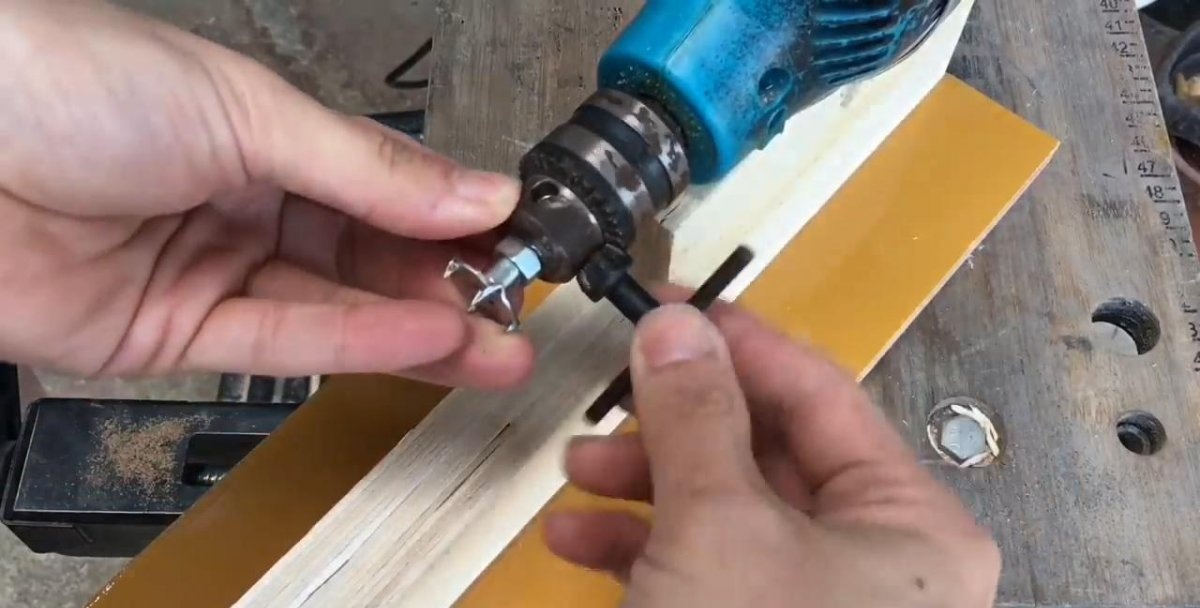
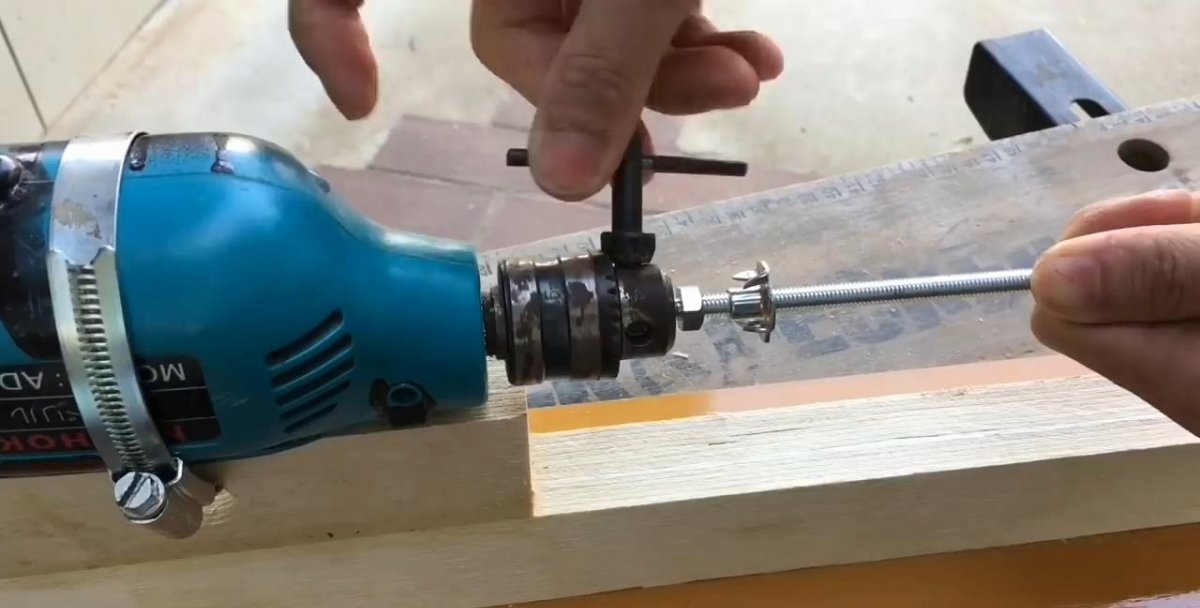
We assemble the structure by screwing the nuts onto the stud. The sharp end of the pin should protrude a little further (1 - 2 mm) than the sharp fasteners of the furniture nut. This will make it easier to center the part. On the reverse side, the furniture nut is fixed with a regular one. We clamp the free end of the pin into the drill chuck. If necessary, adjust the position of the drill, achieving parallelism between the stud and the frame block.
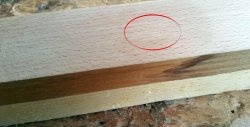
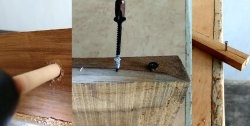
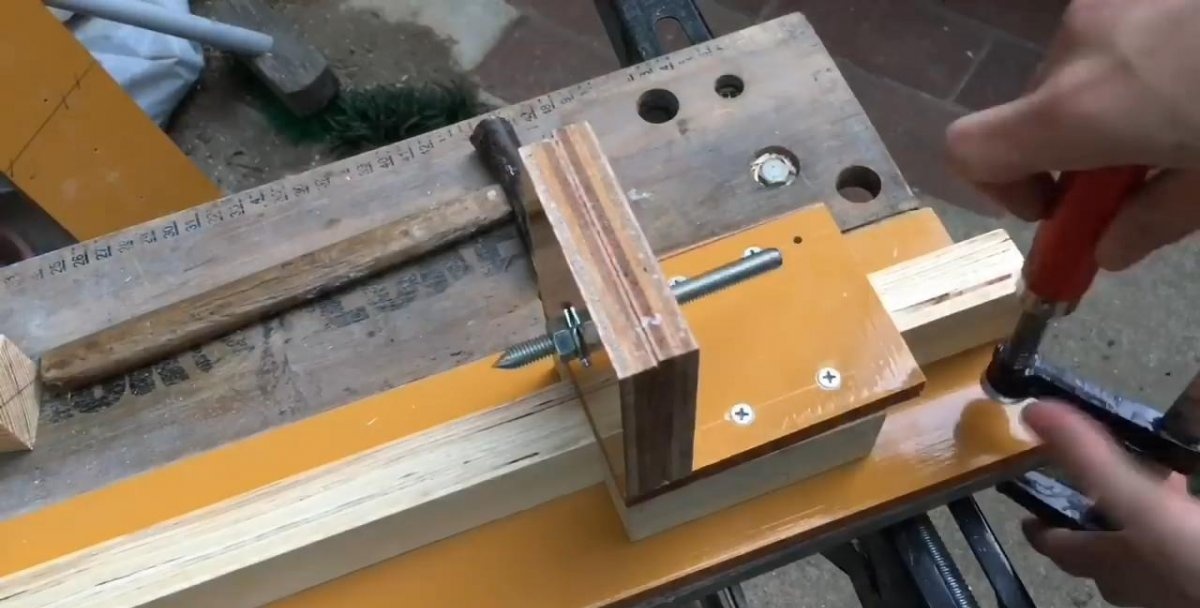
Now you need to move the tailstock to the drive pin to determine where to attach the second centering bolt. We move the glued plywood square to the pointed pin, apply a light blow with a small hammer to its back side and get the required mark from the sharp pin.

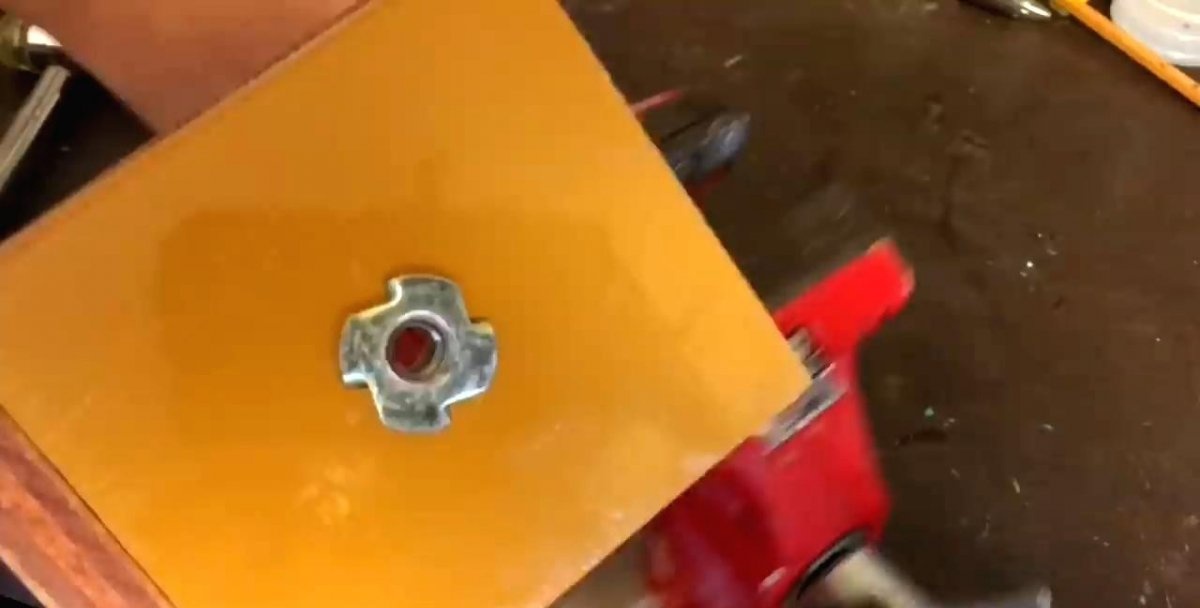

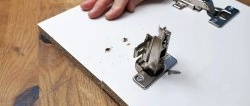
We drill a hole of such a size that the sleeve of the second furniture nut fits into it. We do not modify it, but use it in normal mode, inserting the bushing into the hole and hammering the fasteners in with a hammer. If necessary, tighten the nut in a vice. We sharpen the second pin, screw it into the furniture nut on the tailstock and secure it with regular nuts. Having moved the headstock to the drive, we check and, if necessary, correct the alignment of the studs.
Similarly to the tailstock, we assemble the base of the stop for the cutter. The difference is that the plywood shelf of the stop protrudes from one side. We will screw a block here with self-tapping screws, on which the cutter will rest.
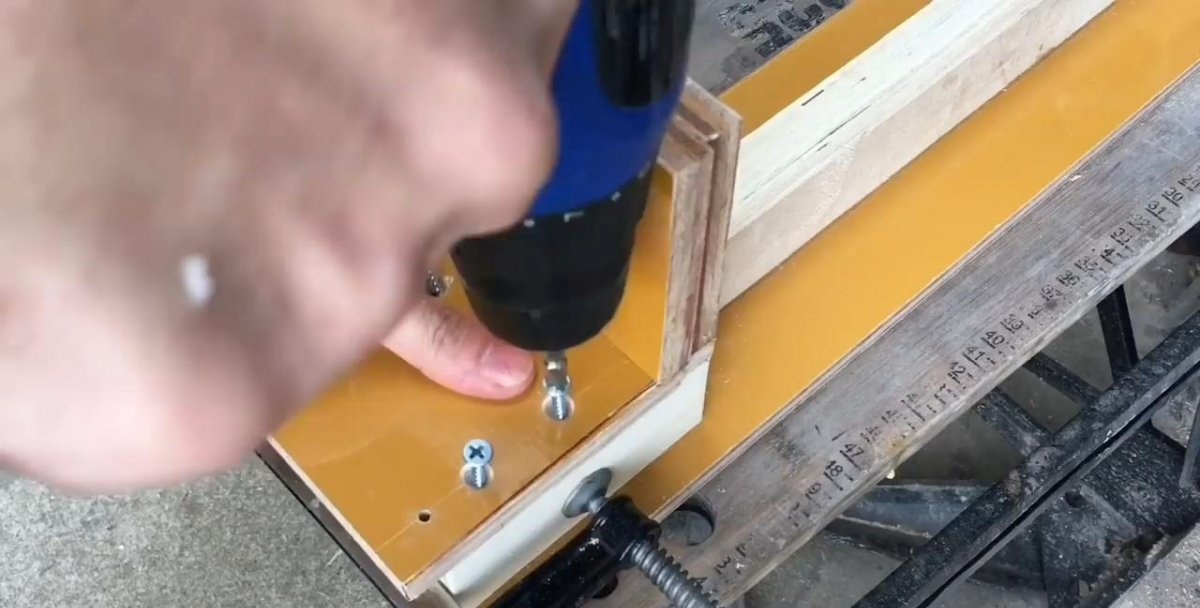
Almost all. It remains to resolve the issue of fixing the tailstock and the stop for the cutter.To do this, we use the two remaining furniture nuts and bolts. We drill holes for them in the side bars of the headstock and stop. We hammer furniture nuts in there.
That's it now. By screwing the bolts into these nuts, we can fix the headstock and stop in the desired position, pressing them against the guide bar. The guide bar can be treated with a wax compound for better sliding of parts moving along it.
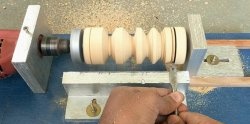
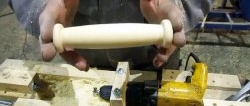
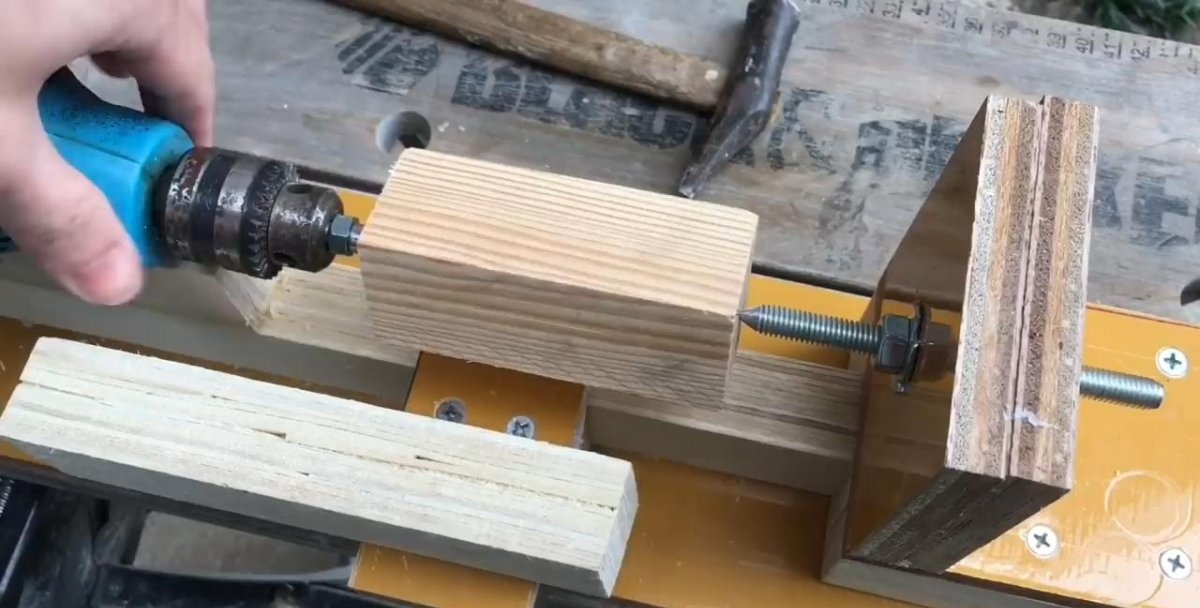
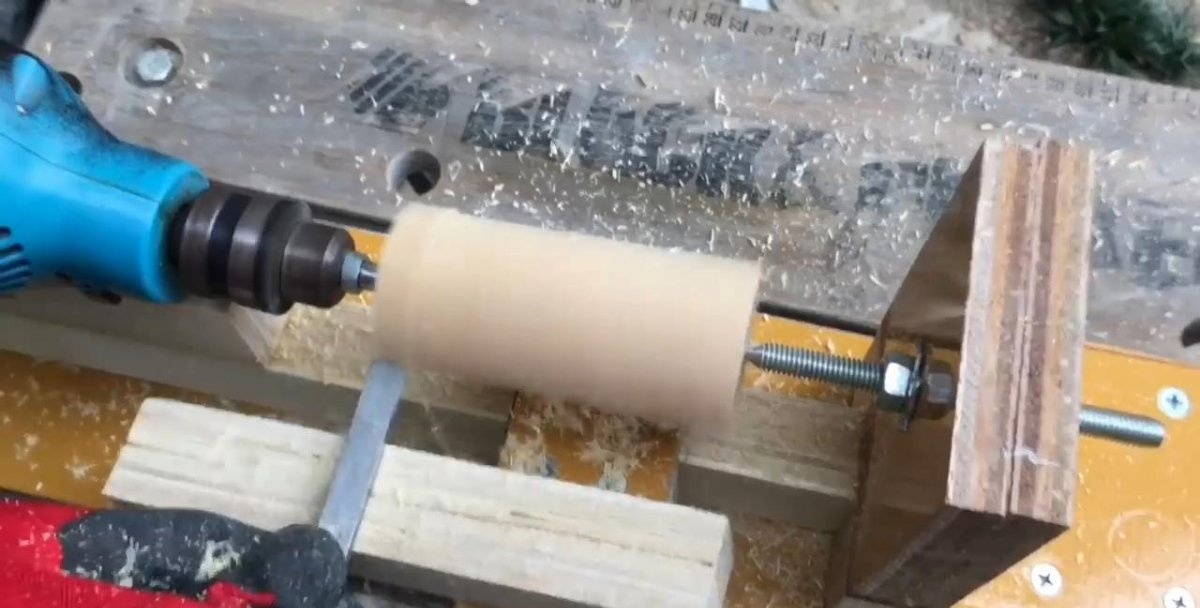
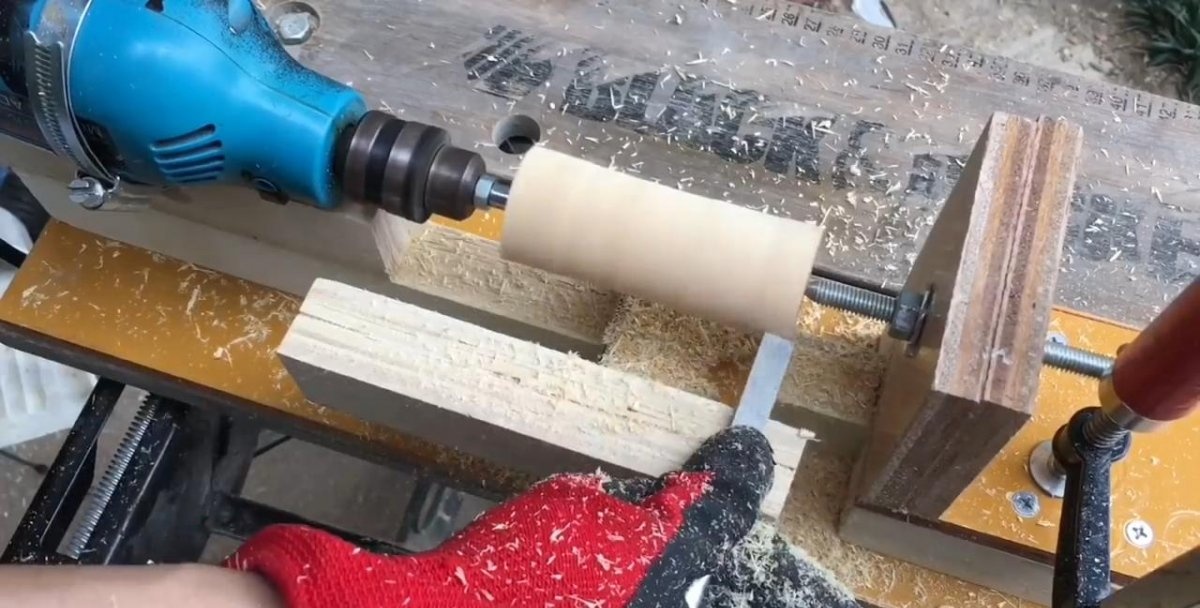
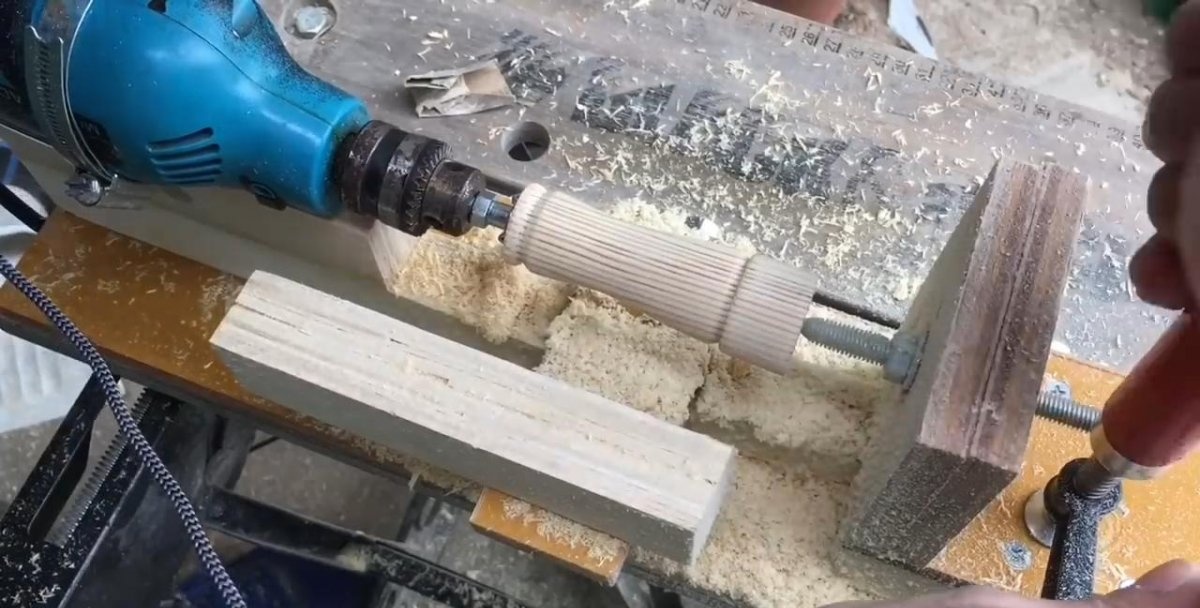
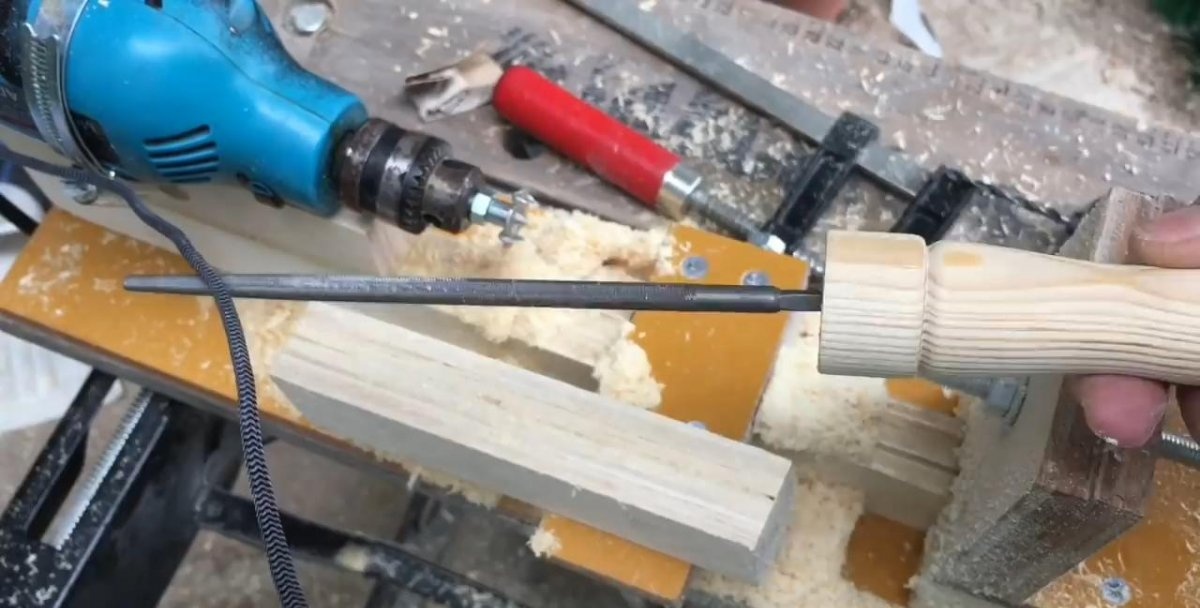
We center, clamp the workpiece, turn on the electric drill and begin processing the part.
Conclusion
If the workpiece is not clamped securely enough, it can break off and injure the worker or someone nearby. Clamping the part must be done very carefully. You should work in overalls using protective equipment - safety glasses, or better yet, a transparent plastic shield that covers the entire face.