In addition, not every company employs professional installers who can provide truly high-quality installation. At the same time, installing a plastic window is a completely affordable undertaking.
Measuring and dismantling
If you decide to install the window yourself, then you will have to do the measurements yourself. This is a very important stage, so you will need to try. Take measurements so as to leave a small gap on each side (1.5–2 cm). During installation, this will allow for adjustments and good foaming of the window. Also, do not forget that the installation of the frame is carried out strictly according to the level. Therefore, be sure to make sure that your slopes are not blocked. In this case, you will have to choose: order a window in a smaller size, or cut the slope before installation.

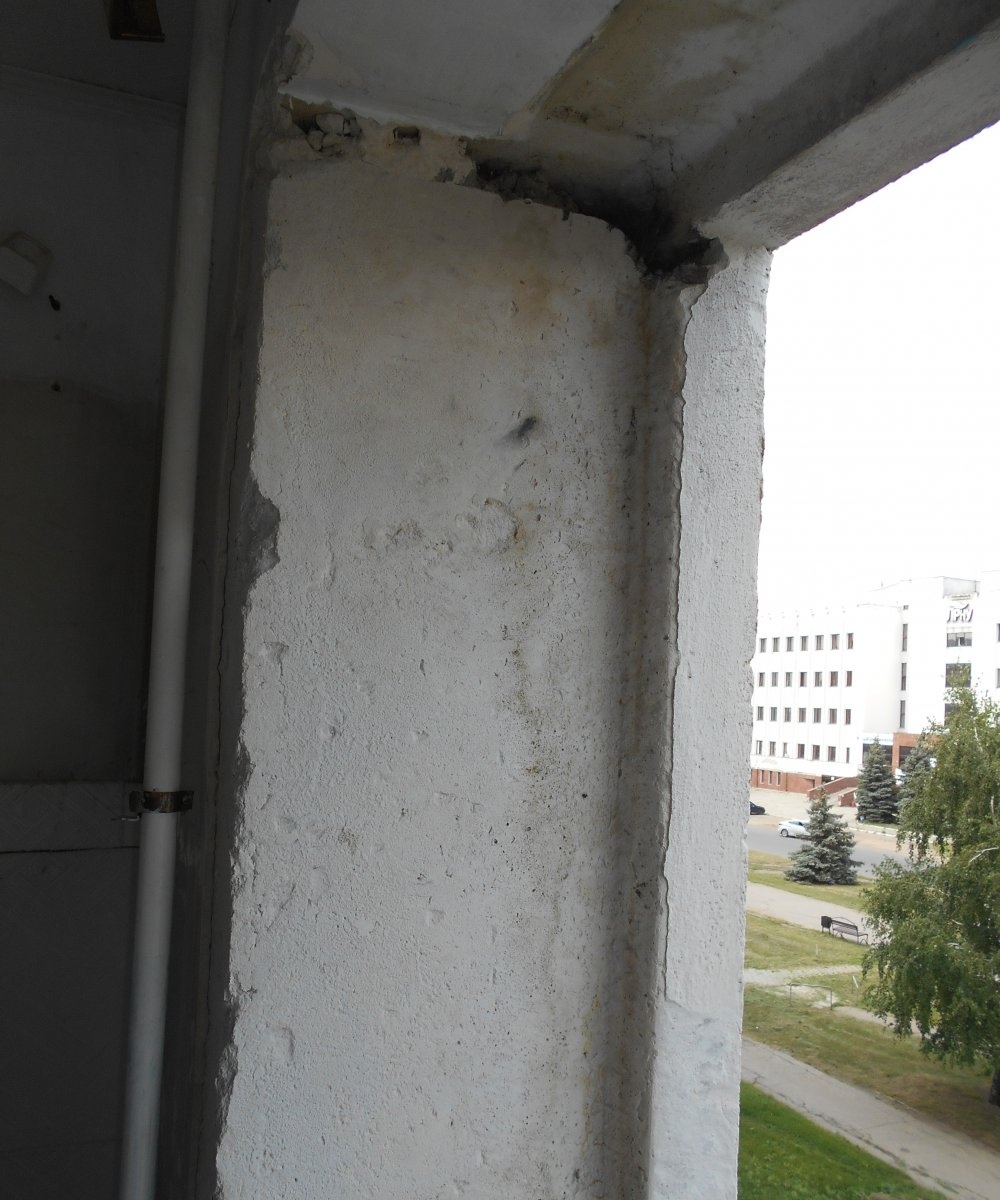
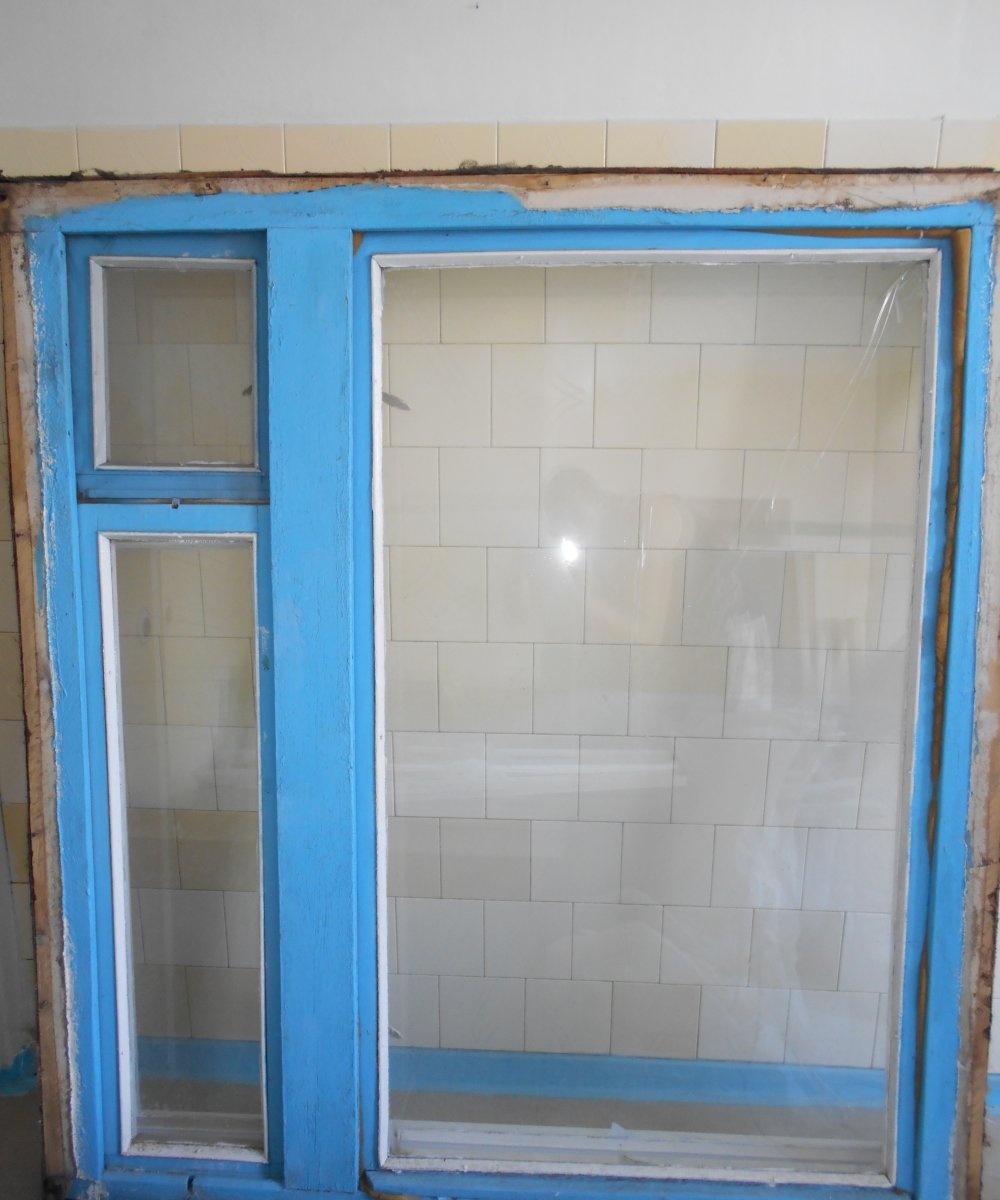
When the finished window has been delivered to your home, you can begin dismantling the old one.You will need to remove the old frame, frame, and window sill. Also carefully inspect the slopes. If there are remnants of poorly adhering plaster, they must be completely removed.
Preparing the window for installation
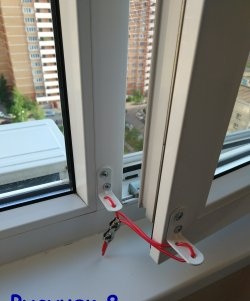
Before installing a window, it must be prepared. You will need to install a handle on the sash. Then you will need to remove the sash. To do this, you will need to remove the pin from the top loop. To begin, lightly tap it with a hammer from top to bottom. When the pin moves, it can be removed using pliers, or knocked out using a screwdriver. After this, just turn the window handle to open, which will allow you to remove the sash without any problems.

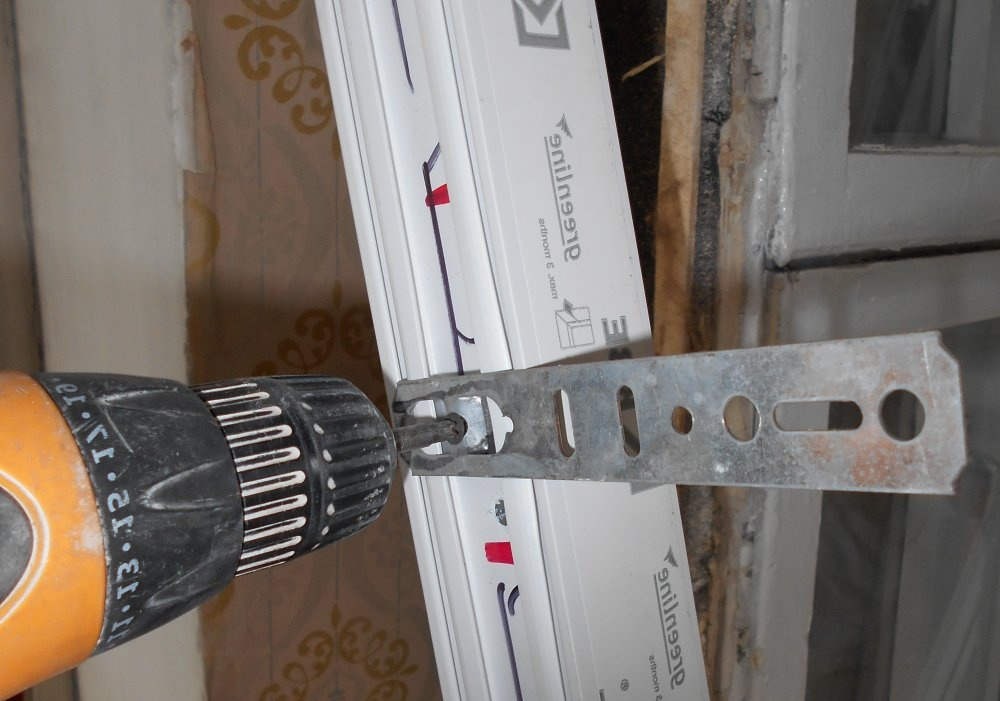
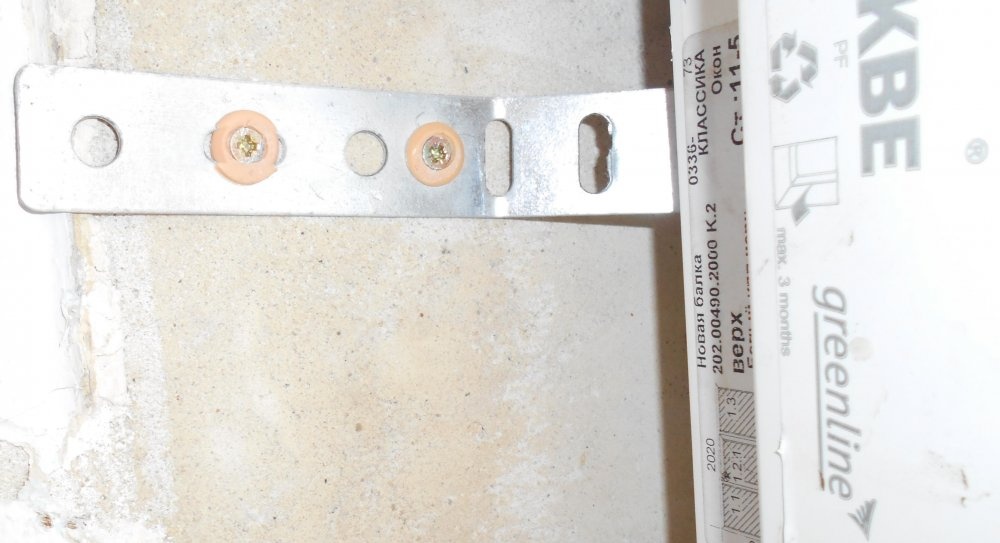
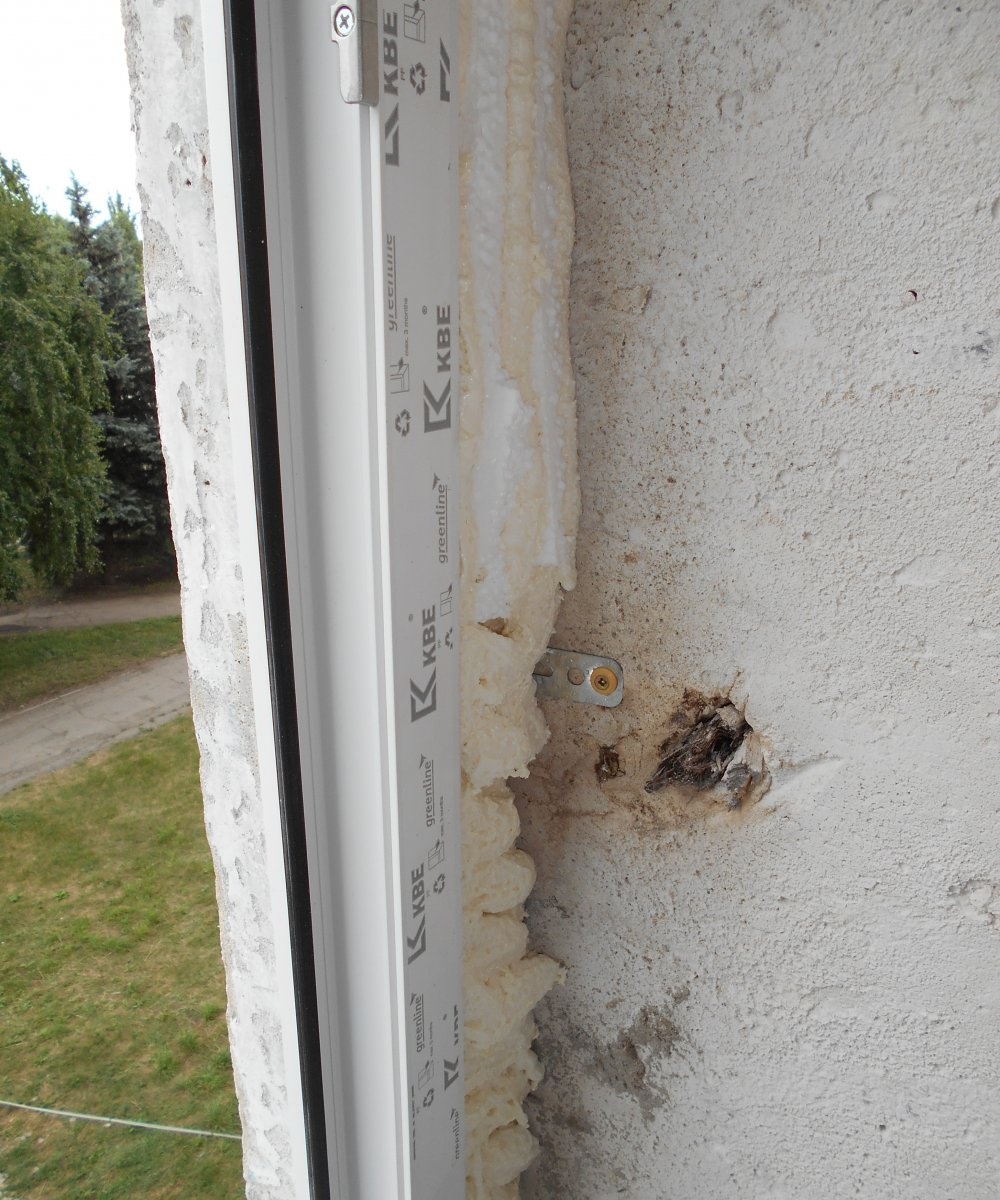
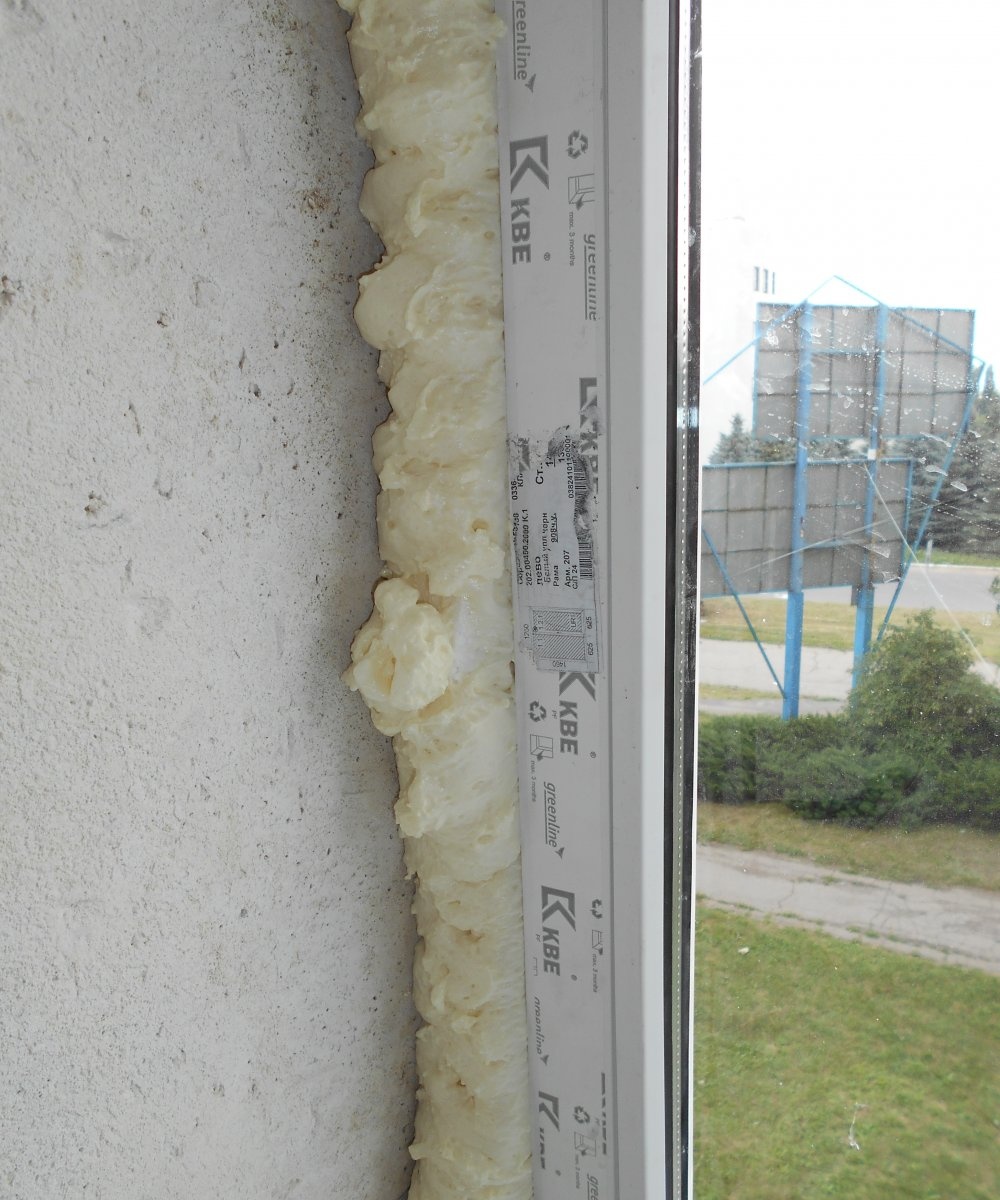
The next step is to install the mounting plates. They are attached to the frame using self-tapping screws. As a rule, on the end side of the window frame there are already prepared holes for mounting plates with screwed-in screws. However, often the length of these screws is not sufficient. Therefore, you may need to take a longer fastener. Mounting plates must be installed at the top and bottom of each side post of the window frame. One or two more plates are placed in the middle part of the rack. You can also place one or two plates on the top rail. When installing, please note that the long part of the mounting plate must be directed towards the inside of the window.
Window installation
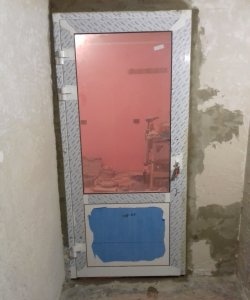
The prepared plastic window frame is installed in the opening. You must first prepare a sufficient number of wooden wedges. The lower plane of the frame is mounted on wedges, which allows you to leave the gap necessary for foaming.
The frame installed in the opening must be wedged.This is what prepared pegs are used for. During the wedging process, the position of the window in the opening should be adjusted. Using a building level, you should carefully check the correct installation in each plane. The position of the frame is fixed with wedges. The wedged window should not wobble, remaining in the position prepared for installation. At the same time, when wedging, avoid strong impacts on the pegs, otherwise the frame may be deformed. In the most unpleasant cases, if the wedges are driven in carelessly, the profile may burst.
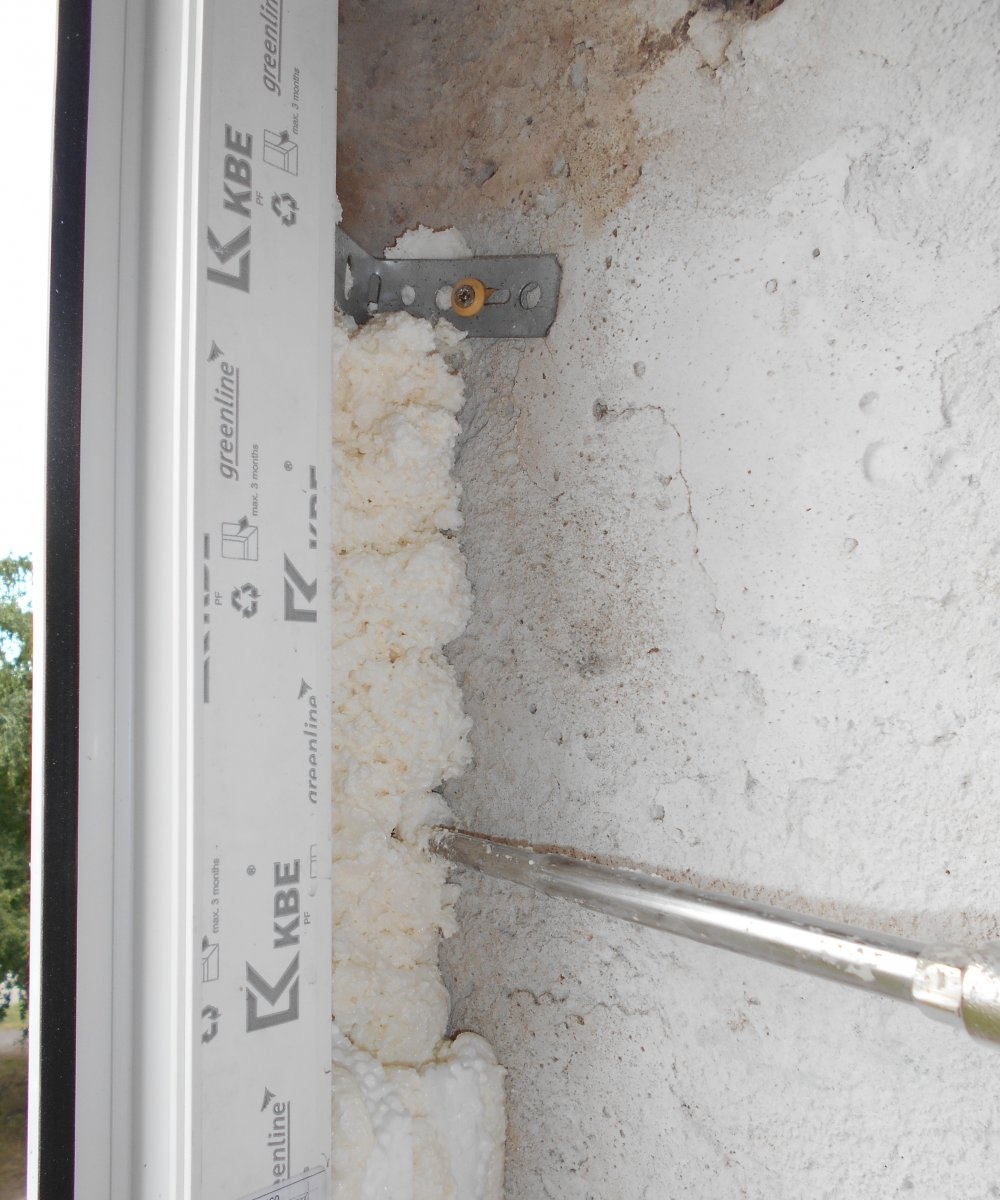
After wedging the frame, you can begin attaching the mounting plates. Holes are prepared in the desired location on the slopes using a hammer drill. Dowels are driven into these holes, which will hold the mounting plates.
Once the frame is fully secured with the mounting plates, you can install the sash and check that it closes, opens and swings freely. If the frame is correctly leveled, this installation stage should proceed without any problems.
Foaming
The final stage of installing a metal-plastic window with your own hands is foaming. All installation gaps that should have been well filled with foam around the entire perimeter. Before doing this, it is better to pre-moisten the areas where the foam will be applied. For better installation quality, it is recommended to choose professional foam for the gun.


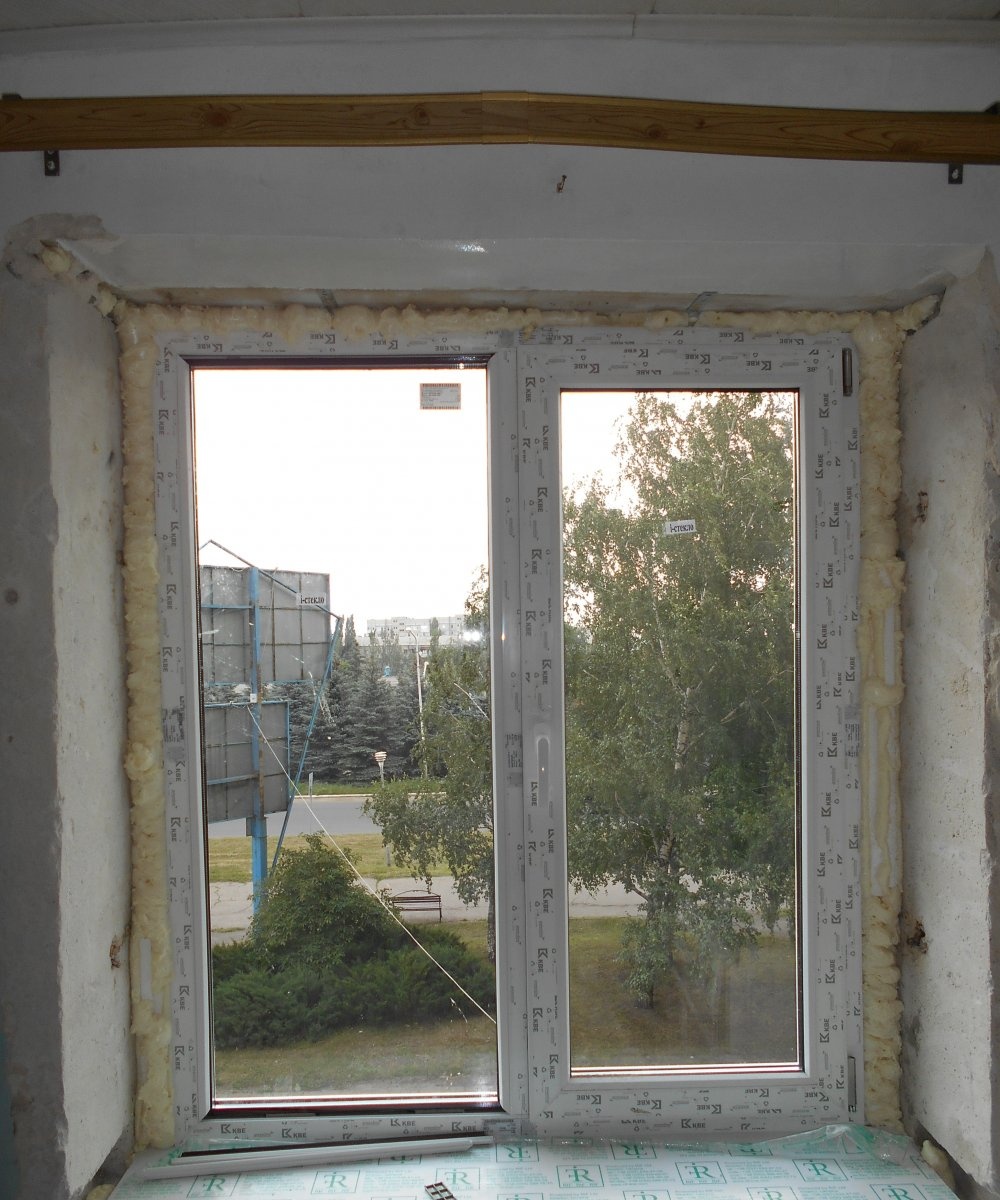
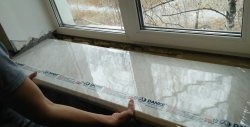
After foaming, the window cannot be opened until the polyurethane foam has completely hardened. This usually takes about a day. Once enough time has passed, it is recommended to check again that the window is working as it should. After this, you can remove the protective film, trim off excess foam and begin decorative finishing of the window slopes.